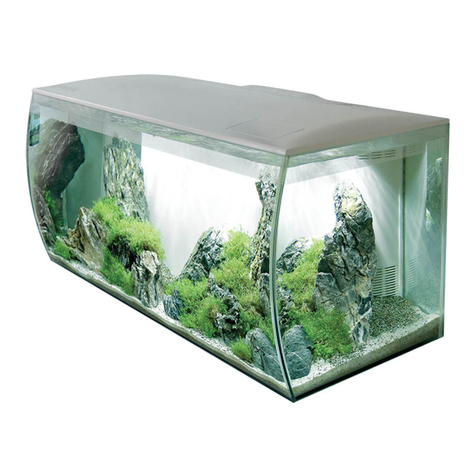
R&J Enterprises Fusion Series User manual

R&J Enterprises
Green Cove Springs, FL 32043
Rjaquatics.co

FUSION SERIES LIMITED WARRANTY
R&J Enterprises Warrants that this product will be free from defective
components such as supplied electrical components and leaks or cracks due to
product materials or craftsmanship for 12 months from purchase date. If product
defect arises, R&J Enterprises will inspect the dama e in question to determine if
the defect is under warranty. If defect is covered under warranty R&J Enterprises
will either repair or replace the defective product without char e. No refunds will
be iven. Warranty only extends to the ori inal purchasin consumer and cannot
be transferred or assi ned.
Warranty will not be honored to dama e from product misuse, abuse, lack of
maintenance, failure to adhere to safety and proper installation instructions, use
of product in a non-standard electrical supply, or any other defect that arises
from improper use of the product and or its components. R&J Enterprises
warranty on this product will not be effective until R&J Enterprises product is
shown to have been used properly in accordance with R&J safety and installation
instructions provided with the product. This product warranty will also not be
ranted if product is not used on a flat level surface as explained in instructions.
This concludes R&J's entire warranty and R&J makes no other promised
warranties, either expressed or implied for this product.
R&J has no obli ations under this warranty unless the consumer notifies R&J in
writin of any defect within 30 days of discoverin the defects. Any notice to R&J
must be delivered by United States or Electronic mail to the below addresses:
Mail:
R&J Enterprises
Attn: Warranty Department
981 Martin Ave
Green Cove Sprin s, FL 32043
Email:
Thank you and enjoy your R&J Product.

IMPORTANT SAFETY INSTRUCTIONS
1. WARNING: To prevent injury, follow safety precautions below:
READ & FOLLOW ALL SAFETY INSTRUCTIONS
2. DANGER: To prevent possible electrical shock, special care should be exercised since water is
involved in the use of this product. Read each below and do not attempt to repair by yourself,
contact R&J to find an authorized service center location or discard the product:
A. If the li ht falls into the water, DO NOT reach for it! First unplu the li ht and then pull it
from the water. If the li ht is ettin wet at all unplu it immediately.
B. If the li ht shows any si n of abnormal water leaka e, immediately unplu the li ht.
C. Examine the li ht after install. It should not be plu ed in if there are visible si ns of
water on parts.
D. Do not operate the li ht if the cord or plu is dama ed, or if the li ht is malfunctionin
or been dama ed.
E. To avoid the li ht cord from drippin water into your outlet receptacle, position the
cabinet and tank to one side of wall receptacle. A "drip loop," shown below, must be
used when plu in in any portion of the Fusion Series into a wall receptacle.
3. Use of this product near children requires
careful supervision.
4. To prevent injury, do not touch movin
or hot parts such as bulbs or lamps.
5. Always unplu the product when not in
use, before addin or removin parts, and
prior to cleanin . To unplu rasp plu
and pull to unplu , never yank by cord.
6. Make sure the li ht is securely mounted
prior to operation.
7. Read and follow all important notices on
the li ht.
8. The product must be plu ed into a
receptacle that is controlled by a GFI
(Ground Fault Interrupter)
9. Do not cover li hts as overheatin could
occur.

SAVE THESE INSTRUCTIONS
IMPORTANT SAFETY INFORMATION: Please read pre autions before use!
1. To reduce the risk of electric shock, always unplu the pump and power cords
prior to any maintenance.
2. Never allow small children to climb on, play with or touch aquarium or
cabinetry. Adult supervision is required.
3. Never place aquarium on the floor, it can become dama ed
4. The cabinetry and aquarium require a level sturdy surface in order to prevent
injury or dama e to the product. Unlevel surface can cause aquarium to leak,
crack or even fall over.
5. It is recommended that the aquarium cabinetry be tethered to a wall to
prevent a top heavy tippin situation.
6. Do not allow the aquarium pump (s) to operate dry at any time.
7. Always observe proper maintenance to ensure optimal operation.
HANDLE WITH CARE! Always handle aquarium with are to prevent personal
injury.
1. Never lift or move an aquarium that is not completely empty.
2. Never lift aquarium with sweaty or wet hands
3. Never lift the aquarium by center support bar or top ed es of aquarium.
4. Always lift or carry an empty aquarium by supportin it from the bottom.
AQUARIUM IDEAL LOCATION
1. The aquarium should be placed in a location that can handle the total wei ht of
the aquarium and the cabinetry. A filled aquarium is approximately 10-12 lbs. per
allon of water and then add sand or ravel, rocks and decor.
2. Always place an aquarium in a flat and level area.
3. Avoid placin aquarium where it will receive direct sunli ht as it will cause al ae
rowth.
4. Keep aquarium in a well ventilated area away from heatin and coolin vents.
5. Do not place aquarium near other household electrical appliances as moisture
from aquarium could dama e other products.

PARTS INCLUDED
PRODUCT SPECIFICATION
• Fusion Tank: 50 Gallons
• Tank Dimensions: 46.5"L x 15.5"W x 16"H
• LED Lights: 24 - .5 watt LED Bulbs (12 Watt Light)
• Pump Flow Rate: 264 gph (1000 L/H)

Assembly
If you have any questions on installation please e-mail customer service at customerservice@rjaquatics.com
for help.
Safety Precautions:
1. Do not plug any tank accessories into
outlet until setup is completed.
2. Inspect the aquarium prior to
installation to make sure it is free of
damage.
Light Assembly:
1. Remove LED lights from bo and follow
instructions below for assembly.
et/Dry Filter Installation
1. Remove filter chamber cover and insert
bio balls evenly into both
chambers.
2. Replace filter chamber cover and place
filter sponge over top of chamber
cover.
3. Attach clear return tube to top of each
pump and insert pumps into return
chamber.
4. Attach other end of each clear return
tube to each return nozzle.
Filling & Startup
1. Make sure cabinet is on a flat
level surface prior to filling with
water. (do not fill with water if
you do not have a level surface)
2. Add any sand, other substrate
and decorations to bottom of
tank.
3. Once level, fill aquarium with
water until the center chamber
where pumps are located of the
wet/dry filter section is about 3
inches above the top of the
pumps.
4. Plug in pumps and carefully
watch the water level. The
center chamber containing the
pumps should always be at
least 2 to 3 inches above the
top of the pumps. If you see air
bubbles blowing into tank you
will need to add water to bring
the center chamber water level
up to normal. (average tank will
need more water about every 2
to 3 days)

Caring for your Fusion Series
1. The cabinet that is designed for
the Fusion Series is real wood
furniture. If you spill water
from the tank on the finish you
will need to wipe it off
immediately to prevent damage
to cabinet
2. Clean the e terior of the tank
with just a damp cloth and then
wipe off with a dry rag.
3. Make sure you are careful not
to clean with a rag that is dirty
or coarse as you will scratch
your acrylic tank.
4. As the blue filter sponge gets
dirty you must rinse sponge
clean to prevent e cess build
up. A dirty filter sponge will
cause a dirty tank.
5. As the tank cycles and starts
growing algae the bio balls will
grow bacteria, this is normal,
never clean the bio balls.
6. For saltwater tanks keep the
light fi ture and top of tank
clean from the salt buildup as it
may harm your tank and light.
E-mail sales@rjaquatics.com
for replacement sponges and
parts.
Table of contents
Popular Other manuals by other brands

Pro Armor
Pro Armor Polaris XP1000 installation instructions

IBM
IBM HS21 BLADECENTER - X5260 FOR SPEC CPU2006 specification

HomePlace Structures
HomePlace Structures Garden Chalet Assembly manual
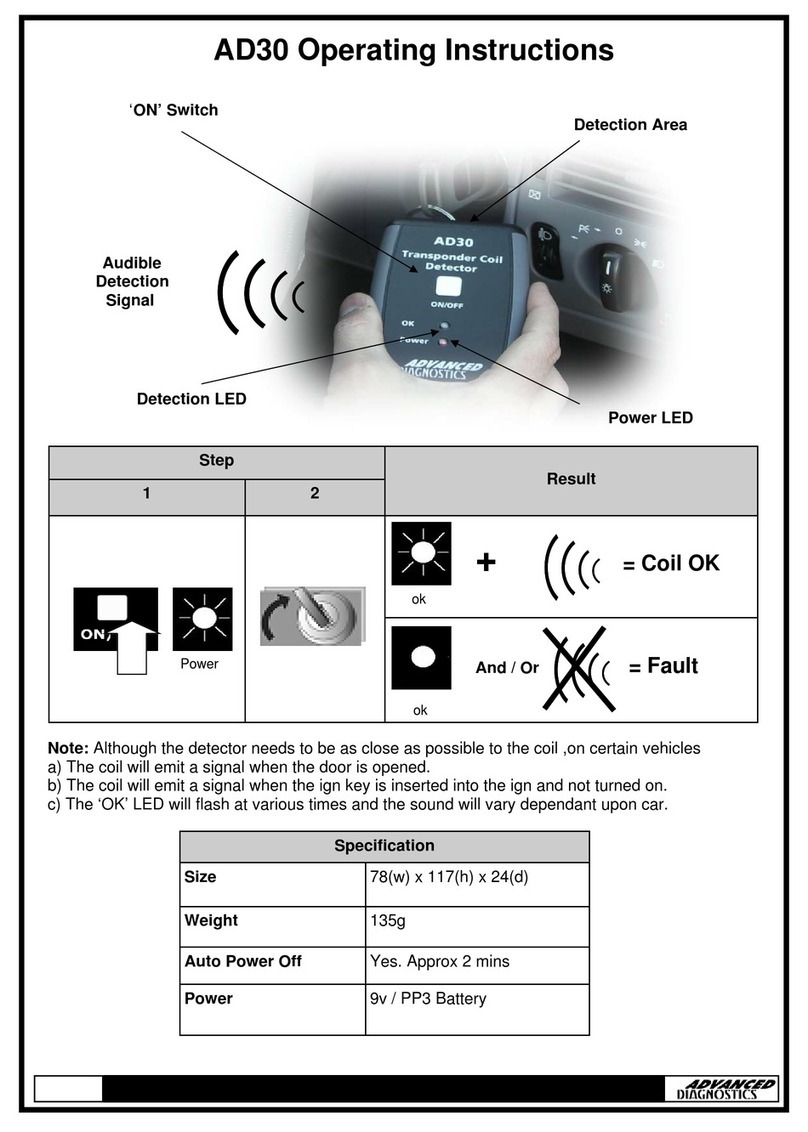
Advanced Diagnostics
Advanced Diagnostics AD30 operating instructions

IBM
IBM HS21 BLADECENTER - FOR SPECWEB2005 specification
Ultra Reef
Ultra Reef UKS-160 instruction manual
