iii
Contents
Chapter 1 Introduction 1
Product Features ...........................................................................................................................2
Package Contents..........................................................................................................................3
Product Overview...........................................................................................................................3
Cat5 Reach DVI Transmitter..........................................................................................................3
Front View............................................................................................................................4
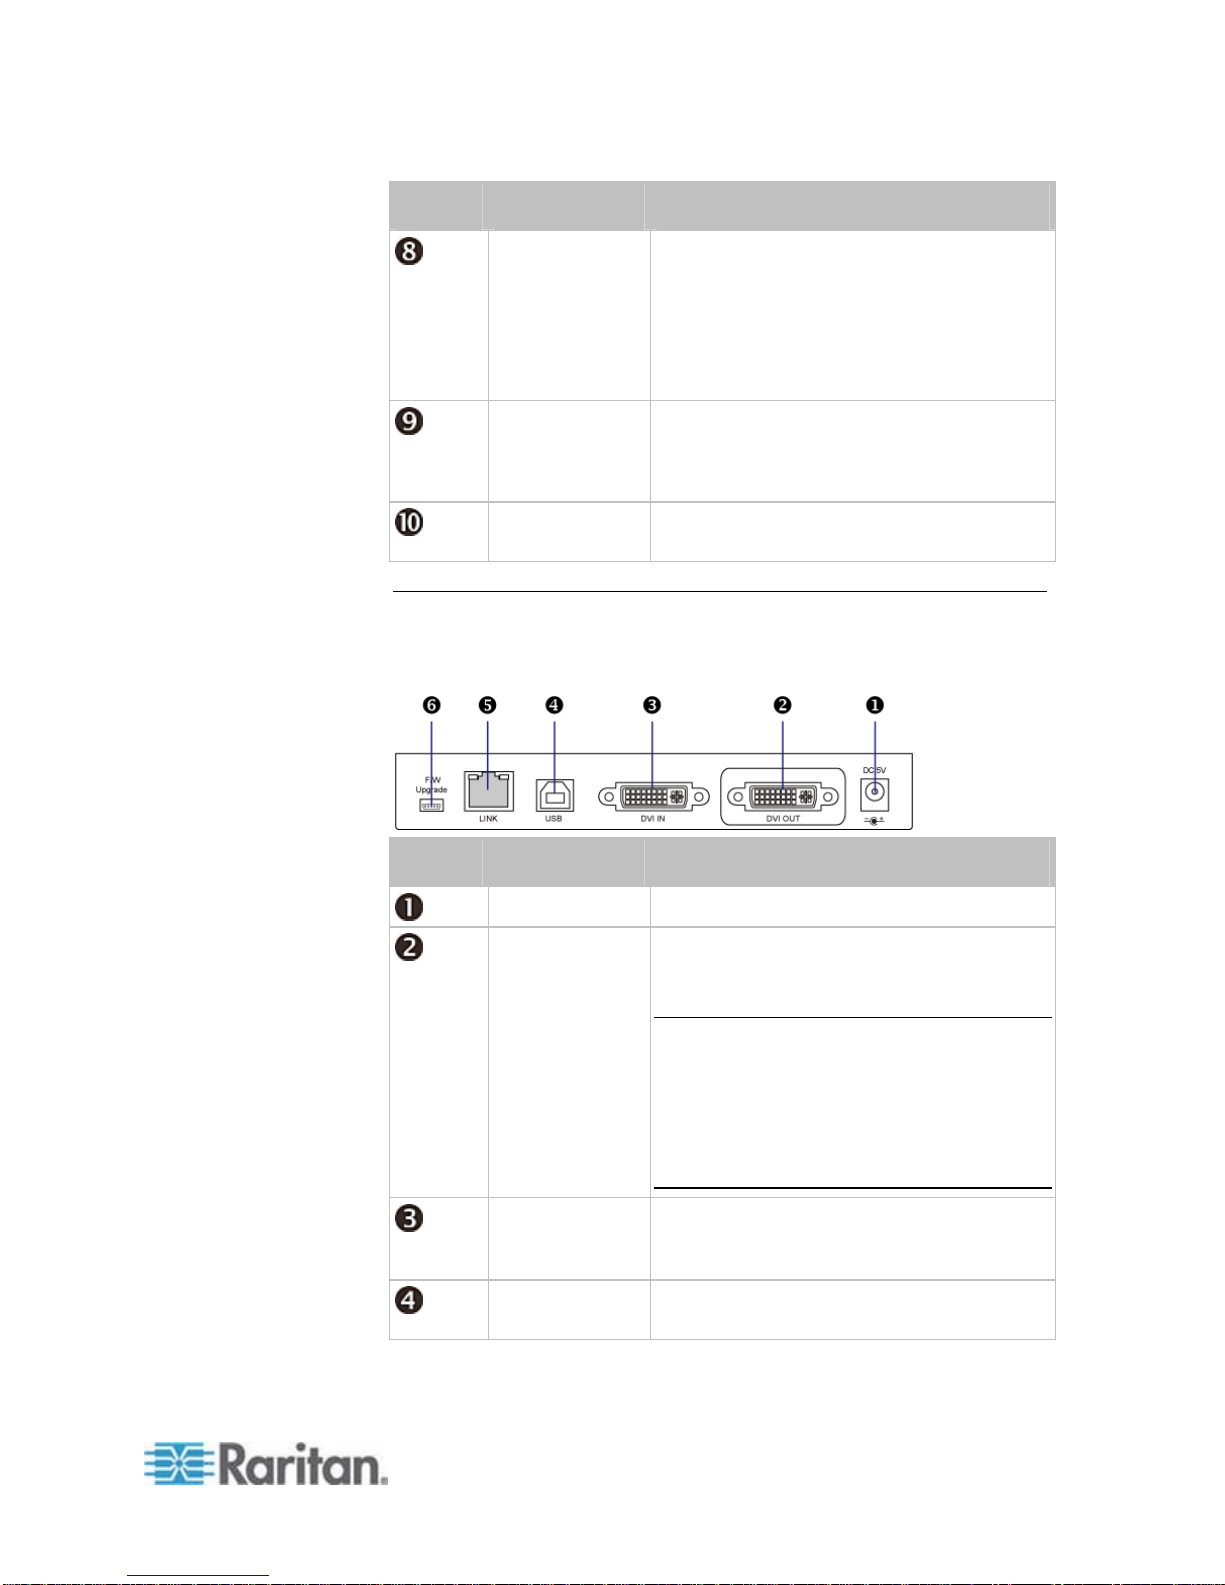
Rear View............................................................................................................................5
Cat5 Reach DVI Receiver..............................................................................................................6
Front View............................................................................................................................6
Rear View............................................................................................................................7
Chapter 2 Installation 9
Basic Installation............................................................................................................................9
Connecting a Keyboard/Mouse/Video Source ..................................................................10
Connecting an Audio/Video Device...................................................................................14
Advanced Installation...................................................................................................................16
Increasing the Distance via Ethernet Switches or Hubs....................................................17
One Transmitter with Multiple Receivers Connected........................................................19
KVM Switch Scenarios ................................................................................................................20
Compatible Raritan KVM Switches or Products................................................................20
Connecting KVM Switches................................................................................................21
Audio Broadcasting......................................................................................................................24
Chapter 3 Operation 26
Enabling or Disabling the Remote Console.................................................................................26
Using EDID to Synchronize Video Resolutions (Optional)..........................................................27
Firmware Upgrade.......................................................................................................................27
Appendix A Specifications 32
Cat5 Reach DVI Transmitter and Receiver .................................................................................32
DVI-to-VGA Adapters...................................................................................................................34
Supported and Unsupported Video Connections to Transmitter.......................................35