RAS 57403 User manual

INTRODUCTION
Congratulations on your purchase of your RAS Kit. While it can be a great
challenge for an inexperienced builder, with care and attention to details, it can
produce an excellent instrument that can last a lifetime.
TOOLS
You will need some tools. Mostly, they’re tools you probably have around the
house, anyway.
Very good straightedge. I use a long aluminum yardstick, available at
most home repair stores
An electric drill. A 3/8 standard drill works just fine. However, I use a
drill/screwdriver with torque control, which will keep you from stripping
most screws.
Screwdrivers. Get good quality; it will save you a lot of grief.
Finishing supplies. That includes sealers, stains, polyurethane or
lacquer, sandpaper, brushes, etc. Complete instruction on finishing is beyond the scope of
these instructions but there are tons of great resources at:
- Stew Mac
http://www.stewmac.com/How-To/Online_Resources/Finishing/
- Youtube
https://www.youtube.com/results?search_query=how+to+finish+a+guitar+body
Masking tape. Get the good stuff. At a minimum, use the blue tape that is
good for 7 days. Anything less than that will bleed through, leave residue,
and otherwise disappoint you. Get a wide roll and a narrow roll.
TEST FITTING & ASSEMBLY
Before you are ready to put a final finish on the guitar, you need to be sure
everything is going to fit properly. Take each piece and check it’s fit on the body
and neck. Once you have found everything to fit properly, apply your finish to the
wood. For these instructions, we used an unfinished kit to demonstrate assembly.
However, you will not complete your final assembly until after your finish work is
complete.
ATTACHING THE NECK
This is a bolt-on neck kit which simply means that the necks is joined to the body
with the 4 screws provided. Be sure the neck is snug to the body and secure it to
the body form the back with the 4 screws.

TUNING MACHINES
The 4 tuning machines are secured to the neck from the back with 4
screws. First press the ferrules into each of the tuning machine holes
from the top of the headstock.
Next slide the tuning machine into the hole from the back of the
headstock. Be sure to mark and drill pilot holes for the tuning
machine screws. The Maple neck is very hard and the tuning machine
screws are small and easy to strip/break. Secure each tuning machine
with to the back of the headstock with the screws provided.

BRIDGE
The bridge sits on the top lower portion of the body below the pickups.
Align the bridge above the pre-drilled holes. Be sure to secure the
black ground wire beneath the bridge with good contact between
the bare ground wire and the bottom of the bridge. You may need
to strip some of the insulation off the wire. Failure to get a proper
ground will result in an open circuit and no sound when you try
playing. If this wire is not visible on the top of your guitar, you will need
to remove the pickguard and push the black ground wire through the
only in the control cavity leading toward the bridgehole beneath the
bridge.
Secure the bridge to the body with the screws provided.

STRAP BUTTONS
Connect the 2 strap buttons to the body with the screws provided. One
goes on the bottom center of the body (as shown in pic). The second
goes on the upper horn at the top of the body. If you are having trouble
locating this, just look for the small hole drilled into the width of the body
on the horn above the neck when holding in a playing position.
SETTING UP YOUR BASS
Like all guitars, set up is a very personal thing in the sense that most
players have their own preferences. However in the spirit of getting you
started we have included this very helpful set up guide.
TOOLS NEEDED
Set of automotive feeler gauges (.002-.025) (0.05–1 mm)
6" (150 mm) ruler (with 1/32" and 1/64" increments) (0.5 mm increments)
Light machine oil (3-in-1, toy locomotive or gun oil)
Phillips screwdriver
Electronic tuner

Wire cutters
Peg winder
Polish and cloth
STRINGS
New strings can breathe new life into your bass. Much of the thump and pop you expect
from your bass starts right there. For strings to stay in tune, they should be changed
regularly. Strings that have lost their integrity (worn where pressed against the fret) or
have become oxidised, rusty and dirty will not return to pitch properly. To check if your
strings need changing, run a finger underneath the string and feel for dirt, rust or flat
spots. If you find any of these, you should change your strings.
Because of the amount of tension on the neck, it's advisable to replace and tune each
new string before removing the next string. After the whole set is changed and tuned,
stretch your strings properly by holding them at the first fret and hooking your fingers
under each string (one at a time) and then tugging lightly, moving your hand from the
bridge to the neck. Re-tune and repeat several times.
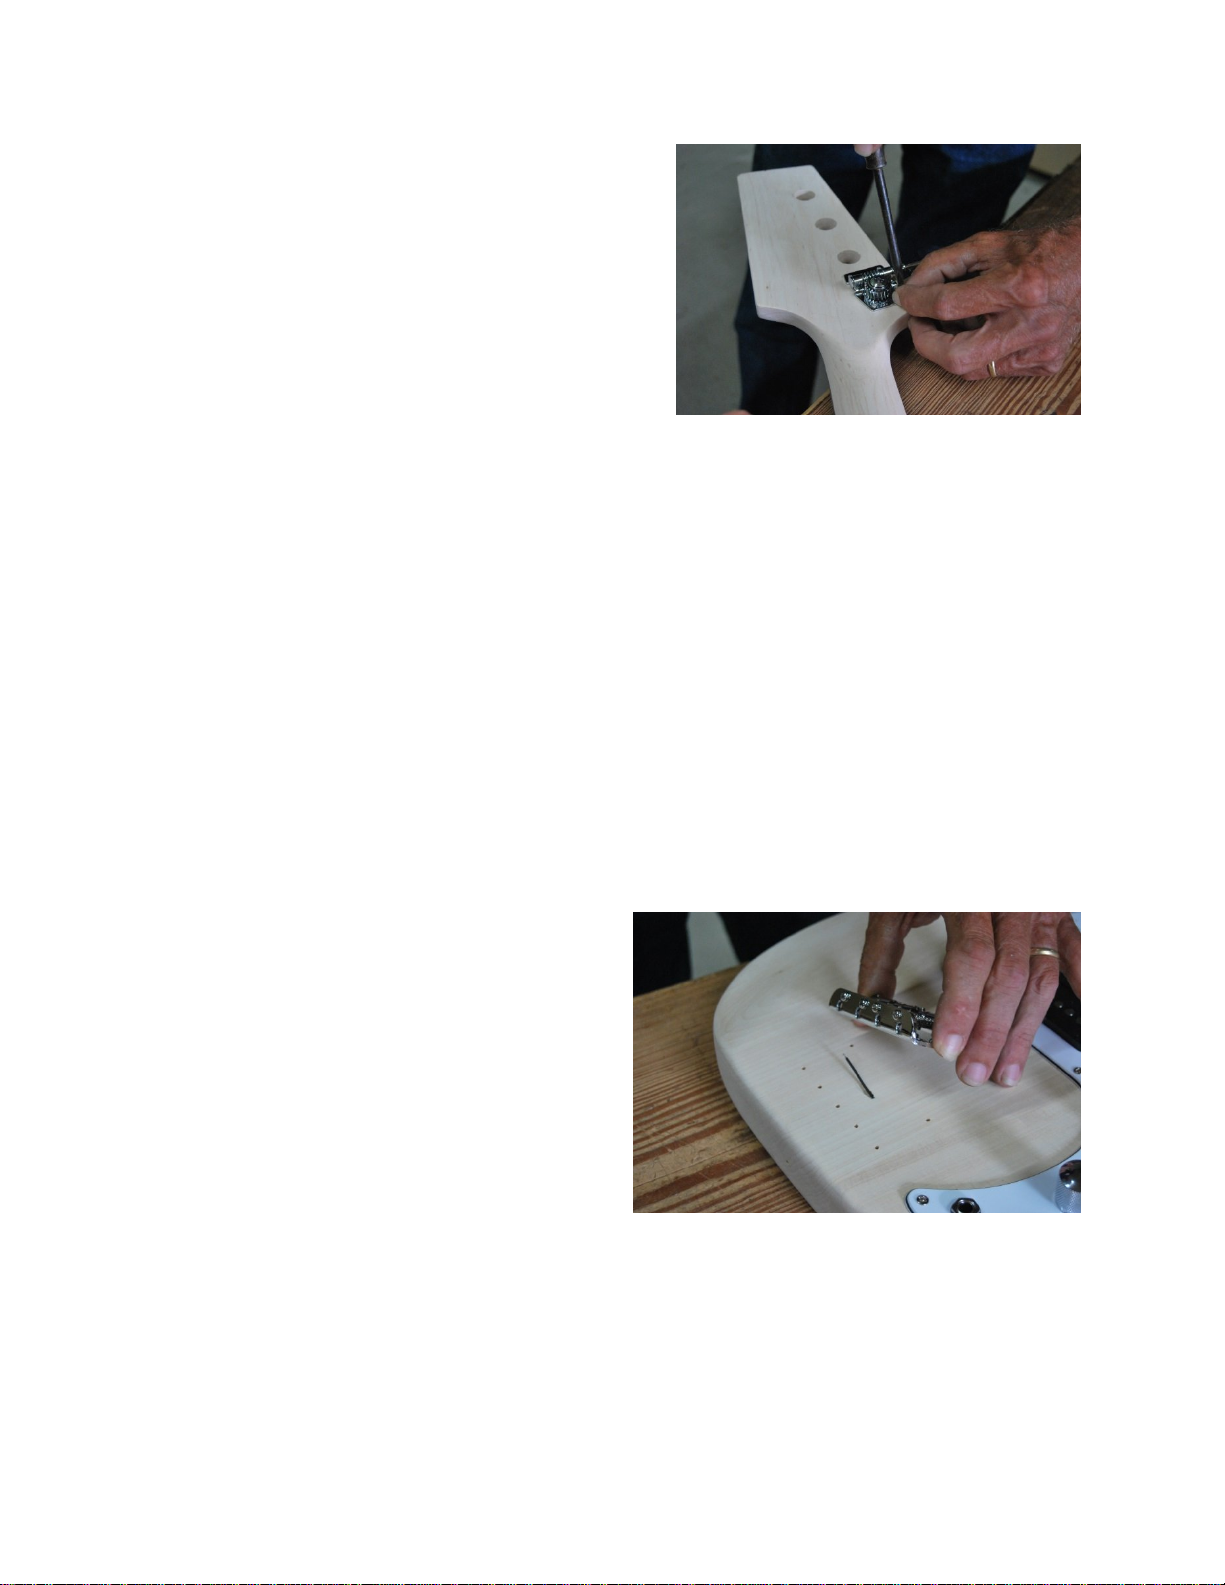
TUNING KEYS
How you wind the strings onto the pegs is very important. Start by loading them through
the bridge and then loading them onto the appropriate keys as follows:
Standard keys. Pre-cut each string for the proper length and desired amount of winds.
Pull the fourth string 3" (76 mm) past its tuning post and cut it (make sure to pull each
string taut). Insert through the eyelet in the tuning key, allowing approximately 1/16" (1.6
mm) of the end to extend through the eyelet, then wind neatly in a downward pattern,
being careful to prevent overlapping. Pull the third string 3 1//2" (89 mm) past its tuning
post, cut it, and repeat the winding procedure. Pull the second and first strings 3 1/2"
(89 mm) past their tuning posts and cut and wind as noted. For five-string basses, cut
the fifth string 3" (76 mm) past its tuning post and repeat the same cutting and winding
procedure.
Vintage keys. Pre-cut each string for the proper length and desired amount of winds.
Pull the fourth string 4" (102 mm) past its tuning post and cut it (again, make sure to pull
each string taut). Insert into the center hole of the tuning key, bend and crimp to a 90°
angle, and wind neatly in a downward pattern, being careful to prevent overlapping. Pull
the third string 4 1/2" (114 mm) past its tuning post, cut it, and repeat the winding
procedure. Pull the second and first strings 4 1/2" (114 mm) past their tuning posts and
cut and wind as noted. For five-string basses, cut the fifth string 3 1/2" (89 mm) past its
tuning post and repeat the same cutting and winding procedure.

INTONATION (ROUGHING IT OUT)
You can preset the basic intonation of your bass by taking a tape measure and
measuring from the inside of the nut to the center of the 12th fret (the fret wire itself; not
the fingerboard). Double that measurement to find the scale length of your bass.
Adjust the first-string bridge saddle to this scale length, measuring from the inside of the
nut to the center of the bridge saddle. Now adjust the distance of the second saddle
back from the first saddle, using the gauge of the second string as a measurement. For
example, if the second string is .060" (1.5 mm), you would move the second-string
saddle back .060" (1.5 mm) from the first saddle. Move the third saddle back from the
second saddle, using the gauge of the third string as a measurement. Adjust the fourth
saddle in the same manner (and fifth if you have a five-string bass).
ACTION
Players with a light touch can get away with lower action; others need higher action to
avoid rattles. First, check tuning. Using a 6" (150 mm) ruler, measure the distance
between bottom of strings and top of the 17th fret. Adjust bridge saddles to the height
according to the chart below, then re-tune. Experiment with the height until the desired
sound and feel is achieved.
Neck Radius String Height Bass Side Treble Side
7.25"
9.5" to 12"
15" to 17"
7/64" (2.8 mm)
6/64" (2.4 mm)
6/64" (2.4 mm)
6/64" (2.4 mm)
5/64" (2 mm)
5/64" (2 mm)
PICKUPS
Setting pickups too high can cause a number of unusual occurrences. Depress strings
at last fret. Using a 6" (150 mm) ruler, measure the distance from the bottom of the first
and fourth strings to top of the pole piece. A good rule of thumb is that the distance
should be greatest at the fourth-string neck pickup position and closest at the first-string
bridge pickup position. Follow the measurement guidelines from the chart below as
starting points. The distance will vary according to the amount of magnetic pull from the
pickup.
Note: Larger string gauges need wider vibrational allowances. If you have a five-string
bass or are using heavier-gauge strings, your measurements must be increased
accordingly.

Bass Side Treble Side
Vintage style 8/64" (3.6 mm) 6/64" (2.4 mm)
Noiseless™ Series 8/64" (3.6 mm) 6/64" (2.4 mm)
Standard "J" or "P" 7/64" (2.8 mm) 5/64" (2 mm)
Special Design Humbuckers 7/64" (2.8 mm) 5/64" (2 mm)
INTONATION (FINE TUNING)
Adjustments should be made after all of the above have been accomplished. Set the
pickup selector switch (if your bass has one) in the middle position, and turn the volume
and tone controls to their maximum settings. Check tuning. Check each string at the
12th fret, harmonic to fretted note (make sure you are depressing the string evenly to
the fret, not the fingerboard). If sharp, lengthen the string by adjusting the saddle back.
If flat, shorten the string by moving the saddle forward. Remember, basses are
tempered instruments! Re-tune, play and make further adjustments as needed.
ADDITIONAL HINTS
There are a few other things that you can do to optimize your tuning stability that have
more to do with playing and tuning habits.
Each time you play your bass, before you do your final tuning, play for a few minutes to
allow the strings to warm up. Metal expands when warm and contracts when cool. After
you've played a few riffs and done a few slaps and pops, you can then do your final
tuning. Remember—with most tuning keys, it's preferable to tune up to pitch. However,
with locking tuners, go past the note and tune down to pitch. Finally, wipe the strings,
neck and bridge with a lint-free cloth after playing. When transporting or storing your
bass, even for short periods, avoid leaving it anyplace you wouldn't feel comfortable
yourself.
CONTACT
If you have questions or your kit is missing any parts, please contact us at
customerservice@rasdistrutors.com.
Table of contents