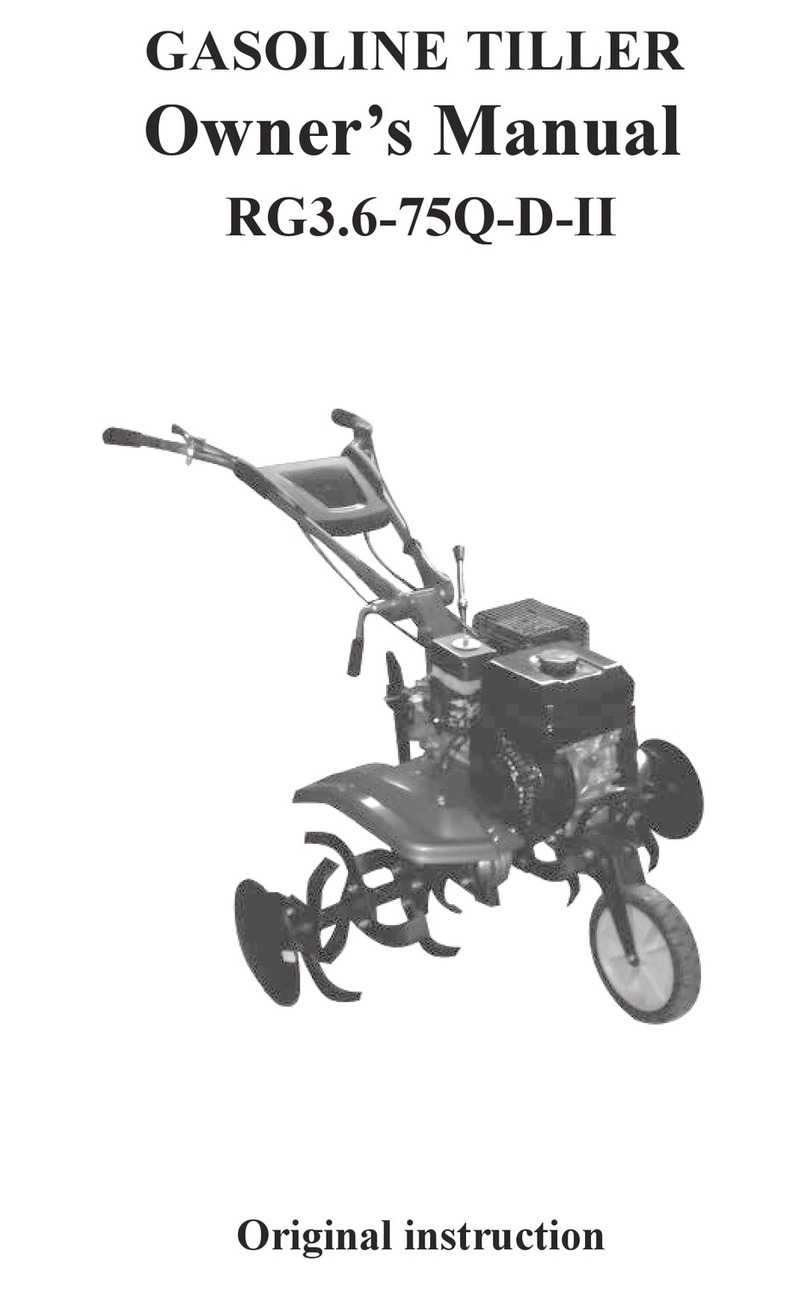
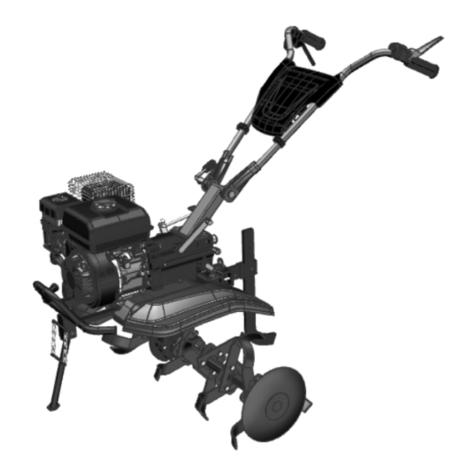
Rato RG1.7-45Q-D Operation instructions

GASOLINE TILLER
Owner’s Manual
RG1.7-45Q-D
Original instruction

It will lead your family to a better life more quickly.
This machine is small, light, multi-functional, and with a high efficiency for
cultivating. It can climb hills, run in water, walk over the field ridges and ditches,
move freely and change the directions easily, and it is especially applicable to
various working in hilly area, dry land, paddy field, orchard, vegetable garden
and greenhouse, etc. Cultivating, ditching & ridging, and transport are the
machine’s basic functions. Moreover, after being equipped with relative devices
and tools, it may be used to pump water, spray water and pesticide, reap the
crops, generate electricity, fertilizer, implant seeds, threshing, cut tendrils, grind
something, etc. The machine has a simple structure, can be easily repaired and
its fuel consumption is small, it is your ideal micro agricultural machine.
The machine is a good helper for your family to be wealthy Before you use the
machine, please read the instruction manual carefully. it can guide you to solve
the problems when you are installing, manipulating and repairing the machine.
With the continuous innovation and improvement of the products, the contents
in the (of )instruction manual may differ slightly from the actual situations, your
understanding and pardon is highly appreciated. If you find some problems or
have some good suggestions, please do not hesitate to contact us.
Let’s seek a bright future hand in hand!
Thanks!

1. Handle bar 2Engine
3. Milling cutter group 4 Milling cutter guard
5. 6
.
.
.
7. Throttle control 8. Cutter engagement lever
9. ver
1
2
3
5
4
9
7
8
1
6

penultimate page of the manual.
21. 22. Fast 23. Slow 24. Stop
SAFETY REQUIREMENTS - Your motor hoe must be used ca-
Replace damaged or illegible labels.
21 22 23 24
2

1. Warning: Read the instruction manual before using the ma-
chine.
2. Danger of cutting yourself. Moving milling cutters. Di-
sconnect the spark plug cap and read the instructions before
3. Danger of cutting yourself.
4. Risk of thrown objects.
work area during use.
5. Risk of exposure to noise and dust. Wear protection
.sessalgevitcetorpdnaesiontsniaga
Maximum noise and vibration levels
Model ......................................................................................... RG1.7-45Q-D
Operator ear noise pressure level .................................... 76
.............................................
Measured acoustic power level ........................................
.............................................
Guaranteed acoustic power level .....................................
Vibration level .................................................................... m/s
2
4,502
.............................................. m/s
2
1.5
1 5
43
2
3

OPERATING INSTRUCTIONS
For the engine, read the relative instructions manual.
NOTE - The number which precedes each paragraph
links the references in the text to the respective illustra-
1. COMPLETE ASSEMBLY
NOTE - The machine can be supplied with some
parts already assembled.
WARNING - Unpacking and completing the assembly
enough space for moving the machine and its packa-
ging, always using suitable equipment.
Disposal of the packaging should be done in accor-
dance with the local regulations in force.
1.1 Assembling the handle bar
WARNING - The tie rod
.
is an important safety ele-
ment so the above must be carried out correctly.
4

1
1.2
keep the cables under
the support. Reposition the two
-
1.2 Closure of the milling cutter axles
5
4
4
5
5
6
1.1
1
2a 2b
2
7

1.3
ƷDrive
ƷEngine
Top up engine oil following the instructions given in the
relative manual.
6
1
2
3
4
1.3

1.4 Assembling the strut
2. CONTROLS AND REGULATIONS
NOTE – The meanings of the symbols on controls are
explained on page 6 and following.
2.1 Throttle control
Lever positions are indicated on the relevant plate.
the same time, the machine’s forward speed.
7
1
2
3
1.4

2.2 Milling cutter engagement lever
Milling cutter movement in contact with the ground moves
the machine forward.
machine stops moving forward.
8
1
2
2.2
1
2.1

2.3 Regulating hoeing depth
How deep milling cutters go into the ground can be re-
The lowest position coincides with minimum hoeing
depth.
2.4 Regulating the auxiliary wheel
-ometatilicafot,dnuorgehthtiwtcatnocni,derewol–
vement;
tucotsrettucgnillimehtwollaot,gnikro
welihw,desiar–
into the ground.
To shift from one position to another, grasp the wheel
9
1
3
2
2.3
1

3. USING THE MACHINE
3.1 Starting the engine
For start up, follow the instructions in the engine manual,
10
1
2
3
2.4
3.1
1

11
3.2 Hoeing and loosening the ground
;thgiehderisedehtotturtsehttsujda–
from the ground;
move the machine forward.
Suggestions for a job well done
sdolcehtsadnuorgtewnoenihcamehtesutonoDƷ
be reached through two crossed passages, not carried
1
2
3.2

12
3.3
;»POTS«otrevelelttorhtehtevom–
4. ROUTINE MAINTENANCE
IMPORTANT - Routine and accurate maintenance is
essential in maintaining original machine safety and
performance levels.
Store the machine in a dry place.
2
1
3.3

or adjusting the machine.
use; remove debris and mud accumulated on the
due to the abrasive action of clods removed; if this
to prevent rusting that could corrode the metal.
machine on the side indicated in the engine manual,
following the relevant instructions.
Do not drip petrol onto the plastic parts of the engine or
the machine to prevent damaging them and remove all
4.1 Milling cutter replacement
The milling cutters do not need their cutting edges shar-
pened.
13

WARNING - The cutting parts of the milling cutter
CANNOT be disassembled from their supporting
plate. You must ALWAYS replace the entire plate
complete with cutting parts. Using a milling cutter
with one or more broken or missing cutters can be
dangerous and bad for machine safety and reliabi-
lity.
Original milling cutters with the following code must be
118801761/0 external milling cutter
118801760/0 internal milling cutter
4.2 Adjusting transmission
14
1
2
3
4
5
4.1

engagement lever, with engagement too violent or mil-
ling cutters that tend to slow down when penetrating the
ground, the engagement cable needs adjustment.
5. ENVIRONMENTAL PROTECTION
-
of both social coexistence and the environment in which
we live.
area.
-
with a strong environmental impact; this waste must not
be disposed of as normal waste, it must be separated
-norivneehtetulloptonod,gninoissimmocednehW–
ment with the machine, hand it over to a disposal cen-
tre, in accordance with the local regulations in force.
Dealer.
15

16
6. MAINTENANCE
6.1 Cleaning, maintenance and lubrication schedule
Proper maintenance is essential for safe, economical and trouble-
free operation. It also helps reduce air pollution. In order to keep your
gasoline engine in good working condition, it must be periodically
serviced. The following maintenance schedule and routine inspection
procedures must be carefully followed.
Frequency
Item
Every
time
First
month or
10 hrs of
operation
Thereafter,
every 3 months
or 30hrs of
operation
Every 6
months or
50 hrs of
operation
Every year
or 100 hrs
of operation
Engine oil
Change
element
Air filter Check
Clean
Change
Spark plug Clean-adjust ﹡
Spark arrester
Clean
Valve
clearance﹡﹡Check-adjust
Fuel hose Check Every 2 years (change if necessary)
Cylinder
head, Piston
Remove carbon
deposits
Every 125 hours
﹡These items should be replaced by new ones if necessary.
These items should be serviced by a machanically proficient person or by
﹡﹡
our authorized servicing dealer.
If you frequently operate your gasoline engine under high-load or
high-temperature conditions, change the engine oil every 10 hours of
operation.
If your gasoline engine frequently works under dusty or severe
conditions, clean the air filter element every 10 hours of operation. If
necessary, change the element every 25 hours of operation.
If you accidentally missed the servicing time, do it immediately
Period and operation hours, the one which comes first should govern.
.

17
6.2
Stop the engine before servicing. Put the engine on a level surface
and to avoid starting, remove the spark plug cap .
Never run your engine in a poorly ventilated area. Be sure to keep
good ventilation in working area. The exhaust from the engine may
contain poisonous carbon monoxide, breathing it would cause shock,
unconsciousness and even death.
6.2 Maintenance Method
1) Replacement of engine oil
Drain the engine oil rapidly and completely out when the engine is hot.
(1) Remove the oil dipstick,(or drain plug and washer) and drain engine
oil thoroughly. Reinstall the drain plug and screw in it securely.
(2) Fill the recommended engine oil and check oil level with oil dipstick.
(3) Reinstall the oil dipstick and tighten it securely.
OIL DIPSTICK
OIL HOLE

18
6.3
1.Never run the engine without an air cleaner, or severe wear of the
engine may be resulted in.
AIR CLEANER
COVER
AIR CLEANER
ELEMENT
2.Replace the air filter element every 50 hours.
1) Remove the air cleaner housing.
2) Remove foam element or paper element, paying attention to
prevent dust and foreign matter entering into air cleaner.
3) Check, clean or replace damaged air cleaner parts.
4) Reinstall the air cleaner parts back.
6.3 Air Cleaner
Please dispose of used engine oil and the oil containers in a manner
that is compatible with the environment. We suggest you take used
oil in a sealed container to your local recycling center or service
station for reclamation. Do not throw it in the trash or pour it on the
ground or down a drain.
detergents, or explosion may happen.
Never clean the air cleaner element with gasoline or low flash-point
Table of contents
Other Rato Tiller manuals