machine as it is aimed.
THROWING DIFFERENT PITCHES Thrown alls will tend to
curve in the direction they are spinning, and the greater the spin, the
more the curve. Spin is imposed on the all y setting one wheel to turn
faster than the other- the all will spin & curve away from the faster
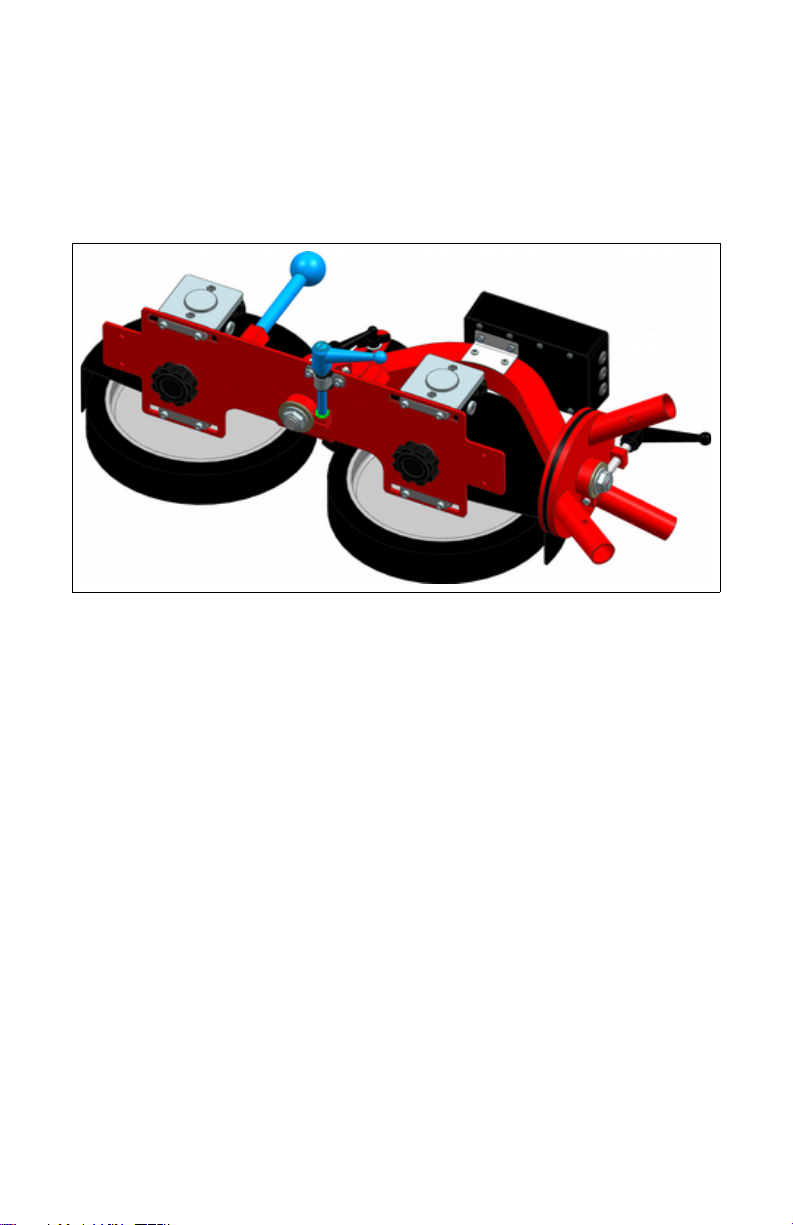
wheel. By rotating the machine on twist angle pin joint, you can set the
curve in any direction. The speed of the all will e the average of the
wheel speed settings. For example, setting one wheel at 60 and the
other at 90 will result in a 75 mph pitch. A laminated chart is included for
guidance, ut it should e considered a starting point.
The most common mistake for new users is to set oth wheels to the
same speed for a fast all. If oth wheels are set to the same speed, the
machine will throw a knuckle all. A fast all has ackspin, so the lower
wheel must e set to a higher speed ( y 20-40 mph) than the top wheel.
ACCURACY The primary factor ehind pitch accuracy is the
consistency of the alls. While you can use many types of alls (real or
dimpled / high or low seam / compressi le or hard) you can not mix them
in one setup and get consistent results. They must e dry and in good
condition. Dimpled machine alls will e more accurate than leather
ase alls, especially after use. Softer alls tend to e more accurate
than harder alls ecause the wheels grip them etter. Lower seams are
etter than high seams (and cause less wheel wear). Rolling the all into
the feeder tu e so that the wheels gra across the seams is etter than
along the seams (4 seam is etter than 2 seam). The more consistent
the alls are, the more consistent the pitches will e.
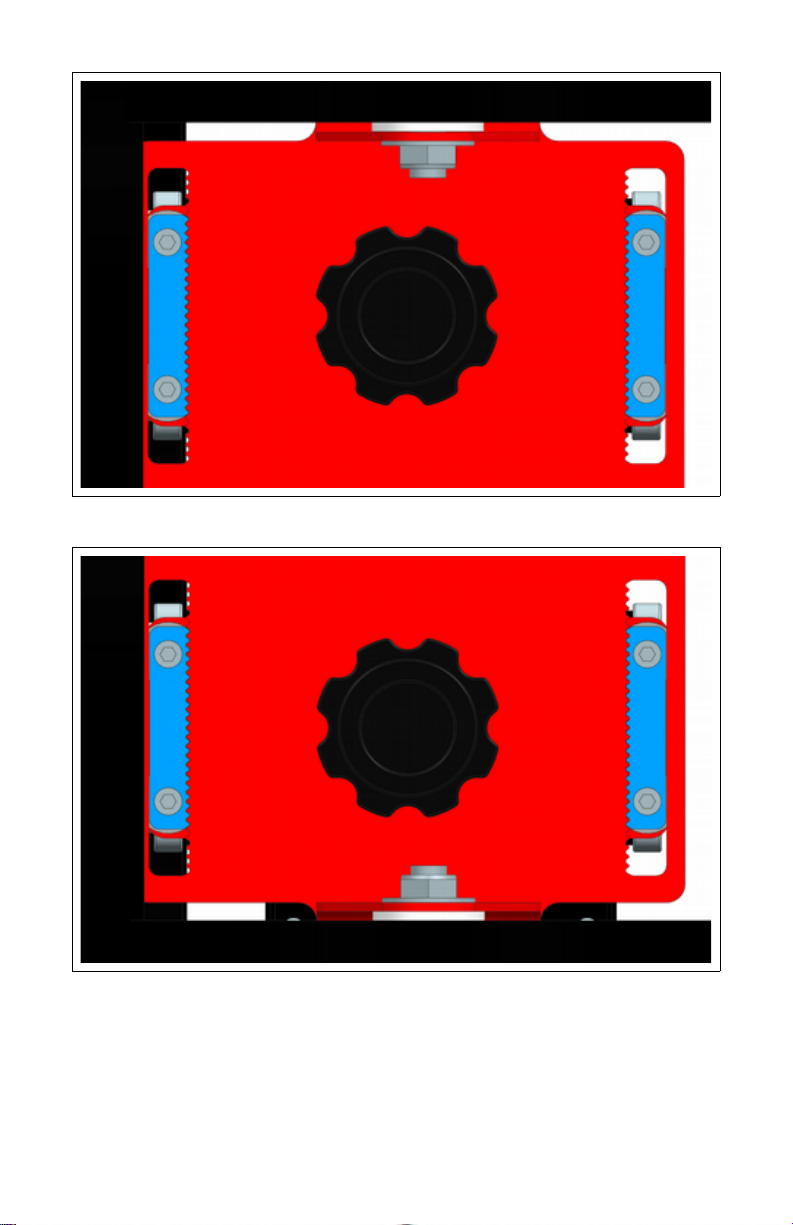
Another key factor is the distance etween wheels - see otor / Wheel
Position earlier in this manual for a full discussion.
A third factor is the cleanliness of the wheels. After use, especially with
new plastic alls ( oth dimpled and laced), the wheels can accumulate a
residue from the alls. The residue is slick and prevents the wheel from
gra ing the all sufficiently. The wheels can easily e cleaned with
solvent cleaners such as MEK or lacquer thinner. Cheap synthetic
leather ase alls wear quickly and leave excessive residue, so we
recommend against their use. We also recommend not using the Jugs
rand Pearl® ase alls. They seem to e very slick and not as accurate
as standard ase alls, at least with our machines.
If pitches seem to wander during use, check that the pin joints are all
tight. Also check that the entire machine is not moving from recoil. When
used on a hard slick flooring surface such as hardwood or cement, the
machine should e set on a carpet scrap or nonslip mat.
Rawlings Pitching Machines
Rawlings Pitching Machines