RCA RP2478 User manual

FCC information
This device complies with Part 15 of the FCC
Rules. Operation is subject to the following two
conditions: (1) This device may not cause harm-
ful interference, and (2) this device must accept
any interference received, including interfer-
ence that may cause undesired operation.
In accordance with FCC requirements, changes
or modifications not expressly approved by
Thomson Inc. could void the user’s authority to
operate this product.
This device generates and uses radio frequency
(RF) energy, and if not installed and used prop-
erly, this equipment may cause interference to
radio and television reception.
If this equipment does cause interference to
radio or television reception (which you can
determine by unplugging the unit), try to cor-
rect the interference by one or more of the fol-
lowing measures:
• Re-orient the receiving antenna (that is, the
antenna for the radio or television that is
"receiving" the interference).
• Move the unit away from the equipment
that is receiving interference.
• Plug the unit into a different wall outlet so
that the unit and the equipment receiving
interference are on different branch circuits.
If these measures do not eliminate the interfer-
ence, please consult your dealer or an experi-
enced radio/television technician for additional
suggestions. Also, the Federal Communications
Commission has prepared a helpful booklet,
"How To Identify and Resolve Radio TV
Interference Problems." This booklet is avail-
able from the U.S. Government Printing Office,
Washington, DC 20402. Please specify stock
number 004-000-00345-4 when ordering
copies.
This product complies with DHHS Rules 21 CFR
Subchapter J. Applicable at the date of manu-
facture.
For Your Records
In the event that service should be required,
you may need both the model number and the
serial number. In the space below, record the
date and place of purchase, and the serial num-
ber:
Model No.
Date of Purchase
Place of Purchase
Service Information
This product should be serviced only by those
specially trained in appropriate servicing tech-
niques. For instructions on how to obtain serv-
ice, refer to the warranty included in this
Guide.
Technical specification
Product: Personal radio CD/ mp3 Player
Brand: RCA
Model: RP2478
Electrical Consumption
Power Supply: 120V~60Hz
Power consumption: 6 Watts
IMPORTER
Comercializadora Thomson de México,
S.A. de C.V.
Miguel de Cervantes Saavedra 57
Col. Ampliación Granada
C.P. 11529 Mexico D.F.
Telefono: (55)25 81 53 20
RFC: CTM-980723-KS5
This Class B digital apparatus
complies with Canadian ICES-003.
Cet appareil numérique de la class
B est conforme à la norme du
NMB-003 du Canada
RP2478 EN 3/20/03 5:01 PM Page 1

usermanual
RP2478
EXPORTER
Thomson Inc.
P. O. BOX 1976
Indianapolis, IN 46206-1976
© 2003 Thomson Inc.
Trademark(s) ® Registered
Marca(s) ® Registrada(s)
Marque(s) ® déposée(s)
55631850 (EN/F/E)
www.rca.com
www.rca.com/LatinAmerica
Printed in China / Impreso en China
IMPORTADOR
Comercializadora Thomson de Mexico,
S.A. de C.V.
Miguel de Cervantes Saavedra 57
Col. Ampliacion Granada
C.P. 11529 Mexico D.F.
Telefono: (55)25 81 53 20
R.F.C.: CTM-980723-KS5
0151 IT IS IMPORTANT TO READ THIS INSTRUCTION BOOK PRIOR TO USING YOUR NEW PRODUCT FOR THE FIRST TIME.
ES IMPORTANTE LEER ESTE MANUAL ANTES DE USAR POR VEZ PRIMERA SU EQUIPO.
m
p
3
•
f
m
•
d
y
n
a
m
i
c
b
a
s
s
b
o
o
s
t
ENTER
MENU•
DSP
CD•RADIO
ON
PRESET
PR
+
PR
-
STEREO
30
PRESET
RP2478 EN 3/20/03 5:01 PM Page 2

EN
Contents
FCC information
Power supply
Before you begin . . . . . . . . . . . .1
Main unit . . . . . . . . . . . . . . . . . .2
Listening to the radio . . . . . . . .3
CD player . . . . . . . . . . . . . . . . . .4
Playing mp3/ WMA files . . . . . . .5-6
Playing mp3/ WMA files with SmartTrax
. . . . . . . . . . . . . . . . . . . . . . . . .7-9
Playlist . . . . . . . . . . . . . . . . . . . .10
Playmode . . . . . . . . . . . . . . . . .11
Other functions . . . . . . . . . . . .12
MusicMatch Jukebox . . . . .13-15
Troubleshooting . . . . . . . . . . .16
More information . . . . . . . . . .17
Warranty
Power supply
AC outlet power supply
You can power your CD player with the
supplied AC/DC Adapter. Refer to the
table for details of the operating volt-
age of the Adapter supplied with your
unit.
AC/DC Adapter is purposed for indoor
use in dry rooms only. Remove the jack
from the device to use it with the bat-
teries.
Note : Power is fed to the unit even
when it is not functioning. To cut
the power supply off, the AC/DC
Adapter must be unplugged
.
The unit will turn off automatically if left
idle for a while.
AA
AA
Model Number
RP2478
AC/DC Adapter
Input: 120V 60Hz
Output : 4.5VDC@600mA
Batteries
AAx2 (not included)
RP2478 EN 3/20/03 5:01 PM Page 4

2
1
ENEN
1. PLAY/PAUSE -- plays disc, or pauses dur-
ing playback, power on.
2. STOP -- stops playback, return to home/
root position in stop mode (Folder mode and
SmartTrax mode only), press and hold more
than 2 seconds in stop mode to power off.
3. Directions key -- skips forward/back-
ward (CD mode); songs selection (mp3 disc
mode); setting preset station (radio mode).
4. DSP -- toggles dsp modes:
In CD mode - (Flat/ Bass Boost/ Rock/ Pop/ Jazz).
In Radio mode - (Flat/ DBBS).
5. VOL+/VOL- -- increases/decreases volume
level (from 0 to 30).
6. MENU•HOLD -- accesses MENU mode;
press and hold to lock keys.
7. ENTER -- confirms selection.
8. PHONES / LINE OUT -- jack for headphones
and signal output.
9. DC in -- jack for external power.
10. OPEN -- slides to open the door.
11. SHUFFLE•PRESET -- press to activate
Shuffle function in CD mode, or to set preset
station (refer to radio section).
12. CD•RADIO -- press to switch between
radio and CD mode.
m
p
3
•
f
m
•
d
y
n
a
m
i
c
b
a
s
s
b
o
o
s
t
ENTERMENU•DSPCD• RADIO
ON
PRESET
PR
+
PR
-
STEREO
30
PRESET
volume
d
c
4
.
5
V
l
i
n
e
out
1
2
3
4 6
7
8
open
5
9
10
Before You Begin
Unpacking Your Unit
You should have the following:
•one main unit
• one carrying strap
•one set of clip phones
• one user’s guide
• MusicMatch CD
How to Use Your Clip Phones
(The e.clipz)
The right ear clip phone is labeled R
while the left ear clip phone is labeled L.
1. Pull the ear hook away from the ear
pad slightly. You will hear a click sound.
2. Slide the ear hook behind the ear with
the ear pad on the front of the ear.
Rotate the clip phone so the ear pad fits
closely with the ear.
3. Lock the clip phone in place by
pushing down on the top of the ear hook
until it locks.
4. For best sound quality, make sure the
earpad fits closely with your ear.
LR
CLICK
11
12
Main Unit
RP2478 EN 3/20/03 5:01 PM Page 6

4
EN
3
EN
Listening to the radio
Auto search
1. In RADIO mode, press and hold or
, when the “Release key now for auto
search up” shows on display, release key to
search up / down for a radio station. If you
ignore the message and keep pressing the
button, the tuning will stop whenever you
release the button.
2. Once a station is found, the search will
automatically stop.
3. You can store it as one of your preset sta-
tions.
FM stereo / mono mode
In RADIO mode, you can toggle between
FM stereo and mono signal.
1. In RADIO mode, press MENU•HOLD but-
ton to access menu.
2. Select “Radio mode” and press ENTER
button.
3. Select “Stereo” and press ENTER button.
4. Press PR+ and PR- to select
ON/OFF.
5. Press ENTER button to confirm selection.
Selecting frequency step
1. In RADIO mode, press MENU•HOLD but-
ton to access menu.
2. Select “Radio mode” and press ENTER
button.
3. Select “FREQ. step” and press ENTER
button.
4. Press PR+ and PR+ to select
US200KHz/ Europe 50KHz.
5. Press ENTER button to confirm selection.
Listening to the radio
1. Press CD•RADIO button to toggle
between CD mode and RADIO mode.
2. When in RADIO mode, You can tune to
your desired radio station by pressing
or button.
3. If you have preset radio stations, you can
press PR+ or PR- to choose among
them.
How to program a preset station
1. When in RADIO mode, press and
to select frequencies.
2. Choose a frequency you want to store,
the press SHUFFLE•PRESET button.
3. “Preset” will flash on display, press PR+
or PR- to select the preset station num-
ber you want to store in.
4. Press ENTER button to confirm, and the
selected frequency will be saved.
Note: you can stored up to 30 preset sta-
tions .
How to delete a preset station
1. Press PR+ or PR- to choose
among preset stations in radio mode.
2. Choose the preset station you want to
delete, then press SHUFFLE•PRESET but-
ton, “PRESET” will blink on display.
3. Press STOP button to delete the station.
4. Or you can select “Reset Preset” in radio
mode menu, then press PLAY button to
reset all preset stations.
1DBBS
EQ
PLAYLISTARTIST ALBUMGENRE YEAR
1.Repeat entire disc
2. Repeat current track
3. Shuffle tracks play
4. Program mode
5. Shows when the keys lock func-
tion is enabled.
6. Shows battery level
7. DBBS ON
8. SmartTrax mode
9. Folder icon.
10. Repeat folder
11. Shuffle folder
12. Shuffle folder repeatedly
13. Shuffle disc repeatedly
14. Shows when playing Artist cat-
egory.
15. Shows when playing Genre
category.
16. Shows when playing Album
category.
17. Shows when playing Year cat-
egory.
DBBS
PLAYLIST
Listening to a Compact Disc
1. Slide the OPEN switch to the right to
open the door. Insert a disc and press
lightly on the centre to lock. Close the
door.
2. Press PLAY/PAUSE button, then the
total number of tracks and time of the
CD will be displayed on the display.
3. Press PLAY/PAUSE to start CD play-
back.
4. You can skip to next track by pressing
the or button.
Track Search
1. When a CD is inserted, press or
to select a track .
2. During playback, press and hold
or to search forward and backward.
ARTIST
GENRE
ALBUM
YEAR
CD player
1
RP2478 EN 3/20/03 5:01 PM Page 8

6
EN
5
EN
Playing mp3/ WMA files
File navigation
When the disc TOC and the file system
are read, the system enters either PLAY
or STOP mode, depending on the
Autoplay setting in the SETUP menu.
During playback, the song details are
displayed on the screen.
In playing mode
• Press or once to skip to the
previous/next track; or keep pressing to
search backward/forward.
In stop mode
• Press or to select song / file.
• If the cursor points to a file, press
to play.
• If the cursor points to a folder, press
to play the first song in that folder.
Within menu mode
• Press to enter the next/inner
layer; or press to enter the previ-
ous/upper layer.
• Press for up navigation, or press
for down navigation.
Playlist
This function lets you listen to the tracks
you selected in the order you want.
1. Press MENU•HOLD button to select
"PLAYLIST" in the STOP mode. If one or
more songs have been added to the
playlist, the Playlist mode will be auto-
matically switched on.
2. To disable / enable playlist, press
MENU•HOLD button in STOP mode to
select "PLAYLIST", then select “Disable
/Enable”.
3. Press to select “Set Playlist? On
(Play key), Off (stop key)”.
4. Press PLAY or STOP button to confirm
selection.
Note: The playlist will not be erased if
user returns to normal mode, user can
re-enter the Playlist mode with the same
playlist as they desire.
Adding songs to a playlist
1. In the PLAYLIST menu, select “ADD
SONG” by pressing ENTER button.
2. You can select either a file or folder in
mp3 mode (songs only in CD mode).
Press or to go in or out a folder,
and or to select song / file.
3. Press ENTER button to confirm selec-
tion.
4. Press MENU•HOLD button to exit the
"PLAYLIST" menu or the unit will exit
menu automatically after a few seconds.
Playing mp3/ WMA files
Display Options
When a mp3 audio disc is read, the title
of the folder or the song name in the
home directory will show on the display.
“ ” will indicate the title is a folder.
“ “ will indicate the title is a file.
Folder – files are placed into their appro-
priate folder.
File – all files on the mp3 disc will be
arranged alphabetically.
Back to
previous
menu
Go to
next menu
Back to
previous page
Go to
next page
00:00
Title Name
Artist Name
Album/ Genre/ Year
Album/ Genre/ Year/
(Scrolling)
elapsed time
Folder mode / SmartTrax
mode display
Navigation keys
CD-R
CD-RW
Commercial
CD
CDDA
Audio
mp3 (32-
320 kbps
&VBR)
WMA
(64-192
kbps)
Mixed
mode
format Compressed Uncom-
pressed
Closed
Disc
Open
Disc
Direct CD Multi-sessions
Audio Tracks Only
Audio Tracks Only
Audio Tracks Only
X
X
N/A
N/A N/A N/A
Remarks: XN/A
Supported un-supported no such option
PR
CD Extra
format
RP2478 EN 3/20/03 5:02 PM Page 10

7
EN EN
8
Playing mp3/ WMA files with SmartTrax
Smart Resume Plus
The unit is equipped with Smart resume
plus features, if the newly inserted CD is
considered as the same as the former
one, the Smart Resume Plus feature will
automatically activate. The last playback
song and playmode will be restored.
NOTE: When reading a SmartTrax disc
which is different from the former one,
the unit will automatically enter the
Artist Category.
SmartTrax is a music management system
that allows for the organization of mp3
or WMA files into 7 standardized cate-
gories. The categories include My
Selection, Artist, Title, Genre, Album,
Year and CD Playlist.
This systematic arrangement makes the
navigation easier and faster as songs are
placed into categories (e.g. Artists,
Album, Genre, etc.)
To enjoy SmartTrax navigation experi-
ence, please make sure your mp3 disc is
burnt with SmartTrax feature switched
ON. You can still go back to folder mode
navigation by choosing “Browse mode”
and select “folder mode” option in the
menu, you may access the menu by press-
ing MENU•HOLD button.
Track 1
Track 2
Folder 1
Press to move
down the list
Press NEXT
to enter Folder 1
Press NEXT
to enter Folder 1.1
Press PLAY/PAUSE
to begin playback
Press PREV.
go back to the
previous Folder 1.1
Press PREV.
go back to the
previous Folder 1
Press PLAY/PAUSE
to begin playback
Press to move
down the list
00:01
Title
Artist
Album
Track 1
Track 2
Folder 1
Folder 1.1
Folder 2.1
Folder 3.1
Tra ck 1.1
Tra ck 2.1.1
Folder 1.1.1
.1
Folder 1.1
Folder 2.1
Folder 3.1
00:01
Title
Artist
Album
Navigation chart (Folder mode)
Playing mp3/ WMA files with SmartTrax
My Selection
Artist
Title
Artist1
Artist2
Artist3
Artist1 Song1
Artist1 Song2
Artist1 Song3
SMART TRAX
HOME DIRECTORY
ARTIST
Title1
Title2
Title3
Genre1
Genre2
Genre3
Album1
Album2
Album3
My Selection
Artist
Title
Genre
Album
Year
Genre1 Song1
Genre1 Song2
Genre1 Song3
Album1 Song1
Album1 Song2
Album1 Song3
ALBUM
1999
2000
2001
Song1
Song2
Song3
ARTIST
---------------------------
Default
Artist-Album-T
Artist-song
Song1
Song2
Song3
CD Playlist
Clear Selection
ALBUM
YEAR YEAR
PLAYLIST PLAYLIST
GENRE GENRE
Genre
Album
Year
Genre
Album
Year
Navigation chart (SmartTrax mode)
RP2478 EN 3/20/03 5:02 PM Page 12

EN EN
910
Playing mp3/ WMA files with SmartTrax
My Selection (In stop mode)
Selected categories and tracks can be
bookmarked and placed into My
Selection. The selected categories / tracks
will be marked as below:
1. Enter SmartTrax mode if the unit is cur-
rently in folder mode.
NOTE: The unit must be in SmartTrax
mode in order to select tracks to be
placed in My Selection.
2. Press or to select the category
to enter.
3. Press or to enter / exit cate-
gory.
4. Once you have entered one of the
home directory categories, press ENTER
to select the category or individual title
to place into My Selection.
View My Selection
1. Press or to scroll the home
directory to select the My Selection.
2. Press or to enter category.
Clear My Selection
1. Press or to scroll the home direc-
tory to select the Clear Selection.
2. Press to enter category.
3. Follow the instructions to clear My
Selection.
Album1
Album2
Album3
ALBUM
Not selected
Selected
Partially selected
Playlist
Erasing songs / folders / playlist
To erase the whole playlist:
1. Press MENU•HOLD button to select
"ERASE..." in the Playlist menu.
2. Select “ERASE ALL”.
3. Press to select “Set Playlist? On
(Play key), Off (stop key)”.
4. Press PLAY or STOP button to con-
firm selection.
5. After erasing all items in the playlist,
the unit will automatically reset to
Normal mode.
Note: Normal, Intro, Repeat Disc,
Repeat Folder, Repeat Track, Shuffle
Disc, Shuffle Folder, Shuffle folder
repeatedly, Shuffle disc repeatedly
modes are mutually exclusive, selecting
one mode will automatically cancel the
other mode.
If playlist is enabled for mp3 disc, the
repeat folder and shuffle folder are not
available.
To erase songs / folders:
1. Press ENTER button to select
“ERASE...” in the PLAYLIST menu.
2. Select “ERASE SONG”.
3. You can select either a file or folder in
mp3 mode (songs only in CD mode).
Press or to select folder / file.
4.Press ENTER button to confirm selec-
tion.
5. Press MENU•HOLD button to exit the
"Playlist" menu.
To disable / enable playlist:
After you create a playlist, you can dis-
able or enable it in stop mode.
1. Press MENU•HOLD button to select
“Playlst”.
2. Press to select “Disable / Enable”.
3. Press to select “Set Playlist? On
(Play key), Off (stop key)”.
4. Press PLAY or STOP button to con-
firm selection.
To view playlist:
After you create a playlist, you can view
it in stop mode.
1. Press MENU•HOLD button to select
“view list” in the PLAYLIST menu. And
use and buttons to view.
2. Press MENU•HOLD button to exit the
menu.
Note: The maximum number of items
(not nessessarily be the same as the
total number of files / songs) in the
playlist is 30. When the playlist is full, a
warning message will be displayed.
You cannot access the playlist menu
during playback.
RP2478 EN 3/20/03 5:02 PM Page 14

11
EN EN
12
Playmode
Repeat and Shuffle Playback
in Folder mode
You can replay the entire CD or one
track as many times as you wish as well
as listen to the beginning of each track
for 10 seconds.
Within play mode, press MENU•HOLD
to enter playback menu, select Play
mode, then use the directions key to
select among:
• Normal playback.
• Play the beginning of each files for 10
seconds. (INTRO)
• Repeat the current track.
• Repeat the current directory. (mp3
disc only)
• Repeat the entire CD
• Randomly play files in the current
directory. (mp3 disc only)
• Randomly play all files.
• Randomly play all files in the current
folder repeatedly. (mp3 disc only)
• Randomly play all files repeatedly.
Repeat and Shuffle Playback
in SmartTrax mode
You will have different choice when
playing a mp3 disc with SmartTrax.
In play mode, press MENU•HOLD to
enter playback menu, select Play mode,
then use the directions key to select
among:
• Normal playback.
• Play the beginning of each files for 10
seconds. (INTRO)
• Smart Repeat - repeat files in the
selected category.
• Smart shuffle - randomly play files in
the selected category.
• Repeat the current file.
• Smart shuffle repeat - play random
files in the selected category repeatedly.
Note: During INTRO mode, you can
press STOP key to stop, or press PLAY
key to play the current track. And
INTRO mode will automatically can-
celled when all songs are played.
Smart repeat and Smart shuf-
fle in SmartTrax mode
Smart repeat and smart shuffle are the
newly invented way, which are cursor
position dependent, of repeating and
shuffling songs in SmartTrax mode.
For smart shuffle, for example, if the
cursor is at the middle level where all
the artists are listed, then an artist is
picked at random and his/her songs will
be played randomly before picking
another artist randomly.
For smart repeat, for example, if the
cursor is at the bottom level where the
first song in the POP category, then all
the songs in this category will be played
repeatedly, starting from the first song.
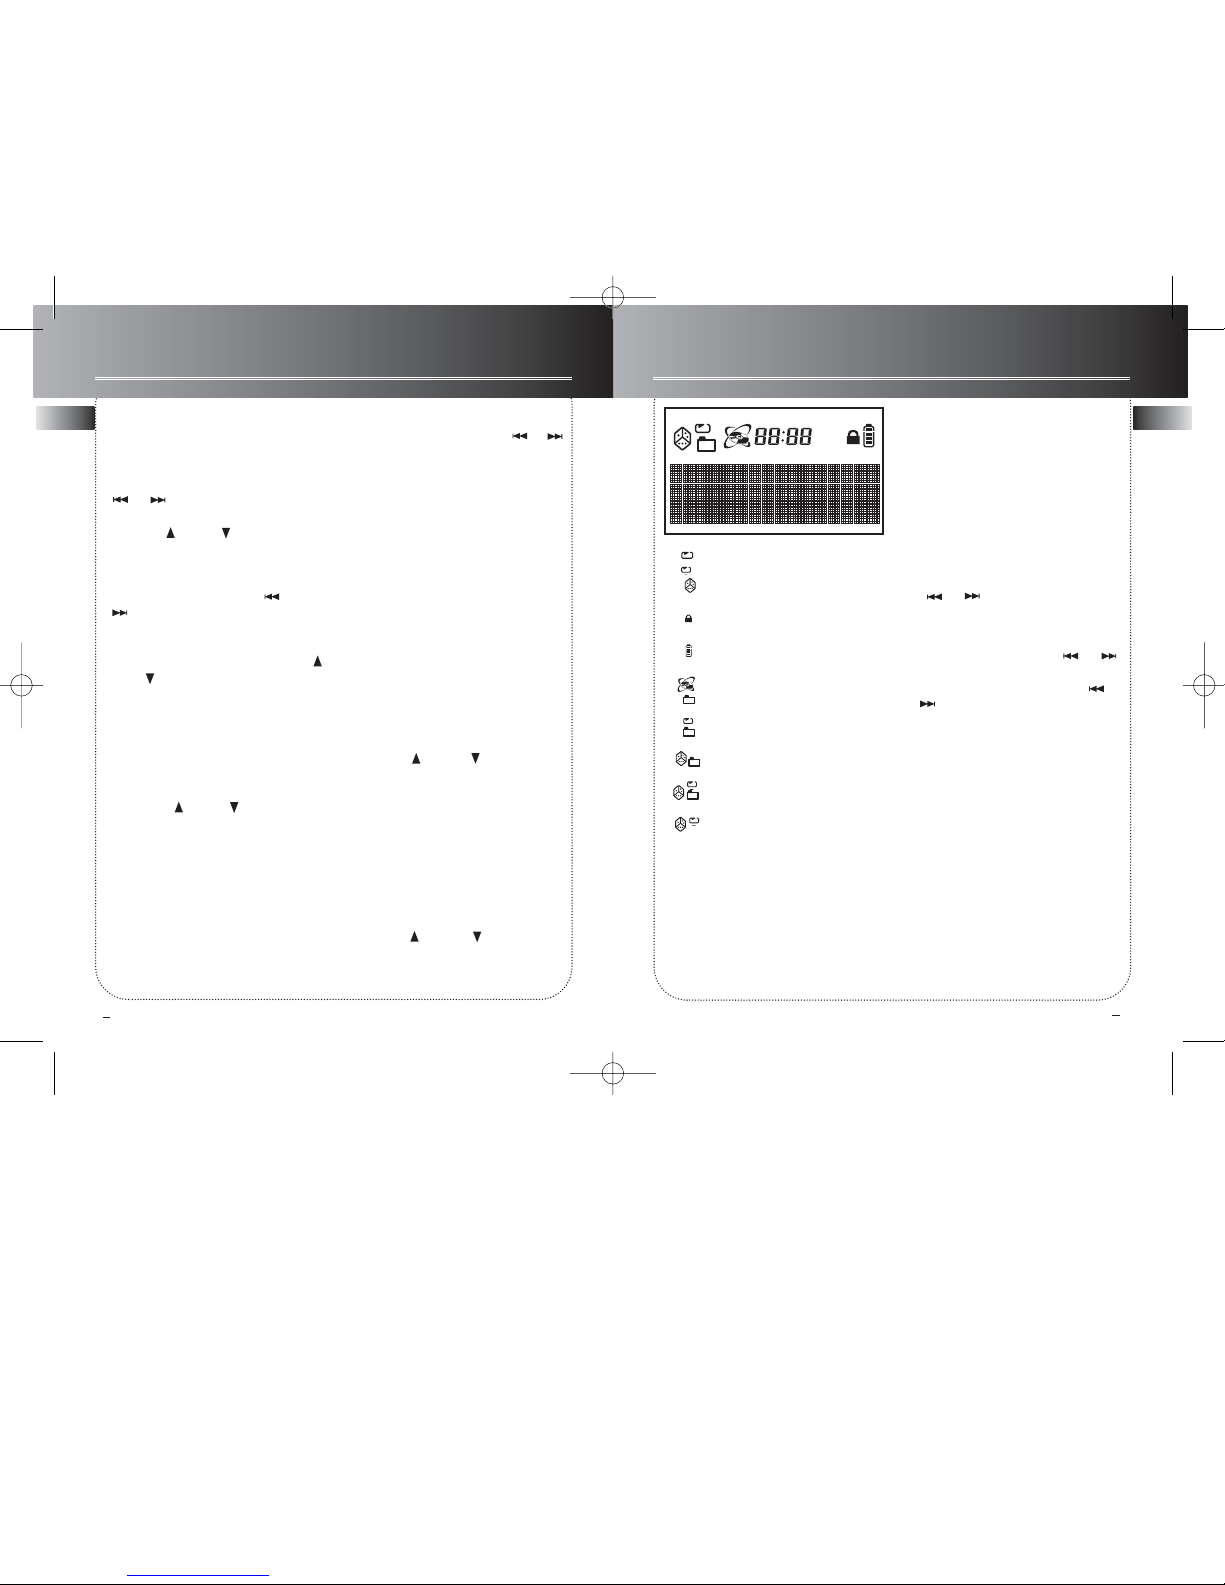
Keys lock
To Lock: Press and hold the
MENU•HOLD
button for 2 seconds, the "LOCK" icon
appears and the words "Keys Locked"
will show on display.
To Unlock: Press
MENU•HOLD
button
once, then press the ENTER button with-
in 3 seconds.
Other functions
You can turn on / off autoplay, beep
sound, and select the browse mode.
To turn on / off the autoplay:
1. Press
MENU•HOLD
button.
2.
Use the DIRECTIONS KEY to select
Setup, and press ENTER to confirm.
3. Select “
Auto play”.
4. Select ON / OFF.
5. Press ENTER button to confirm selec-
tion.
To turn on / off the beep:
1. Press
MENU•HOLD
button.
2.
Use the DIRECTIONS KEY to select
Setup, and press ENTER to confirm.
3. Select “Beep”
.
4. Select ON / OFF.
5. Press ENTER button to confirm selec-
tion.
To select the browse mode:
1. Press
MENU•HOLD
button.
2.
Use the DIRECTIONS KEY to select
Setup, and press ENTER to confirm.
3. Select “
Browse mode”.
4. Select SmartTrax mode / Folder mode.
5. Press ENTER button to confirm selec-
tion.
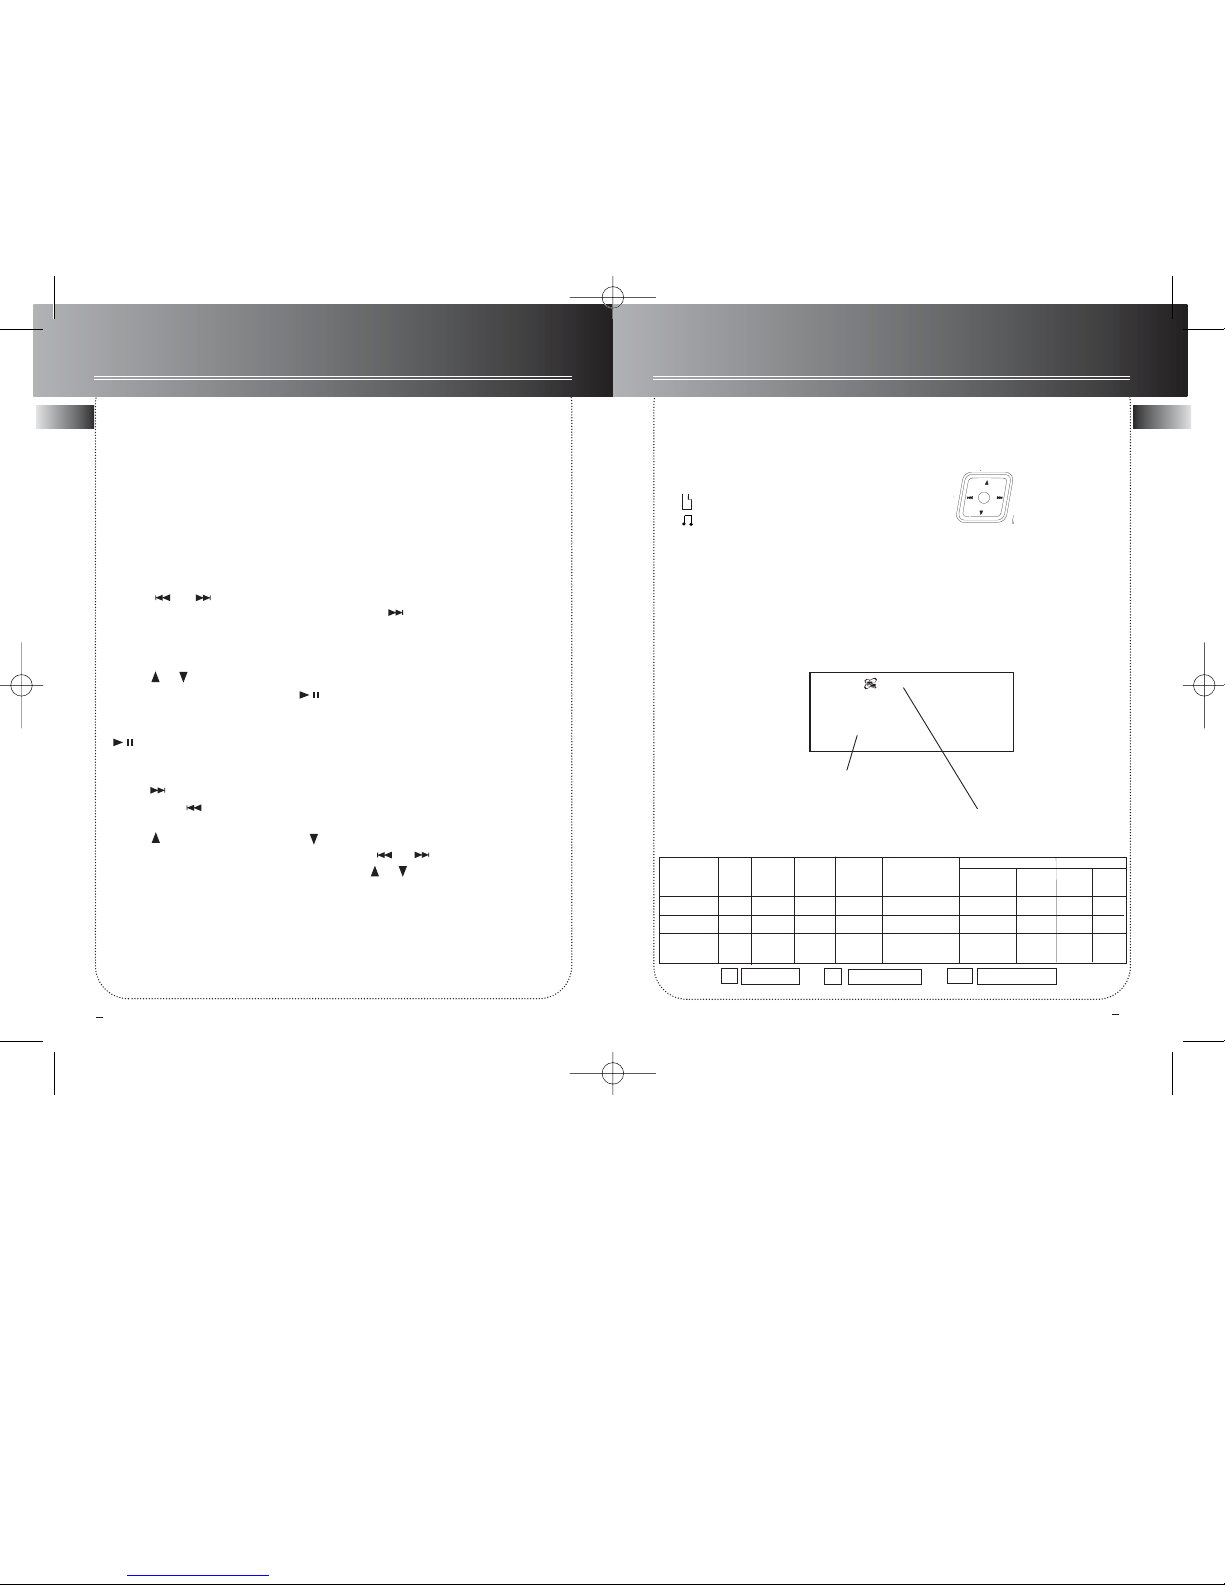
ESP Extreme (audio CD only)
The unit is equipped with ESP-extreme,
which prevents sound interruptions
when impacts or vibrations occur. You
can disable / enable this function with
the following steps:
1. In CD mode, press MENU•HOLD but-
ton.
2. Use the DIRECTIONS KEY to select
Setup, and press ENTER to confirm.
3. Select “
ESP”.
4. Select ON / OFF.
5. Press ENTER button to confirm selec-
tion.
Other functions
RP2478 EN 3/20/03 5:02 PM Page 16

EN
13 14
EN
Music management soft-
ware - MusicMatchTM
Jukebox
Upon
unpacking
the unit, you
should find
the music
manage-
ment soft-
ware -
MusicMatch Jukebox enclosed. Insert the
software disc into your computer and
click on “MusicMatch User’s Guide” if
you need assistance on installation of the
software and creating mp3 discs for your
enjoyment with this unit.
You need the latest MMJB Software to
enjoy all the features.
To check which version of MusicMatch
Jukebox you are currently using:
1. Click on Help to access help menu.
2. Select About MUSICMATCH Jukebox.
The software version number can be
seen on the top left corner of the infor-
mation window.
Update MusicMatch Jukebox
Once you have installed the MusicMatch
Jukebox software included with your
unit, follow the steps below to update
your software version.
1. Select Update Software from the
Options menu.
2. Select Update Software to Latest
Release.
3. Click Continue.
It will automatically download and install
the latest MusicMatch Jukebox software.
Close the window that asks you to Get
your Plus Upgrade Key Now.
MusicMatch Jukebox
Creating a CD
After placing tracks in the playlist, click
Burn on the top menu bar.
(Included with the package is a trial ver-
sion of MusicMatch burner Plus. After
the trial burns are used up, you can still
burn CDs, but at a slower rate and with-
out some features. You can upgrade to
MusicMatch Plus to get faster burning
and additional features.)
Troubleshooting
Problem
Can not burn SmartTrax CD in
MusicMatch Jukebox
Solution
You may have exceeded the number of
burns. Upgrade to MusicMatch Jukebox
Plus to get unlimited burns.
Check that MusicMatch Jukebox set-
tings are correct.
1. Click the BURN button from the
Main window to display Burn window.
2. Click the mp3 button on the top of
the Burn window to change to mp3
audio disc.
This unit is compati-
ble with CD-RW/ CD-
Rdiscs for playback.
Notes on CD-R/RW Disc:
• Do not affix any type of labels to
either side (recordable or labeled side)
of a CD-R/RW disc as this may result in
the unit malfunctioning.
• To avoid damages to the CD-R/RW
disc, do not open the disc compart-
ment door while the disc is being read.
• Do not load an unrecorded CD-R/RW
disc into the unit. This may take a
longer time to read the disc.
• Playback capability for CD-RW
discs may vary due to variations in
the quality of the CD-RW disc and
the recorder used to create the
disc.
CD-R / RW
MusicMatch Jukebox
RP2478 EN 3/20/03 5:02 PM Page 18

16
EN
15
EN
3. Select Options from Options menu in
the Burn window.
4. Select Settings to display Burn set-
tings.
5. Click on the General folder.
Make sure “mp3 disc” is selected under
Disc type at Startup.
6. Click on the mp3 folder.
Make sure Add MultiAudio Tracklist
(MAU) box is checked.
7. Click OK when finished.
MusicMatch Jukebox Troubleshooting
Troubleshooting Tips
No power, does not work?
• Batteries may be inserted incorrectly.
• Batteries may be empty. Recharge
(only Ni-Cd/Ni-MH battery) or replace
new batteries.
• Connection may be loose if using
AC/DC transformer.
Disc cannot be played?
• Disc may not be inserted correctly with
label side facing upward.
• CD-RW (or CD-R) disc may not be
recorded properly.
Skipping tracks or bad sound quality?
• Disc may be dirty or scratched badly.
• Disc lens may be dirty and need clean-
ing.
• There may be strong magnetic fields
(e.g. too close to TV) near the unit.
Cannot play mp3 disc?
• Clean the disc.
• Make sure files are saved under .mp3
extension. e.g. Rocky08.mp3
• Check that the recorded bit rate is with-
in 32kbps and 320kbps.
• Only audio CD track will be played in
mixed mode disc.
Cannot play WMA songs?
• Check that the WMA bit rate is within
64 kbps and 192 kbps and sampling rate
is within 44 kHz and 48kHz.
• DRM not supported.
The display shows strange characters?
• Check that file names are created using
the ASCII-ISO 8859-1 (Latin - 1) Table.
RP2478 EN 3/20/03 5:02 PM Page 20

17
EN
EN
More information
Useful advice
• Do not store CDs in damp areas.
• Do not expose CDs to high
temperatures or direct sunlight.
• Do not put any tape or adhesives on
either side of the disc.
• You should avoid leaving the CD
door open. Dust is liable to impair
performance of the laser optical unit.
• Do not use your set immediately
after transport from a cold place to a
warm place : there may be
condensation problems.
• Do not touch the playing surface.
Make sure that you keep your set
away from water and high
temperatures.
• If you do not use your set on battery
power for more than one month, we
advise you to take out all the
batteries.
• To prevent personal injury, do not
reverse any battery and do not mix
battery types.
• Discard leaking batteries immediately.
Leaking batteries can cause skin burns
or other personal injury.
• Prolonged use of the CD player at full
volume can damage the user’s ear.
• The apparatus shall not be exposed to
dripping and splashing.
Maintenance
Clean the player with a soft cloth, or a
damp chamois leather. Never use
solvents.
Don’t Infringe
This product should only be used for the
purposes for which it is sold, that is,
entertainment, violating no copyright
law. Any attempt to use this product for
which it is not intended is unlawful and
therefore not condoned by Thomson.
Please respect the environ-
ment!
Before throwing any batteries away,
consult your distributor who may be
able to take them back for specific recy-
cling.
Technical specifications:
* Frequency response: 20Hz to 20kHz
Power Supply
• 4.5V DC (through AC/DC adapter)
• 2 AA batteries
U.S. Limited Warranty
What your warranty covers:
•Defects in materials or workmanship.
For how long after your purchase:
•One year from date of purchase.
The warranty period for rental units begins with the first rental or 45 days from date of shipment to
the rental firm, whichever comes first.
What we will do:
•Provide you with a new, or at our option, a refurbished unit. The exchange unit is under warranty
for the remainder of the original product’s warranty period.
•Proof of purchase in the form of a bill of sale or receipted invoice which is evidence that the prod-
uct is within the warranty period must be presented to obtain warranty service. For rental firms,
proof of first rental is also required.
How to make a warranty claim:
•Properly pack your unit. Include any cables, etc., which were originally provided with the product.
We recommend using the original carton and packing materials.
•Include evidence of purchase date such as the bill of sale. Also print your name and address and a
description of the defect. Send via standard UPS or its equivalent to:
Thomson Inc.
Product Exchange Center
11721 B Alameda Avenue
Socorro, Texas 79927
•Insure your shipment for of loss or damage. Thomson accepts no liability in case of damage or loss
en route to Thomson.
•Pay any charges billed to you by the Exchange Center for service not covered by the warranty.
•A new or refurbished unit will be shipped to you freight prepaid.
What your warranty does not cover:
•Customer instruction. (Your Owner’s Manual provides information regarding operating
Instructions and user controls. For additional information, ask your dealer.)
•Installation and set-up service adjustments.
•Batteries.
•Damage from misuse or neglect.
•Products which have been modified or incorporated into other products.
•Products purchased or serviced outside the USA.
•Acts of nature, such as but not limited to lightning damage.
RP2478 EN 3/20/03 5:02 PM Page 22

EN
EN
U.S. Limited Warranty
Product Registration:
• Please complete and mail the Product registration Card packed with your unit. It will make it easi-
er to contact you should it ever be necessary. The return of the card is not required for warranty
coverage.
Limitation of Warranty:
•THE WARRANTY STATED ABOVE IS THE ONLY WARRANTY APPLICABLE TO THIS PRODUCT.
ALL OTHER WARRANTIES, EXPRESS OR IMPLIED (INCLUDING ALL IMPLIED WARRANTIES OF
MERCHANTABILITY OR FITNESS FOR A PARTICULAR PURPOSE) ARE HEREBY DISCLAIMED. NO
VERBAL OR WRITTEN INFORMATION GIVEN BY THOMSON INC., ITS AGENTS OR EMPLOYEES
SHALL CREATE A GUARANTY OR IN ANY WAY INCREASE THE SCOPE OF THIS WARRANTY.
•REPAIR OR REPLACEMENT AS PROVIDED UNDER THIS WARRANTY IS THE EXCLUSIVE REM-
EDY OF THE CONSUMER. THOMSON INC. SHALL NOT BE LIABLE FOR INCIDENTAL OR CONSE-
QUENTIAL DAMAGES RESULTING FROM THE USE OF THIS PRODUCT OR ARISING OUT OF ANY
BREACH OF ANY EXPRESS OR IMPLIED WARRANTY ON THIS PRODUCT. THIS DISCLAIMER OF
WARRANTIES AND LIMITED WARRANTY ARE GOVERNED BY THE LAWS OF THE STATE OF
INDIANA. EXCEPT TO THE EXTENT PROHIBITED BY APPLICABLE LAW, ANY IMPLIED WAR-
RANTY OF MERCHANTABILITY OR FITNESS FOR A PARTICULAR PURPOSE ON THIS PRODUCT IS
LIMITED TO THE APPLICABLE WARRANTY PERIOD SET FORTH ABOVE.
How state law relates to this warranty:
•Some states do not allow the exclusion nor limitation of incidental or consequential damages, or
limitations on how long an implied warranty lasts, so the above limitations or exclusions may not
apply to you.
•This warranty gives you specific legal rights, and you also may have other rights that vary from
state to state.
If you purchased your product outside the USA:
•This warranty does not apply. Contact your dealer for warranty information.
Thomson multimedia Ltd. warrants to the purchaser or gift recipient that if any manufacturing
defect becomes apparent in this product within 1 year from the original date of purchase, it will be
replaced free of charge, including return transportation.
This warranty does not include damage to the product resulting from accidents, misuse or leaking
batteries.
Should your product not perform properly during the warranty period, either:
1. Return it to the selling dealer with proof of purchase for replacement,
OR
2. Remove the batteries (where applicable), and pack product complete with accessories in the origi-
nal carton (or equivalent). Mail prepaid (with proof of purchase) and insured to:
Thomson multimedia Ltd.
6200 Edwards Blvd.,
Mississauga, Ontario,
L5T 2V7
Canada
The provisions of this written warranty are in addition to and not a modification of or subtraction
from the statutory warranties and other rights and remedies contained in any applicable legislation,
and to the extent that any such provisions purport to disclaim, exclude or limit any such statutory
warranties and other rights and remedies, such provisions shall be deemed to be amended to the
extent necessary to comply therewith.
If you are unable to find a qualified servicer for out of warranty service, you may write to:
Thomson Inc.
P. O. Box 0944
Indianapolis, Indiana, U.S.A., 46206-0944
Attach your sales receipt to this booklet for future reference. This information is required if service is
needed during the warranty period.
PURCHASE DATE
NAME OF STORE
Canadian Warranty
RP2478 EN 3/20/03 5:02 PM Page 24
Table of contents
Other RCA CD Player manuals

RCA
RCA RP2915 User manual

RCA
RCA RCD3379 User manual

RCA
RCA RP2710 User manual

RCA
RCA RCD179 User manual

RCA
RCA Ri171 User manual

RCA
RCA RCD175 - Portable Cd Player User manual

RCA
RCA RCD3379 - Portable CD Player Boom Box User manual

RCA
RCA RP-2215 User manual

RCA
RCA TV/Radio/CD Player User manual

RCA
RCA RP2730 User manual