manuals.online logo
Brands
  1. Home
  2. •
  3. Brands
  4. •
  5. RCA
  6. •
  7. Stereo Receiver
  8. •
  9. RCA RT2760 User manual

RCA RT2760 User manual

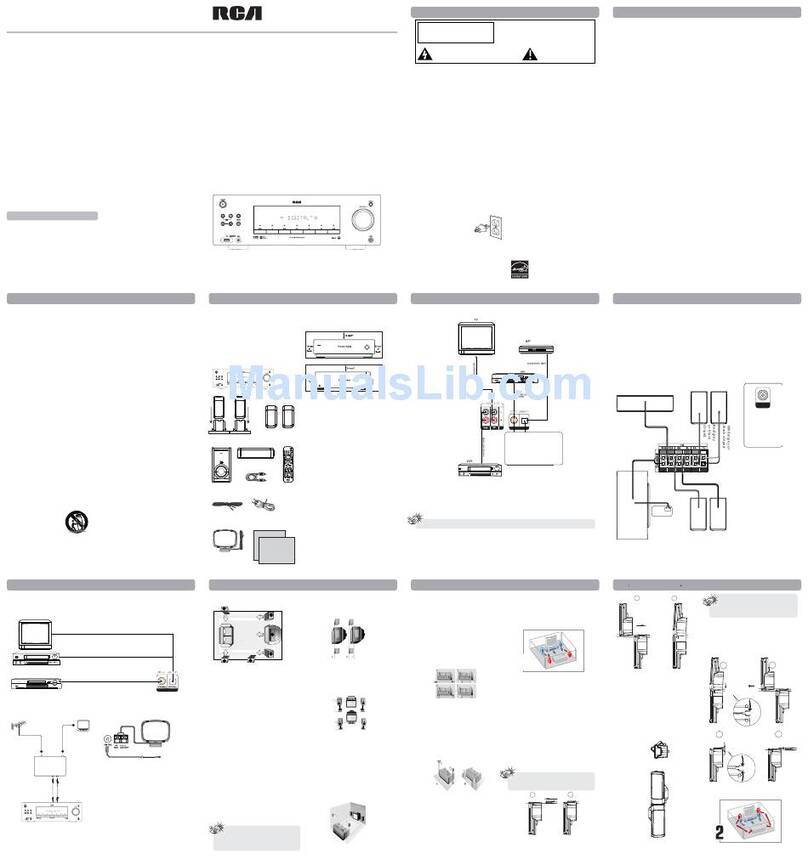
Quick Start Guide
RT2760
1. ON/STANDBY
Turns the unit on and off. When the
system is turned on, the unit will go to the
mode it was in before powered off.
2. Play/Pause
Starts and pauses playback in USB mode.
3. Stop
Stops playback in USB mode.
4. PRESET Buttons (PREV/NEXT)
Selects preset stations in AM/FM mode. Directly accesses the
previous or next track in USB mode.
5. SURROUND Buttons
Select digital sound processor. (DOLBY PL II MOVIE, STEREO,
DISCO, STADIUM, THEATER, JAZZ CLUB, ARENA, 3 STEREO,
DOLBY PL EMULATION, DOLBY PL II MUSIC)
6. USB Slot
Connects USB devices.
Using the Remote Control
1. ON•OFF
Turns the receiver on and off.
2. Number Buttons
Directly accesses a preset station in AM/FM mode.
3. MEMORY
Stores station in AM/FM mode.
4. MONO/ST
Selects between Stereo and Mono sound in FM mode.
5. TEST TONE
Speaker Test tone setting. Refer to “Advanced Sound Control” for details.
6. NIGHT
Selects among Night mode options (DRC OFF, SOFT and ON) which compresses the volume difference
between normal voices and sounds such as explosions. (Available only during Dolby digital signal
playback)
7. EQ
Selects among preset Equalizer mode. (only available in stereo mode)
8. SURROUND
Selects digital sound processor. (DOLBY PL II MOVIE, STEREO, DISCO, STADIUM, THEATER, JAZZ CLUB,
ARENA, 3 STEREO, DOLBY PL EMULATION, DOLBY PL II MUSIC)
9. SETUP
Enters Setup mode. Use the Left and Right adjustment buttons to select among setup options.
(DIMMER, CENTER SPK ON/OFF, SURROUND SPK ON/OFF, FRONT SURROUND ON/OFF, DIGITAL INPUT).
10. DISTANCE
Adjusts the speakers’ distance.
11. Adjustment Buttons
• Press the Left or Right buttons to select among setting items in setup mode: DIMMER, SPEAKER
DISTANCE, SPEAKER SETUP, FRONT SURROUND ON/OFF and audio input source (OPTICAL / COAXIAL).
• Press the Up or Down buttons to adjust the values when the display shows the setup you want to
change.
In AM/FM mode:
• Press the TUNER - and TUNER + keys to tune down or up the radio frequency.
12. MUTE
Mutes all audio output.
13. SUBWOOFER
Selects among subwoofer sound level. (SOFT SUBWOOFER, BALANCE SUBWOOFER, STRONG
SUBWOOFER, POWERFUL SUBWOOFER)
14. LEVEL
Speaker LEVEL setting. Refer to “Advanced Sound Control” for details.
15. VOL + / VOL - (Volume Buttons)
Adjusts the volume level.
16. CH+ / CH- (PREV/NEXT)
Selects programmed stations in AM/FM mode. Directly accesses the next or previous file in USB
playback mode.
17. Operation Buttons
• PLAY,STOP and PAUSE key are only for control of USB device.
• Press REV or FWD Starts reverse or forward accelerated play in USB mode.
18. DISPLAY
Accesses MP3/WMA ID3 information and current play time, current play Folder, Track number and
Play Mode in USB mode.
19. REPEAT
Accesses the repeat function in USB mode.
20. RANDOM
Turns on/off random playback in USB mode.
21. INTRO
Enters intro mode in USB mode.
22. SLEEP
Enters sleep mode and selects sleep time.
23. Source Buttons
Selects various audio sources.
Thomson Inc.
10330 North Meridian Street
Indianapolis, IN 46290a
©2006 Thomson Inc.
Trademark(s)® Registered
Marca(s) Registrada(s)
Printed in China
TOCOM 5626421A
7. LINE IN
Connects components for audio input.
8. SOURCE Buttons
Select sound source. (DVD/DVR, TV, SAT.CAB, AM/FM, VCR, USB
and LINE-IN)
9. VOLUME
Increases and decreases volume level
10. SUBWOOFER
Selects among subwoofer sound level. (SOFT SUBWOOFER,
BALANCE SUBWOOFER, STRONG SUBWOOFER, POWERFUL
SUBWOOFER)
11. PHONES
Plug your headphones (not supplied) into it for your private
enjoyment. Speakers will be off when phones are inserted.
14
1
5
4
7
10
6
8
11
9
12
13
15
2
3
16
17
18
19
20
22
21
23
RT2760 QSG EN A ver. 15/3/06 11:17 AM Page 1
Connecting the speakers
Six speakers are provided with the unit (2 front, 1 center, 2 rear, 1 subwoofer). To achieve good
surround effects, all six speakers need to be connected to the receiver.
Speaker wires are color-coded to match the terminals.
Note: When connecting subwoofer, connect subwoofer control cable to the unit’s rear panel first,
then press the power switch on the subwoofer speaker to switch it on.
Positioning the speakers
Factory defaulted Advance setting indication from VFD
The receiver has defaulted the following distances:
Front speakers (FRNT) 15 ft
Center speaker (CNTR) 15 ft
Surround speakers (SURR) 10 ft
Speaker Configurations
You can also change the setup of the speakers.
Use a subwoofer to enjoy optimum sound.
• Speaker distance: For optimum surround experience measure the distance
between the speaker and your favorite listening position.
1. Press the SETUP or DISTANCE button to show setup options.
2. Press the Left or Right adjustment
buttons until the speaker you want to change is displayed.
3. Press the Up or Down arrow buttons to change the speaker settings.Your
selection will be stored automatically.
4. Repeat step 2 and 3 to set up the next speaker.
5. When set up is done, wait for 5 seconds to automatically save your settings
or press any key to save your selection and set up mode.
Connecting to Audio Components
COAXIAL OPTICAL
DVD SAT/CAB
R/S
L/S
Rch
Cch
Lch
Front
Left
Rear
Right
Rear
Left
Front
Right
Center
Center Speaker selection (CTR) YES / NO
Surround Speaker selection (SURR) YES / NO
Front Speaker distance (FRNT) 3-40 ft
Centre Speaker distance (CNTR) 0-40 ft
Surround Speaker distance (SURR) 0-40 ft
Note: By default, the Center and Surround Speakers are set to
YES. If you decide not to use them, set the ones you do not
intend to use to NO so the sound performance is not affected.
DIGITAL CONNECTION
If you have a SAT receiver or DVD player with a digital output, you can make use of an optical digital cable (not supplied)
or coaxial digital cable (included) to carry the audio portion of the signal and enjoy Dolby Digital sound quality. One
optical or coaxial cable is needed for each SAT receiver or DVD player. When optical or coaxial cable is used, the analog
audio cables are still needed if recording through a VCR is desired. This receiver provides one optical and one coaxial
digital input for the connection of your components. Please connect your components (e.g. DVD or SAT) to the appropriate
digital inputs and press SETUP to select the corresponding digital input source.
Note: Optical and COAXIAL cables carry only the audio portion of the signal.
RT2760 QSG EN A ver. 15/3/06 11:17 AM Page 2

Other RCA Stereo Receiver manuals

RCA Digital Satellite Receiver User manual

RCA

RCA Digital Satellite Receiver User manual

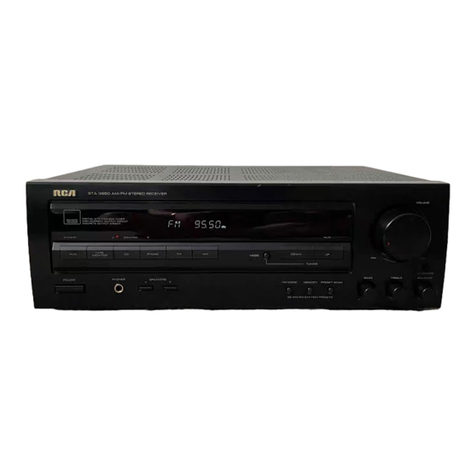
RCA STA-3850 User manual

RCA

RCA STA-3850 User manual

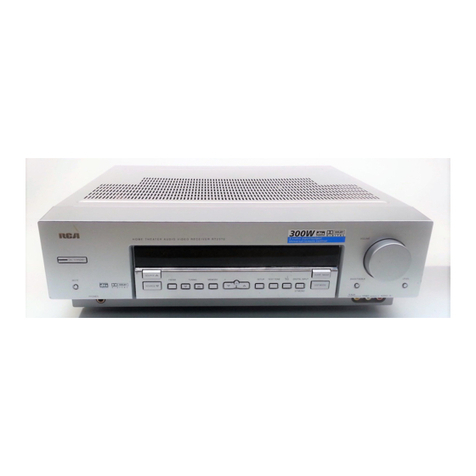
RCA RT2870 User manual

RCA

RCA RT2870 User manual

RCA RT2370 User manual

RCA

RCA RT2370 User manual

RCA RP3753 User manual

RCA

RCA RP3753 User manual

RCA Stereo Receiver with Remote Control User manual

RCA

RCA Stereo Receiver with Remote Control User manual

RCA look 15377550 User manual

RCA

RCA look 15377550 User manual

RCA RT2760 User manual

RCA

RCA RT2760 User manual

Popular Stereo Receiver manuals by other brands

Technics SA-GX690 operating instructions

Technics

Technics SA-GX690 operating instructions

Aiwa NSX-AV240 Simple manual

Aiwa

Aiwa NSX-AV240 Simple manual

Pioneer SX-311R operating instructions

Pioneer

Pioneer SX-311R operating instructions

Insignia NS-R2001 Quick setup guide

Insignia

Insignia NS-R2001 Quick setup guide

Kenwood KR-A3070 instruction manual

Kenwood

Kenwood KR-A3070 instruction manual

JVC JR-S100 Service manual

JVC

JVC JR-S100 Service manual

Yamaha RX-V393RDS owner's manual

Yamaha

Yamaha RX-V393RDS owner's manual

Sony STR-DE225 Service manual

Sony

Sony STR-DE225 Service manual

Pioneer AVH-190DVD Operation manual

Pioneer

Pioneer AVH-190DVD Operation manual

Harman Kardon hk330 Vi instruction manual

Harman Kardon

Harman Kardon hk330 Vi instruction manual

Aiwa CT-R428M Service manual

Aiwa

Aiwa CT-R428M Service manual

Yamaha RX-V590 - AV Receiver - Dark Service manual

Yamaha

Yamaha RX-V590 - AV Receiver - Dark Service manual

Pioneer SX-3500 Service manual

Pioneer

Pioneer SX-3500 Service manual

Sony STR-DE675 - Fm Stereo/fm-am Receiver operating instructions

Sony

Sony STR-DE675 - Fm Stereo/fm-am Receiver operating instructions

Sony STR-DA5300ES - Multi Channel Av Receiver Quick setup guide

Sony

Sony STR-DA5300ES - Multi Channel Av Receiver Quick setup guide

Aiwa CX-NV900 Service manual

Aiwa

Aiwa CX-NV900 Service manual

Aiwa XR-M200 Service manual

Aiwa

Aiwa XR-M200 Service manual

Prospec PRV17 owner's manual

Prospec

Prospec PRV17 owner's manual

manuals.online logo
manuals.online logoBrands
  • About & Mission
  • Contact us
  • Privacy Policy
  • Terms and Conditions

Copyright 2025 Manuals.Online. All Rights Reserved.