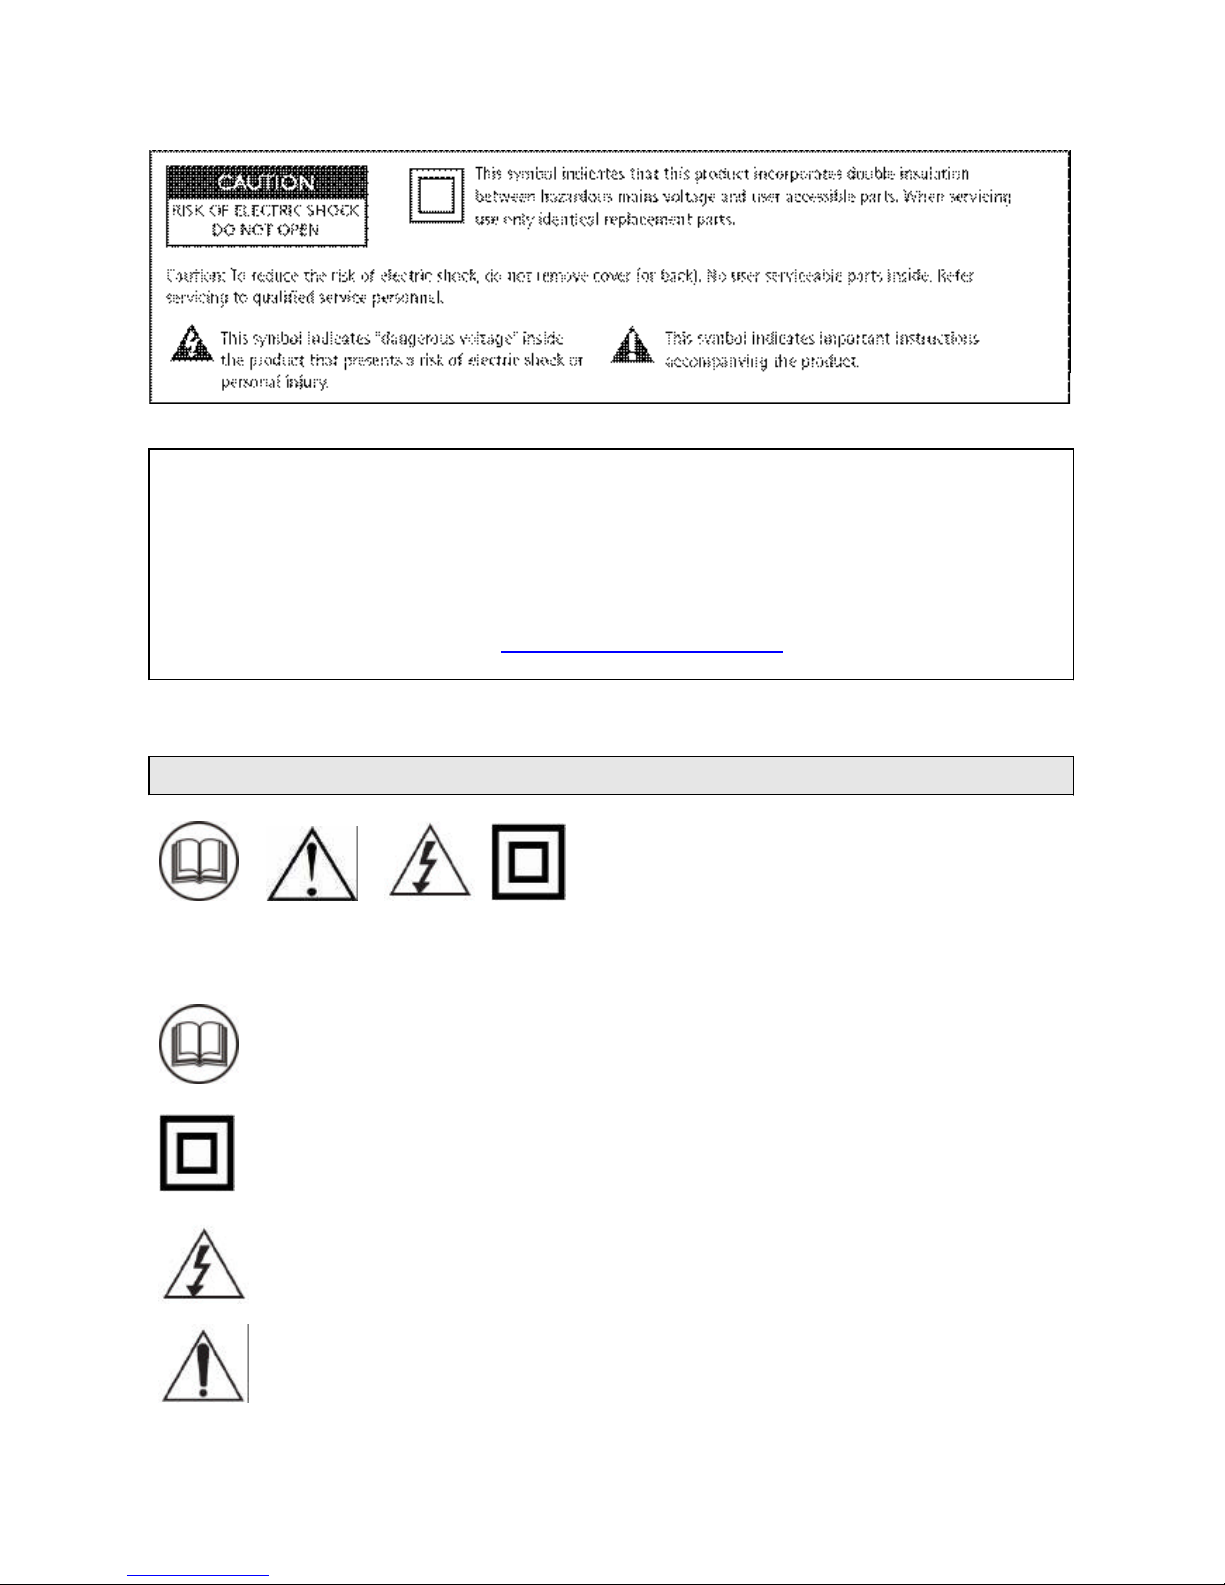
6
17. PICTURE BUTTON
Press repeatedly to select picture mode among
Mild, Normal, Dynamic and PP.
18. PROGRAM UP/DOWN BUTTON
Press to select the previous or next channel
number.
19. VOLUME UP/DOWN BUTTON
Press to increase or decrease the volume of
TV.
Press VOLUME UP/DOWN to enter some
submenus or adjust some controls.
20. MENU BUTTON
Press to display the on-screen menu.
Press repeatedly to exit menu.
21. SOUND EFFECT BUTTON
22. *
*SIZE / ESS / EPS BUTTON
Press to toggle among 3 different series
Under TELETEXT mode: single height
full page, double height top of page and
double height bottom of page.
14. CALENDAR BUTTON
Press to enter or exit Calendar directly.
15. GAME BUTTON
Press to enter or exit Game directly.
16. NUMBER BUTTON
Press to select channel number directly.
Press to enter a letter, a digit or a symbol in
some functions.
Press repeatedly to select sound effect mode
among PP, Music, Speech and Theatre.
To cancel the sleeptimer, press SLEEP button
repeatedly until "OFF" appears.
23. *
HOLD
BUTTON
*
With this toggle command, the hold function
can be switched on or off. When HOLD is
switched on, the message " " will be
displayed on the up-left
corner of the screen
insteadof currentpagenumberor subcode,and
the pagesearchingwill stop.
24. *
UPDATE
BUTTON
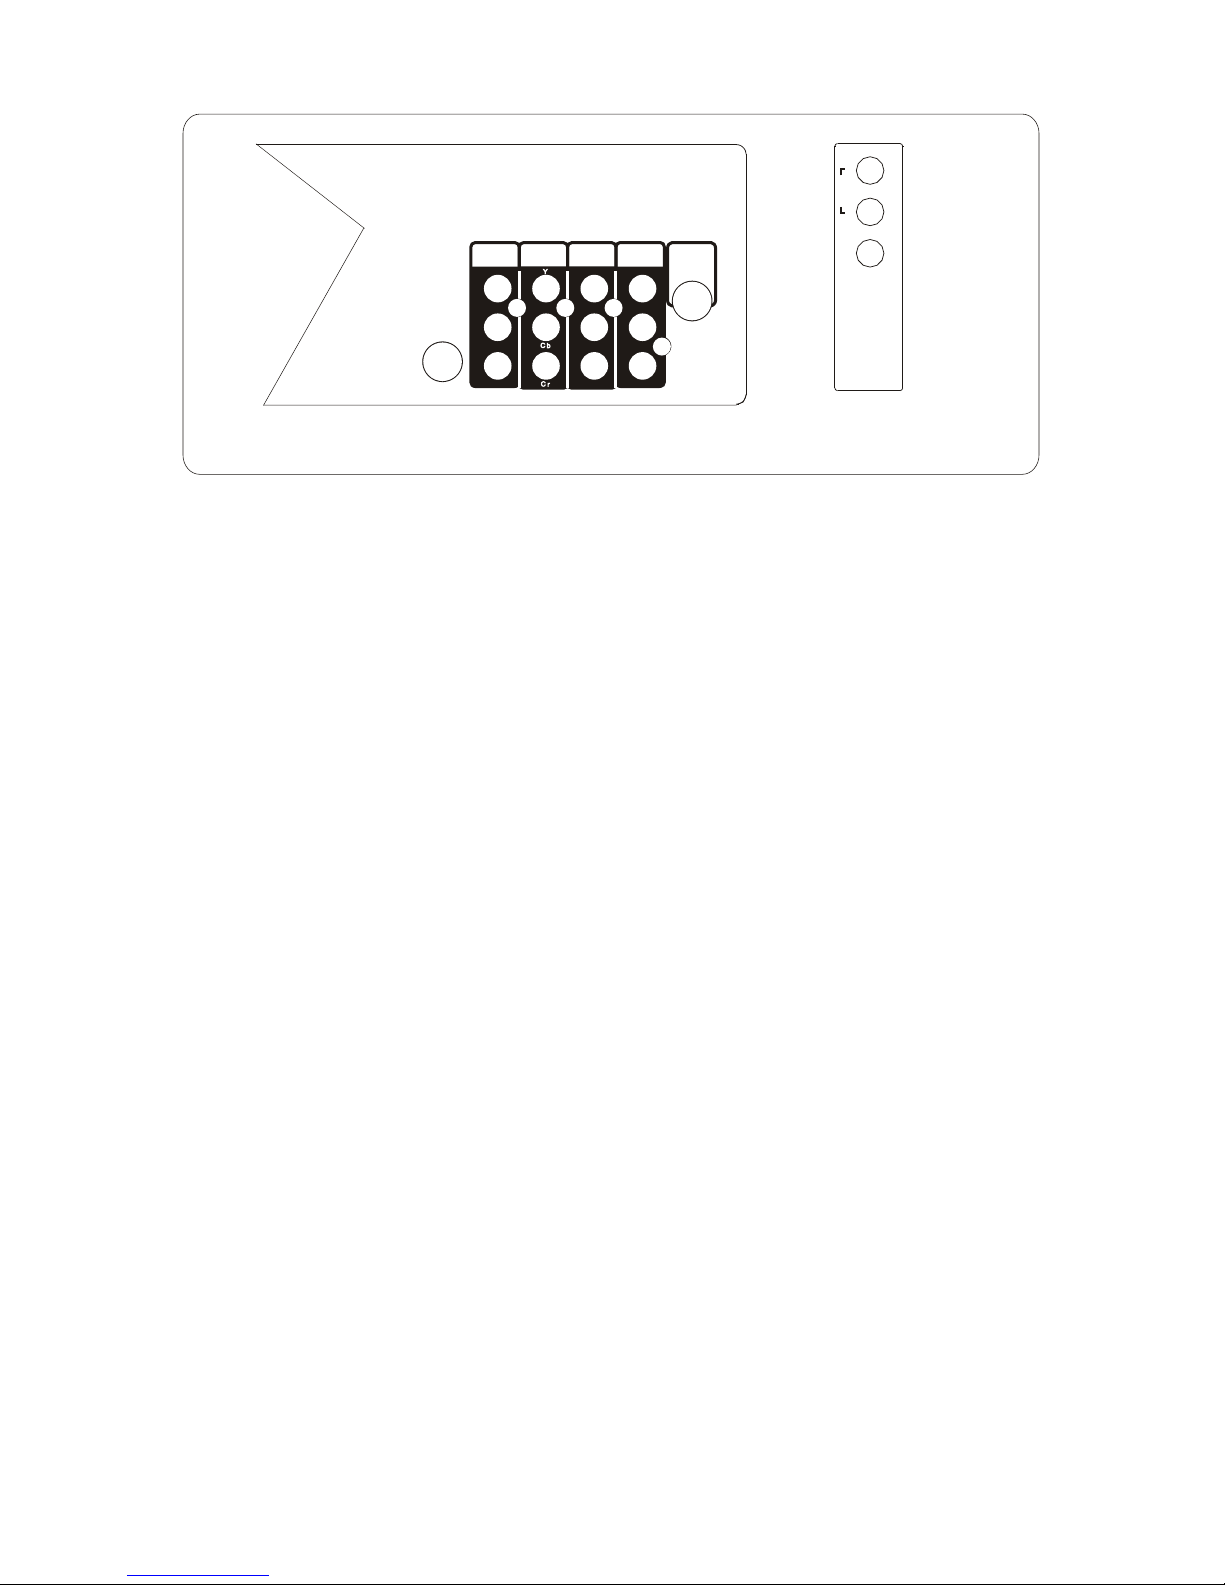
25. DVB BUTTON
Press to turn on or off the DVB (Dynamic
Virtual Bass) function.
26. NICAM BUTTON
To directly change the mode of NICAM, you
can choose MONO, STEREO, DUAL Ior
27. *
MIX
BUTTON
The MIX mode results in a combined display
of TV picture and 10 pages TELETEXT page.
28. *
REVEAL
/
CLOCK
BUTTON
*
This function reveals or conceals the hidden
10 PagesTELETEXT page information.
Most other commands will conceal the
information again.
* In normal TV mode, the TV displays the
currenttime whichis derivedfromTELETEXT
in the upper right corner of the screen.
29. *
SUBPAGE
BUTTON
*
This function toggles the 10 Pages
TELETEXT page between normal PAGE
* If you like to see a certainpagewhichyou
haveknownthe pagenumber,but you don t
wantto spendtime waitingfor it, you can
use UPDATE command,whichwill turn
TELETEXT dispaly to TV picture. Then you
can enterthe pagenumberyou want.
Whenthe pageis found,the pagenumber
will appearin the up-leftcornerof the screen.
PressUPDATE key againyou will get the
pageimmediately.
13. SLEEP BUTTON
To set the sleep timer from 240 to 15 minute
by pressing the SLEEP button repeatedly.
To display the remaining time, press SLEEP
button once.
Press to select ESS / EPS modes among
FF, Spatial Stereoand Pseudo Stereo.
mode and SUBCODE mode.
DUAL II.