RCA RLED2969A User manual

LED TV
RLED2969A
OPERATION MANUAL
Please read this manual carefully before operation.

Table of Contents
Warning 1
Safety Instructions 3
Main Unit Control 5
Front Panel 5
Rear & Sides Panel 6
Remote Control 7
Getting Started 8
Using the Remote Control 8
Installing Batteries in the Remote Control 8
Battery Replacement 8
Connection and Setup 9
ConnectingthePowerCord 9
Connecting Antenna and Other Devices 9
Cable Installation 10
Basic Operation 11
Turning on and off the TV 11
Programme Selection 11
Volume Adjustment 11
Changing the Input Source 11
Menu Operation 12
QUICKSTARTGUIDE 12
HowtoNavigateMenus 12
Configuring the Channel Menu 13
Configuring the Picture Menu 13
Configuring the Audio Menu 14
Configuring the Time Menu 15
Configuring the Setup Menu 15
Configuring the Lock Menu 16
Troubleshooting Guide 18
Troubleshooting 18
Maintenance 19
Wallmounting Instruction 20
Specifications 21

Warning
REGULATORY INFORMATION
This equipment generates uses and can radiate radio frequency energy and, if not
installed and used in accordance with the instructions, may cause harmful
interference to radio communication. However, there is no guarantee that
interference will not occur in a particular installation. If this equipment does cause
harmful interference to radio or television reception, which can be determined by
turning the equipment off and on, the user is encouraged to try to correct the
interference by one or more of the following measures:
-Relocate the receiving antenna.
-Increase the separation between the equipment and receiver.
-Connect the equipment into an outlet on a circuit different from that to which the
receiver is connected.
-Consult the dealer or experienced radio/TV technician for help.
Any changes or modifications not expressly approved by the party responsible for
compliance could void the user's authority to operate the equipment.
CAUTION
DO not attempt to modify this product in any way without written authorization from
supplier. Unauthorized modification could void the user's authority to operate this
product.
It is not recommended to keep a certain still image displayed on the screen for a long
time as well as displaying extremely bright images on screen.
Figures and illustrations in this User Manual are provided for reference only and
may differ from actual product appearance. Product design and specifications
may be changed without notice.
The lightning flash with arrowhead symbol, within an equilateral triangle,
is intended to alert the user to the presence of uninsulated "dangerous
voltage" within the products enclosure that may be of sufficient
magnitude to constitute a risk of electric shock to persons.
The exclamation point within an equilateral triangle is intended to alert the
user to the presence of important operating and maintenance (servicing)
instructions in the literature accompanying the appliance.
WARNING:
TO REDUCE THE RISK OF ELECTRIC SHOCK DO NOT REMOVE COVER
(OR BACK). NO USER SERVICEABLE PARTS INSIDE. REFER TO
QUALIFIED SERVICE PERSONNEL.
RISK OF ELECTRIC SHOCK
DO NOT OPEN
RISK OF ELECTRIC SHOCK
DO NOT OPEN
CAUTION/PRUDENCE
RISQUE DE CHOC ELECTRIQUE
NE PAS OVURIR
RISQUE DE CHOC ELECTRIQUE
NE PAS OVURIR
1

Warning
WARNING
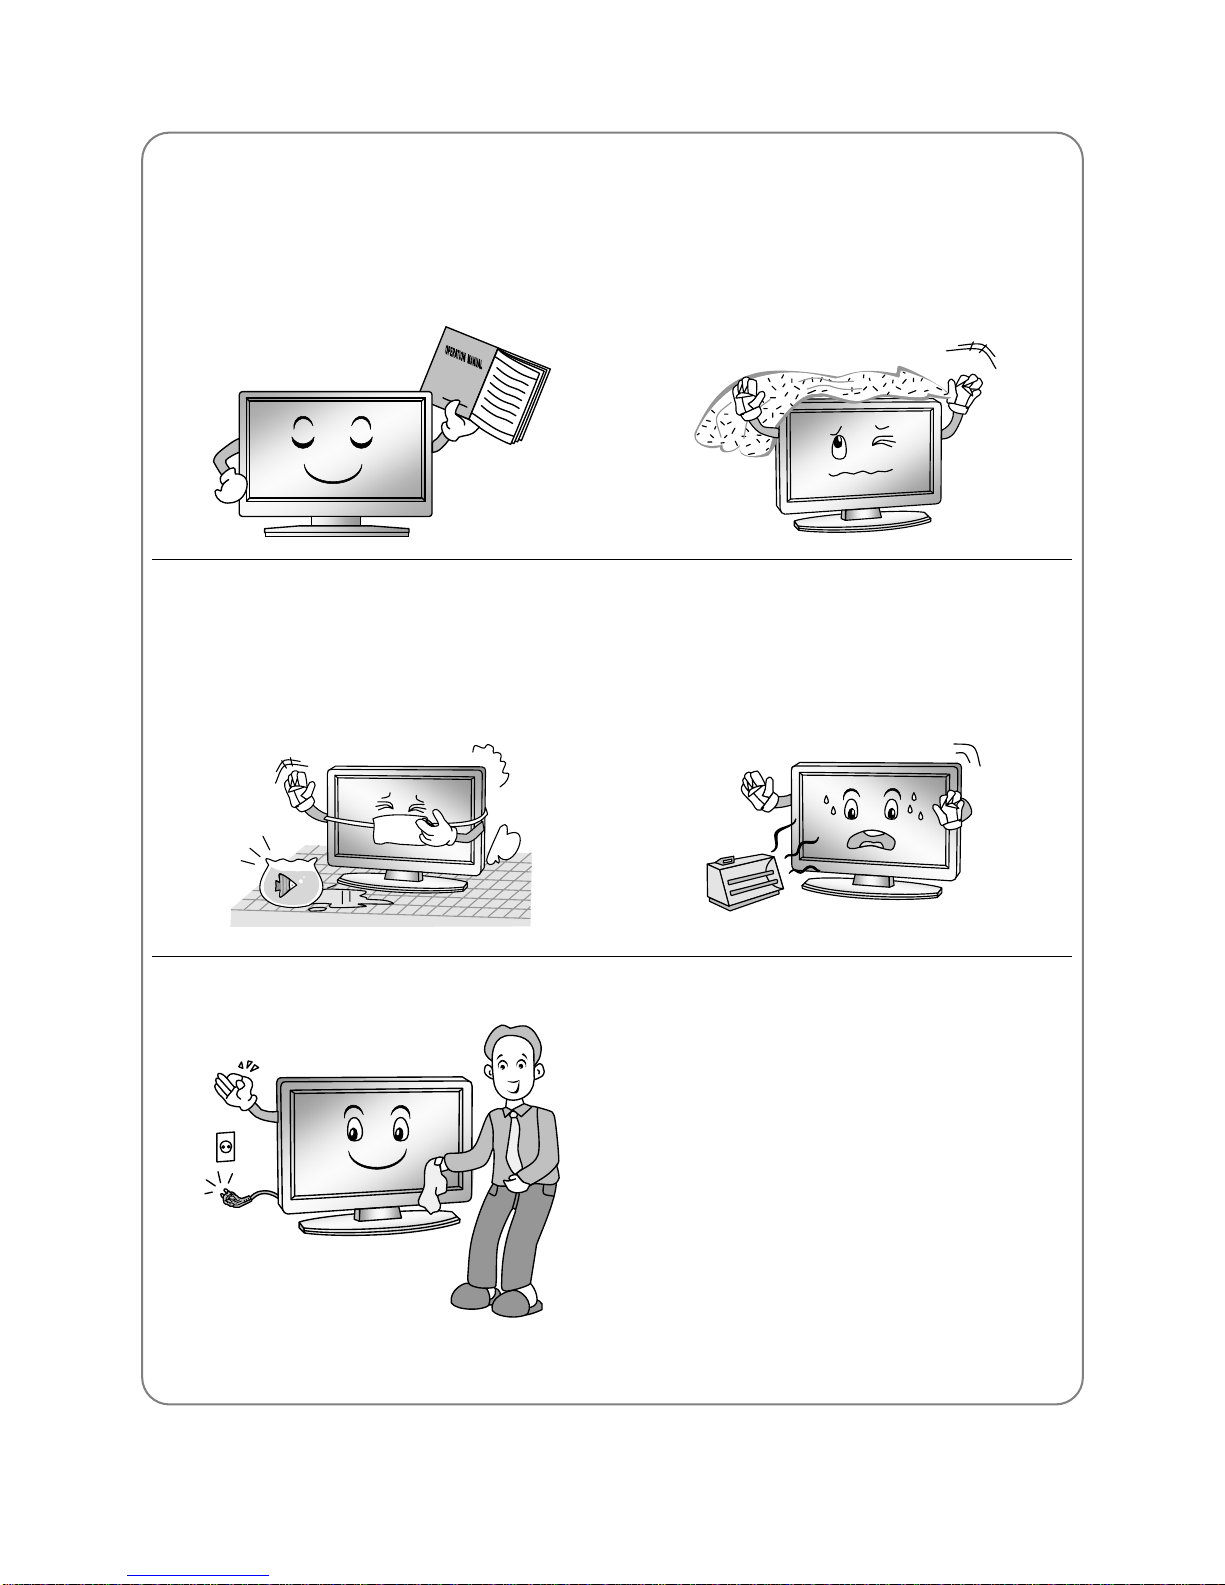
To Reduce The Risk Of Fire Or Electric Shock, Do Not Expose This Apparatus To
Rain Or Moisture.
The ventilation should not be impeded by covering the ventilation openings with
items, such as newspapers, table-cloths, curtains, etc.
The Apparatus shall not be exposed to dripping or splashing and that no objects
filled with liquids, such as vases, shall be placed on the apparatus.
Attention should be drawn to the environmental aspects of battery disposal. Don’t
throw used batteries in dustbin. Please contact your retailer in order to protect the
environment.
Keep minimum distances (5cm) around the apparatus for sufficient ventilation;
(Minimum distance around the apparatus for sufficient ventilation.)
No naked flame sources, such as lighted candles, should be placed on the
apparatus;
To prevent the spread of fire, keep candles or other open flames away from this
product at all times.
The device may be malfunction when under electrostatic discharge. It can be
manually resumed by power off and power on again.
CAUTION connecting the Power Cord
Most appliances recommend they be placed upon a dedicated circuit; that is, a
single outlet circuit which powers only that appliance and has no additional outlets or
branch circuits.
Do not overload wall outlets. Overloaded wall outlets, loose or damaged wall outlets,
extension cords, frayed power cords, or damaged or cracked wire insulation are
dangerous. Any of these conditions could result in electric shock or fire. Periodically
examine the cord of your appliance, and its if appearance indicates damage or
deterioration, unplug it, discontinue use of the appliance, and have the cord replaced
with an exact replacement part by an authorized servicer. Protect the power cord
from physical or mechanical abuse, such as being twisted, kinked, pinched, closed
in a door, or walked upon. Pay particular attention to plugs, wall outlets, and the
point where the cord exits the appliance.
The MAINS plug is used as the disconnect device, and the disconnect device shall
remain readily operable.
2

Safety instructions
IMPORTANT SAFETY INSTRUCTIONS
1. Read these instructions.
2. Keep these instructions.
3. Heed all warnings.
4. Follow all instructions.
7. Do not block any of the ventilation
openings. Install in accordance with the
manufacturer's instructions.
5. Do not use this apparatus near water.
8. Do not install near any heat source such
as radiators, heat registers, stoves, or
other apparatus (including amplifiers)
that produce heat.
6. Clean only with a dry cloth.
9. Do not defeat the safety purpose of the
polarized or grounding type plug. A
polarized plug has two blades with one
wider than other. A grounding type plug
has two blades and a third grounding
prong. The wide blade or the third
prong is provided for your safety. When
the provided plug does not fit into your
outlet, consult an electrician for
replacement of the obsolete outlet.
3

Safety instructions
10. Protect the power cord from being
walked on or pinched particularly at
plugs, convenience receptacles, and
the point where they exit from the
apparatus.
13. Unplug this apparatus during
lightning storms or when unused for
long periods of time.
11. Only use the attachments/
accessories specified by the
manufacturer.
12. Use only with a cart, stand, tripod,
bracket, or table specified by the
manufacturer, or sold with the
apparatus. When a cart is used, use
caution when moving the cart/
apparatus combination to avoid
injury from tip-over.
14. Refer all servicing to qualified service
personnel. Servicing is required when
the apparatus has been damaged in
any way, such as power supply cord
or plug is damaged, liquid has been
spilled or objects have fallen into the
apparatus, the apparatus has been
exposed to rain or moisture, does not
operate normally, or has been
dropped.
ON DISPOSAL
-The fluorescent lamp used in this product contain a small amount of mercury.
-Do not dispose of this product with general household waste.
-Disposal of this product must be carried out in accordance to the regulations of your
local authority.
NOTE
-If the TV feel cold to the touch, there may be a small "flicker" when it is turned on.
This is normal, there is nothing wrong with TV.
-Some minute dot defects may be visible on the screen, appearing as tiny red,
green, or blue spots. However there have no adverse effect on the monitor's
performance.
-Avoid touching the screen or holding your finger(s) against it for long periods of time.
Doin
g
so may produce some temporary distortion effect on the screen.
4

Main Unit Control
FrontPanel
1
2
5
3
4
6
No. Name Description
1 CH+/CH-
Changes the channels. In the on-screen menu, use the
CH+/CH- buttons as you would use the ▲/▼buttons on
the remote control.
2 VOL+/VOL-
Adjusts the volume. In the on-screen menu, use the
VOL+/VOL- buttons as you would use the ►/◄buttons on
the remote control.
3 MENU Open the menu.
4
To switch the signal source. In the on-screen menu, use this
button as you would use the ENTER button on the remote
control.
5 Turns the unit on and off.
6 Power&Sensor Power Indicator and Infrared sensor.
5

Main Unit Control
Rear&SidesPanel
13
12
11
10
9
8
7
No. Name Description
7 HDMI HDMI input
8 YPbPr YPbPr input
9 PC / PC/DVI
AUDIO PC input
10 ANT Antenna input
11 AV AV audio/video signal input
12 ONLY FOR
SERVICE Only for service
13 DIGITAL AUDIO
OUT Digital audio output (COAXIAL output)
6

Remote Control
The buttons of the original remote control are as following:
Definition of the buttons on remote control:
1. POWER: Enter or quit the standby mode.
2. INFO: Press to display the current program
information on the screen.
3. :Mute or restore sound.
4. NUMBER BUTTONS: Choose channels or
password importation.
5. SOURCE: Select signal source.
6. -: In DTV mode, press number buttons and -
key to select channel.
7. :Press to select different images sizes.
8.
:Return to last viewed program.
9. MENU: Press to display/disappear the on
screen menus or to quit some operations.
10. EXIT: Quit the current interface.
11. ENTER: Select or confirm menu item.
12. ▲/▼/◄/►: Select direction.
13. VOL+/VOL-: Increase/Decrease audio
volume.
14. CH+/CH-: Scroll to next/previous
channel.
15. SLEEP: Set the sleep timer.
16. LIST: Press to call up the channel list.
Press again to exit it.
17. GUIDE: Electronic Program Guide, use in the
DTV mode.
18. :Press to display the Favourites
program in TV mode.(You should setup
your favourite channels in Favorite menu)
19. COLOR BUTTONS:
Red/green/yellow/blue key navigation link.
20. STILL: Freeze or activate the current
picture.
21. CC: Press to select the closed caption.
22. MTS: The button can be used to switch
between Mono/STEREO/SAP in ATV mode.
AUDIO: Switch Audio language in DTV
mode.
NOTE:
•All pictures in this manual are
examples, only for reference,
actual product may differ from the
pictures.
•The buttons not mentioned here
are not used.
GUIDE
CC MTS
STILL
AUDIO
SLEEP
CH+
VOL+
CH-
VOL-
EXIT
MENU
ENTER
LIST
7

Getting Started
UsingtheRemoteControl
When using the remote control, aim it at remote sensor on the television. If there is an
object between the remote control and the remote sensor on the unit, the unit may no
operate.
•Point the remote control at the REMOTE SENSOR located on the television.
•When using this television in a very brightly lit area, the infrared REMOTE CONTROL
SENSOR may not work properly.
•The recommended effective distance for using the remote control is about 7 metres.
Installing Batteries in the Remote Control
1. Open the cover at the back of the remote control.
2. Install two AAA size batteries. Make sure to match
the “+” and “-” ends of the batteries with the
diagram inside the compartment.
3. Replace the cover.
Battery Replacement
You will need to install the batteries into the remote control to make it operate following
the instruction below.
When the batteries become weak, the operating distance of the remote control will be
greatly reduced and you will need to replace the batteries.
Notes on Using Batteries:
The use of the wrong type of batteries may cause chemical leakage and/or explosion.
Please note the following:
•Always ensure that the batteries are inserted with the + and - terminals in the correct
direction as shown in the battery compartment.
•Different types of batteries have different characteristics. Do not mix different types.
•Do not mix old and new batteries. Mixing old and new batteries will shorten battery life
and/or cause chemical leakage.
• Replace batteries as soon as they do not work.
•Chemicals which leak from batteries may cause skin irritation. If any chemical matter
seeps out of the batteries, wipe it up immediately with a dry cloth.
• The batteries may have a shorter life expectancy due to storage conditions. Remove the
batteries whenever you anticipate that the remote control will not be used for an
extended period.
•The batteries (battery pack or batteries installed) shall not be exposed to excessive heat
such as sunshine, fire or the like.
CAUTION:
•It may result in an explosion if batteries are replaced incorrectly.
•Only replace batteries with the same or equivalent type.
+
-
+-
8

Connection and Setup
ConnectingthePowerCord
Connect the power cable with 100-240V power supply.
NOTE:
•The power input for the TV is 100-240V, 50/60Hz.
•Be sure the power cord is disconnected and the TV is switched on before making
connections.
•To be completely disconnected from the supply mains, the mains plug of the television
should be disconnected from the mains socket outlet completely.
ConnectingAntennaandOtherDevices
NOTE:
•Make sure that all the components are connected correctly.
•For receiving free to air TV broadcasts, we recommend that you use an external fixed
antenna. Should you require the use of a temporary antenna, please ensure that you
purchase an antenna with sufficient ability to receive in weak signal areas. Only when
you are in close proximity to a transmitter will a temporary antenna reproduce a signal as
strongly as a fixed antenna. A digital antenna on the roof is recommended.
•YPbPr and AV can not be used at same time for they share of one audio channel.
RF Coaxial
Wire(75 ohm)
The equipment with
HDMI output function Computer
The equipment with AV output
function (such as VCR, DVD,
set-top boxes, etc.).
Video
Audio L
Audio R
Yellow
White
Red
USB Drive(only for service)
COAXIAL
The equipment with
Component output function
White
Red
Red
Audio L
Audio R
Blue
Green
Pr/Cr
Pb/Cb
Y
9

Connection and Setup
CableInstallation
Before the installation and use, please read carefully the relevant content in “Warning and
Safety instructions”.
1. Take the TV from the wrapping package and put it in a drafty and flat place.
NOTE:
• When you plug or unplug the TV, computer or other equipments, you must make sure
that the AC power has been already shut down;
• When unplugging the power cable or signal cable, please hold the plug (the insulated
part), do not draw the body of the cable.
2. The RF output terminal can be connected with the RF input port of the TV.
3. The output AV terminal of DVD can be connected with the AV input port of the TV
through AV cable.
NOTE:
• YPbPr and AV can not be used at same time for they share of one audio channel.
4. The output COMPONENT(YPbPr) terminal of DVD can be connected with the
COMPONENT(YPbPr) input port of the TV through AV cable.
5. Connect one end of the VGA cable with the VGA port on computer, connect the other
end of the VGA cable with the VGA port on the TV, and tighten the bolts clockwise on
the each end of VGA cable.
NOTE:
• While connecting the 15-pin VGA, please do not insert the plug overexertedly, for fear
the pin might be broken.
6. Connect one end of the HDMI cable with HDMI output port, connect the other end of
the HDMI cable with the HDMI port on the TV.
NOTE:
• While connecting the HDMI, please aim at carefully, do not insert overexertedly, for fear
the pin might be broken.
7. Sending the TV's audio signal to external audio equipment via the Digital Audio
Output port.
8. Check and make sure that all AV cables are connected with the corresponding ports
correctly.
9. Connect the AC power cable with 100-240V AC power supply.
NOTE:
• The range of power input for the TV is 100-240V, 50/60Hz, do not connect the TV
power input port with the AC power out of the above range.
• Please hold the insulated part of the plug when you are unplugging the power cable, do
not touch directly the metallic part of the cable.
10

Basic Operation
TurningonandofftheTV
■Turn on the TV
Connect the AC input cable. At this time the TV will enter standby mode. Press the
button on remote control can turn on TV from standby mode.
■Turn off the TV
Press the button on the remote control to enter standby mode.
Do not leave your set in standby mode for long periods of time. It is best to unplug the
set from the mains and aerial.
When there is an accident power off, it is recommended to unplug the power cable
from the power socket.
■No signal
There is No Signal menu on screen when there is no input signal. In ATV/DTV mode, if
there is no signal in 5minutes, the TV will turn off automatically. In PC mode, the TV
set will automatically turn off in 1minutes if no input signal. When VGA cable is
connected, the TV turns on automatically.
ProgrammeSelection
■Using the CH+/CH- on the panel of TV or on the remote control.
Press CH+ to increase channel number.
Press CH - to decrease channel number.
You can select the channel number by pressing 0 to 9. (In ATV mode)
In DTV mode, press number buttons and – button to select channel.
■Example
To select - channel (e.g. Channel 1): Press 1.
To select -- channel (e.g. Channel 20): Press 2 and 0 in a short time.
To select --.- channel (e.g. Channel 20.1): Press 2, 0, – and 1 in a short time.
VolumeAdjustment
■Press the VOL+/- button to adjust the volume.
■If you want to switch the sound OFF, press the .
■You can release mute by pressing the or increase the volume.
ChangingtheInputSource
1. You can select the input source by pressing the SOURCE button on the remote
control.
2. Press the▲/▼button to cycle through the input source, and press the ENTER button
to confirm your choice.
11
■Using 0- 9 digital buttons and button.
–

Menu Operation
QUICKSTARTGUIDE
■Connection
Connecting the mains and antenna.
■Initial Setup
When the TV is initially powered on, a sequence of on-screen prompts will assist in
configuring basic settings.
Menu Language: Press ◄/►button to select the desired menu Language.
Time Zone: Press ◄/►button to select your time zone.
DST: Switches Daylight Saving Time on or off.
Signal Type: Press ◄/►button to select the desired signal type.
When done, the TV will begin memorizing all of the available channels.
HowtoNavigateMenus
Before using the TV follow the steps below to learn how to navigate the menu in order to
select and adjust different functions. The access step may differ depending on the
selected menu.
1. Press the MENU button to display the main menu.
2. Press the◄/►button to cycle through the main menu.
3. Press the▲/▼button to select the desired sub item.
4. Press the ENTER button to access the submenu.
5. Press the ▲/▼/◄/►button to select the desired value. The adjustment in the OSD
may differ depending on the selected menu.
6. Press the MENU button to return to the previous menu.
7. Press the EXIT button exit from the menu.
NOTE: When an item in MENU is displayed gray, it means that the item is not available
or cannot be adjusted.
Some items in the menus may be hidden depending on modes or signal sources used.
Buttons on the TV have the same function as corresponding buttons on the remote
control. If your remote control is lost or couldn’t work, you may use the buttons on the
TV to select menus. This manual focuses on operation of the remote control.
12

Menu Operation
ConfiguringtheChannelMenu
■Signal Type: Select the signal type for
channels.
■Auto Scan: Press the ENTER button to
start Auto Scan which automatically
scan and store all available
programmes.
Before execute auto scan, please
confirm your antenna type is Air or
Cable. Wrong setting of Signal Type
maybe cause finding no channel. Found numbers do not include encryption programs.
■Favorite: Set the channel to your favorite list. Press the ▲/▼button to select the
channel you want to set, and press the ENTER button to set or cancel.
■Channel List: Press the ▲/▼button to select the channel you want to skip, and press
the ENTER button to set or cancel.
■DTV Signal (digital channels only): Displays the current signal strength.
ConfiguringthePictureMenu
■Picture Mode: You can select the type
of picture which best corresponds to
your viewing requirements.
Standard: Suitable for a normal
environment.
Dynamic: Suitable for a bright room.
Soft: Suitable for watching movies in a
dark room.
Personal: You can change the value of
Contrast, Brightness, sharpness, Tint (Only in the NTSC mode) and Color when the
picture is in Personal mode.
Contrast: To adjust the picture’s contrast.
Brightness: To adjust the picture’s brightness.
Sharpness: To adjust the picture’s sharpness.
Tint (Only in the NTSC mode): To adjust the tint of the picture.
Color: Adjusts intensity of all colours.
■Color Mode: Select your preferred color mode.
Normal: Basically will be accepted by most people.
Warm: Means a low color temperature that will feel warm.
Cool: Means a high color temperature that will feel cool.
13

Menu Operation
■Advanced (In PC mode)
H-Pos: Centre the image by moving it left or right.
V-Pos: Centre the image by moving it up or down.
Clock: Adjust the DB15 picture signal sampling clock rate.
Phase: Adjust when characters have low contrast or when the image flickers.
Auto: Adjust the image automatically.
■Zoom Mode: You can select the picture size which best corresponds to your viewing
requirements.
■3DNR: Reduces screen noise without compromising video quality.
■DLC: Dynamic Luminance Control.
ConfiguringtheAudioMenu
■Equalizer: To adjust the sound
parameters.
Press the ◄/►button to select a sound
mode to suit your personal preferences.
Only in Personal mode, the follow items
can be adjusted.
Based on your favorites about which
frequency band need to be adjusted,
make small adjustment with certain
frequency band at a time. Suggest NOT making too large changes.
■MTS: Switch between Mono/STEREO/SAP.
■Audio Language: Select your preferred audio language.(Available for digital channels
if multiple audio languages are broadcasted.)
■SPDIF Type: Press ▲/▼button to select SPDIF Type, then press ENTER button to
select PCM, RAW or Off.
■Surround Sound: To switch the surround sound.
■Audio Only: If you have selected On, the backlight will turn off after 5 seconds. Then press
any key to wake it up.
■AVC: AVC automatically remains on the same level of volume if you change
programmes. Because each broadcasting station has its own signal conditions,
volume adjustment may be needed every time when the channel is changed. This
feature allows users to enjoy stable volume levels by making automatic adjustments for
each program.
14

Menu Operation
ConfiguringtheTimeMenu
■Sleep Timer: Select the time to turn the
TV to standby mode automatically.
■Time Zone: Select your time zone.
■DST: When Auto Sync set to ON, this
item is available to enable daylight
saving option or not.
■Auto Sync: If set it to ON, the TV will
sync the local clock according to the
DTV broadcasting time automatically.
Otherwise you can set the time manually.
■Clock: Set the System Time. You must set the time correctly before using Wake Up
function.
■Wake Up: Set the time for your TV to turn on.
ConfiguringtheSetupMenu
■Menu Language: Select your preferred
Menu Language.
■Transparent: Menu transparency
selection, you can select menu
transparency according to the different
background picture.
■Closed Caption: You can select C
Caption, if available, to be displaye
screen.
losed
d on
- CC Mode
Press the ◄/►button to select CC mode.
- Basic Selection
Select from below closed-caption modes for analog programs.
CC1,2,3,4 Displays corresponding caption channel of a analog program. (Usually
be set to CC1 for most programs.)
Text1,2,3,4 Displays corresponding text service channel of a analog program.
- Advanced Selection
Applies only to digital channels with closed caption.
Service1,2,3,4,5,6 These are different service data channels.
- Option
Default/Font 0~7Font Style:
Font Size: Default/ Normal/ Large/ Small
15
Mode: Default/Custom.

Menu Operation
Font Edge Style: Default/ None/ Raised/ Depressed/ Uniform/ Left Shadow/ Right
Shadow
Font Edge Color: Default/ Black/ White/ Red/ Green/ Blue/ Yellow/ Magenta/ Cyan
FG Color: Default/ White/ Red/ Green/ Blue/ Yellow/ Magenta/ Cyan
BG Color: Default/ Black/ Red/ Green/ Blue/ Yellow/ Magenta/ Cyan
FG Opacity: Default/ Solid/ Flashing/ Translucent/ Transparent
BG Opacity: Default/ Solid/ Flashing/ Translucent/ Transparent
■Restore Default: Restore the system settings to the factory default.
■Setup Wizard: This is a guide to help you to setup the TV.
ConfiguringtheLockMenu
Press your password (it is 0 0 0 0 at first), Then you will go the sub-menu as following.
If you forget, the super password of 9898 still valid.
■Change Password: You can set your
private password. Press the number
buttons on the remote control to set
the new password. When the new
password has been input twice, the
setting is finished successfully.
■System Lock: Set the system lock ON
or OFF.
■Input Block: Press ▲/▼button to
select input channel, Press◄/►button
to lock or unlock.
■US: To select the TV/MPAA Rating you want to lock or not.
TV
Age Define
TV-Y General audience
TV-Y7 Parental guidance
suggested
TV-G Parents strongly cautioned
TV-PG Retricted
TV-14 No one 17 and under
admitted
TV-MA Adult audience only
Content Define
FV Fantasy violence
D Suggestive dialogue
L Strong language
S Sexual situations
V Violence
16

Menu Operation
MPAA
Rating Define
G General audience. All ages admitted.
PG Parental guidance suggested. Some material may not be suitable for
children.
PG-13 Parents strongly cautioned. Some material may be inappropriate for
children under 13.
R Restricted. Children under 17 require accompanying parent or adult
guardian.
NC-17 No one 17 and under admitted.
X Adult audience only.
N/A MPAA rating of “N/A”
■Canada: To select the Canada Eng/Canada Fre Rating you want to lock or not.
Canada Eng: These ratings are for programs which are using English rating system.
Rating Defined as
C Children
C8+ Children 8 years and older
G General programming
PG Parental guidance
14+ Viewers 14 and older
18+ Adult programming
EXEMPT Unblock
Canada Fre: The ratings are for programs which are using French rating system.
Rating Defined as
G General
8 ans+ Not recommended for younger children
13 ans+ Not recommended for childrenunder age 13
16 ans+ Not recommended for ages under 16
18 ans+ This program is restricted to adults
EXEMPT Unblock
■RRT Setting: Press ENTER button to set RRT rating.
■Reset RRT: Press ENTER button to reset RRT information.
NOTE: RRT setting and Reset RRT can be selected when the TV signal is RRT.
■Block Unrated Show: Control whether lock the program that have not any valid rating
flag.
17

Troubleshooting Guide
Troubleshooting
Before contact the service technician, perform the following simple checks. If any program
still persists, unplug the TV and calling for serving.
Symptoms Possible Reason Solutions
No picture, no sound,
and no indicator light on
1.The power cord is not plugged in
2.The power is off
1.Plug the power cord in
2.Turn the power on
Picture and sound with
abnormity
1.Contrast, sharpness, and color are
set improperly
2.Color system is set improperly
3.Sound system is set improperly
1.Adjust the value of
Contrast, sharpness, and
color
2.Set the Color system to the
country broadcasting
standard
3.Set the Sound system to
the country broadcasting
standard
Picture is spotted or with
snow
Signal source is low-grade or the
signal cord is in a lower quality Use the qualified signal cord
Volume is in the minimum value or
TV is in mute mode. Adjust the value of volume
No picture, no sound and
indicator light is
green/blue The signal cable is not correctly
connected.
Connect the signal cable
correctly
Blue screen, AV or
S-VIDEO is displayed
There is no signal input or the video
cable is not connected or incorrectly
connected
Connect the video cable
correctly
Picture is unclear or
shaking or with black
horizontal strips (in PC
mode)
PC picture is not
centered
PC picture is not correctly adjusted.
Enter into Screen menu,
select Auto Adjust item to
perform automatic calibration
and adjust Phase to solve
the problem
No sound
There is no audio signal input or
audio cable is not connected
correctly
Connect the audio cable
correctly
PC picture display with
improper color
The color temp is adjusted
incorrectly by user
Readjust the color temp, or
select the original color
setting
HDMI source, with snow The source generate is not standard Plug the HDMI cable again
18
Table of contents
Languages:
Other RCA TV manuals