In either case, to return tape travel to normal speed, press
STOP/
EJECT,
then press
PLAY.
Use the
Tape Counter
to aid you in locating approximate positions
on the tape.
To listen to tapes privately (or if you don't have an Amplifier/
Receiver), plug a pair of stereo headphones into the
PHONES
jack.
STEREO RECORDING
You can make recordings either from microphones (through
MICrophone
jacks) or through the
LINE IN
jacks. Make the
appropriate connections before starting the Recording session.
NOTE: We strongly urge you to use only the finest tape with
your SCT-20. Only with the finest tape will you realize the fullest
capabilities of this Tape Deck. Use either Realistic's
Supertape ®
Gold
or our
Supertape Chrome
tape.
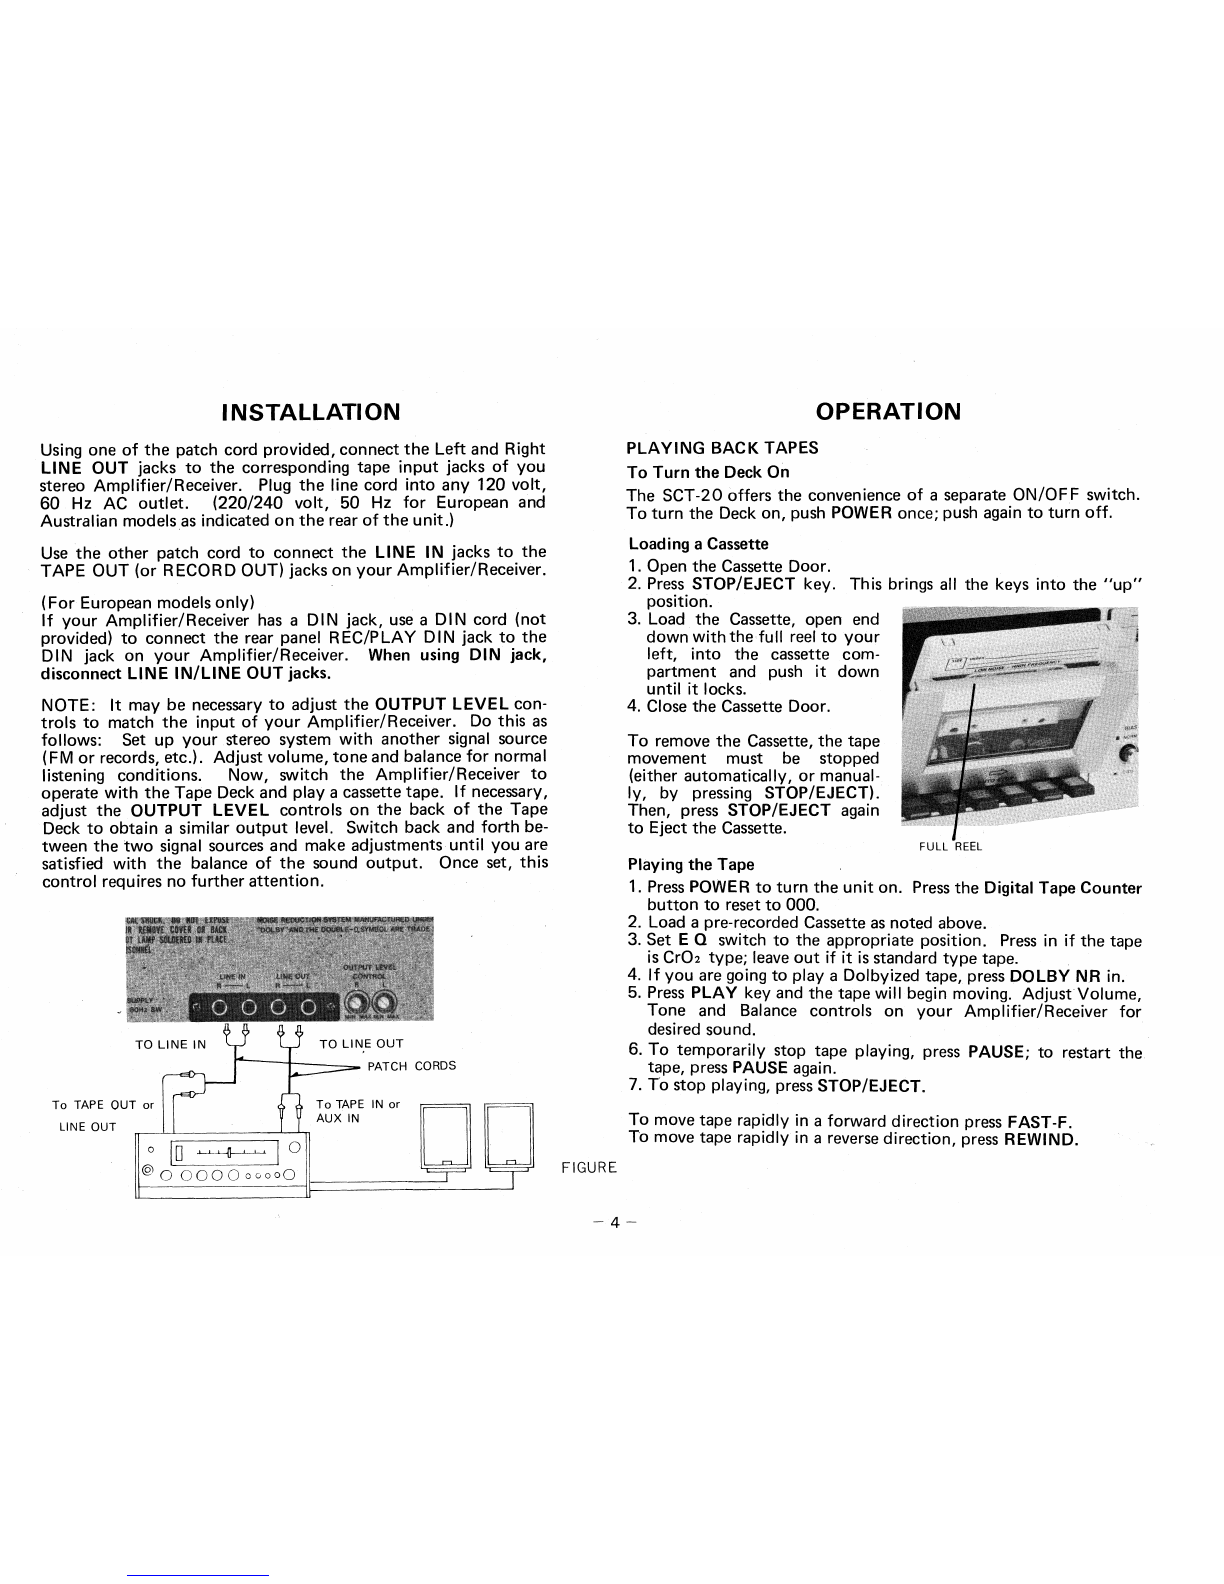
1.
Load a Cassette into the Cassette Compartment.
2.
Make connections to record either from Mics or an Auxiliary
source
(LINE
IN jacks).
NOTE: When both
MICrophone
and LINE IN connections are
made, only the
MICrophone
input will function.
3.
Set
BIAS
and
EQ
switches to the appropriate positions. Press in
if you are using Cr0
2
tape. Leave in the NORMal position for
all other tapes. Mark the switch setting on the Cassette so
you'll remember to play the tape back with the same setting.
(See NOTES later on.)
4.
Press
DOLBY NR
in if you are going to make a Dolbyized re-
cording (be sure to mark the Cassette if you record with Dolby).
5.
Reset the
Digital Tape Counter
to
000.
6.
Press
PAUSE, RECORD
and
PLAY
keys and adjust the
RE-
CORD LEVEL
controls to achieve proper channel balance and
recording level. Adjust for meter readings that only
occasionally
peak up into the red area on the meters. Normal recording levels
will give meter readings between black numbers 5 and 3. This
procedure allows you to preset recording levels prior to starting
tape motion.
7.
Press
PAUSE
again to release it. The tape will begin to move and
you are recording.
8.
To temporarily stop the tape while recording, press
PAUSE.
To
restart the tape, press
PAUSE
again.
9.
To stop recording, press
STOP/EJECT.
To advance tape rapidly to any desired point, use
FAST-F
key.
Use
REWIND
to move tape rapidly in a reverse direction.
Use
Tape Counter
to aid in returning to original tape position and
to locate desired portions of the tape.
NOTE: Before changing tape motion, always press STOP/EJECT
first. It is not a good practice to go from
FAST-F
or
REWIND
to
PLAY
or vice versa without pressing
STOP/EJECT
in between.
Abrupt changes in tape speed can result in tape spill or wrap-up.
Microphone Recording
To obtain optimum results with "live" recordings we recommend
that you use high-quality microphones. We suggest Radio Shack's
Electret Microphones, Catalog Number 33-1044 or 33-1045.
NOTE: For best voice recordings, position the microphones just
below the mouth at about 6-10" (15-25 cm).
Microphone placement
and positioning is a vital part of obtaining
good stereo recordings. We suggest you experiment a little with
distances and positioning before making any final recordings.
Making a good recording is an art
it takes experience.
Recording from Radio or Phono
With connections made as previously noted, you can record "off-
the-air" or put your records on tape — or record any other source
being played through your Amplifier/Receiver.
TO ERASE A TAPE
It is not necessary to erase a tape before using it again.
As you record, any previous recordings are automatically erased.
However, if you want to erase a previous recording, without making
a new one, disconnect microphones and set the
RECORD LEVEL
controls to minimum. Now, load the cassette and run it through
with both
RECORD
and
PLAY
keys pressed (just as though you
5