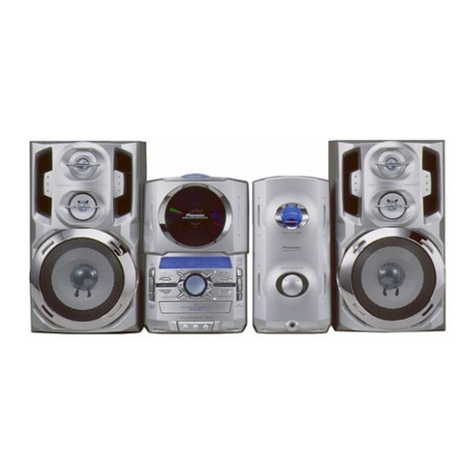
Realistic TM-152 User manual

www.SteamPoweredRadio.Com
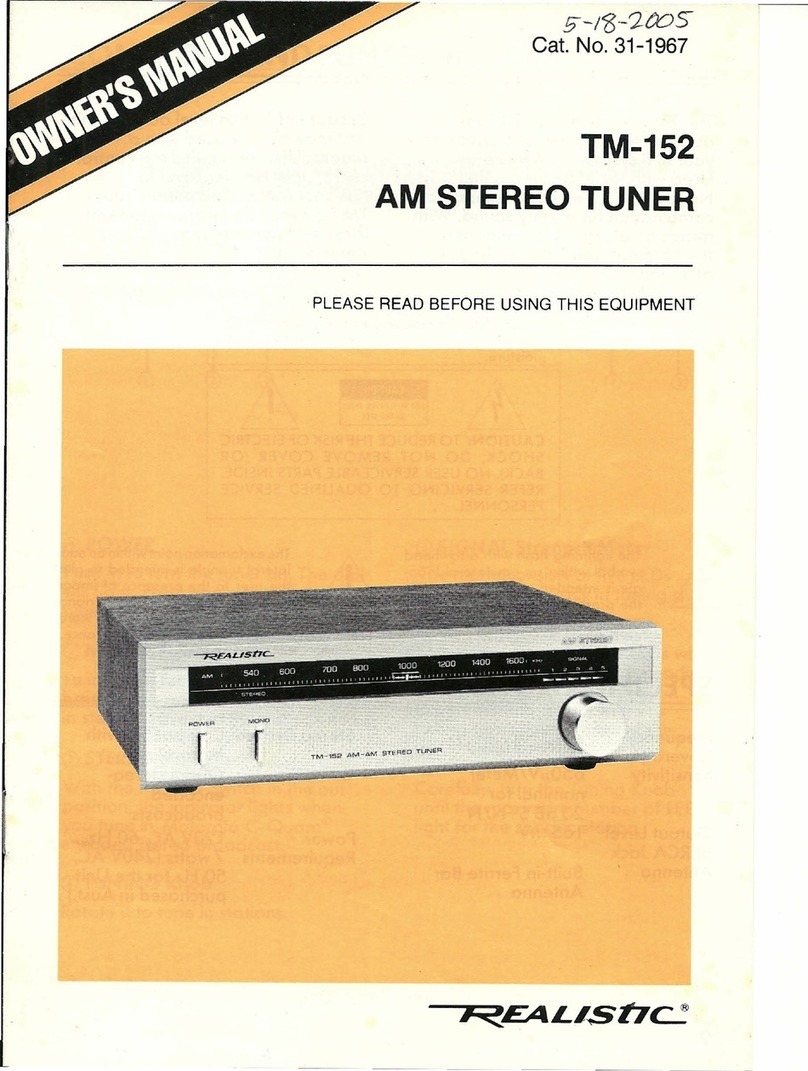
The TM-152, a mini-sized Tuner,
adds
an
exciting new dimension
to
your
hi
fi
system
...
AM
Stereo.
Used with
the
Stereo Amplifier, Cat.
No.
31-1955,
you
have
a
compact
combination for mighty sound. With
matching aluminum front panels
they
are
harmonious
in
sight
as
well
as
sound.
Because of
its
line level outputs, this
unit
may
also
be
used with a
preamplifier, or a switching control
center,
that
has
line level
or
auxiliary inputs.
This
means
your
TM-152
may
be
incorporated with
these
components
in
an
existing
sound system.
WARNING
: To
reduce
the
risk
of
fire
or
electric
shock,
do
not
expose
this
appliance
to
rain
or
moisture.
CAUTION:
TO
REDUCE THE
RISK
OF
ELECTRIC
SHOCK,
DO
NOT
REMOVE
COVER
(
OR
BACK
).
NO
USER
SERVICEABLE
PARTS
INSIDE.
REFER
SERVICING
TO
QUALIFIED
SERVICE
PERSONNEL.
LL
The
lightning
flash
with
ar
rowhead
6
symbol
with
in
on
equilateral
trion-
'
gle
is
intended
to
alert
the
user
to
the
presence
of
uni
nsulated
"
dan
-
The
exclamation
point
within
on
equi-
lateral
triangle
is
intended
to
alert
the
user
to
the
presence
of
impor
-
tant
operating
and
maintenance
(servicing) instructions in
the
litera
-
ture
accompanying
the
appl
i
ance
.
gerous
voltage
"
within
the
product's
enclosure.
SPECIFICATIONS
Frequency
Coverage
Sensitivity
Output
level
at
RCA
Jack
Antenna
520
-
1620
kHz
650µV/Meter
nominal for
20
dB
S+N/N
165mV
Built-in Ferrite Bar
Antenna
Stereo System
Power
Requirements
Copyright
1985
, Tandy Corporation
2
Compatible with
Motorola
C-
Quam
stereo-
encoded
broadcasts
120VAC,
60
Hz,
7watts (240V AC,
50
Hz for
the
Unit
purchased
in
Aust.)
:/
CONTROLS
AND
FUNCTIONS
MONO
J
TM
-
't$l
AM
-
AM
STERl!O
TUNER
-
(D
POWER
Push
in
to
turn
the
tuner on. The dial
will
light. Press
again
to turn
the
tuner
off.
0
MONO
Selector
To
improve reception of monaural
broadcasts, press
it
in.
When tuning
in
stereo, leave
it
in
the
out
position.
@
STEREO
Indicator
With
the
MONO
Switch
in
the
out
position,
the
indicator lights when
you
tune
in
Motorola
C-
Quam
®
encoded
stereo
broadcast.
©
TUNING
Knob
Rotate
it
to tune
in
stations.
© SIGNAL Strength
Meter
The meter consists of five
LEDs
for
greater
accuracy
in
tunjng a
broadcast.
Sometimes several of
the
LEDs
will
light, sometimes all five,
depending
on
the
strength of
the
signal.
Experimenting a little with
the
tuning gives you
an
idea
of
the
meter's capabilities.
Carefully, turn
the
Tuning Knob
until
the
maximum number of
LEDs
light for
the
specific station.
3

www.SteamPoweredRadio.Com
CD
Left and Right OUTPUT
Connect a stereo
audio
cable
from
OUTPUT jacks
to
the
input
jacks
of
an
amplifier.
@
AM
ANTENNA
Screw
Terminals
Connect
an
external
AM
antenna
to
the
screws
for
long-distance
AM
reception.
If
necessary, connect
ground
wire
to
GND
terminal.
In
most areas,
the
built-in
antenna
will
provide
excellent
reception
.
4
CD
AC Power
Line
Cord
Plug
into
standard
AC
household
wall
outlet.
'
I
CONNECTIONS
The
TM-152
provides
a
high
level
output
signal
designed
to
feed
into
an
amplifier
or
preamplifier,
or
switching control center,
depending
on
your
system's design.
Before
making
the
connections,
be
sure
the
tuner
and
the
other
components
involved
in
the
connection,
are
turned
off.
OPERATING HINTS
If
you
notice
hum
present in
the
signal,
try
reversing
the
position
of
the
AC
cord
in
the
wall
outlet. Also
do
not
place
audio
cables
right
next
to
your
AC
Line Cord.
Your
TM-152
has a
built-in
AM
antenna.
The
antenna
is
capable
of
excellent
reception
under
a
wide
Using a shielded
pair
of
audio
cables
that
terminate
in RCA
type
plugs, insert
one
end
of
Ol)e
lead
into
the
ROUTPUT
jack
oti
the
Tuner.
Connect
the
other
nd
of
the
cable
to
the
R INPUT jack
or
AUX
jack
on
the
amplifier
pre<Jmplifier,
or
switching tuner.
Connect
the
l
OUTPUT
jatk
and
L
INPUT jack in
the
same
Wtay.
range
of
conditions.
How
ever
AM
reception
~an
vary
depending
upon
your
terrain,
weather
conditions
and
the
orientation
of
the anten'na.
It
is
also
susceptible
to
external
sourcE:s
of
interference.
If
~ou
experience
uneven recepti
on
try
rotating
the
tuner,
if
your
'
installation
will
permit
.
5

www.SteamPoweredRadio.Com
MAINTENANCE
Your
TM-152
represents a
fine
example
of
electronic
engineering
and
construction. As such
it
should
be
treated
accordingly.
We
offer
the
following
suggestions so
you
will
enjoy
this
product
for
many
years
to
come
.
If
at
anytime
you
suggest
that
your
unit
is
not
performing
as
it
should,
stop
by
your
local Radio Shack store.
Our
personnel
are
there
to
assist
you
and
arrange
for
service,
if
needed.
6
Keep
it
dry.
If
water
should
get
on
it,
wipe
it
off
immediately.
Water
contains minerals
that
can
corrode
electronic circuits.
Do
not
store in
hot
areas.
High
temperatures
can
shorten
the
life
of
electronic devices
and
can even
distort
or
melt
certain plastics.
Do
not
drop
your
product.
This will likely result in
failure
to
operate.
Circuit
boards
can crack
and
cases
may
not
survive
the
impact.
Handling
your
product
roughly
will shorten its useful life.
Do
not
use
or
store in
areas
of
high
levels
of
dirt
or
dust. The electronics
may
be
contaminated
.
Any
moving
parts
will
wear
prematurely.
Do
not
use harsh chemicals,
cleaning
solvents
or
strong
detergents
to
keep
your
unit
looking
new
. You
need
only
wipe
it
with
a
dampened
cloth
from
time
to
time.
SCHEMATIC
DIAGRAM
r---------,
7
I
I
I
. 1
: I
1---~~:
.,
~
I
1----
I
I
I
_____
J
I
I
I
►
I
, I
!
I
'.: I
~
I
i
I
7

www.SteamPoweredRadio.Com
8A5
RADIO SHACK LIMITED WARRANTY
This product 1s wa
rr
anted against defects for 2 years from date of purchase from Radio
Shack company-owned stor
es
and authorized Radio Shack franchisees and dealers. Wi
th
in
th
is
period. we will repair 1t without charge for parts and labor. Simply bring your Radio
Shack sales
sl
ip as proof of purchase date to any Radio Shack store. Warranty does not
cover transportation costs. Nor does it cover a product subJected to misuse or accidental
damage.
EXCEPT
AS
PROVIDED HEREIN. RADIO SHACK MAKES NO WARRANTIES. EXPRESS
OR
IMPLIED. INCLUDING WARRANTIES OF MERCHANTABILITY AND FITNESS FOR A
PARTICULAR PURPOSE. Some states do not permit
ll
m1ta
t1
on or exclusion of imp
li
ed
warranties: therefore. the aforesaid lim1
tat1on
(s) or excl
us1on
(s) may not apply to the
purchase
r.
This warran
1y
g,ves you specific legal nghts and you
may
also have 01her rights wh,ch vary from s
1ate
to stale
We
Service What
We
Sell
CUSTOM MANUFACTURED FOR RADIO SHACK
A DIVISION OF TANDY CORPORATION
AUST
RALIA
U.S.A
.:
FORT WORTH, TEXAS 76102
CANADA: BARRIE, ONTARIO L4M 4W5
TANDY CORPORATION
BELG
IU
M U K
9 KUR
R-A.JO
G
AVE
NU
E
M
OUNT
OR
UITT.
N S W 2
77
0
PARC
IND
UST
RIEL
51
40
A
NIN
NE
(
AM
UR) BI
LSTON
ROAD
WEDNESB
U
RY
WES
T MI
DLANDS
WS
10 7J
Printed in
Taiwan
811016440A
Table of contents
Other Realistic Tuner manuals
Popular Tuner manuals by other brands

Niles
Niles TM-HD/R Quick install guide

Sirius Satellite Radio
Sirius Satellite Radio SiriusCONNECT SIR-CL3 installation guide

Yamaha
Yamaha CT-610 owner's manual

Alpine
Alpine DVI-9990R Guide for installation and connections

Optimus
Optimus MM-CDT Installation and operating instructions

Novus
Novus NVR-4532-H4/F user manual