manuals.online logo
Brands
  1. Home
  2. •
  3. Brands
  4. •
  5. Rebelle
  6. •
  7. Outdoor Light
  8. •
  9. Rebelle Sightlines 2400 Series User manual

Rebelle Sightlines 2400 Series User manual

www.rebellelighting.com
© 2010 REBELLE All rights reserved.
REBELLE ARCHITECTURAL LIGHTING 11475 - 201A Street, Maple Ridge, B.C. Canada V2X 0Y3
P 604.465.5739 F 604.465.9801 E [email protected] W rebellelighting.com
1
2
3
4
5
6
7
HOUSING INSTALLATION - CONCRETE POUR
Sightlines 2400 Series
Remove housing from shipping carton. Lay out center
line of luminaire positions on concrete form. (Fig.1)
Position template (provided) over marked center line
luminaire spacings (make sure template is level) drill
1/4” holes through form. (Fig.1)
Install housing on concrete side of form using 3” long
studs and wing nuts (provided) (g.2) Check that unit
is level.
If tile or other surface treatment is used the housing
position must be adjusted to suit prior to pouring con-
crete.
Install 1/2” NPT conduit as required and pull supply
circuit wires per applicable electrical codes.
Conduits must be sealed or plugged at all entry points
as per applicable electrical code.
Remove wing nuts and studs after concrete is cured
before the forms are stripped.
Remove electrical tray from shipping carton.
Pull out supply wires and connect appropriate supply leads to
electrical tray input.
Push all spices securely into box.
Install electrical tray with screws provided and insert lamp as
required.
Remove faceplate assembly from shipping carton.
Before continuing mounting surface must be smooth and at to
allow gasket to make good contact for a water tight seal.
Coat screws with white grease and install faceplate to housing
anchor nuts.
Energize and test as required.
IMPORTANT
Disconnect power before installing xtures. Read instructions before
starting work. This product must be installed in accordance with the
applicable installation code by a person familiar with the construction
and operation of the product and the hazards involved.
REV. 06/28/10
1
2
3
4
5
6
7
8
ELECTRICAL TRAY AND FACEPLATE INSTALLATION
11"
3"
Housing
Housing
Faceplate
Lamp
(by others)
Concrete form
(by others)
Studs and wing nuts
Concrete
(by others)
Spacing to
center line
Figure 1
Spacing to
center line
Height to
center line
1/2" NPT
conduit entry
Electrical tray
www.rebellelighting.com
© 2010 REBELLE All rights reserved.
REBELLE ARCHITECTURAL LIGHTING 11475 - 201A Street, Maple Ridge, B.C. Canada V2X 0Y3
P 604.465.5739 F 604.465.9801 E [email protected] W rebellelighting.com
1
2
3
4
HOUSING INSTALLATION - HOLLOW WALL
Sightlines 2400 Series
Remove housing assembly from the shipping con-
tainer.
Position housing in stud construction to keep at least
1/2” clearance around unit except at mounting points.
Make sure front edge of housing protrudes enough to
be ush with nishing wall plane.
Install supply wiring per applicable code requirements.
Notes:
These units are listed/certied as non-ic recessed
units. They are meant to be installed with 1/2” space
around the recessed housing, except at point of
mounting contact. Insulation must be kept away from
housing by a minimum of 3 inches. The ballasts are
thermally protected to guard against misuse.
Remove electrical tray from shipping carton.
Pull out supply wires and connect appropriate supply leads to
electrical tray input.
Push all splices into j-box and re-attach cover plate.
Install electrical tray with screws provided and insert lamp as
required.
Remove faceplate assembly from shipping carton.
Before continuing mounting surface must be smooth and at to
allow gasket to make good contact for a water tight seal.
Coat screws with white grease and install faceplate to housing
anchor nuts.
Install faceplate to housing anchor nuts.
Energize and test as required.
IMPORTANT
Disconnect power before installing xtures. Read instructions before
starting work. This product must be installed in accordance with the
applicable installation code by a person familiar with the construction
and operation of the product and the hazards involved.
1
2
3
4
5
6
7
8
9
ELECTRICAL TRAY AND FACEPLATE INSTALLATION
11"
3"
Housing
Housing
Faceplate
Stud construction
(by others)
Blocking
(by others)
1/2" sheeting
(by others)
Screws/nails
as required
(by others)
Wall board
thickness
Housing
Blocking
(by others)
Stud construction
(by others)
1/2" sheeting
(by others)
Lamp
(by others)
Electrical tray
REV. 08/12/10

Other Rebelle Outdoor Light manuals

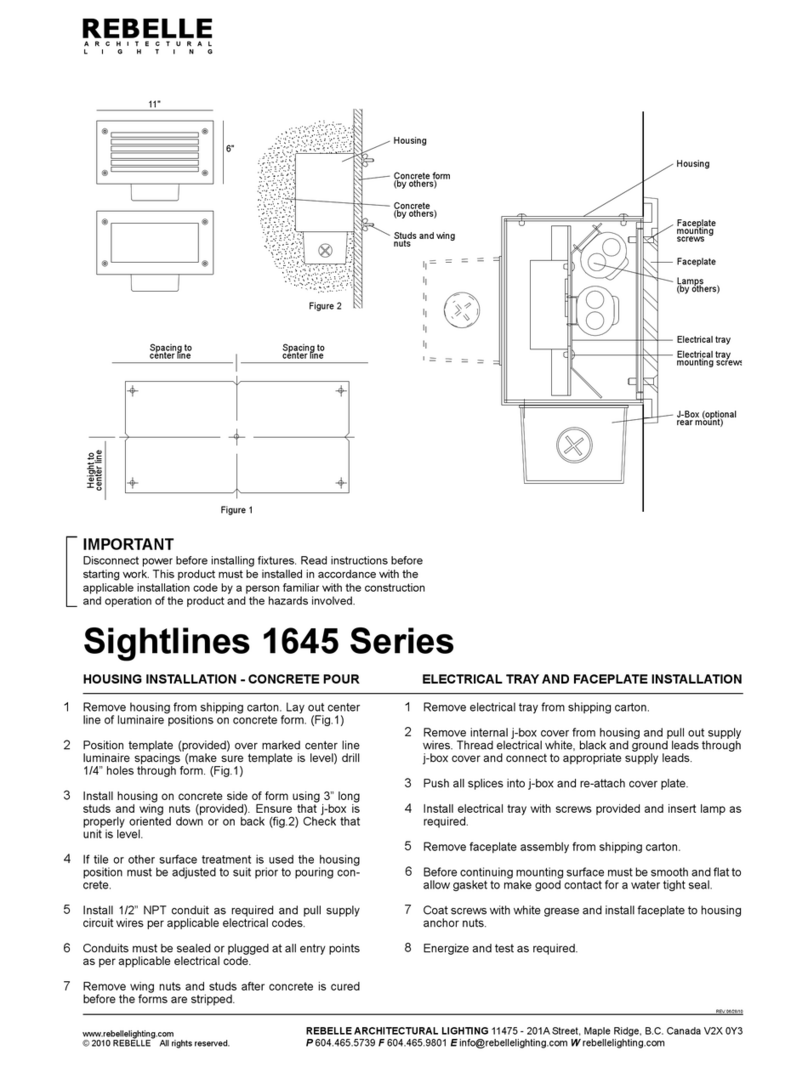
Rebelle Sightlines 1645 Series User manual

Rebelle

Rebelle Sightlines 1645 Series User manual

Rebelle Saturna 5009 Series User manual

Rebelle

Rebelle Saturna 5009 Series User manual

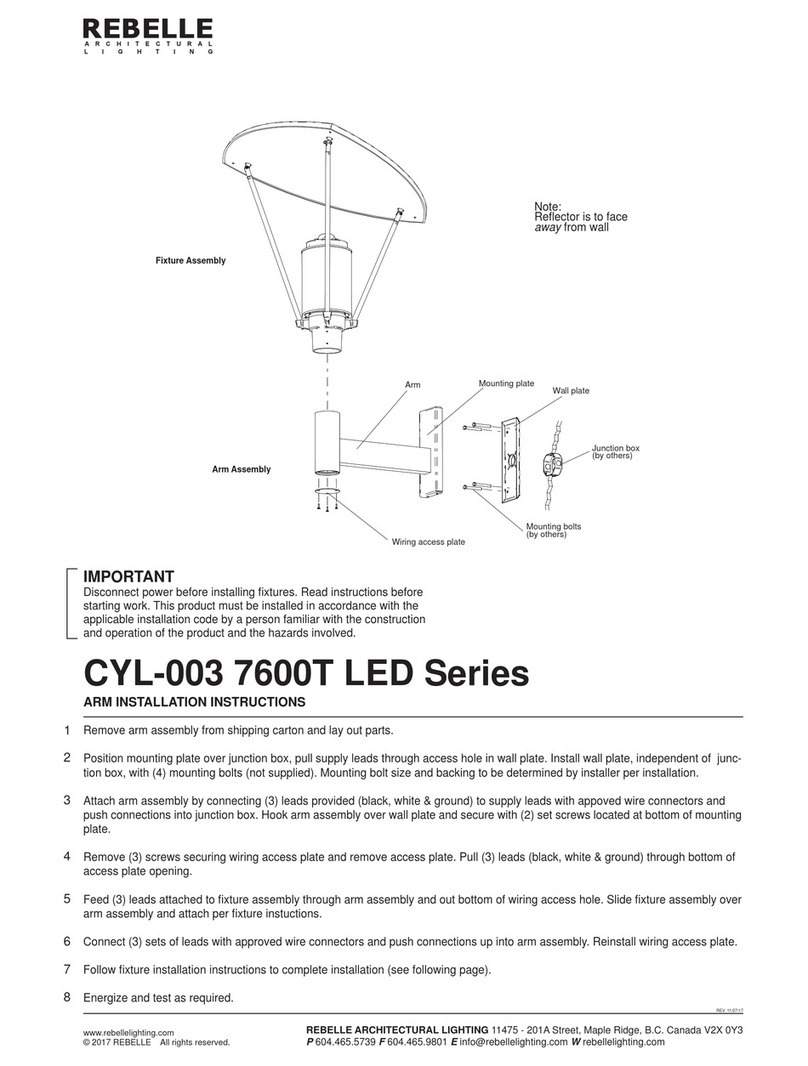
Rebelle CYL-003 7600T LED Series User manual

Rebelle

Rebelle CYL-003 7600T LED Series User manual

Popular Outdoor Light manuals by other brands

PXM PX351 user manual

PXM

PXM PX351 user manual

Heitronic PUERTO RICO Installation and operating instructions

Heitronic

Heitronic PUERTO RICO Installation and operating instructions

LIGMAN CO-70098-1 installation manual

LIGMAN

LIGMAN CO-70098-1 installation manual

LUCIDE TENSO SOLAR installation manual

LUCIDE

LUCIDE TENSO SOLAR installation manual

Faro Barcelona BRONX 71194 instructions

Faro Barcelona

Faro Barcelona BRONX 71194 instructions

Unilamp ARC installation manual

Unilamp

Unilamp ARC installation manual

Epstein-Design Pyramide E27 manual

Epstein-Design

Epstein-Design Pyramide E27 manual

MOOD GOTEBORG SL487 Installation and operating instructions

MOOD

MOOD GOTEBORG SL487 Installation and operating instructions

Home Decorators Collection IZC5401LX-01/BK Use and care guide

Home Decorators Collection

Home Decorators Collection IZC5401LX-01/BK Use and care guide

Inspire PEKKO Assembly, Use, Maintenance Manual

Inspire

Inspire PEKKO Assembly, Use, Maintenance Manual

Contardi Freedom Outdoor Installing instructions

Contardi

Contardi Freedom Outdoor Installing instructions

SIMES MINI MOAI S.6150 installation instructions

SIMES

SIMES MINI MOAI S.6150 installation instructions

Portfolio MS16Mh-R5-CB-C8 installation instructions

Portfolio

Portfolio MS16Mh-R5-CB-C8 installation instructions

HUBBELL LIGHTING KIM LIGHTING WARP9 WP9L installation instructions

HUBBELL LIGHTING

HUBBELL LIGHTING KIM LIGHTING WARP9 WP9L installation instructions

LightPro 215A user manual

LightPro

LightPro 215A user manual

Quoizel T0251 Assembly and installation instructions

Quoizel

Quoizel T0251 Assembly and installation instructions

TIROSS TS1903 instruction manual

TIROSS

TIROSS TS1903 instruction manual

oneConcept 10027647 user manual

oneConcept

oneConcept 10027647 user manual

manuals.online logo
manuals.online logoBrands
  • About & Mission
  • Contact us
  • Privacy Policy
  • Terms and Conditions

Copyright 2025 Manuals.Online. All Rights Reserved.