6
Use within photogrammetry workflow
There are five main tasks involved in completing a photogrammetry project with the Base Station
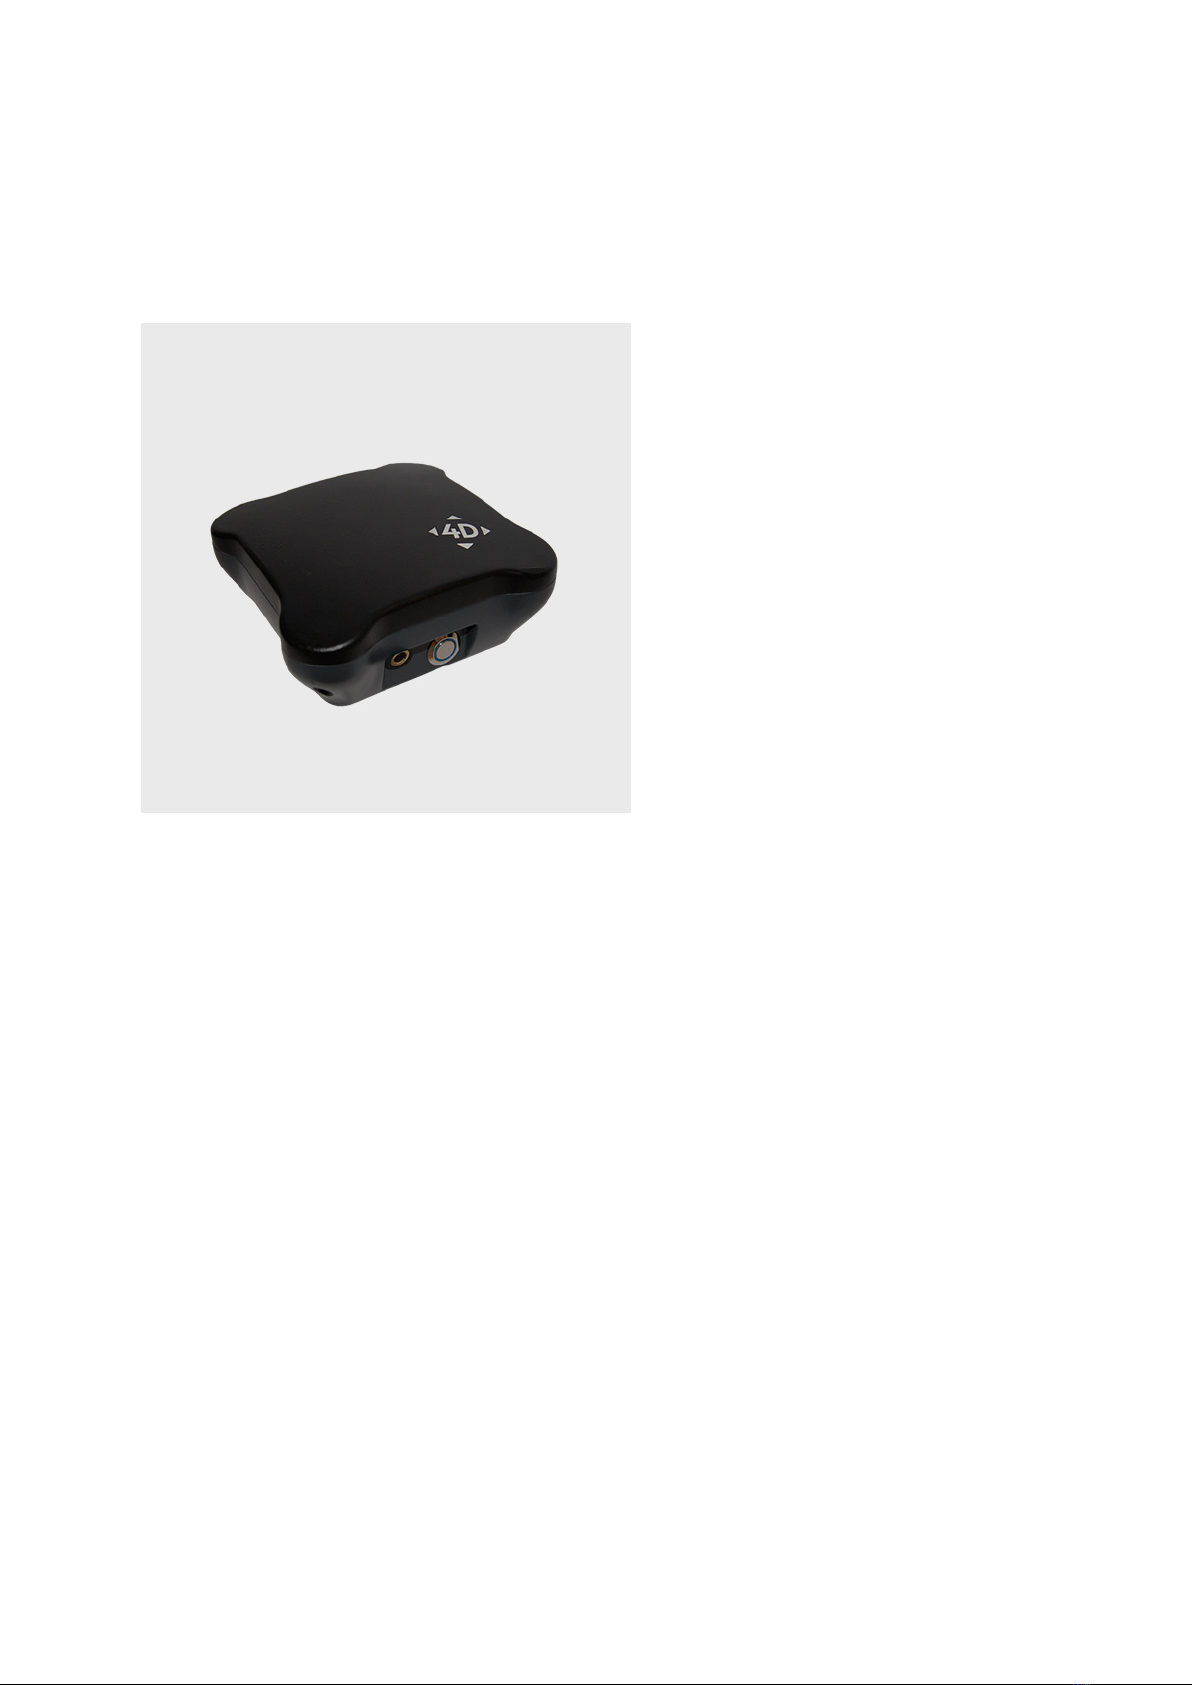
Mono and 3D ImageVector Mono (or equivalent rover GNSS device). These are shown in the image
below.
Preparation
1. Charge ImageVector, camera and Base Station.
2. Delete old files from ImageVector and Base Station.
3. Prepare SD memory card for camera.
4. Make a plan for photographing the object.
5. Ensure that expected environmental and weather conditions are suitable.
Recording in the field
6. Select a site for your Base Station that is clear of buildings and trees, has a clear view of the
sky, and is in the vicinity of your project
7. Mount the Base Station on a tripod by screwing gently onto the thread at the base of the
unit. This should be done before your ImageVector/rover device.
8. Turn on the Base Station by pressing the silver button. One of the LEDs will light up,
indicating that it is running.
9. Set up the ImageVector in a location with good GNSS reception.
10. Wait for 3-12 minutes to initialise the GNSS system.
11. Record your images.
12. After recording, leave the ImageVector switched on for approximately 2 minutes.
13. Wait a further 2 minutes and then switch off the Base Station.
14. Save data on your PC using the provided USB cable.
Postprocessing
1. Save the Base Station RINEX data (.ubx) to your PC.
2. Save the ImageVector/rover RINEX data files (.ubx, .MRK, .obs) to your PC. Refer to your
device’s manual or the REDtoolbox manual to determine which files are needed.
3. Perform postprocessing and geotagging with the REDtoolbox software (if you do not have
the software, please contact REDcatch GmbH). Refer to the REDtoolbox manual for
instructions.
4. Check the validity of the output.
Photogrammetric processing
•Import images and image reference files that were created using the REDtoolbox, or
•Open the project file created by the REDtoolbox (e.g. Agisoft Photoscan.psx)