Plumbers, please ensure a copy of the installation
instruction is left with the end user for future reference.
of 06
Posh - Bristol Freestanding Baths of 02
Installation Instructions
A B
A B
Page 1 of 2
Plumbers, please ensure a copy of the installation
instructions is left with the end user for future reference.
Roca Inspira Round Above Counter Basin
370mm x 370mm
Plumbers, please ensure a copy of the installation instructions
is left with the end user for future reference
169
140
ø370
150
I
610
795
870
169
140
150
I
610
795
870
150
140
169
ø370
ø35
ø35
425 min
60 min
230 min
155 min
230 min
ø120
1 2 3 4
1
2
INSTALLATION INSTRUCTIONS
A3275L0
Ø120
A32768J/
[mm]
60 min.
Ø35
230 min.
170
425 min. 485 min.
170 min. 1 2 3 4
1
2
SAP - 1304517 - c
A3275L1
100mm
Jigsaw
Roca Inspira Round Above Counter Basin
370mm x 370mm
Installation Instructions
Roca Inspira Light Above Counter Basin 370mm
Disclaimer: Products in this specification manual must by regulation be installed by licensed and
registered trade people. The manufacturer/distributor reserves the right to vary specifications or
delete models from their range without prior notification. Dimensions are nominal measurements only.
Dimensions and set-outs listed are correct at time of publication however the manufacturer/distributor
takes no responsibility for printing errors.
Published 06/07/2021
Specification Sheet
Roca Inspira Square Above Counter Basin
370mm x 370mm Matte White
Dimensions are nominal measurements only.
To see the complete Roca range go to
www.reece.com.au
SPECIFICATIONS
Recommended Use Domestic, Hotel & Commercial
Basin Colour White
Basin Finish Matte
Material FINECERAMIC®
Mounting Countertop
Overflow Configuration No Overflow
Taphole Configuration No Taphole
Bowl Capacity 14.5L
Weight 6.1kg
Plug & Waste Size Open Waste
Plug & Waste Sold Separately
Tapware Sold Separately
WARRANTY
Warranty - Domestic Use 10 Years
Spare Parts & Labour 12 Months
Please refer to Warranty Page for full Terms and Conditions
CLEANING RECOMMENDATIONS:
We recommend the use of soapy water or approved cleaners. This product should not be cleaned with abrasive materials.
Damage caused by any improper treatment is not covered by the product warranty. Refer to Warranty Conditions
1806219
Page 1 of 1
140
169
370
370
ø46
Installation Instructions
Roca Inspira Round Above Counter Basin
370mm x 370mm
Roca Inspira LightSoft Square Above Counter Basin 500mmx370mm
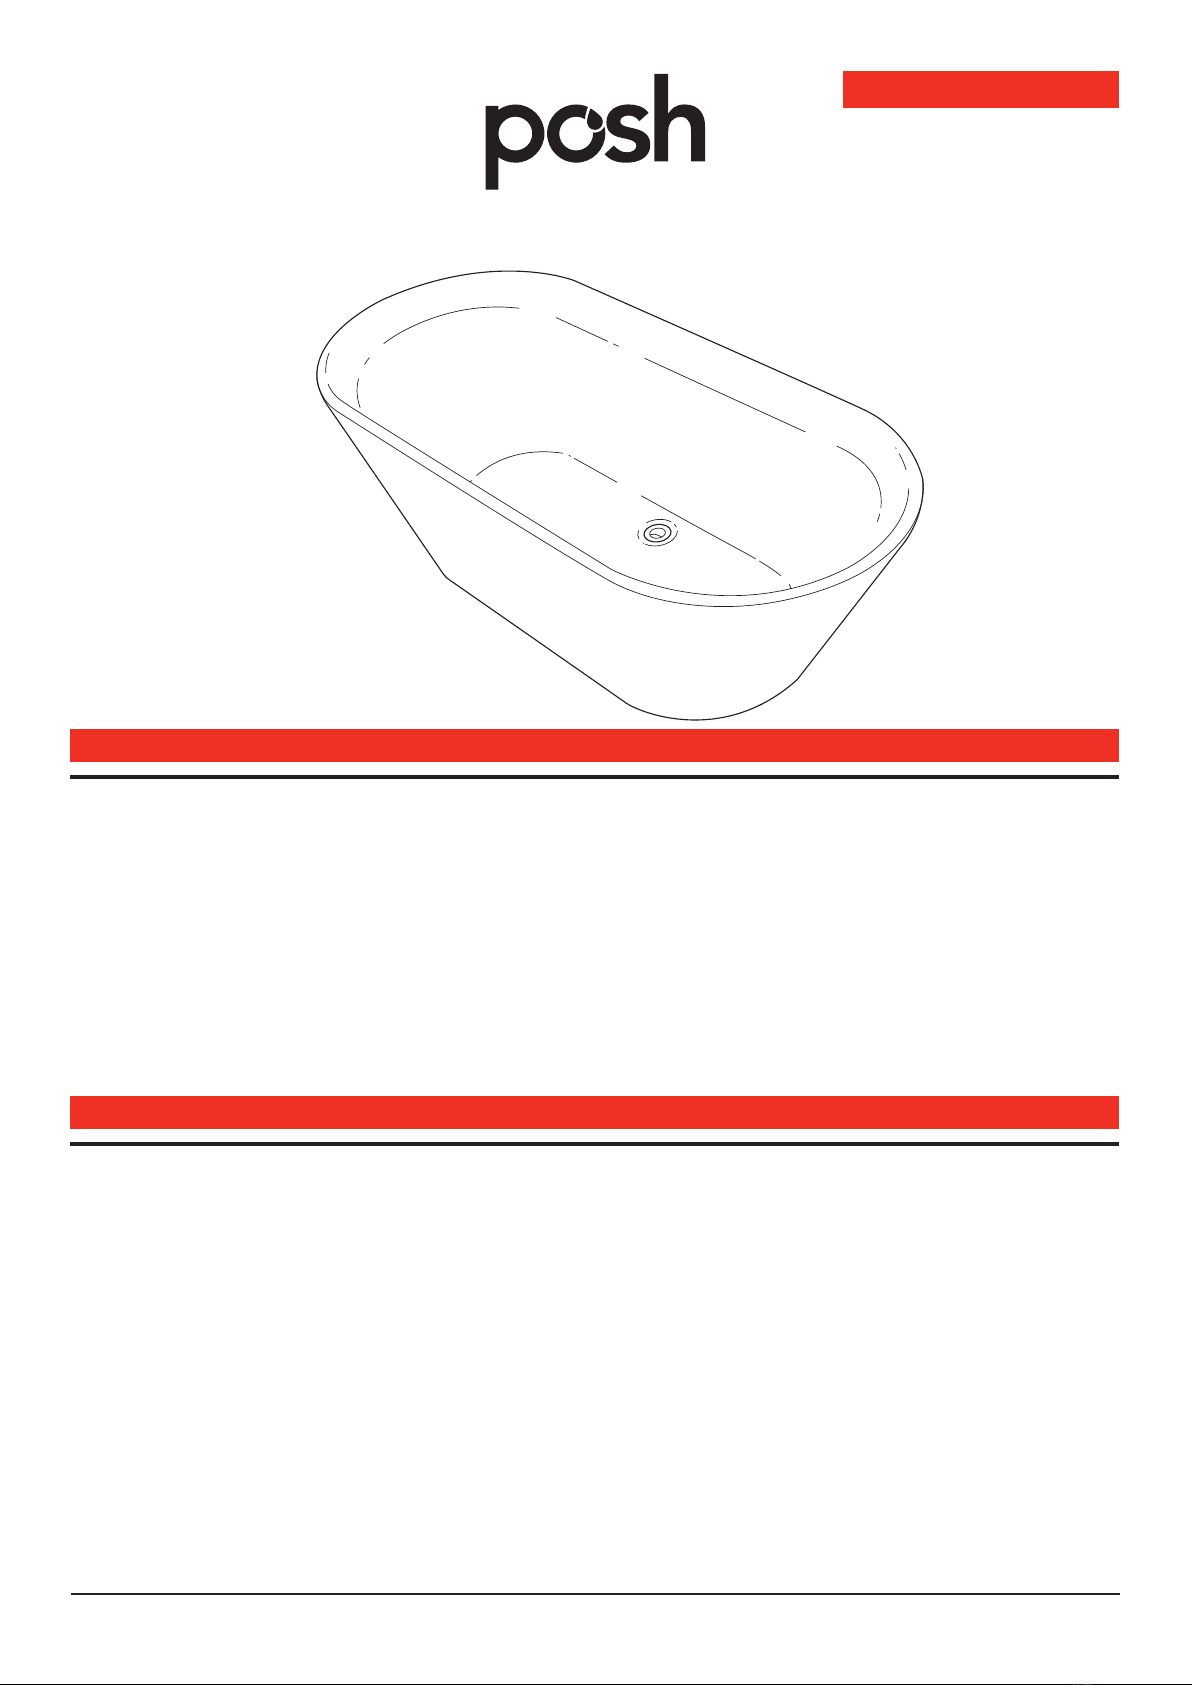
Posh Bristol Freestanding Baths
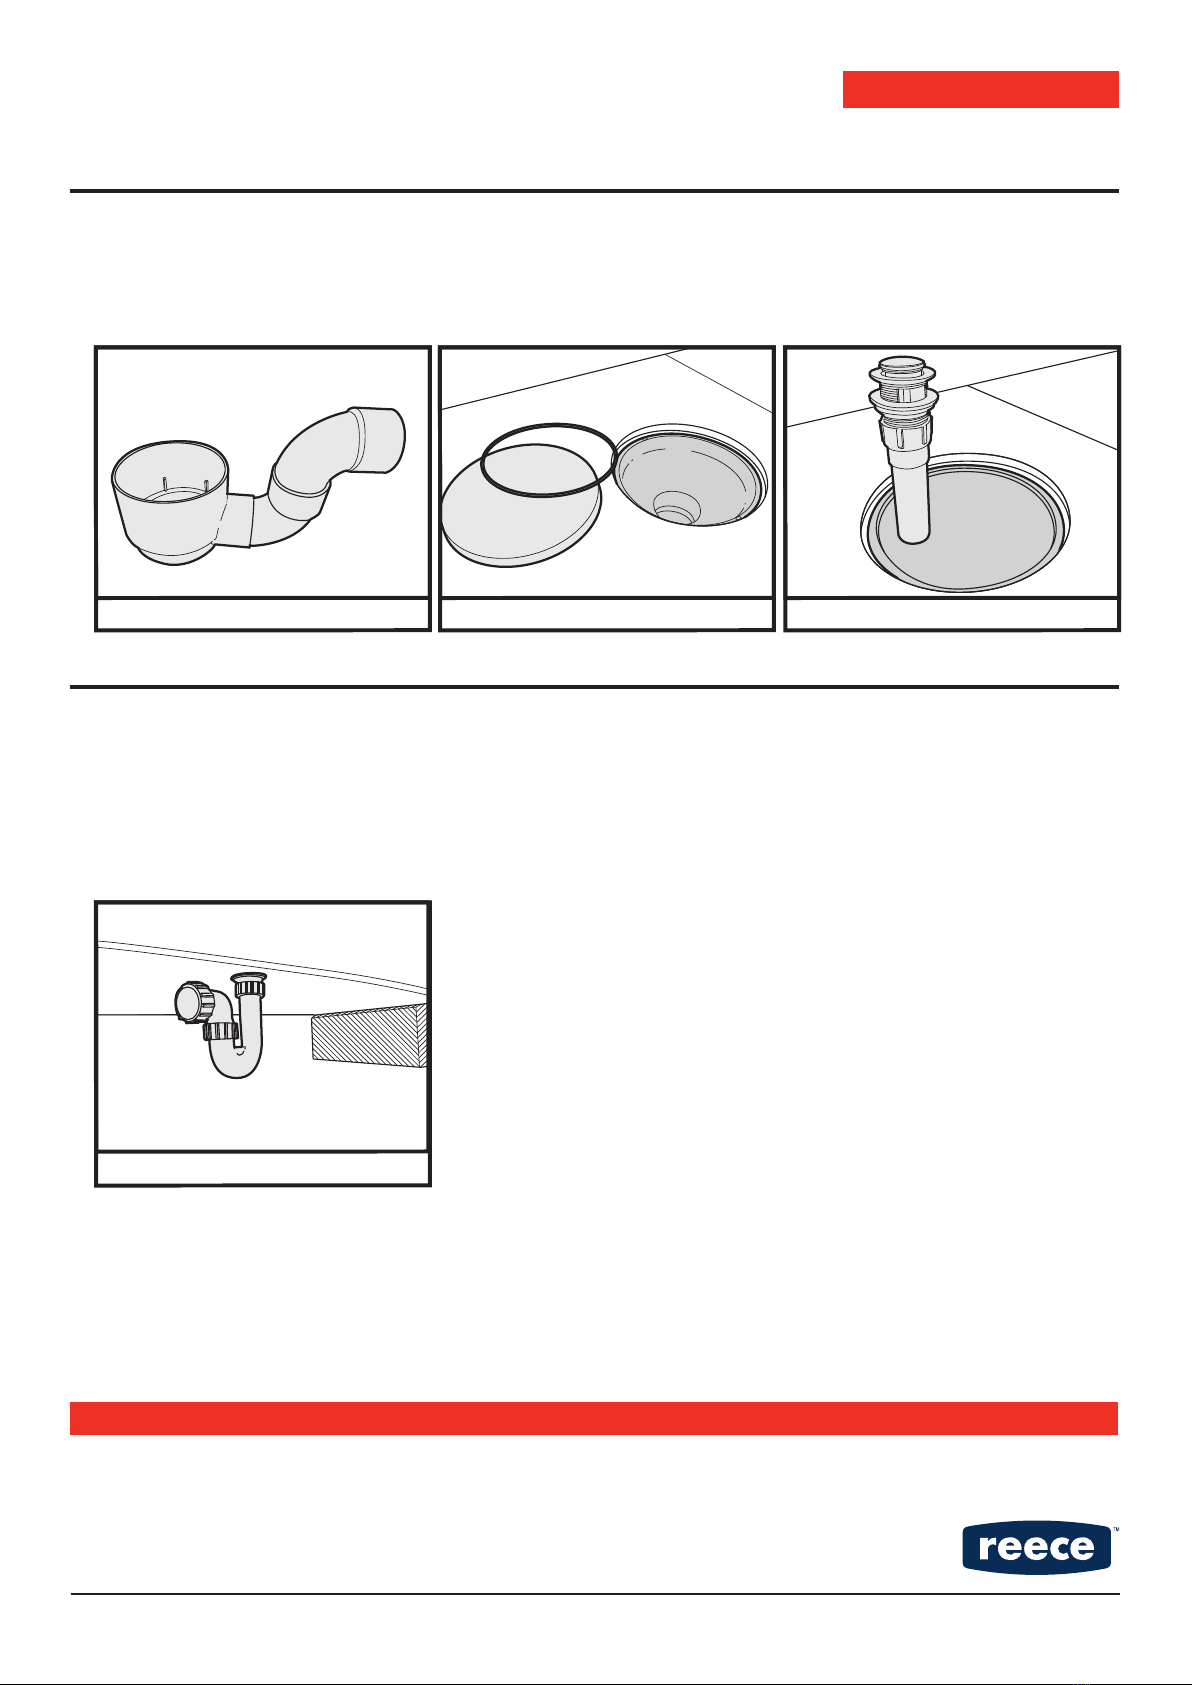
1. Install waste pipe in accordance with the set out (Diagram A). Check the waste pipe will align accurately with
bath waste. It may be necessary to use a flexible coupling or length of unrestrained waste pipe to absorb strain
on the bath due to misaligned waste setup see (Diagram C).
2. This bath is not self supporting and does require a support at the base via masonry, steel or timber. It is
important that the full rim of the bath rests on a support wall constructed from wood, masonry or steel. If the
bath is to be checked into the wall then a batton should be securely bolted to the wall to provide
support (Diagram B and C).
3. Place bath in position and connect waste. Fill bath and then release, checking seals for leaks and that the bath
drains successfully.
4. Apply flexible sealant to the exposed edges.
5. Enclose and tile in bath.
Please check surface thoroughly before installing. Installation of the bath will be taken as
acceptance of the product. Also, it is important to install the product in accordance with the
installation instructions below.
Installation Instructions
Diagram A
Posh Bristol Enamelled Pressed Steel Inset Bath
Page 01
1
Please check surface throughly before installing.
Installation of the bath will be taken as acceptance of
the product. Also, it is important to install the product
in accordance with this installation instruction.
570 mm
1200 1500 1600 1700
700 700 700 700
375 390 390 390
70 70 70 70
65 65 65 65
290 290 290 290
1500
750
375
105
70
310
1700
750
375
110
80
330
Prior To Installation
Note: It may be necessary to
use a flexible coupling or
length of unrestrained waste
pipe to absorb strain on the
bath due tomisaligned waste
setup.
1
Please check surface throughly before installing.
Installation of the bath will be taken as acceptance of
the product. Also, it is important to install the product
in accordance with this installation instruction.
C
AED
F
B
ŸInstall waste pipe in accordance with the diagram. Check waste
pipe to ensure alignment with bath waste.
ŸThis bath is not self supporting and does require a support at the
base via Masonry, Steel or Timber (1).
Note: It may be necessary to use a flexible coupling or length
of unrestrained waste pipe to absorb strain on the bath due
to misaligned waste setup.
Note: If the bath is to be checked into the wall then a batten
should be securely bolted to the wall to provide support.
1200
A
B
C
D
E
F
1500 1600 1700 1500 1700
700
360
60
80
290
700
390
80
60
290
700
390
75
85
290
700
390
95
90
290
750
390
60
55
290
750
390
95
65
330
The installation of this Toilet Suite shall be in line with the normal minimum requirements in
AS/NZS 3500
The installation of this Toilet Suite shall be in line with the normal minimum requirements in
AS/NZS 3500
ŸUnwrap the bath and check it carefully to ensure it has not been damaged in handling or transport.
ŸCheck that all parts have been supplied.
ŸAssemble bath on a mat to protect against damage to bath surface.
ŸDo not remove the old fixture before you unpack and inspect the new unit.
ŸStore the bath in a safe place until you begin installation to avoid damage.
ŸAny installation should be carried out by a qualified tradesman with knowledge of statutory plumbing
requirements in your area.
ŸThis installation guide does not include details of waste connection; final decision about installation of
waste connection should be taken by a suitably qualified individual.
• Install waste pipe and trap - taking into consideration the waste position of the bath. Make sure that the surface
where the bathtub will be placed is perfectly flat, free of any excess humidity and offers adequate support.
• The bath should be supported by the legs, not by the rim. Adjust the feet to level and support bath from base.
• Ensure all adjustable bath feet are level and load bearing. this can be done by using a spirit level on a flat surface
on the top of the bath. Check the bath is level along each axis.,
• To make any height adjustments, the bath feet can be rotated to raise or lower the feet. Adjust bath feet until bath
is 3mm above the floor and once bath is level and the feet are in the correct position, the locking nut can be
tightened with a spanner to prevent the feet from moving further.
• Measure the location of the bathtub feet in relation to the desired installation position. Mark on the floor the
location of the feet and use a marking pencil to draw a bath outline on the floor around the bath base.
• Lift and tilt bath up on it’s side and fit the waste. Water test the bath to check that it is draining correctly without and
leaks.
• Silicone seal the bath with the corner wall and in position onto the floor and into 3mm gap between base of bath
and floor to seal it. Allow seal to fully cure for 24 hours before use.
• A suggested bath component list for Slab floor or 2nd storey bath connection or Timber floor with clear access
underneath is listed on the next page:
Installation
TBA