10
- Press and hold for 3 seconds to activate pairing mode so that the remote con-
trol can be paired with the S1 gimbal.
- To change the mode, press the button briey.
- Pan Mode: Gimbal can be operated by up or down direction keys.
Follow Mode: Gimbal can be operated by up or down direction keys.
Lock Mode: Gimbal can be operated by left, right, up or down direction keys.
5-way Directional Keys
Status Indicator
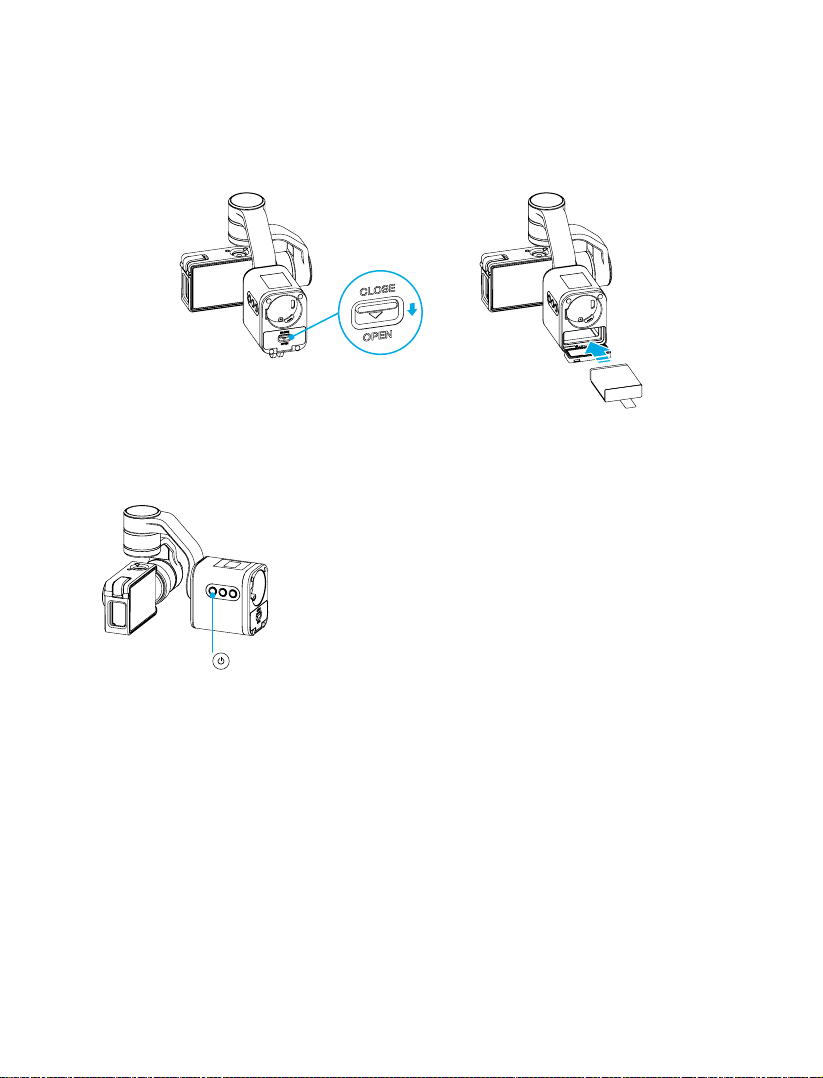
Power Button
- Charging: Red LED
- Fully Charged: Green LED
- Standby Mode: Green LED ashes
- Press and hold the power button for 1 second to turn the device ON/OFF.
5. How to use the Remote Control
1. Connect a camera to the gimbal.
2. Turn the power on the gimbal.
3. After the gimbal has powered on, press and hold the pairing button for 3 seconds until the
ashes on the OLED display.
4. Turn the power on the remote control.
5. After the remote control has powered on, press and hold the 5-way direction key for 3 seconds until
the OLED displays the pairing icon.
6. Once pairing is complete, the OLED display to indicate that the remote control and gimbal are
paired and connected. The remote control can now be used with the gimbal.
Note: You only need to follow the steps above once. Afterwards, the S1 and remote control
will connect automatically.
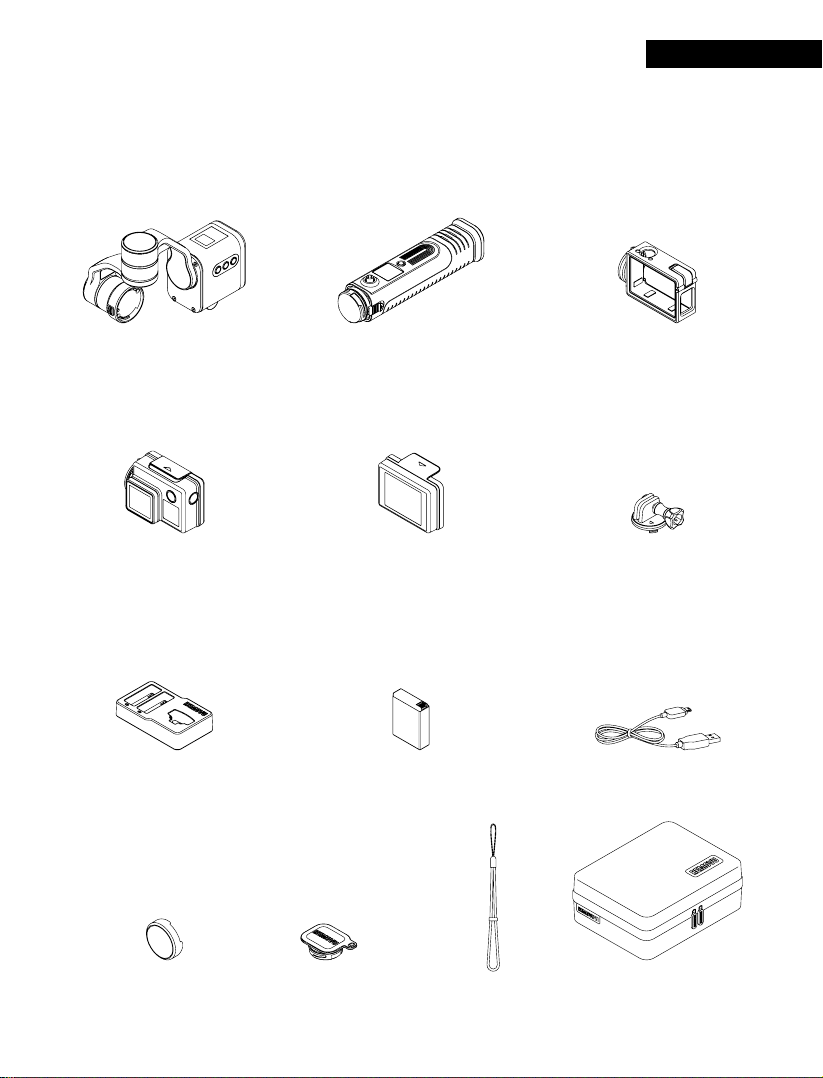
Part Descriptions
Pairing