manuals.online logo
Brands
  1. Home
  2. •
  3. Brands
  4. •
  5. Remus
  6. •
  7. Ventilation Hood
  8. •
  9. Remus 8 User manual

Remus 8 User manual

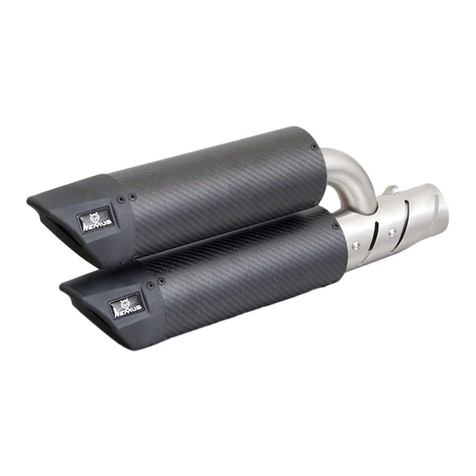
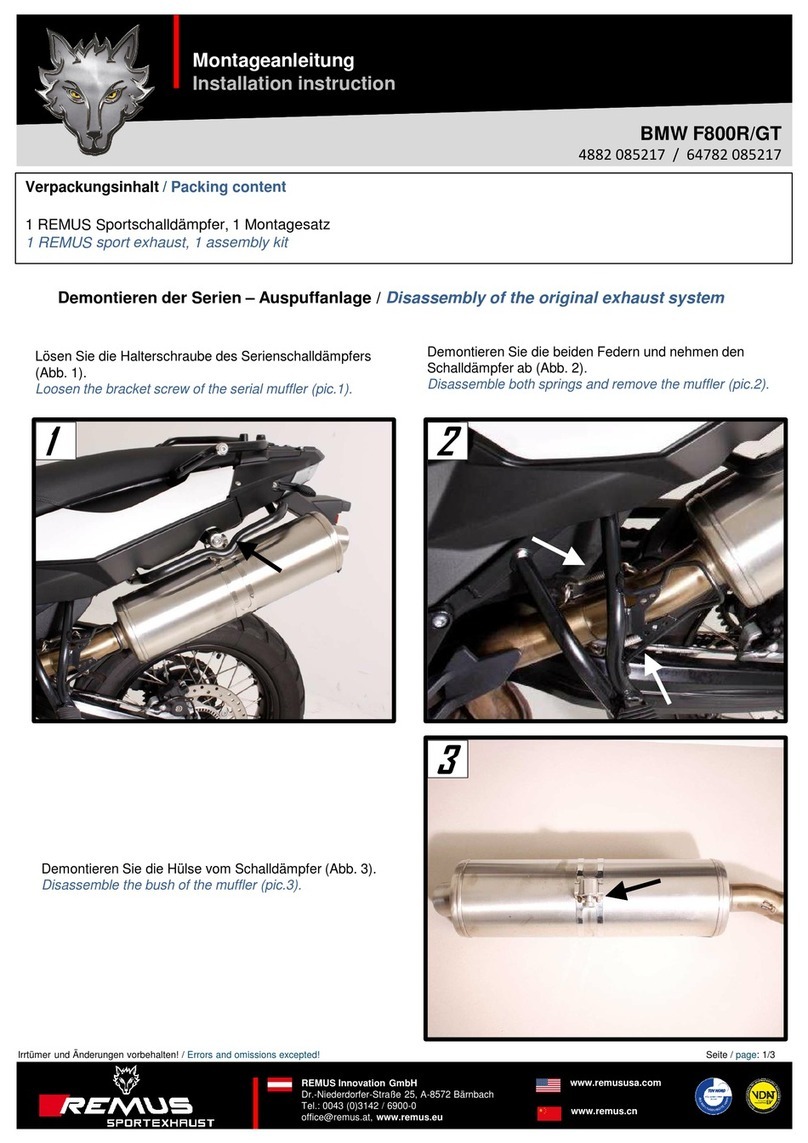
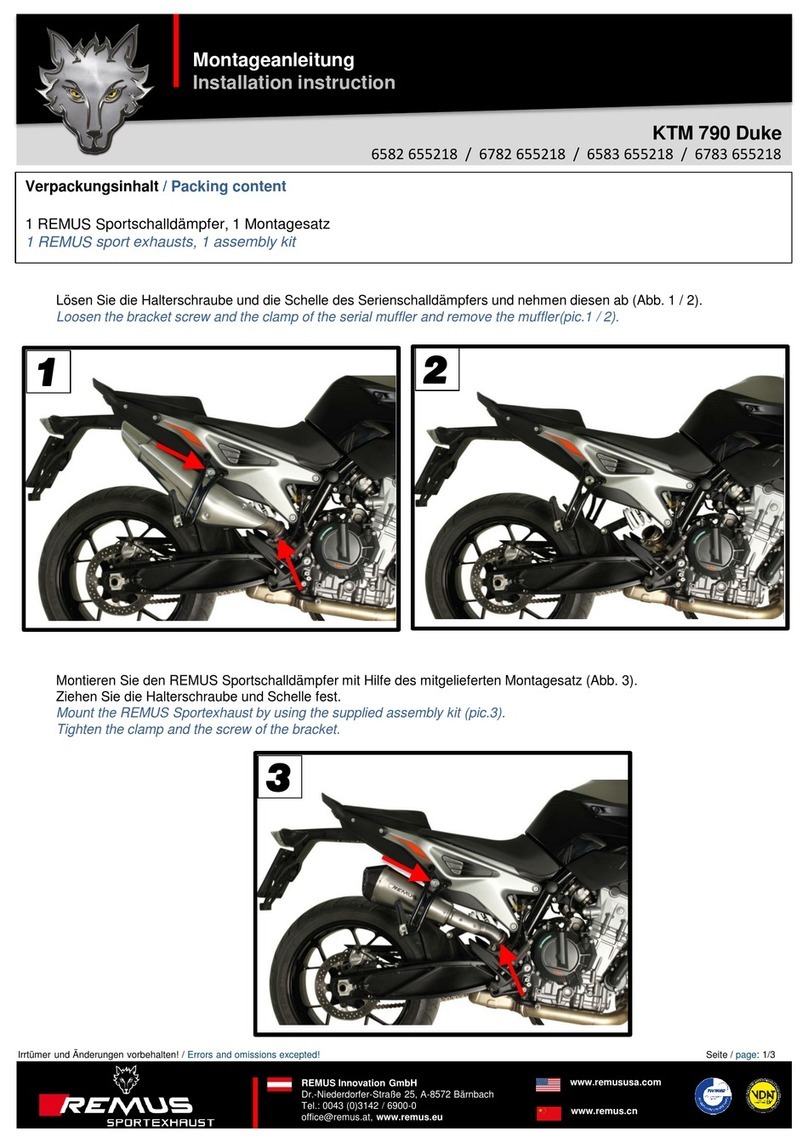
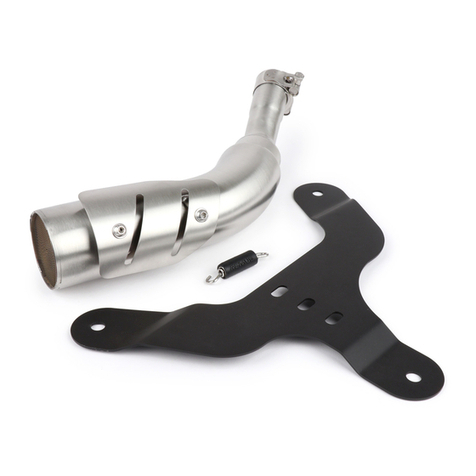
BMW R1250GS REMUS 8
Montageanleitung
Installation instruction
Irrtümer und Änderungen vorbehalten! / Errors and omissions excepted!
REMUS Innovation GmbH
Dr.-Niederdorfer-Straße 25, A-8572 Bärnbach
Tel.: 0043 (0)3142 / 6900-0
[email protected], www.remus.eu
www.remususa.com
www.remus.cn
Seite / page: 1/3
Verpackungsinhalt / Packing content
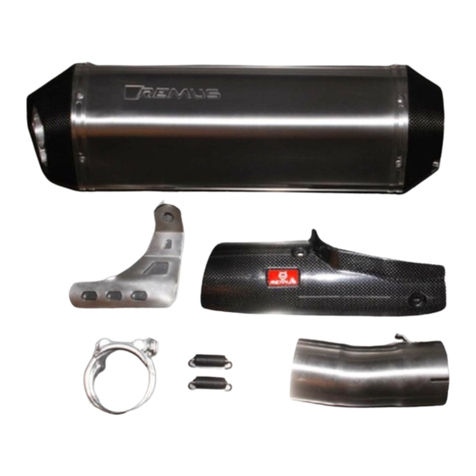
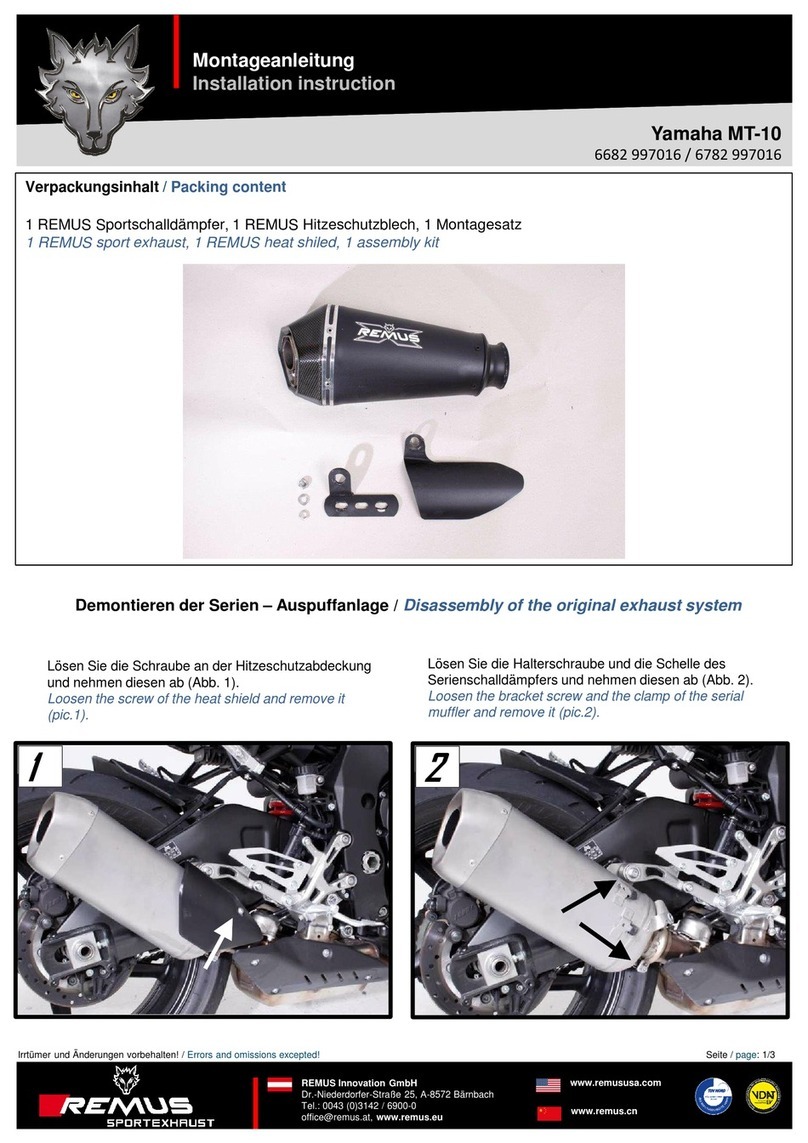
1 REMUS Sportschalldämpfer, 1 Montagesatz
1 REMUS sport exhaust, 1 assembly kit
1
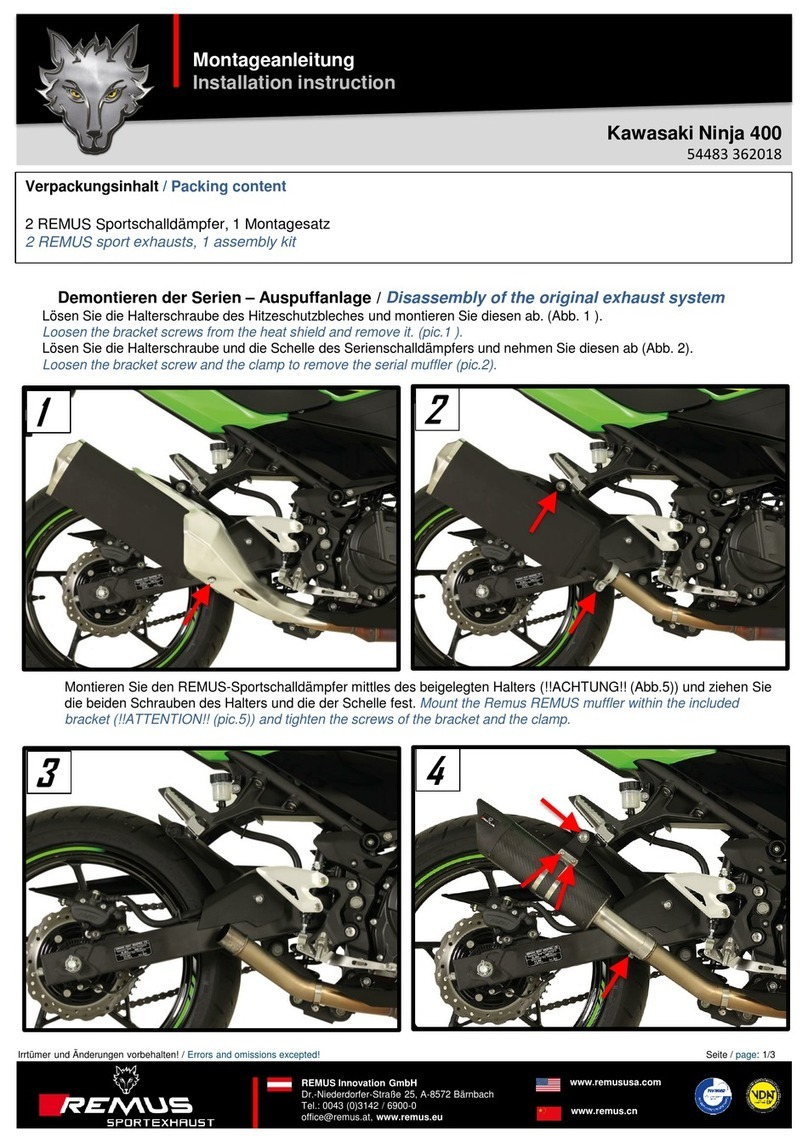
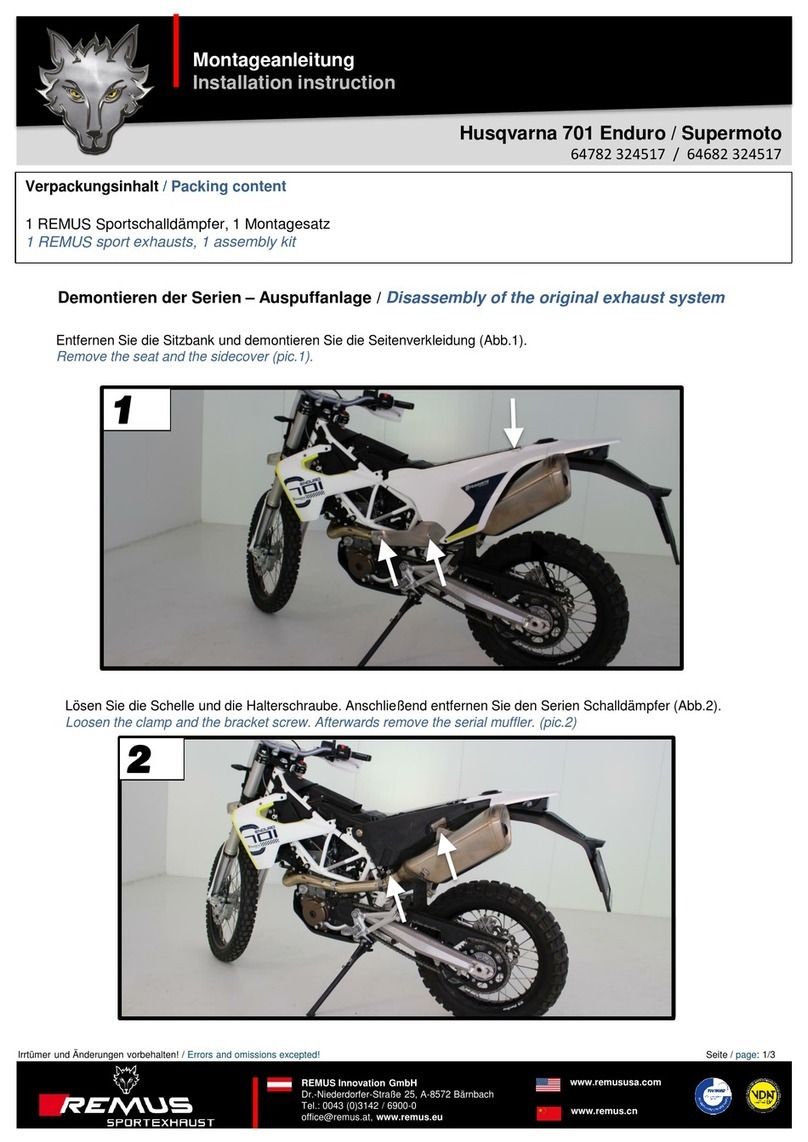
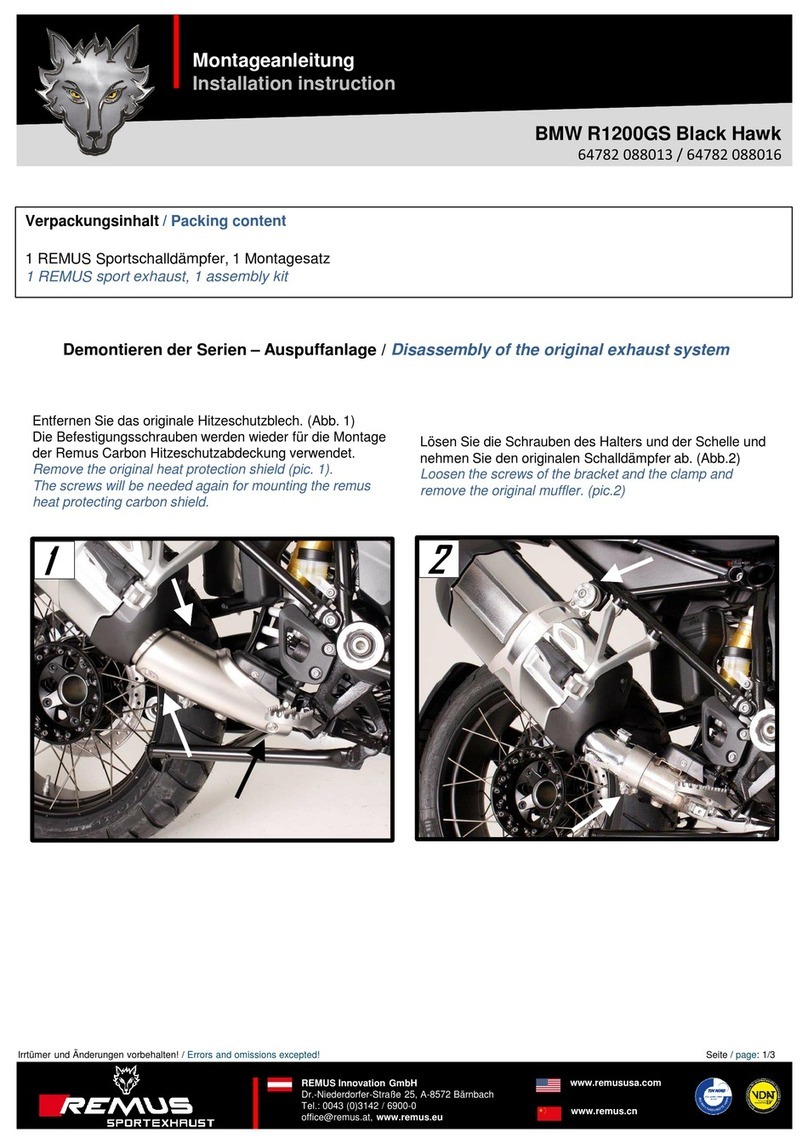
Demontieren der Serien – Auspuffanlage / Disassembly of the original exhaust system
Entfernen Sie das originale Hitzeschutzblech. (Abb. 1)
Die Befestigungsschrauben werden wieder für die Montage
der Remus Carbon Hitzeschutzabdeckung verwendet.
Remove the original heat protection shield (pic. 1).
The screws will be needed again for mounting the remus
heat protecting carbon shield.
2
Lösen Sie die Schrauben des Halters und der Schelle.
Anschließend entfernen Sie den originalen Schalldämpfer.
(Abb.2)
Loosen the screws of the bracket and the clamp and
remove the original muffler. (pic.2)
0105 088018
BMW R1250GS REMUS 8
Montageanleitung
Installation instruction
Irrtümer und Änderungen vorbehalten! / Errors and omissions excepted!
REMUS Innovation GmbH
Dr.-Niederdorfer-Straße 25, A-8572 Bärnbach
Tel.: 0043 (0)3142 / 6900-0
[email protected], www.remus.eu
www.remususa.com
www.remus.cn
Seite / page: 2/3
3
Montieren Sie die REMUS Hitzeschutzabdeckung mit den serienmäßigen Schrauben. Zur Positionierung der Hitzeschutz-
abdeckung drehen Sie die am Schalldämpfer montierte Schelle in die gewünschte Richtung. Der Abstand zwischen
Hitzeschutz und Klappengehäuseabdeckung sollte gleichmäßig sein. Positionieren Sie den Schalldämpfer und ziehen alle
Schrauben fest (Abb. 5 / 6).
Mount the REMUS heat protection shield with the serial screws. For positioning turn the clamp, which is mounted on the
muffler, in the desired position. The distance between heat protection shield and the flap cover should be constant.
Position the muffler and tighten all screws (pic. 5 / 6).
Montieren der REMUS – Auspuffanlage / Assembly of the REMUS exhaust system
4
6
Montieren Sie den Remus Halter am Remus Schalldämpfer
(Abb. 3).
Mount the Remus bracket at the Remus muffler (pic.3 ).
5
Viel Fahrspaß wünscht Ihr REMUS-Team!
Your REMUS team wishes a pleasant ride!
Montieren Sie den Schalldämpfer am Motorrad und ziehen
Sie die Schrauben leicht an. (Abb. 4)
Mount the muffler on the bike and tighten the screws
slightly. (pic. 4)
0105 088018
BMW R1250GS REMUS 8
Montageanleitung
Installation instruction
Irrtümer und Änderungen vorbehalten! / Errors and omissions excepted!
REMUS Innovation GmbH
Dr.-Niederdorfer-Straße 25, A-8572 Bärnbach
Tel.: 0043 (0)3142 / 6900-0
[email protected], www.remus.eu
www.remususa.com
www.remus.cn
Seite / page: 3/3
Klemm- oder Schraubverbindungen locker vorziehen. Den REMUS Sportschalldämpfer ausrichten und die
Verbindungen fest anziehen. Motor kurz anlassen und den kompletten REMUS Sportschalldämpfer auf Dichtheit
überprüfen. Sämtliche Bauteile, sowohl im kalten als auch im betriebswarmen Zustand auf Funktion und genügend
Freigängigkeit überprüfen. Achten Sie dabei auf einen ausreichend belüfteten Montageraum.
Nach ca. 100 km alle Befestigungspunkte bzw. -elemente auf deren Funktionstüchtigkeit überprüfen und die
Befestigungsschrauben nachziehen.
Um das gepflegte Aussehen verchromten sowie schwarz lackierten Bauteile auf Dauer zu gewährleisten, ist eine
einfache Reinigung notwendig. Vor allem Salzablagerungen müssen umgehend mit Wasser entfernt werden.
Slightly tighten the clamp- and bolted connections. Align the REMUS sport exhaust and tighten the connections.
Start the engine and test the whole system for leaks. Check all components for proper operation and sufficient
clearance, both in cold and in operative condition. Pay attention that the workplace is adequately ventilated.
After 60 miles check all fixation points according to tightness and function.
If necessary, re-tighten the bolted connections!
To keep the shiny appearance of chromed and black painted parts, periodical cleaning must be carried out. Please
ensure that road salt is removed as soon as possible by using water.
Vor erstmaliger Inbetriebnahme muss die Schalldämpferanlage
frei von Fettrückständen sein. Es ist ratsam nach der Montage
die Bauteile mit einem nicht aggressiven einigungsmittels zu
säubern.
Beim erstmaligen Betrieb des Enddämpfers ist die
Motordrehzahl für ca. 5 Minuten niedrig zu halten, um den
Enddämpfer gleichmäßig zu erwärmen. Nur so kann der
Dämmstoff seinen vollen Wirkungsgrad erreichen und die
geforderte Lautstärke einhalten!
!VORSICHT
Before first usage of the exhaust system, make sure that
everything is greaseless. It is advisable to clean all components
with a non-aggresive cleanser after installation.
Keep low the engine speed for 5 minutes at the first usage to get a
constant thermal expansion. This is the only way for the insulation
to get the required system effectiveness and the required sound
level!
!ATTENTION
0105 088018
This manual suits for next models

1

Other Remus Ventilation Hood manuals

Remus 0115/324517 User manual

Remus

Remus 0115/324517 User manual

Remus 6582 655218 User manual

Remus

Remus 6582 655218 User manual

Remus 84682 085518 User manual

Remus

Remus 84682 085518 User manual

Remus 7783 089518L User manual

Remus

Remus 7783 089518L User manual

Remus 0101 655119 User manual

Remus

Remus 0101 655119 User manual

Remus 0105 655019 User manual

Remus

Remus 0105 655019 User manual

Remus 4882 085217 User manual

Remus

Remus 4882 085217 User manual

Remus 6782 658017 User manual

Remus

Remus 6782 658017 User manual

Remus 6682 997016 User manual

Remus

Remus 6682 997016 User manual

Remus 0111 081819 User manual

Remus

Remus 0111 081819 User manual

Remus 64782 324517 User manual

Remus

Remus 64782 324517 User manual

Remus 64782 088013 User manual

Remus

Remus 64782 088013 User manual

Remus 54483 362018 User manual

Remus

Remus 54483 362018 User manual

Remus 0105 916017 User manual

Remus

Remus 0105 916017 User manual

Remus REMUS 8 User manual

Remus

Remus REMUS 8 User manual

Remus 0115 751516 User manual

Remus

Remus 0115 751516 User manual

Remus 007102 918516LR User manual

Remus

Remus 007102 918516LR User manual

Remus 0105 084516 User manual

Remus

Remus 0105 084516 User manual

Remus 0105 655016 User manual

Remus

Remus 0105 655016 User manual

Remus 84682 100165 User manual

Remus

Remus 84682 100165 User manual

Remus 0115 751616 User manual

Remus

Remus 0115 751616 User manual

Remus 117782 320018 User manual

Remus

Remus 117782 320018 User manual

Remus 0105 088115 User manual

Remus

Remus 0105 088115 User manual

Remus 0105 158017 User manual

Remus

Remus 0105 158017 User manual

Popular Ventilation Hood manuals by other brands

FALMEC FDLUM70ISS-2R-RIGHT Instruction booklet

FALMEC

FALMEC FDLUM70ISS-2R-RIGHT Instruction booklet

Mx Onda MX-CDP2680 User and installation manual

Mx Onda

Mx Onda MX-CDP2680 User and installation manual

JOEAONZ YY0275B Installation and user manual

JOEAONZ

JOEAONZ YY0275B Installation and user manual

S&P EBB-250 NHT manual

S&P

S&P EBB-250 NHT manual

Pkm SCB61826NS instruction manual

Pkm

Pkm SCB61826NS instruction manual

Klarstein 10032683 manual

Klarstein

Klarstein 10032683 manual

Vissani QR814 owner's manual

Vissani

Vissani QR814 owner's manual

KitchenAid 9763393A Installation instructions and use and care guide

KitchenAid

KitchenAid 9763393A Installation instructions and use and care guide

Beko HCA62320W user manual

Beko

Beko HCA62320W user manual

Westinghouse QR044 owner's manual

Westinghouse

Westinghouse QR044 owner's manual

FALMEC KACL.939 BF Instruction booklet

FALMEC

FALMEC KACL.939 BF Instruction booklet

Jenn-Air 36" Installation Instructions and Use & Care Guide

Jenn-Air

Jenn-Air 36" Installation Instructions and Use & Care Guide

GUTMANN SOMBRA II 68 EM installation instructions

GUTMANN

GUTMANN SOMBRA II 68 EM installation instructions

IKEA LAGAN manual

IKEA

IKEA LAGAN manual

KitchenAid LI31GA installation instructions

KitchenAid

KitchenAid LI31GA installation instructions

Kruger Alto S user manual

Kruger

Kruger Alto S user manual

Gorenje Plus GHT92X Instruction on mounting and use

Gorenje Plus

Gorenje Plus GHT92X Instruction on mounting and use

KKT KOLBE VITA user manual

KKT KOLBE

KKT KOLBE VITA user manual

manuals.online logo
manuals.online logoBrands
  • About & Mission
  • Contact us
  • Privacy Policy
  • Terms and Conditions

Copyright 2025 Manuals.Online. All Rights Reserved.