manuals.online logo
Brands
  1. Home
  2. •
  3. Brands
  4. •
  5. Remus
  6. •
  7. Ventilation Hood
  8. •
  9. Remus 007102 918516LR User manual

Remus 007102 918516LR User manual

Triumph Thruxton 1200
007102 918516LR / 007502 918516LR
Montageanleitung
Installation instruction
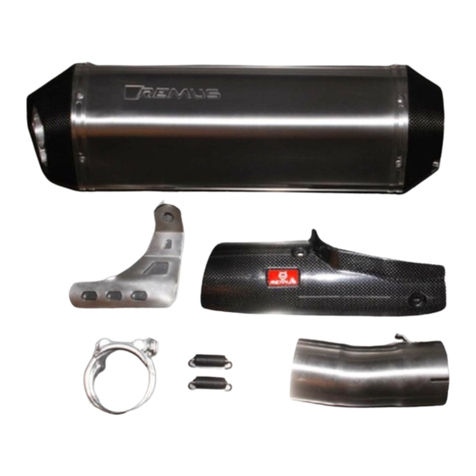
Verpackungsinhalt / Packing content
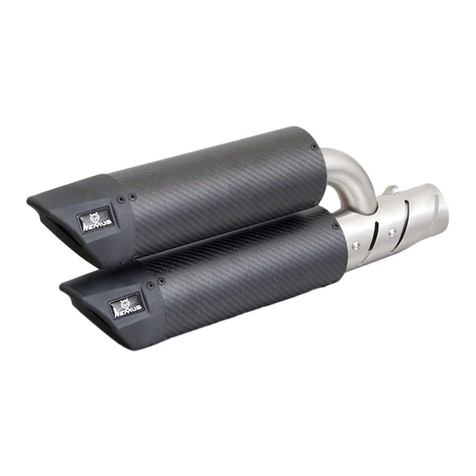
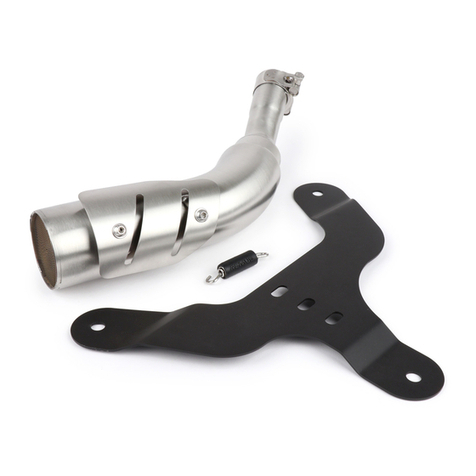
2 REMUS Sportschalldämpfer, 1 Montagesatz
2 REMUS sport exhausts, 1 assembly kit
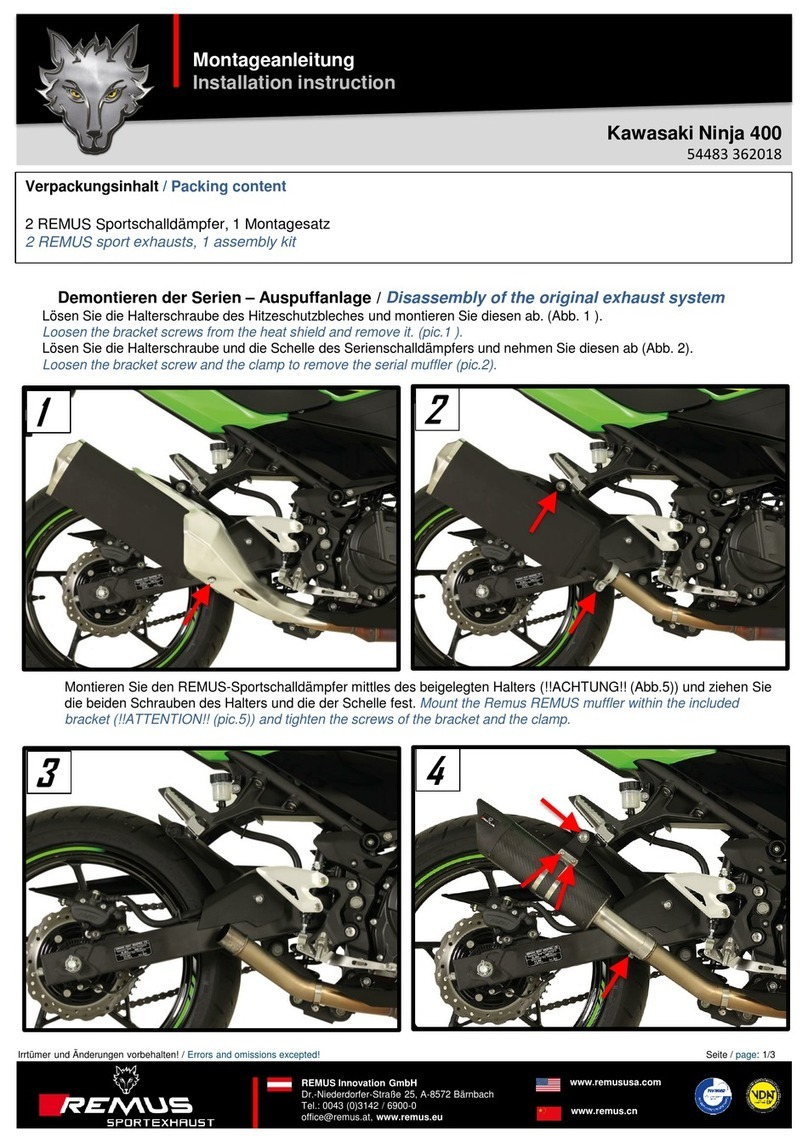
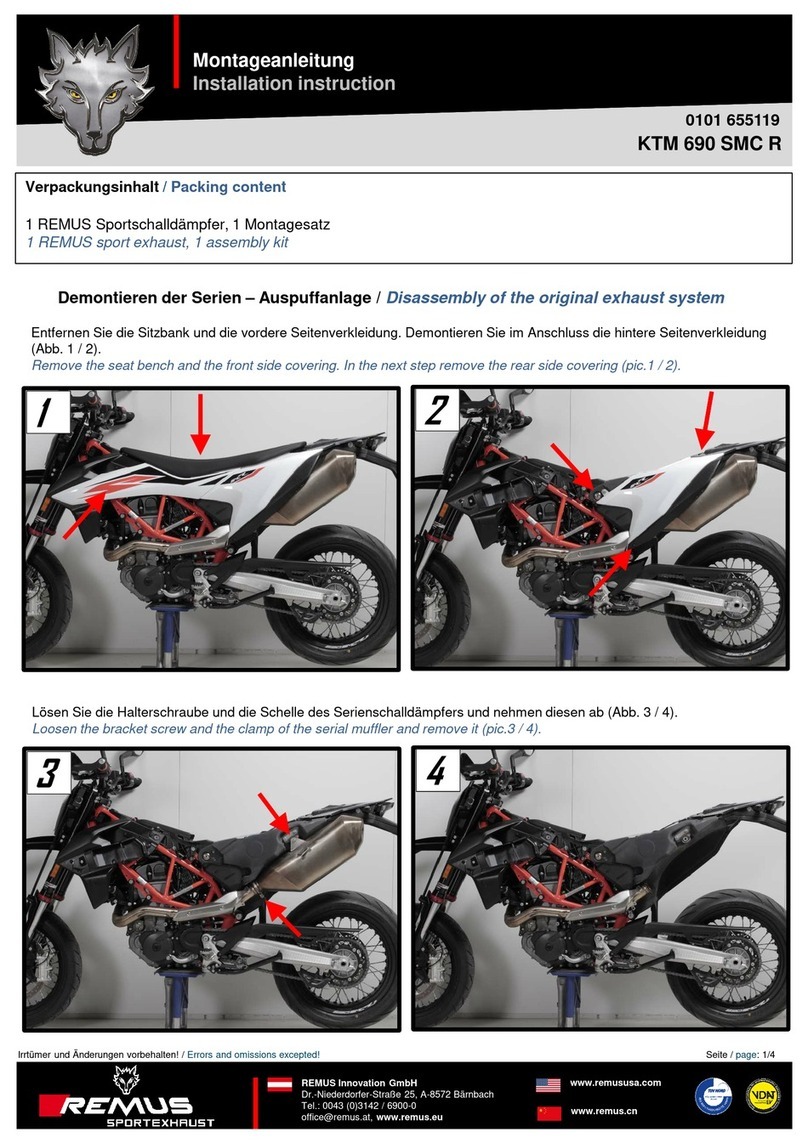
Demontieren der Serien – Auspuffanlage / Disassembly of the original exhaust system
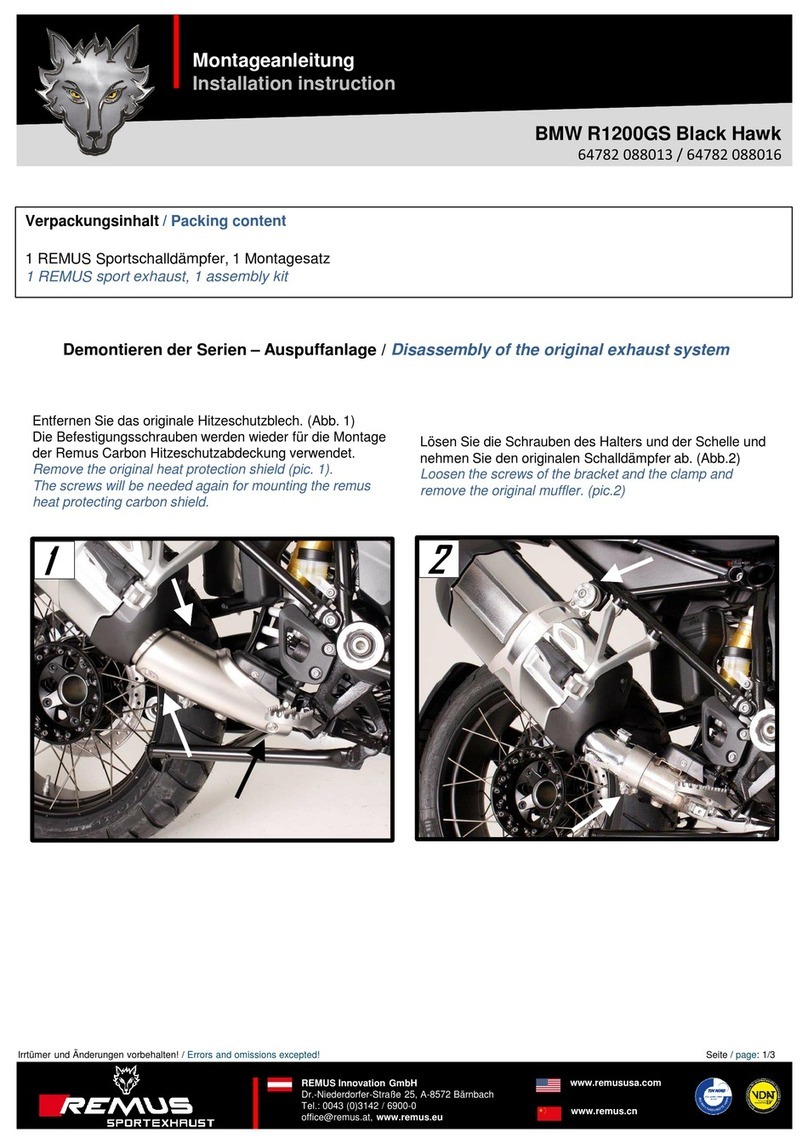
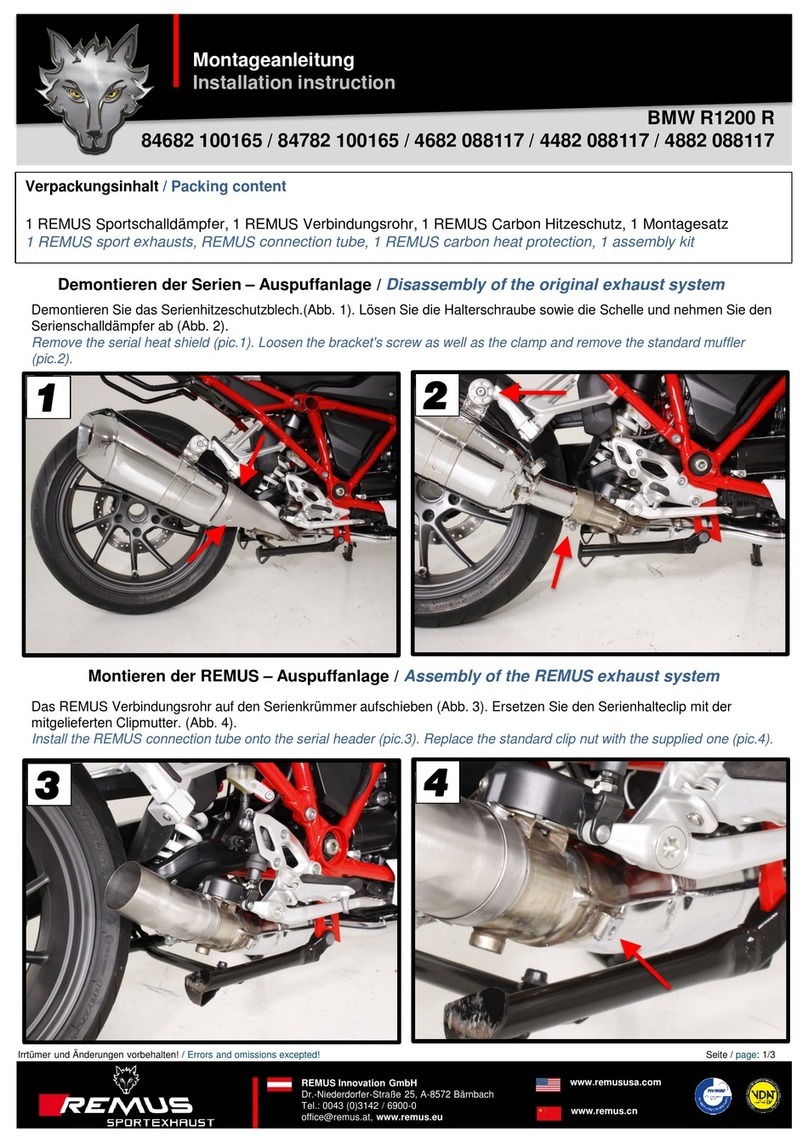
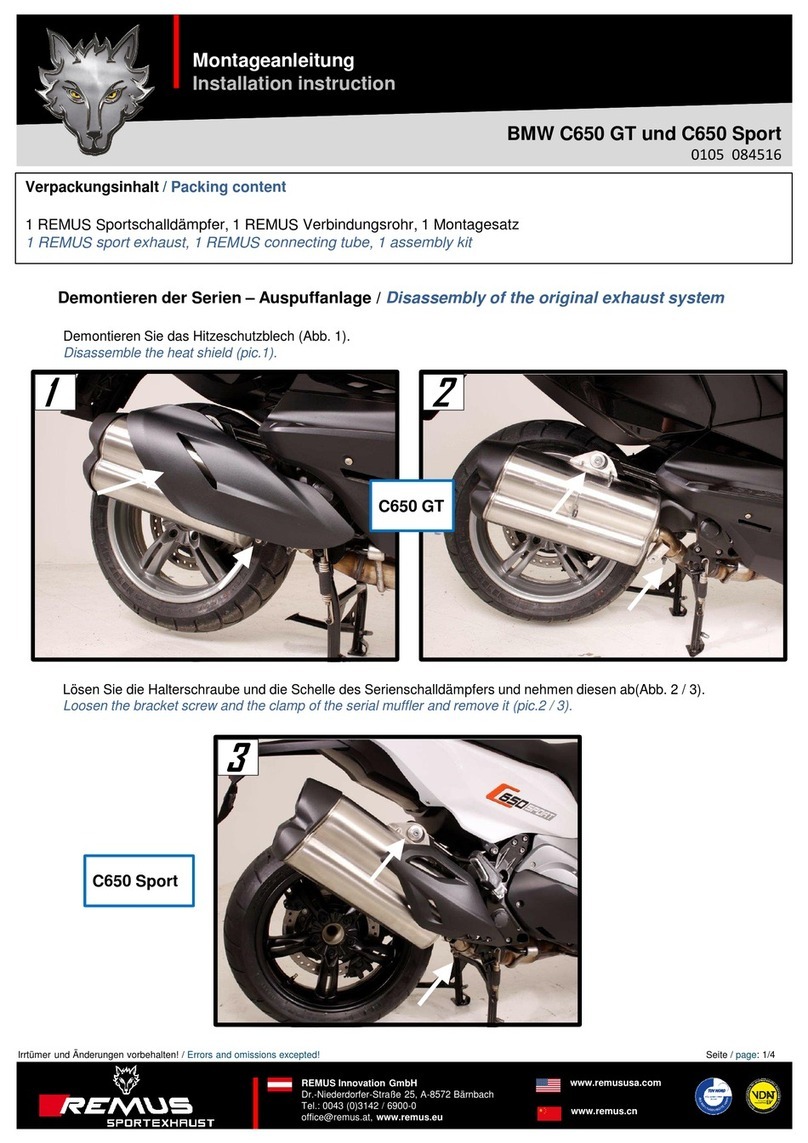
Lösen Sie die Halterschrauben und die Schellen der beiden
Serienschalldämpfer und nehmen diese ab (Abb. 1).
Loosen the bracket screws and the clamps of the serial
mufflers and remove them (pic.1).
1
2
Entnehmen Sie die Gummitüllen und Distzanscheiben von
den Serienschalldämpfern (Abb. 2).
Remove the rubber sockets and distance bushes from
serial mufflers (pic.2).
Irrtümer und Änderungen vorbehalten! / Errors and omissions excepted!
REMUS Innovation GmbH
Dr.-Niederdorfer-Straße 25, A-8572 Bärnbach
Tel.: 0043 (0)3142 / 6900-0
[email protected], www.remus.eu
www.remususa.com
www.remus.cn
Seite / page: 1/3
1
2
Triumph Thruxton 1200
007102 918516LR / 007502 918516LR
Montageanleitung
Installation instruction
3
Montieren der REMUS – Auspuffanlage / Assembly of the REMUS exhaust system
Montieren Sie die Gummitüllen und
Distzanscheiben an den REMUS Sschalldämpfern
(Abb. 3).
Mount the rubber sockets and distance bushes at
the REMUS mufflers (pic.3).
4
Montieren Sie je eine Distanzscheibe zwischen die
Krümmerhalterungen, verwenden Sie die beigepackten
Schrauben (Abb. 4).
Mount a distance bush between the header brackets, use
the provided screws (pic.4).
Geben Sie Klemmschelle über das Anschlussrohr und montieren beide REMUS Schalldämfper. Ziehen Sie die Schrauben
leicht an.Montieren Sie die beiden Hitzeschutzbleche an den Schalldämpfern. Positionieren Sie die Anlage und ziehen alle
Schrauben fest (Abb. 5 / 6).
Put the clamp onto the inlet pipe and mount both REMUS mufflers. Tighten the screws slightly. Mount both heat shields
onto the mufflers. Position the exhaust system und tighten all screws (pic. 5 / 6).
6
5
Irrtümer und Änderungen vorbehalten! / Errors and omissions excepted!
REMUS Innovation GmbH
Dr.-Niederdorfer-Straße 25, A-8572 Bärnbach
Tel.: 0043 (0)3142 / 6900-0
[email protected], www.remus.eu
www.remususa.com
www.remus.cn
Seite / page: 2/3
Viel Fahrspaß wünscht Ihr REMUS-Team!
Your REMUS team wishes a pleasant ride!
Triumph Thruxton 1200
007102 918516LR / 007502 918516LR
Montageanleitung
Installation instruction
Vor erstmaliger Inbetriebnahme muss die Schalldämpferanlage
frei von Fettrückständen sein. Es ist ratsam nach der Montage
die Bauteile mit einem nicht aggressiven einigungsmittels zu
säubern.
Beim
erstmaligen Betrieb des Enddämpfers ist die
!VORSICHT
Before first usage of the exhaust system, make sure that
everything is greaseless. It is advisable to clean all components
with a non-aggresive cleanser after installation.
Keep
low
the
engine
speed
for
5
minutes
at
the
first
usage
to
get
a
!ATTENTION
Klemm- oder Schraubverbindungen locker vorziehen. Den REMUS Sportschalldämpfer ausrichten und die
Verbindungen fest anziehen. Motor kurz anlassen und den kompletten REMUS Sportschalldämpfer auf Dichtheit
überprüfen. Sämtliche Bauteile, sowohl im kalten als auch im betriebswarmen Zustand auf Funktion und genügend
Freigängigkeit überprüfen. Achten Sie dabei auf einen ausreichend belüfteten Montageraum.
Nach ca. 100 km alle Befestigungspunkte bzw. -elemente auf deren Funktionstüchtigkeit überprüfen und die
Befestigungsschrauben nachziehen.
Um das gepflegte Aussehen verchromten sowie schwarz lackierten Bauteile auf Dauer zu gewährleisten, ist eine
einfache Reinigung notwendig. Vor allem Salzablagerungen müssen umgehend mit Wasser entferntwerden.
Slightly tighten the clamp- and bolted connections. Align the REMUS sport exhaust and tighten the connections.
Start the engine and test the whole system for leaks. Check all components for proper operation and sufficient
clearance, both in cold and in operative
condition. Pay
attention that the workplace
is adequately ventilated.
Beim
erstmaligen Betrieb des Enddämpfers ist die
Motordrehzahl für ca. 5 Minuten niedrig zu halten, um den
Enddämpfer gleichmäßig zu erwärmen. Nur so kann der
Dämmstoff seinen vollen Wirkungsgrad erreichen und die
geforderte Lautstärke einhalten!
Keep
low
the
engine
speed
for
5
minutes
at
the
first
usage
to
get
a
constant thermal expansion. This is the only way for the insulation
to get the required system effectiveness and the required sound
level!
Irrtümer und Änderungen vorbehalten! / Errors and omissions excepted!
REMUS Innovation GmbH
Dr.-Niederdorfer-Straße 25, A-8572 Bärnbach
Tel.: 0043 (0)3142 / 6900-0
[email protected], www.remus.eu
www.remususa.com
www.remus.cn
Seite / page: 3/3
clearance, both in cold and in operative
condition. Pay
attention that the workplace
is adequately ventilated.
After 60 miles check all fixation points according to tightness and function.
If necessary, re-tighten the bolted connections!
To keep the shiny appearance of chromed and black painted parts, periodical cleaning must be carried out. Please
ensure that road salt is removed as soon as possible by using water.
This manual suits for next models

1

Other Remus Ventilation Hood manuals

Remus 0105 158017 User manual

Remus

Remus 0105 158017 User manual

Remus 64782 324517 User manual

Remus

Remus 64782 324517 User manual

Remus 0105 655016 User manual

Remus

Remus 0105 655016 User manual

Remus 8 User manual

Remus

Remus 8 User manual

Remus 54483 362018 User manual

Remus

Remus 54483 362018 User manual

Remus 6782 658017 User manual

Remus

Remus 6782 658017 User manual

Remus 64782 088013 User manual

Remus

Remus 64782 088013 User manual

Remus REMUS 8 User manual

Remus

Remus REMUS 8 User manual

Remus 4882 085217 User manual

Remus

Remus 4882 085217 User manual

Remus 0105 655019 User manual

Remus

Remus 0105 655019 User manual

Remus 0111 081819 User manual

Remus

Remus 0111 081819 User manual

Remus 84682 100165 User manual

Remus

Remus 84682 100165 User manual

Remus 0105 916017 User manual

Remus

Remus 0105 916017 User manual

Remus 0101 655119 User manual

Remus

Remus 0101 655119 User manual

Remus 7783 089518L User manual

Remus

Remus 7783 089518L User manual

Remus 0115/324517 User manual

Remus

Remus 0115/324517 User manual

Remus 117782 320018 User manual

Remus

Remus 117782 320018 User manual

Remus 6582 655218 User manual

Remus

Remus 6582 655218 User manual

Remus 0115 751516 User manual

Remus

Remus 0115 751516 User manual

Remus 0115 751616 User manual

Remus

Remus 0115 751616 User manual

Remus 6682 997016 User manual

Remus

Remus 6682 997016 User manual

Remus 84682 085518 User manual

Remus

Remus 84682 085518 User manual

Remus 0105 084516 User manual

Remus

Remus 0105 084516 User manual

Remus 0105 088115 User manual

Remus

Remus 0105 088115 User manual

Popular Ventilation Hood manuals by other brands

Wolf W602418 Planning information

Wolf

Wolf W602418 Planning information

JUNO JDU1130B Instruction on mounting and use

JUNO

JUNO JDU1130B Instruction on mounting and use

Caple BUCHB Installation and operating instruction booklet

Caple

Caple BUCHB Installation and operating instruction booklet

Asko CC4527S Instructions for use

Asko

Asko CC4527S Instructions for use

Jocel JE90I-007582 instruction manual

Jocel

Jocel JE90I-007582 instruction manual

Hansa OTC612BH instruction manual

Hansa

Hansa OTC612BH instruction manual

Spagna Vetro PS13 Installation guide and user's manual

Spagna Vetro

Spagna Vetro PS13 Installation guide and user's manual

Hotpoint HXB6X Instructions for use

Hotpoint

Hotpoint HXB6X Instructions for use

Blaupunkt 5DA36258 Instructions on mounting an use

Blaupunkt

Blaupunkt 5DA36258 Instructions on mounting an use

Cosmo KS Series Installation guide & user manual

Cosmo

Cosmo KS Series Installation guide & user manual

Zephyr Breeze II Use, care and installation guide

Zephyr

Zephyr Breeze II Use, care and installation guide

MuxLab 500439-D&D Quick installation guide

MuxLab

MuxLab 500439-D&D Quick installation guide

Kleenmaid KEY 60 Instructions for use and warranty details

Kleenmaid

Kleenmaid KEY 60 Instructions for use and warranty details

Vlano MIRA 600 BK installation instructions

Vlano

Vlano MIRA 600 BK installation instructions

Electrolux EI30DD10KS Installation instructions & owner's manual

Electrolux

Electrolux EI30DD10KS Installation instructions & owner's manual

Valore VSU-E30AS Use, care and installation guide

Valore

Valore VSU-E30AS Use, care and installation guide

JUNO JDK8830A Installation, use and maintenance handbook

JUNO

JUNO JDK8830A Installation, use and maintenance handbook

Montigo PVHEX58-300 Installation & maintenance manual

Montigo

Montigo PVHEX58-300 Installation & maintenance manual

manuals.online logo
manuals.online logoBrands
  • About & Mission
  • Contact us
  • Privacy Policy
  • Terms and Conditions

Copyright 2025 Manuals.Online. All Rights Reserved.