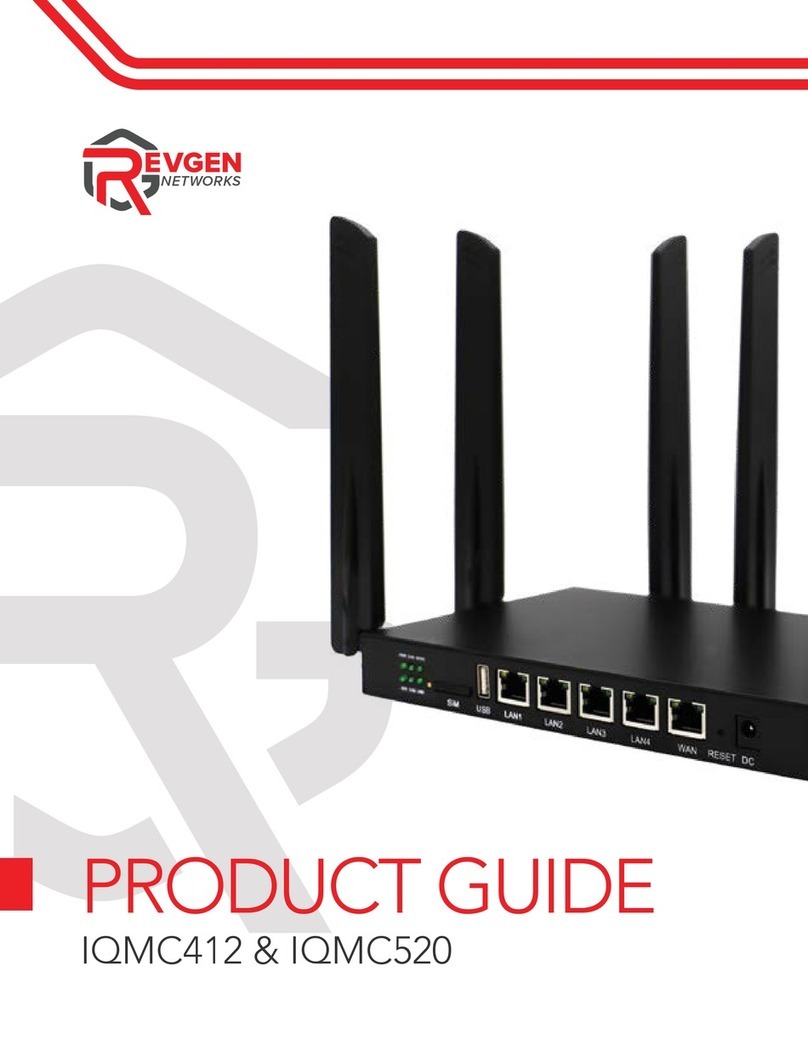
REVGEN NETWORKS IQMC412 User manual

PRODUCT GUIDE
IQMC412 & IQMC520
NETWORKS

NETWORKS
2
1.800.274.5308 \\ revgennetworks.com
IQMC 412 Power Adapter
6 Antennas
4 4G/5G Antennas
2 2.4G/5.8G Antennas
Ethernet Cable
SIM
PWR2 .404 0/50
SYS 5.50 USB
USB LAN1 LAN2 LAN3 LAN4 WAN RESETD C
INSIDE THE IQMC 412 BOX
Inside the box you should find the following items:

NETWORKS
3
1.800.274.5308 \\ revgennetworks.com
IQMC 520 Power Adapter
8 Antennas
6 4G/5G Antennas
2 2.4G/5.8G Antennas
Ethernet Cable
INSIDE THE IQMC 520 BOX
Inside the box you should nd the following items:
SIM
PWR2 .404 0/50
SYS 5.50 USB
USB LAN1 LAN2 LAN3 LAN4 WAN RESETD C

NETWORKS
4
1.800.274.5308 \\ revgennetworks.com
System light blinks
when checking for
or performing an
update. (DO
NOT POWER OFF).
Your IQMC router provides fast dual-band Wi-Fi for all your devices, and
features built-in network security, guest Wi-Fi, and automatic software
updates OTA (over-the-air).
Reset Button
If you experience difficulties with your router, please check the antenna connections, as well as making sure power is connected. You
may also want to move the router to another location as this may affect it's functionality. If it is still not connecting, you
can do a hard reset. Press the reset button for 2-3 seconds, and then allow the router to cycle for 5 minutes before
attempting to connect.
When 5G light
is on, then short
range Wi-Fi is
available.
If 2.4G light is
on you have
long range Wi-Fi
availability
If power light
is on, you have
power to the unit
USB is
for future use.
LAN ports are used to
directly connect other
devices to the internet
via ethernet cable.
WAN port is used to
connect a primary
internet source for
failover.
Hard reset button:
DO NOT PRESS.
DC port: the DC /
power adapter is
connected and then
plugged into the
wall for power.
SIM removal:
DO NOT USE.
SIM: do not
remove.
When 5G light is on, short
range Wi-Fi is available
4G/5G light is
on when you are
connected to the
network. Flickering
light means data is
being transmitted.

NETWORKS
5
1.800.274.5308 \\ revgennetworks.com
Firmly insert and screw in the
two 2.4G/5.8G antennas.
IQMC412 External Antenna
can be added here.
The four antennas labeled “4G/5G”
are installed on the back of the
IQMC412 & IQMC520. The
additional 4G/5G antenna on the
IQMC520 install in front of the
2.4G/5.8G antenna.
4G/5G Antennas
2.4G/5.8G Antennas
SETTING UP YOUR IQMC ROUTER
Your IQMC comes ready to connect. There’s nothing required
other than attaching the antenna, finding the optimum location, and plugging it in!
Installing the Antenna
The IQMC412 comes with 6 antennas, and the IQMC520 comes with 8. Near the antenna’s connectors on the device
are the antenna labels. There are two antenna labeled “2.4G/5.8G” and four (IQMC412) or six (IQMC520) antenna
labeled “4G/5G”. The two antennas labeled “2.4G/5.8G” are to be installed onto the sides of the IQMC that
correspond to this specification.
IQMC520 configuration IQMC412 configuration
2.4G/5.8G Antennas2.4G/5.8G Antennas
IQMC520 External Antenna
can be added here.
PWR 2.4G 4G/5G
SYS 5.8G USB
PWR 2.4G 4G/5G
SYS 5.8G USB
SYS 5.8G USB
SYS 5.8G USB
PWR 2.4G 4G/5G
PWR 2.4G 4G/5G

NETWORKS
6
1.800.274.5308 \\ revgennetworks.com
For the best wireless signal transmission from the cellular network to your IQMC:
• Place the IQMC near a window, ideally with clear line of sight to a cellular tower.
• Keep the IQMC away from metal obstructions and away from direct sunlight.
• Keep the IQMC away from any 802.11g or 20MHz only Wi-Fi devices, 2.4Ghz
computer peripherals, Bluetooth devices, cordless phones, transformers, heavy-duty
motors,fluorescentlights,microwaveovens,refrigerators,airconditionersandother
industrial equipment to prevent signal interference or loss.
Configure your wireless network via smart phone, tablet, or
computer. You will need the following system requirements on
computer:
• Ethernet RJ-45 (LAN) port.
• Wi-Fi (IEEE 802.11a/b/g/n/ac wireless capability)
• Web browser such as Chrome, Safari, Firefox, Edge
Setup
Requirements
POSITIONING YOUR ROUTER

NETWORKS
7
1.800.274.5308 \\ revgennetworks.com
Login to Your IQMC Settings and
Configuration User Interface
• You can login to your router’s Web User Interface (Web UI) to access and change any
of your router’s settings and functions, such as Wi-Fi security.
• You can also access network information such as connected devices and data usage.
• You can login to the Web UI using a computer, cellphone or tablet.
• First connect your device to your router, then access the Web UI, as shown below.
Your router is pre-set with WPA2 security, but it is always recommended to change
the default Wi-Fi password.
1
3
2
4
Plug the IQMC into a power
outlet with the included
power adapter.
You can connect your devices to
the IQMC’s Wi-Fi network named
SparQ-#######. You can find the
login information on the label
underneath the IQMC,or on the
box. You can also connect internet
devices by using the Ethernet
cable and connecting one end to
a LAN port on the IQMC,and the
other end to your device’s
Ethernet port.
Wait at least 5 minutes for
router to establish a cell
connection &automatically
perform necessary updates.
Proceed once the SYSTEM
LIGHT stops blinking.
Follow the steps in the next
section to configure settings
such as your Wi-Fi password.
SETTING UP

NETWORKS
8
1.800.274.5308 \\ revgennetworks.com
CONNECT & LOGIN
1
4
7
2
5
3
6
Ensure Wi-Fi is enabled on
the device you wish to use
to connect to the IQMC.
If Wi-Fi is not available on the
device you wish to use, then
you must use an Ethernet
cable and plug one end into
a LAN port on the IQMC and
the other end of the Ethernet
cable into your computer.
Enter the password found on the bottom label of your IQMC or
on the box in which it came in. The default password is “admin.”
Find the network labeled
SparQ-######.
Open your web browser.
This could be Chrome,
Safari, Firefox or Edge.
Connect to the SparQ-######
network by using the password
located on the bottom label
of your IQMC or located on the
box the IQMC came in.
In the web browser’s URL address
bar, often found at the top of the
web browser, enter the default
IQMC address 192.168.1.1
Connect & Login
1. Ensure Wi-Fi is enabled on the device you wish to use to connect to the MR40.
2. Find the network labeled SparQ-######.
3. Connect to the SparQ-###### network by using the password located on the bottom label
of your MR40 or located on the box the MR40 came in.
4. If Wi-Fi is not available on the device you wish to use, then you must use an Ethernet cable
and plug one end into a LAN port on the MR40 and the other end of the Ethernet cable into
your computer.
5. Open your web browser. This could be Chrome, Safari, Firefox or Edge.
6. In the web browser’s URL address bar, often found at the top of the web browser,
enter the default MR40 address 192.168.1.1
7. Enter the password found on the bottom label of your MR40 or on the box in which it
came in. The default password is “admin”
The following section explains how to navigate the Web User Interface

NETWORKS
9
1.800.274.5308 \\ revgennetworks.com
WEB USER INTERFACE
Web User Interface
Your MR40’s Web User Interface (Web UI) allows you to setup and congure its various
functions . You can access the Web UI anytime by entering the router’s default address
192.168.1.1 in the address bar of web browser on a device connected to the MR40.
The default password is located on the label of the MR40 or on the box in which it came
with. The default password is usually “admin”.
Menu
The left side of the screen is a menu and is used to navigate.
Your IQMC’s Web User Interface (Web UI) allows you
to setup and configure its various functions . You can
access the Web UI anytime by entering the router’s
default address 192.168.1.1 in the address bar of
web browser on a device connected to the IQMC.
The default password is located on the label of the
IQMC or on the box. The default password is usually
“admin."
Menu
The left side of the screen is the navigation menu.
Saving Changes
Remember to save your changes to settings with the save
button located on the bottom of a page!
Saving Changes
Remember to save your changes to settings with the save button often located on the
bottom of a page where changes are possible.
Changing the Wi-Fi Network Name and Password.
It is advised to change your Wi-Fi network name and password to something you
can easily identify and share with others.
You can do this within the Web User Interface of your MR40.
Follow previous steps to log into your MR40.
Once you’re logged in, you may begin these steps.
1. Navigate to the “Network” —> “Wireless” page.

NETWORKS
10
1.800.274.5308 \\ revgennetworks.com
Changing the Wi-Fi Network Name and Password
It is advised to change your Wi-Fi network name and password to something you can
easily identify and share with others. You can do this within the Web User Interface of
your IQMC. Follow previous steps to log into your IQMC. Once you’re logged in, you
may begin these steps.
Saving Changes
Remember to save your changes to settings with the save button often located on the
bottom of a page where changes are possible.
Changing the Wi-Fi Network Name and Password.
It is advised to change your Wi-Fi network name and password to something you
can easily identify and share with others.
You can do this within the Web User Interface of your MR40.
Follow previous steps to log into your MR40.
Once you’re logged in, you may begin these steps.
1. Navigate to the “Network” —> “Wireless” page.
1Navigate to the “Network”
—> “Wireless” page.

NETWORKS
11
1.800.274.5308 \\ revgennetworks.com
2. On the “Wireless Overview” page you can see there are two listed items that contain:
SSID: SparQ_##### —> This network is your 2.4Ghz Wi-Fi network
SSID: SparQ_5ghz_#### —> This network is your 5Ghz Wi-Fi network
Your networks may have dierent SSID (Wi-Fi Names) and also dierent passwords.
If you would like to set both to be the same, you must change both to have the same
name and password. It is typically best practice to add a 5 to the SSID (Wi-Fi network name)
to dierentiate the two networks. Some devices may not be able to connect to
the 5ghz network.
3. Click on “Edit” for which network you would like to modify.
4. To change the name of your Wi-Fi network, in the “General Setup” tab at the bottom of the
panel, you will nd a eld named “ESSID”
5. Enter your new Wi-Fi name in the eld and press “Save” at the bottom of the screen.
2
5
3 4
On the “Wireless Overview” page you can see there are two listed items that contain:
SSID: SparQ_##### —> This network is your 2.4Ghz Wi-Fi network
SSID: SparQ_5ghz_#### —> This network is your 5Ghz Wi-Fi network
Your networks may have different SSID (Wi-Fi Names) and also different passwords. If you would
like to set both to be the same, you must change both to have the same name and password.
It is typically best practice to add a 5 to the SSID (Wi-Fi network name) to differentiate the two
networks. Some devices may not be able to connect to the 5ghz network.
Enter your new Wi-Fi name in the field and press “Save” at the bottom of the screen.
Click on “Edit” for the network
you would like to modify.
To change the name of your Wi-Fi
network, in the “General Setup”
tab at the bottom of the panel,
you will need to identify the fields named “BSSID”

NETWORKS
12
1.800.274.5308 \\ revgennetworks.com
6. To change the password, select the tab “Wireless Security”.
7. Enter the new password you would like to use in the eld “Key”.
6. To change the password, select the tab “Wireless Security”.
7. Enter the new password you would like to use in the eld “Key”.
6
7
To change the password, select the tab “Wireless Security”.
Enter the new password you would like to use in the field “Key”.

NETWORKS
13
1.800.274.5308 \\ revgennetworks.com
8. Press “Save” at the bottom of the screen.
You may repeat these steps for the other Wi-Fi network by selecting the
corisponding “Edit” button on the “Wireless Overview” page.
8Press “Save” at the bottom of the screen.
You may repeat these steps for the other Wi-Fi network by selecting the
corresponding “Edit” button on the “Wireless Overview” page.
connect
everywhere

NETWORKS
14
1.800.274.5308 \\ revgennetworks.com
PWR: The “POWER” light lets you know the router is
powered on. Solid green when powered on.
SYS: The “SYSTEM” light lets you know the router
ischeckingforanupdateoritsgoingthroughafirmware
update.Thislightblinksuntilfirmwarecheck,orupgradeis
done. DO NOT POWER OFF WHEN FLASHING.
2.4G: The “2.4Ghz Wi-Fi” light indicates that the 2.4Ghz
Wi-Fi connection is broadcasting. This light is solid when
there is not a device connected and blinking when
connected to another device.
5.8G: The “5.8Ghz Wi-Fi” light indicates that the 5.8Ghz
Wi-Fi connection is broadcasting. This light is solid when
there is not a device connected and blinking when
connected to another device.
4G/5G: The “4G/5G” light is your connection indicator,
and will be ON when you have a connection. This light will
be off if there is no connection at all. The light will be solid
when the router connectstotheSIMbank,andthen
flickeringwhenitgetsa cellular data connection.
USB: Future use, no functionality.
IQMC Light Pattern During
an Update
Tips:
• There are some cases where the router loses the
4G/5G light during this process. This does not affect
theupdateprocessorharmthefirmware.
•DO NOT POWER OFF DURING THE FIRMWARE
UPDATE PROCESS
Reset Button
If you experience issues with your router, you can hard
reset the router. Press the reset button for 2–3
seconds to perform a reset.
PWR 2.4G 4G/5G
SYS 5.8G USB
PWR 2.4G 4G/5G
SYS 5.8G USB
IQMC-412-520 LIGHTS
Other manuals for IQMC412
1
This manual suits for next models
1
Table of contents
Other REVGEN NETWORKS Network Router manuals