BEDIENUNGSELEMENTE UND ANSCHLÜSSE
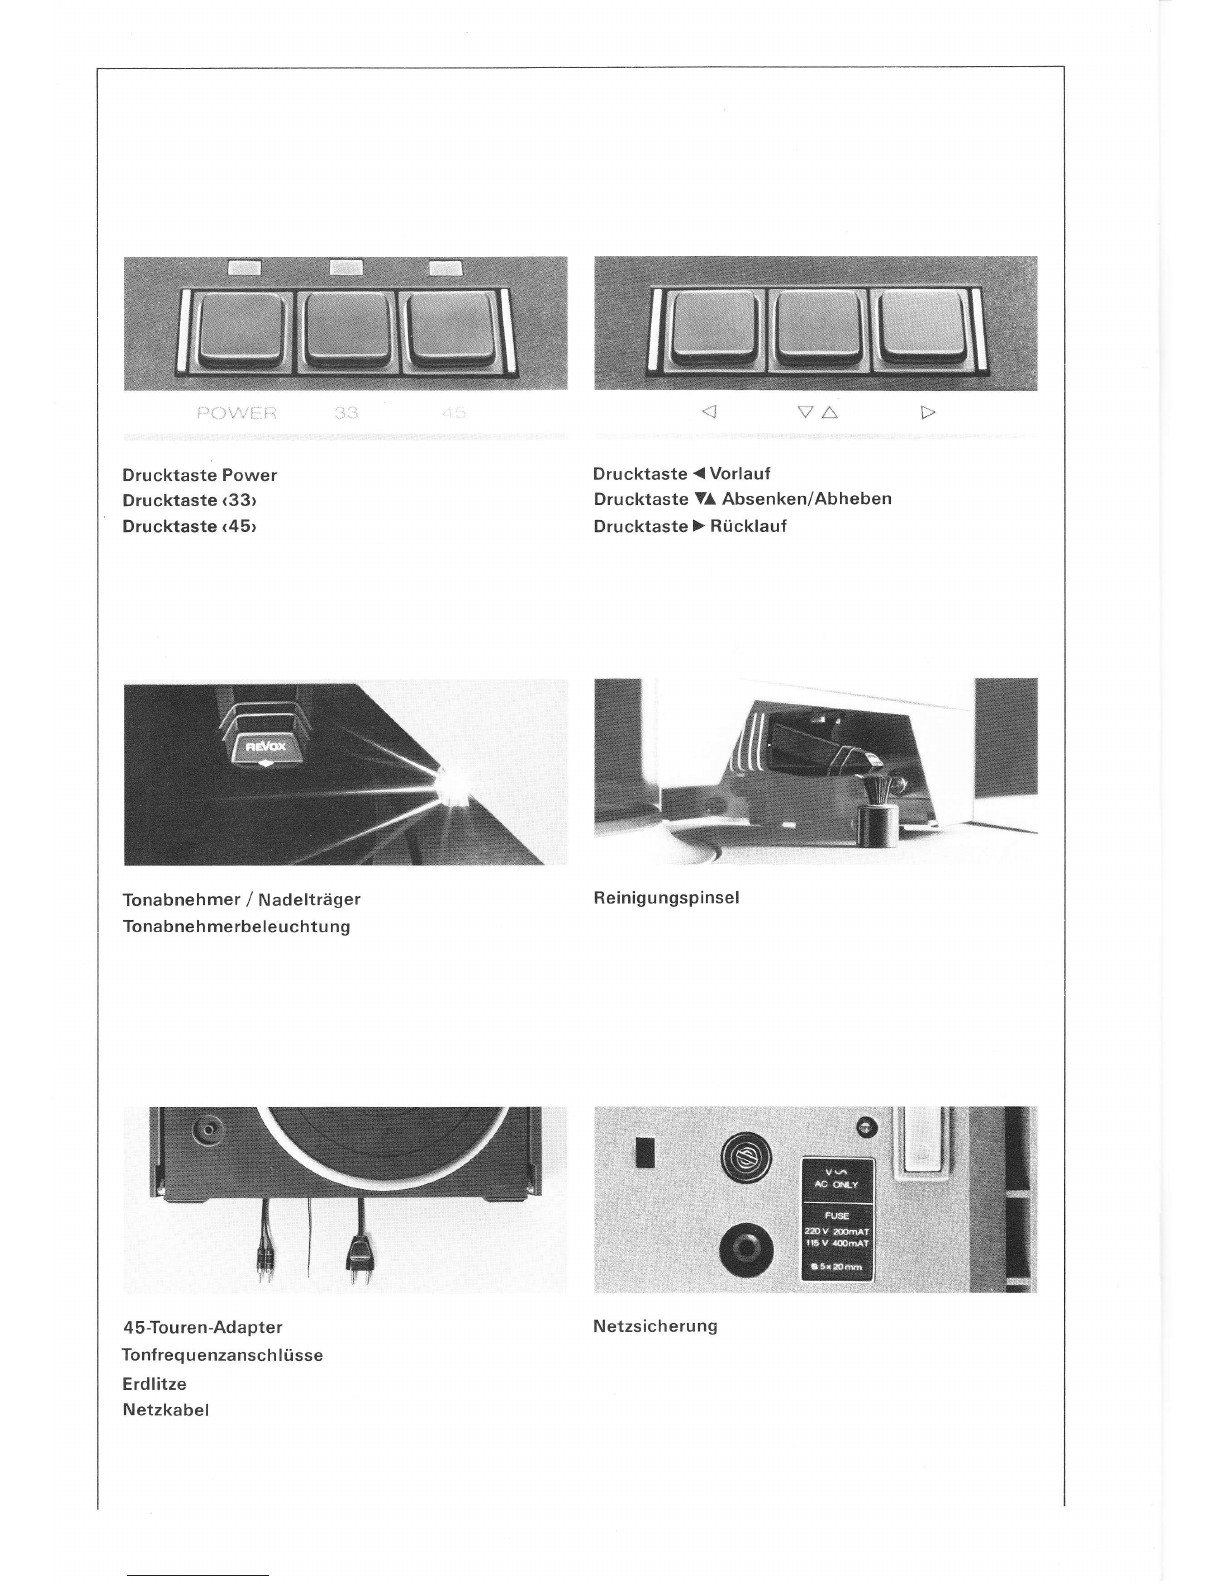
Drucktaste Power
D rucken d ieserTaste scha ltet den
Plattenspieler ein. Die Betriebs-
anzeige (LED) leuchtet. Noch
maliges Drücken schaltet den
Plattenspieler aus.
POWER
Drucktaste <33r
Drucken dieser Taste schaltet die
Plattentellerdrehzahl auf 33,33
U/min (quarzgesteuert) Die dar
uberliegende LED leuchtet bei
Erreichen der Solldrehzahl
Drucktaste <45r
Drucken dieser Taste schaltet die
Plattentellerdrehzahl auf 45,00
U/min (quarzgesteuert). Die dar-
überliegende LED leuchtet bei
Erreichen der Solldrehzahl
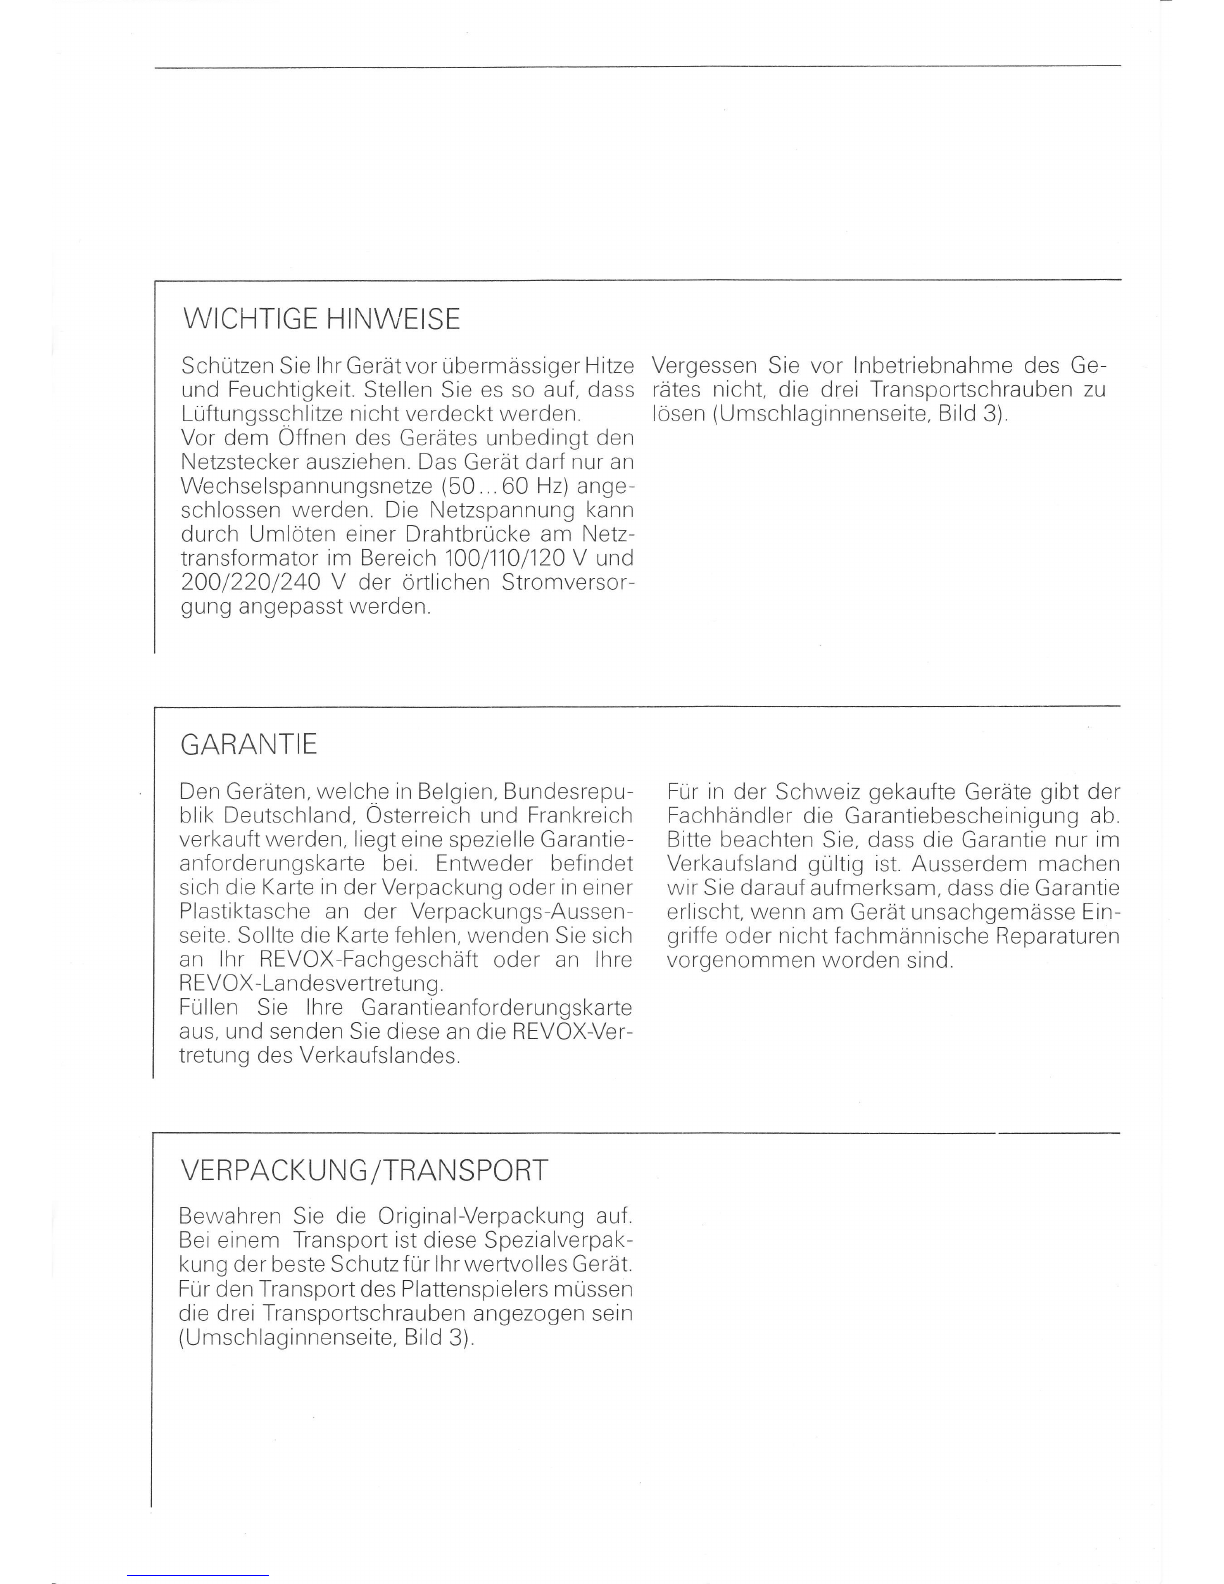
Drucktaste { Vorlauf
Drücken dieser Taste lässt den
Tonarm in Richtung Plattenzen
trum vorlaufen (wenn Schwenk-
arm in Abspielstellung). Kurzes
Antippen bewirkt langsamen Vor
lauf und dauerndes Drücken
schnellen Vorlauf
Drucktaste VA Absenken/Ab-
heben
Mit Taste VÄ kann an leder belie-
bigen Stelle der Platte ein- (Ab
senken) oder ausgesetzt (Abhe-
ben) werden (wenn Schwenkarm
in Abspielstellung).
Drucktaste ) Rücklauf
Drücken dieser Taste lässt den
Tonarm in Richtung Plattenrand
zurücklaufen (wenn Schwenk
arm rn Abspielstellung). Kurzes
Antippen bewirkt langsamen
Rucklauf und dauerndes Drücken
schneilen Rücklauf.
111t;:xI
lt
f
Ä
n
m
!l lt
uu
Schwenkarm Linatrack@
Der Schwenkarm wird uber die
Schallplatte gedreht Unter der
Abdeckung befindet sich der nur
4 cm kurze Tangentialtonarm
45-Touren-Adapter
Dieser Einsatz wird bei 17 cm-
Schallplatten \45 U/min) mit
grossem Zentrierloch verwendet.
Tonfreq uenzansch I üsse
Die Cinch-Stecker werden in den
Phonoeingang am Verstärkerein-
gesteckt Die Stecker sind mit <L>
für den I inken Kana I und <R>fürden
rechten Kana I bezeichnet
Erdlitze
Netzkabel
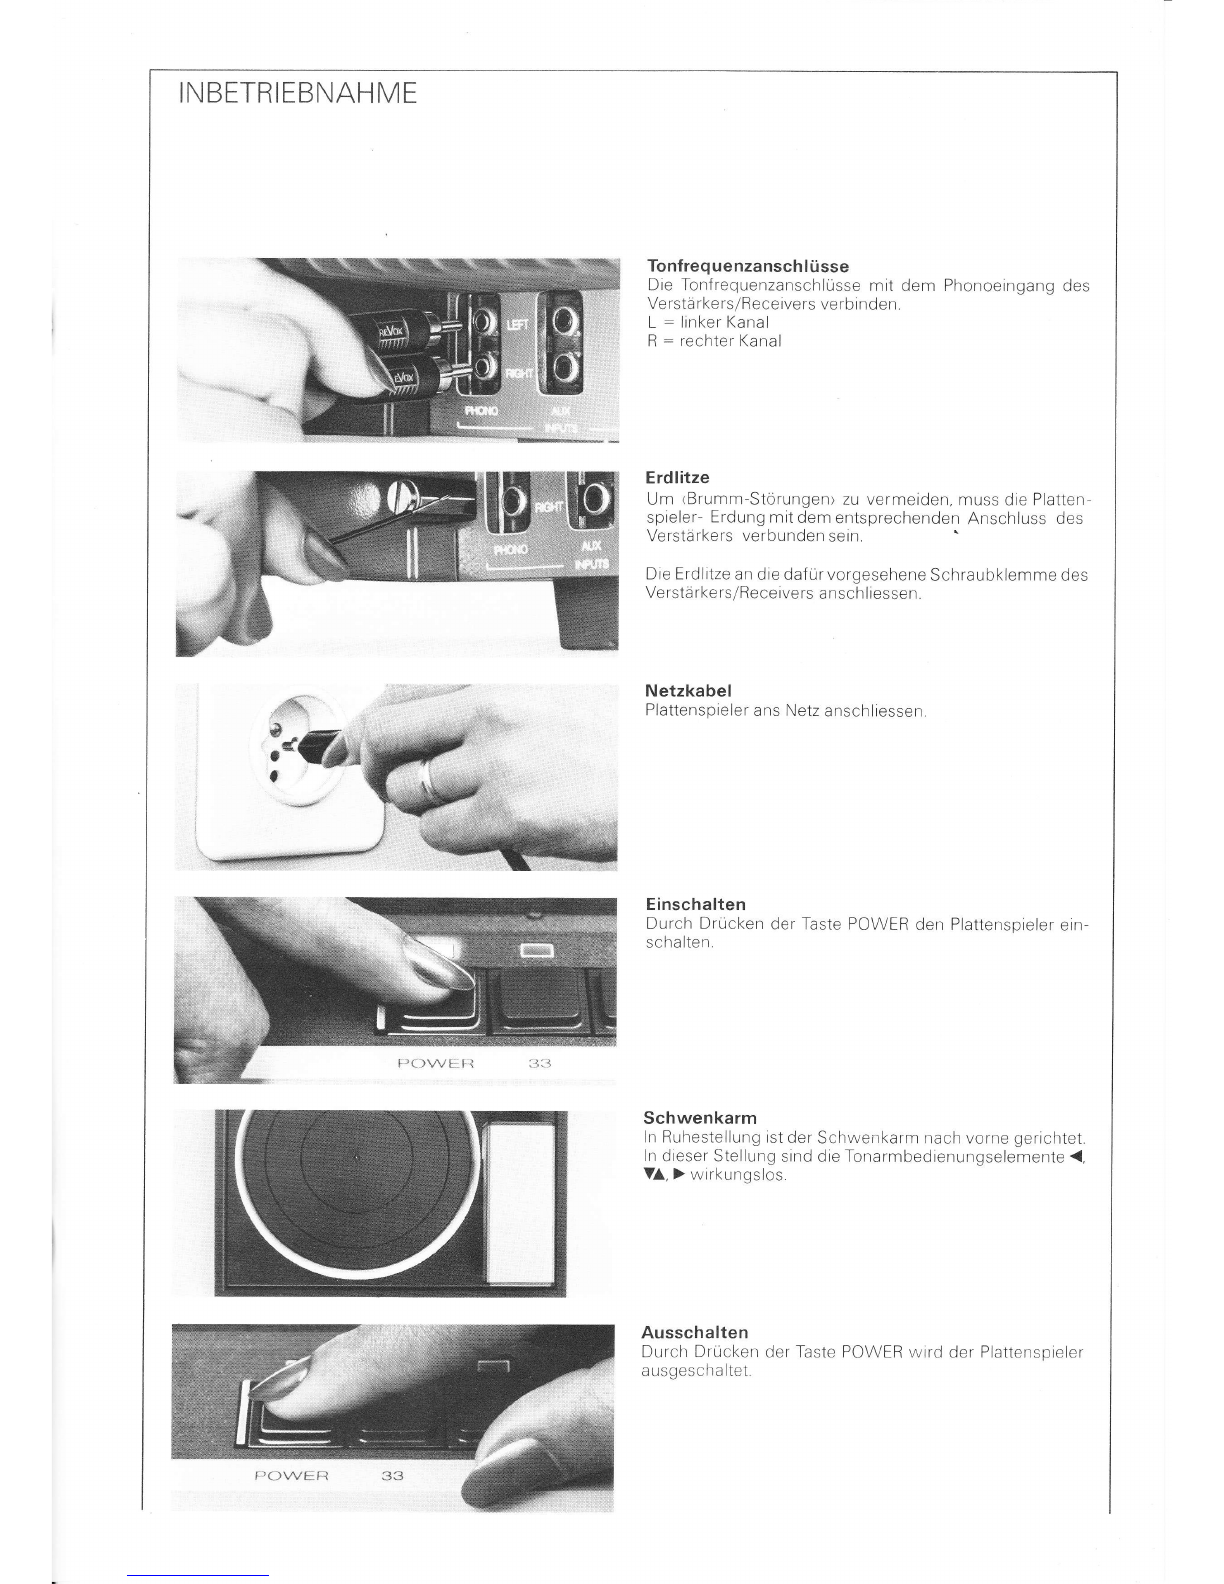
Tonabneh mer auf Tangential-
tonarm
De rTona b neh m e r r stwe rkj ustie rt
Falls Sie einen anderen Tonab
nehmer verwenden, wollen. er-
kundigen Sie sich bei lhrenr
REVOX-Fachhändler nach dem
Montage Krt
Reinigungspinsel
Die Tonabnehmernadel wird
selbsttätig gereinigt. wenn der
Schwenkarm über die Schall
platte gedreht wird
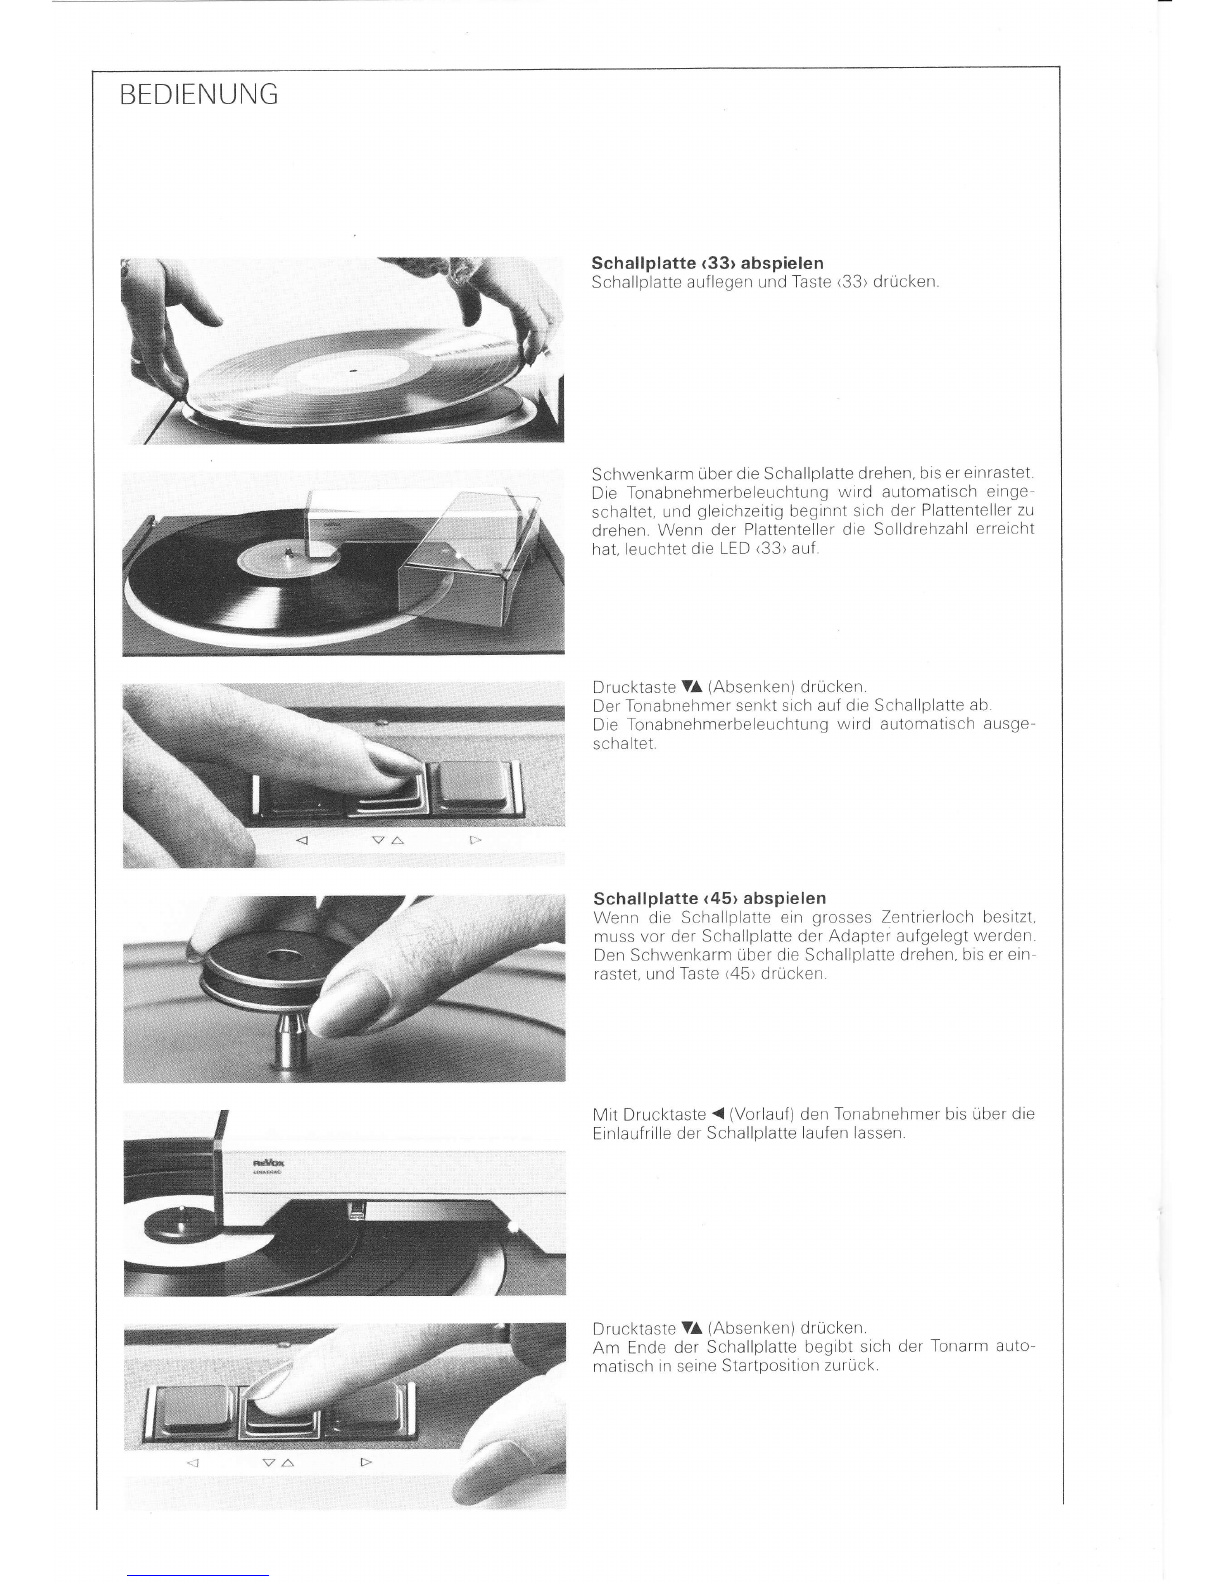
Netzsicherung
100 '120 V: 0,4 AT
200 240 V 0,2 AT
A
xt