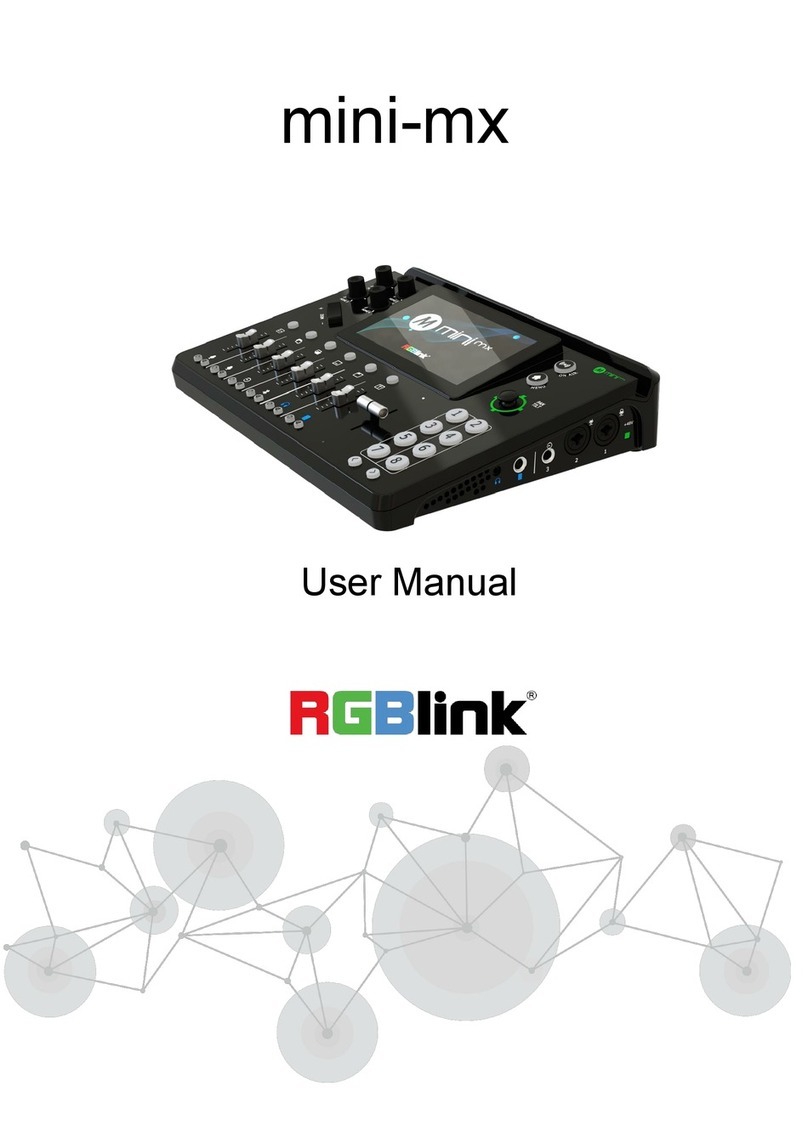
RGBlink mini-mx User manual

mini-mx
Streaming Video Mixer
Quick Start

www.rgblink.com
1
Content
Product Overview...................................................................................................................................... 3
Preview Interface ....................................................................................................................................... 9
Main Interface.......................................................................................................................................... 10
Getting Started with mini-mx ............................................................................................................. 12
Plug in Power............................................................................................................................................12
Connect HDMI Input ..............................................................................................................................12
Connect HDMI Output .......................................................................................................................... 13
Connect Microphones and Other Devices ..................................................................................... 13
Connect Headphones and Speakers ................................................................................................ 14
Using mini-mx .......................................................................................................................................... 16
Menu............................................................................................................................................................16
Adding Background ............................................................................................................................... 16
Adding Layer A.........................................................................................................................................17
Adding Layer B.........................................................................................................................................19
Adding Caption........................................................................................................................................20
Control PTZ Cameras ............................................................................................................................. 21
Saving Scenes ...........................................................................................................................................22
Loading and Switching Scenes ...........................................................................................................23
Setting Up Channels and Outputs.................................................................................................... 25
Understanding the Mixer..................................................................................................................... 25
Understanding the Audio Outputs ................................................................................................... 26

www.rgblink.com
2
Streaming and Recording .................................................................................................................... 28
Streaming ...................................................................................................................................................28
Recording...................................................................................................................................................28
Upgrading mini-mx................................................................................................................................ 29
Updating Firmware .................................................................................................................................29
Contact us ..................................................................................................................................................31
Warranty .....................................................................................................................................................31

www.rgblink.com
3
Product Overview
Key Features
● 4K multi-channel streaming video mixer
● Built-in 5.5 inch touch screen for menu operation
● Quad HDMI 2.0 inputs, resolutions up to 4K@60
● Dual HDMI 1.3 outputs for monitoring of multi-window PVW and PGM
● Dual MIC In, Dual Audio Out for audio monitoring
● Mix for HDMI embedded and external audio
● One-key recording. Recording capacity of hard drive is up to 2T
● Stream up to 4 platforms simultaneously over IP and 32 platforms via TAO APP
● Support multi-layer overlay, layer scaling and cropping
● 15 switching effect modes
● 5-direction joystick for controlling up to 4 PTZ cameras
● Save and store up to 16 scene presets. One-click for preset recall
● Control via computer and mobile phone
● Support Chroma Key
● One-key quick switch between portrait and landscape screen

www.rgblink.com
4
Front Panel
❶Audio Volume Controls
Embedded audio volume adjustment for HDMI 1~4 inputs.
❷Adjuster
● Zoom in/out when PTZ control is enabled.
● Size adjustment for layer.
❸Layer Selection Buttons
● Indicate BG, Layer A, Layer B, STILL, LOGO and TEXT from left
to right.
● Layers are all closed by default. Press button to open.
● Button in green indicates editing state, button in blue
indicates PVW state.
● To close opened layer, press button first, wait for button
❶
❷
⓭
❺
❸
❹
⓬
⓫
❾
❼
❽
❿
❻

www.rgblink.com
5
turns into green, then press the button again to close layer.
● Long press to enter LAYOUT interface.
❹Channel Fader
● Control audio volume level for each channel.
● Indicate MIC1 、 MIC2 、 Line-in 、 Bluetooth 、 PREVIEW 、
PROGRAM from left to right.
❺Listen and Mute Buttons
● Listen Button: Audio management for monitoring port.
Button in green allows users to monitor the audio from a
channel ; no button light indicates monitoring function is OFF.
● Mute Button: Mute that channel on PGM port. When a
channel is muted, the button will be illuminated red; no button
light indicates the channel is ON at PGM port.
❻T-Bar
PVW and PGM views can be transitioned by pushing T-bar.
❼Page Up
Press to return to the previous page.
❽Page Down
Press to enter the next page.
❾Button 1~8
● Button 1~8 indicate 8 selections in Main Menu.
● Button 1~4 can also be used as 1~4 HDMI inputs switch
button. When the signal is in PGM, the button will be
illuminated red; When the signal is being edited, the button
illuminated green.
❿5-Direction Joystick
● Set pan, tilt and zoom for PTZ camera.
● Position adjustment for layer.
⓫MENU Button
● Press to switch interface between Preview Interface 、Main

www.rgblink.com
6
Interface、Preset Interface.
⓬ON-AIR Button
● Press to start or end streaming.
● Check streaming status on LCD screen: steady red shows ON
AIR、flashing red shows unstable network、unlit shows
streaming is finished.
⓭5.5" HD Touchscreen
For menu operation and multi-view window monitoring

www.rgblink.com
7
Interface Panel
❶USB-C 3.0 Stream Port
Recognized as webcam for streaming or video conference.
❷USB-C 3.0 Record Port
● Insert SSD or U disk for recording.
● Insert a U disk to import audio, video and graphic files.
● Use with USB-C cable provided to share network with mobile
phone.
❸Ethernet Port
For web streaming, PTZ control and firmware upgrade
❹PROGRAM Output Port
Default as Program Output, can set as Multi-view Preview or
❽
❾
❼
❻
❺
❹
❸
❷
❶
❿
⓬
⓫
⓭
⓮
⓯

www.rgblink.com
8
Test Pattern optional Output by menu.
❺MULTI-VIEW Output Port
Default as Multi-view Preview Output, can set as Program or
HDMI 1~4 optional Output by menu.
❻HDMI 1~4 Inputs
4K resolution and downward compatible with all resolution.
❼Locking Hole
Use with T-lock to fix the device.
❽USB-C Power Port
PD protocol,12V 3A.
❾Power Switch
Rocker switch to power on or off device.
❿Headphone Output
3.5mm mini-jack for listening each analog input and HDMI
input.
⓫6.35mm TRS Jack
Balanced XLR Audio Output.
⓬Line-in
Balanced 6.35mm XLR Jack to connect to mobile phone,
computer or audio console.
⓭MIC in 2
XLR/TRS NEUTRIK MIC IN Port.
⓮MIC in 1
XLR/TRS NEUTRIK MIC IN Port with 48V Phantom Power
supported.
⓯+48V DIP Switch
● 48V Phantom Power supported.
● Defaults to OFF.
Warning:
Except condenser microphones that require phantom power, please Turn Off phantom power
switch when connecting other devices.

www.rgblink.com
9
Preview Interface
❶PREVIEW
Show PVW (Preview) monitoring screen and audio meter. Double
click for full screen.
❷PROGRAM
Show PGM screen and audio meter. Double click for full screen.
❸Source Selection
● View HDMI 1~4 signals and audio meter.
● Tap touch screen or press Button 1~4 to switch signal.
❹Media
Import pictures and other materials.
❺Audio Status Monitoring
● Monitor 3 analog audio inputs (MIC1、MIC2、Line-in) and 1
Bluetooth audio input.
● Tap to enter Audio Setting interface.
❻Recording Status
Check recording duration. Long press to enter recording setting
interface.
❼Streaming Status
Check streaming duration. Long press to enter streaming setting
interface.
❶
❸
❷
❹
❼
❺
❻
Other manuals for mini-mx
7
Table of contents
Other RGBlink Music Mixer manuals
