manuals.online logo
Brands
  1. Home
  2. •
  3. Brands
  4. •
  5. Rich Context
  6. •
  7. Indoor Furnishing
  8. •
  9. Rich Context KMS600 W-WM User manual

Rich Context KMS600 W-WM User manual

11
1
1
1
1
1
2
6
2
2
18
8
4
6
8
1
1
2
3
4
5
6
7
8
9
10
11
12
13
14
15
16
17
27XA5608-----LX
27XA5402-----LX
KMS600W-CS01
KMS600W-CS02
62KMS600AQ101
KMS600W-CS03
17C17A1306001Y3
17C33A0703001Y4
17C33A0712001Y4
17C33A0714001Y4
17FA05040301-Y4
17D03A030301-Y4
18000337004---LX
BACK ASSEMBLY
SEAT ASSEMBLY
LEFT LEG
RIGHT LEG
LEG BRACE
SUPPORT
SCREW ST4.2*16
BOLT M6*12
BOLT M6*35
BOLT M6*40
WASHER d6.5*D13*1.0
JAM NUT M6*1.0
BOLT CAP (RED)
PARTS LIST
PAGE 1 OF 3
COURTYARD CREATIONS INC.
PART
NO. MATERIAL CODE PART Q’TY
FIGURE 1
ASSEMBLY INSTRUCTIONS
ATTENTION: THIS PRODUCT IS NOT FOR COMMERCIAL USE
INTENDED FOR RESIDENTIAL USE ONLY.
KMS600W-WM
Use the correct bolts as indicated. Do not tighten any of the bolts until is completely assembled.
Do not discard of any of the packaging until you have checked that you have all of the parts and fittings
required.
Keep children away during assembly. This item contains small parts that can be swallowed by children.
Children should always be under direct adult supervision while using this product.
Retain these assembly instructions for future reference.
Quote the following FQC NO. when contacting the service center.
SERVICE CENTER TOLL FREE NO.
TEL: 1-877-539-7436
FAX: 1-877-539-7439
"
"
"
"
"
18000337004
18000319005---LX
17KAA0101----Y4
17KAC3101----Y3
BOLT CAP
HEX.KEY WRENCH 4MM
NUT WRENCH 10MM
NUT CAP M6 (RED)
Attention:
Make sure that each bolt needed for all steps matches
the corresponding figure to ensure proper assembly.
You will need the following tools:
- Phillips Screwdriver (Not included)
- Hex. Key Wrench (See Part #16)
- Nut Wrench (See Part #17)
Step 1:
Insert the leg brace (#5) into the left leg (#3) and right
leg (#4). Fasten them together by using screws (#7).
See Figure 1.
7
L
3
5
4R
Note:
The labels marked “L” and “R” on the legs (#3 and #4)
should coincide with Figure 1 to ensure proper assembly.
STOP DON’T RETURN TO STORE!
E
11
9
3
1
14
12
15
11
35
#9 BOLT M6*35
E
11
9
14 4
1
12
15
11
35
#9 BOLT M6*35
FIGURE 5
FIGURE 4
FIGURE 3
Step 2:
At the rear of the seat, fasten the seat assembly (#2)
to the back assembly (#1) by using bolts (#8) and
washers (#11), and jam nuts (#12). Keep the bolts
loose. See Figure 2.
Step 3:
Fasten the left leg (#3) to the back assembly (#1) by
using bolt (#9), washers (#11), and jam nut (#12). Keep
the bolts loose. See Figure 3.
Step 4:
Fasten the right leg (#4) to the back assembly (#1) by
using bolt (#9), washers (#11), and jam nut (#12).
Keep the bolts loose. See Figure 4.
Step 5:
Fasten the seat assembly (#2) and the support (#6) to
the left leg (#3) and right leg (#4) by using bolts (#10 and
#8), wshers (#11), and jam nuts (#12). See Figure 5.
Make sure that all of the bolts have been tightened
completely and cover them with bolt caps (#13, #14 and
#15).
FIGURE 2
PAGE 2 OF 3
11
12
#8 BOLT M6*12
11
8
13
12 15
1
2
40
#10 BOLT M6*40
11
11 814
11
10
14 12
2
4
3
6
15
STOP DON’T RETURN TO STORE!
12
#8 BOLT M6*12
The store where you made your purchase
does not stock parts for this item.
If you need parts,
whether they are missing or damaged,
STOP!
Missing A Part?
No Need To Go Back To
The Store
Call us between 9:00 AM and 4:30 PM
Eastern Time Monday through Friday
Call Toll Free:
TEL: 1-877-539-7436
FAX: 1-877-539-7439
READ THESE INSTRUCTIONS COMPLETELY BEFORE STARTING ASSEMBLY
SEPARATE AND IDENTIFY ALL PARTS, MAKING SURE THAT YOU
HAVE ALL OF THE PARTS LISTED.
IF YOU DO NOT LOCATE ALL OF THE PARTS LISTED, INSPECT THE
PACKING MATERIAL FOR SMALL PARTS THAT MAY HAVE BECOME
SEPARATED DURING SHIPMENT.
IF YOU EXPERIENCE ANY DIFFICULTY DURING ASSEMBLY OR IF ANY
PARTS ARE MISSING OR DAMAGED, CALL THE HELP LINE AT
1-877-539-7436 BEFORE RETURNING THIS ITEM TO THE STORE.
PROVIDE THE FOLLOWING INFORMATION WHEN CALLING:
1-MODEL NUMBER OF THE PRODUCT.
2-PART NUMBER AND MATERIAL CODE OF THE PART FROM THE PARTS
LIST.
MOST PROBLEMS CAN BE RESOLVED WITHOUT RETURNING THIS
PRODUCT TO THE RETAILER.
STOP DON’T RETURN TO STORE!
Cleaning and Maintenance

bleach, acid, or other solvents on the frame parts.


safety of your chair.

protected area during off season periods.
Step 6:
Turn the chair to its upright position. See Figure 6.
FIGURE 6
PAGE 3 OF 3

Other Rich Context Indoor Furnishing manuals

Rich Context KUS795W-WM User manual

Rich Context

Rich Context KUS795W-WM User manual

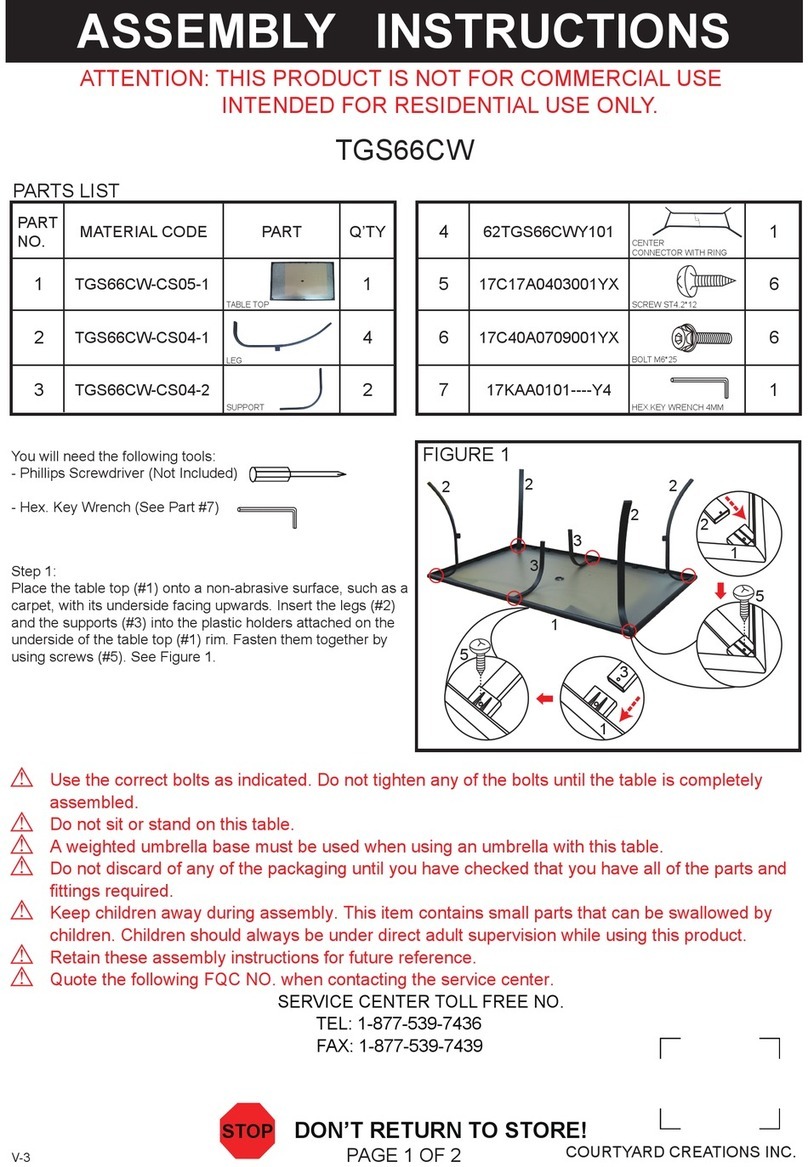
Rich Context TGS66CW User manual

Rich Context

Rich Context TGS66CW User manual

Rich Context KMS600Z User manual

Rich Context

Rich Context KMS600Z User manual

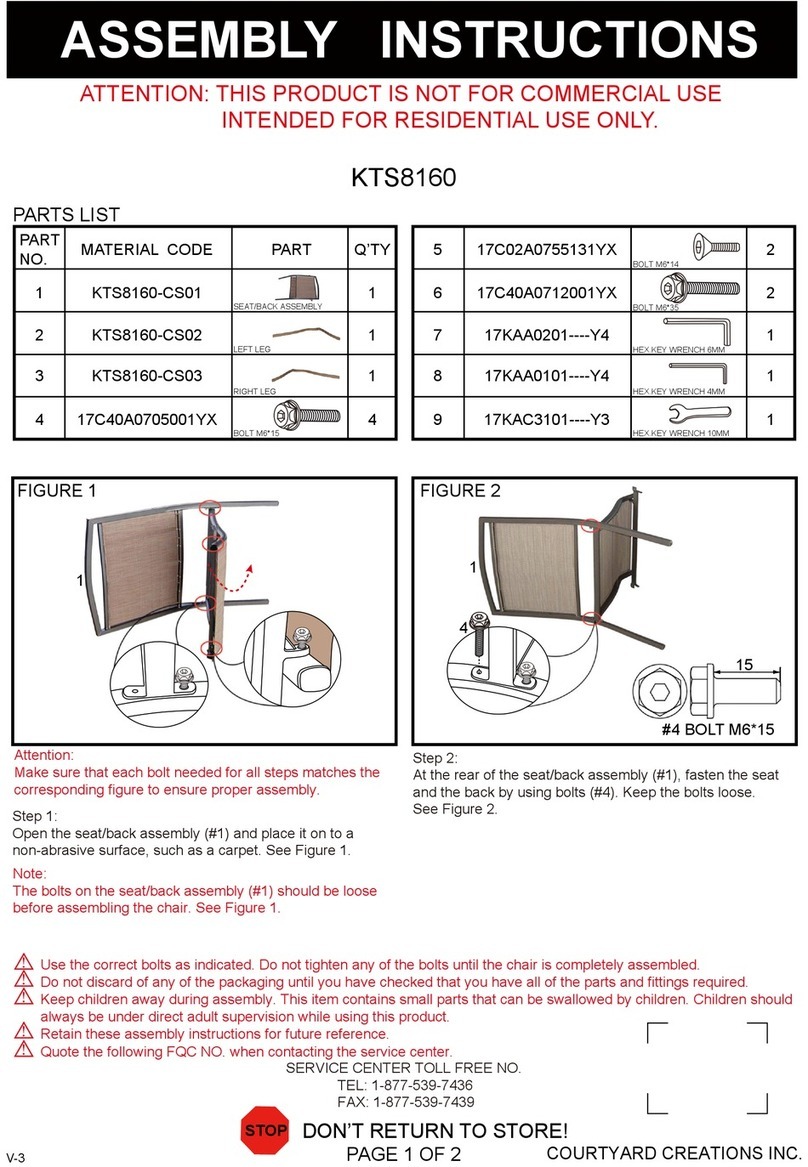
Rich Context KTS8160 User manual

Rich Context

Rich Context KTS8160 User manual

Rich Context RWS6298 User manual

Rich Context

Rich Context RWS6298 User manual

Popular Indoor Furnishing manuals by other brands

HABYS ERGO Standard 047/2022 user manual

HABYS

HABYS ERGO Standard 047/2022 user manual

TIMBER ART DESIGN S 1003 Assembly instructions

TIMBER ART DESIGN

TIMBER ART DESIGN S 1003 Assembly instructions

Next 198005 Assembly instructions

Next

Next 198005 Assembly instructions

Amart Furniture SIGNATURE ARGENTO 63845 Assembly instruction

Amart Furniture

Amart Furniture SIGNATURE ARGENTO 63845 Assembly instruction

Schiavello Krossi Electric Adjust Desk installation guide

Schiavello

Schiavello Krossi Electric Adjust Desk installation guide

Kvik SH829-060 quick start guide

Kvik

Kvik SH829-060 quick start guide

Baxton Studio Nesa 133C Assembly instruction

Baxton Studio

Baxton Studio Nesa 133C Assembly instruction

Costway HW56556 user manual

Costway

Costway HW56556 user manual

Steelcase Cura II manual

Steelcase

Steelcase Cura II manual

JWA Ales 75103 Assembly instruction

JWA

JWA Ales 75103 Assembly instruction

bily Retractable Safety Gate manual

bily

bily Retractable Safety Gate manual

deVRIES Willington 40471 Assembly instructions

deVRIES

deVRIES Willington 40471 Assembly instructions

StandCrafted THE STANDCRAFTED DESK installation manual

StandCrafted

StandCrafted THE STANDCRAFTED DESK installation manual

Politorno ITAJAI 2210 Assembly instructions

Politorno

Politorno ITAJAI 2210 Assembly instructions

BRW LOFT B156-SFW130 manual

BRW

BRW LOFT B156-SFW130 manual

Furniture of America Patra CM7152C Assembly instructions

Furniture of America

Furniture of America Patra CM7152C Assembly instructions

TUHOME Furniture GLB5608 Assembly instructions

TUHOME Furniture

TUHOME Furniture GLB5608 Assembly instructions

Balmani OBERTURE installation guide

Balmani

Balmani OBERTURE installation guide

manuals.online logo
manuals.online logoBrands
  • About & Mission
  • Contact us
  • Privacy Policy
  • Terms and Conditions

Copyright 2025 Manuals.Online. All Rights Reserved.