Rich electric Invertek CombiPlus User manual


Rich Electric Co. “CombiPlus” User Manual V7.19 Copyright 2009 Page2

Rich Electric Co. “CombiPlus” User Manual V7.19 Copyright 2009 Page3
Table of CONTENTS
Introduction.....................................................................................................................................
Features...................................................................................................................... 7
Layout ........................................................................................................................ 8
About CombiPlus......................................................................................................9
Specifications........................................................................................................... 10
Dimensions............................................................................................................... 13
Chapter 1 Installation.....................................................................................................................
1.1 Box Contents...................................................................................................... 17
1.2 Location ............................................................................................................. 18
1.3 Requirements..................................................................................................... 19
1.4 Connection of Battery Cables.......................................................................... 19
1.5 Connection of AC Cabling............................................................................... 20
1.6 AC Cabling Schematic Layout (Multiple Ciruits AC Output)..................... 22
1.7 AC Cabling Schematic Layout (Single Ciruit AC Output)........................... 23
1.8 Second Battery .................................................................................................. 24
1.9 Voltage Sense..................................................................................................... 24
1.10 Battery Temperature Sensor (BTS-3)........................................................... 24
1.11 Three Sets of Automatic Relays (RY1,RY2,RY3) Outputs......................... 24
1.12 Parrellel Conection......................................................................................... 24
1.13 3-Phase Operation........................................................................................... 25
1.14 MEN (Main Earth Neutral) Grounding ....................................................... 25
1.15 Remote Control Panel (RCP-4) ..................................................................... 25
1.16 Ventilation (Standard Single Unit)................................................................ 26
1.17 Ventilation (Optinal Fan Cover Application) "Standard Single Unit"..... 26
1.18 Ventilation (Multible or 3-Phase Appliaction)............................................. 27

Rich Electric Co. “CombiPlus” User Manual V7.19 Copyright 2009 Page4
Chapter 2 Wiring............................................................................................................................
2.1 Lower Front Panel Connections...................................................................... 28
2.2 Battery "Star Connection" Schematic............................................................ 30
2.3 Battery "Rail Connection" Schematic............................................................ 31
2.4 AC ParrellelConnection Schematic................................................................. 32
2.5 AC 3-Phase Conection Schematic.................................................................... 33
2.6 AC 3-Phase System 15 Modules....................................................................... 34
Chapter 3 Battery Types................................................................................................................
3.1 Sealed Batteries................................................................................................. 35
3.2 AGM................................................................................................................... 35
3.3 Gel....................................................................................................................... 36
3.4 Flooded Batteries .............................................................................................. 36
3.5 Lead-Calcium.................................................................................................... 37
3.6 Lead-selenium ................................................................................................... 37
3.7 Lead-Antimony ................................................................................................. 37
Chapter 4 Operation.......................................................................................................................
4.1 Front Panel Display .......................................................................................... 38
4.2 Front Panel Button Operations ....................................................................... 40
4.3 Main Menu ........................................................................................................ 42
4.4 Main Menu: Programing "Operation" .......................................................... 43
4.5 Main Menu: Programing "Key Selections"................................................... 45
4.6 Main Menu: Operation "Monitor"................................................................. 46
4.7 Main Menu: Operation "Fault Trace"........................................................... 49
4.8 Main Menu: Operation "Fault History"........................................................ 52

Rich Electric Co. “CombiPlus” User Manual V7.19 Copyright 2009 Page5
Chapter 5 Mode Settings................................................................................................................
5.1 Four Control Modes Applicatioin..................................................................... 54
MODE 1: AC Power as Priority Support......................................................... 55
MODE 2: AC Generator Support with Dynamic Power Shifting.................. 60
5.2 Green Power Smart Feature.............................................................................. 64
MODE 3: Renewable Energy with Power Support......................................... 66
MODE 4: Renewable Energy with AC Charger Backup Support................. 70
Chapter 6 Programming ................................................................................................................
A Group: Initialize.................................................................................................... 74
B Group: General ..................................................................................................... 77
C Group: Inverter..................................................................................................... 86
D Group: Battery Charger....................................................................................... 88
E Group: Aux-Relay................................................................................................. 92
O Group: Operator................................................................................................... 43
U Group: Monitor..................................................................................................... 46
Chapter 5 User Constants "Flow Chart"................................................................................. 99
Chapter 5 Constants List.......................................................................................................... 109
U Group: Monitor................................................................................................... 110
A Group: Initialize.................................................................................................. 110
B Group: General ................................................................................................... 110
C Group: Inverter................................................................................................... 112
D Group: Battery Charger..................................................................................... 113
E Group: Aux-Relay............................................................................................... 113
F Group: Solar Charger......................................................................................... 118
O Group: Operator................................................................................................. 118
Chapter 9 Trouble Shooting Table.......................................................................................... 124

Rich Electric Co. “CombiPlus” User Manual V7.19 Copyright 2009 Page6
Appendix A: EMC for Wall-Mounting/Vertical CombiPlus
Appendix B: LVD for Wall-Mounting/Vertical CombiPlus
Appendix C: C-Tick for Wall-Mounting/Vertical CombiPlus
Appendix D: EMC for Table-Mounting/Horizontal CombiPlus
Appendix E: LVD for Table-Mounting/Horizontal CombiPlus
Appendix F: C-Tick for Table-Mounting/Horizontal CombiPlus

Rich Electric Co. “CombiPlus” User Manual V7.19 Copyright 2009 Page7
Introduction
The Ultimate Interactive DC to AC Inverter/Charger Power Management
Control System ideally designed for Home, Boat, Caravan or RV.
Features:
¾Intelligent Mains Grid Power and Generator Power Management Control.
¾ATS Uninterrupted AC power Transfer Switch (UPS function).
¾Two and Three phase AC output capability, for the more demanding loads*.
¾Power Support Feature: boosting the capacity of shore or generator power,
¾Power Shifting Feature: avoids sudden loads on generator causing voltage spikes.
¾Interactive Power Sharing: programmableAC input control system
¾Four stage adaptive charging system with dual bank battery charging,
up to 140Amps & 4 Amps starter battery.
¾Programmable auxiliary relay contacts (x3)
¾Solar charging capacity up to a massive 1920Amps*.
¾Remote control replica of main control panel with LCD display*.
¾Power Stack, Need more power?
Just keep stacking! for increased power upgrade*.
¾“Green Power Smart” This feature is designed to conserve energy
when connected to the mains grid supply orAC Generator.
¾Powerful Interactive Bi-Directional True Pure Sine Wave Inverter / Charger.
*Requires optional accessories, please see installation section for more information.

Rich Electric Co. “CombiPlus” User Manual V7.19 Copyright 2009 Page8
Layout:

Rich Electric Co. “CombiPlus” User Manual V7.19 Copyright 2009 Page9
About CombiPlus:
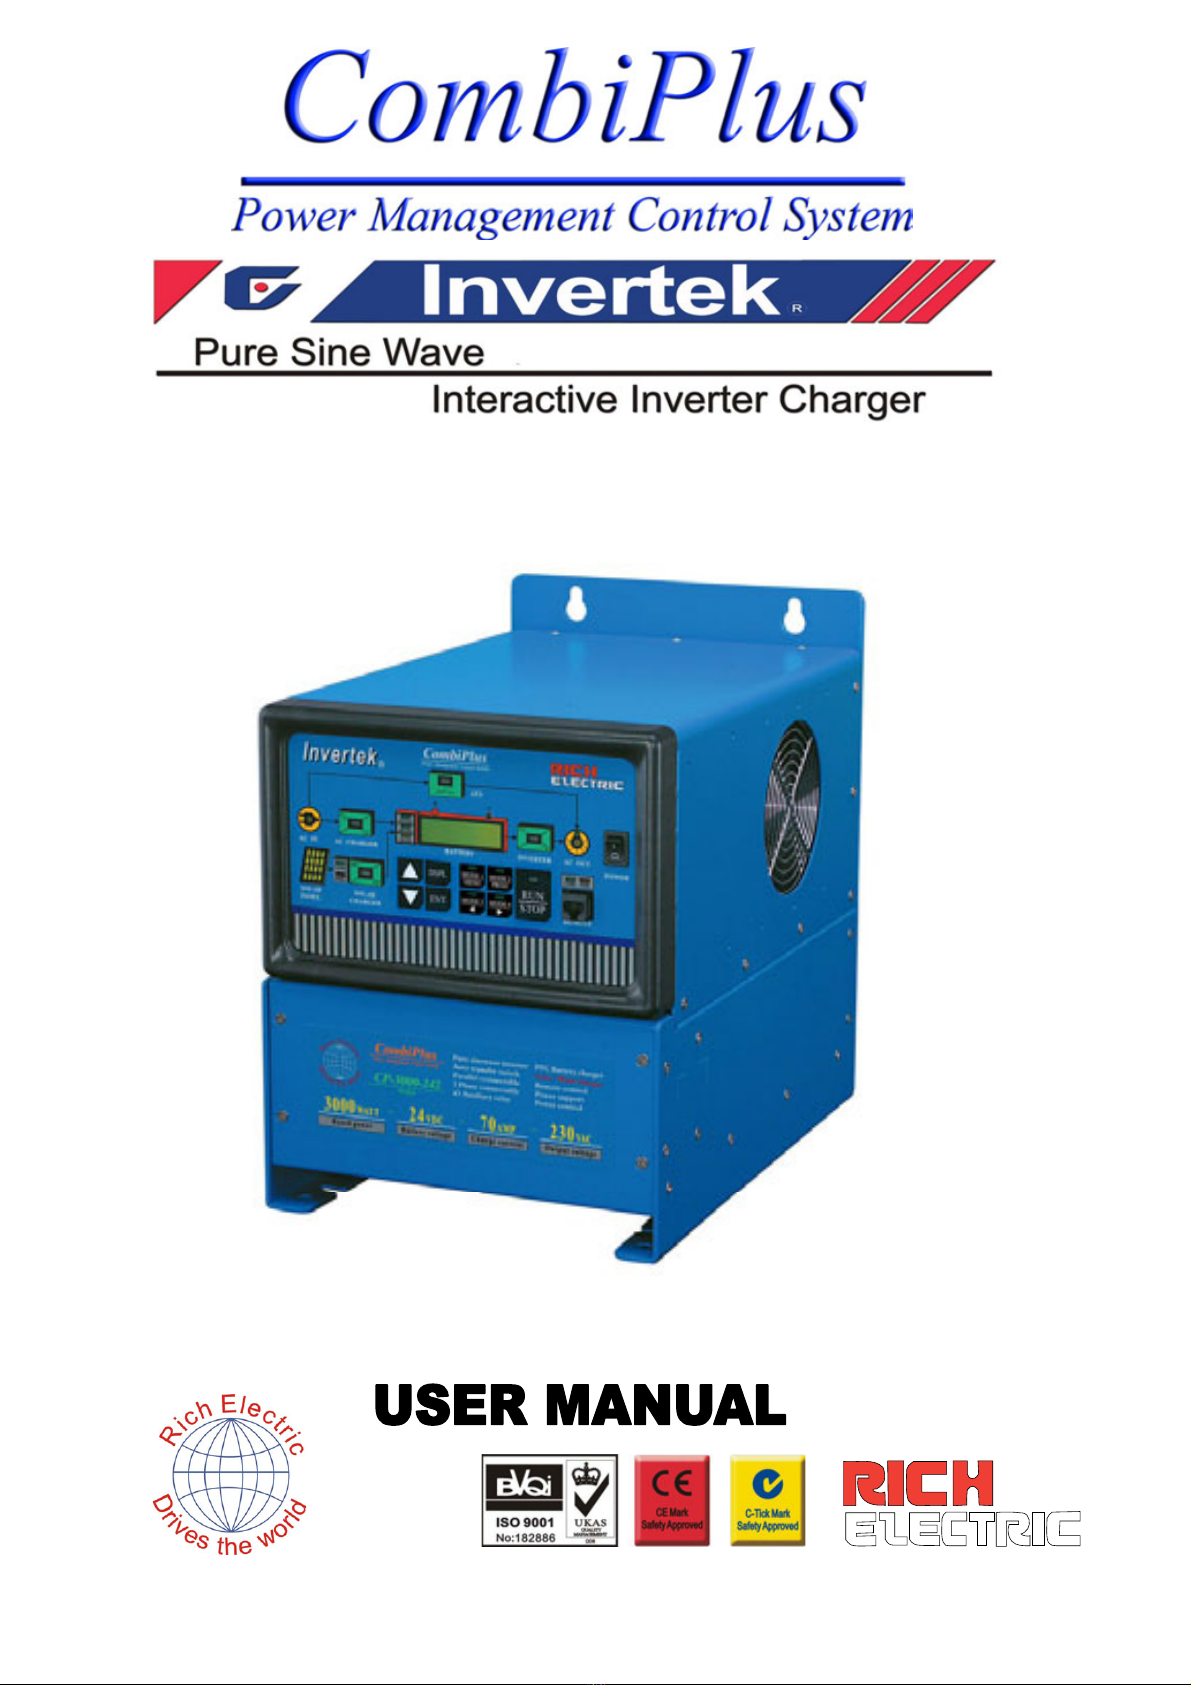
The “Combi” Functional Interactive Bi-Directional Inverter has a dual function.
This unit can operate as a battery charger or as a power inverter.
The system utilizes sophisticated circuitry to manage and control your power requirements.
The CombiPlus is ideally designed for your car, boat, recreational vehicle or basically anywhere
mains power is required.
The CombiPlus features a powerful true pure sine wave inverter that converts DC battery voltage to
AC high voltage producing a clean, smooth power output,
Ideal for the most sensitive electronic equipment.
This superior, extremely efficient power conversion system will run even the most demanding mains
operated appliances when the grid power is unavailable.
CombiPlus also has a powerful 4 stage battery charger that is capable of delivering up to a
Huge 140 Amps. (3000watt , 12v Model)
There is also a 4 Amp charging output great for keeping the starter battery in an RV or
Generator constantly charged.
Solar Panels can also be connected to the CombiPlus through optional SunStar® SS-45/60 or MPPT
SunStar® controller allowing the batteries to be recharged giving you even more flexibility when
you are away from mains powered sites.
The CombiPlus has many unique features like its big brother the “SuperCombi”.
This includes stacking for increased power output, 3 phase power option,
(Requires optional parallel or 3-Phase modules and additional CombiPlus units).
Power Support, where the input supply from an AC generator and the inverter can be combined
together to support heavy start-up loads such as air-conditioners.
Interactive Power Sharing, where the AC input supply can be programmed to a
Maximum limit; this will protect against unwanted power tripping from the mains supply.
For example, If you turn on an electric jug and air-conditioner at the same time, the shore power
circuit breaker will likely trip leaving you without power, with the Combi’s Smart Power
Management System will then use its Power Support feature to boost the mains input by using the
Inverters output and shore power input together until the load decreases.
The CombiPlus also offers automatic switching between the mains AC and the inverter known as an
Auto Transfer Switch or ATS. This will provide a seamless power switch over between the mains
input and the inverter power so no manual switching is required, CombiPlus does it all for you.
CombiPlus can also automatically start your compatible backup generator in the case of a low battery
or excessive high load usage and then turn the generator back off when not required.

Rich Electric Co. “CombiPlus” User Manual V7.19 Copyright 2009 Page10
Specifications
MODEL
12 Volt System
24 Volt System
48 Volt System
CP-1500-12X (1)
CP-1500-24X
CP-1500-48X
CP-3000-12X
(1)
CP-3000-24X
CP-3000-48X
GENERAL
Ventilation Fan Forced cooling Fan Forced cooling
Temperature
–Operation
–Storage
-20℃~ +70℃
-25℃~ +80℃
-20℃~ +70℃
-25℃~ +80℃
Protection
a. Output short circuit 99
b. Over load 99
c. Battery voltage too high 99
d. Battery voltage too low 99
e. DC voltage ripple too high 99
f. Temperature Sensor
Transformer (105℃)(105℃)
Electronic & Powerstage (70℃)(70℃)
Battery Temp BTS-3 (50℃)(50℃)
Humidity 0~95% (non condensing) 0~95% (non condensing)
Power support Function 99
Power shifting Function 99
Uninterrupted AC power (less than 10 msec) (less than 10 msec)
Adaptive 4-stage charge 99
Two output to charge 2 battery banks 99
Auxiliary Relay X 3 X 3
Parallel operation (Requires optional CP-PX) (Max. 5 sets) (Max. 5 sets)
3-phase capacity (Requires optional CP-3PX) 99
Battery voltage sensor 99
Battery Temperature sensor (BTS-3 Optional) 99
Remote control port 99
Extension Port (Port C) 99

Rich Electric Co. “CombiPlus” User Manual V7.19 Copyright 2009 Page11
INVERTER
Input Voltage Range (VDC) 12V-(9.5 -16V) / 24V-(19-32V) / 48V-(38-64V)
Output Voltage (VAC) 210~245 VAC / 94~128 VAC
Output Frequency 50Hz /60Hz ± 0.1%
Output Waveform True Pure Sinewave
Output Voltage THD <5%
Power Factor (All Loads) 9
No linger load, crest factor 3: 1
Cont. Power Output @ 70℃(W)
Under 70℃(cosθ=1.0)
1500Watt
(No derate 70℃)
3000Watt
(No derate 70℃)
Cont. Power Output (W)
Over 70℃(cosθ=1.0)
0W
(Shutdown)
0W
(Shutdown)
Maximum Power (W) 3000Watt 6000Watt
Maximum Efficiency (%) 82/84/85 84/86/89
Zero-load Power (W) (8W Power Save) 12W (Normal) (12W Power Save) 18W (Normal)
CHARGER
Input Voltage Range (VAC) 180~265 VAC / 94~138 VAC
Input Frequency 45-55Hz /55-65 Hz
Power Factor 1
Charge Characteristic 4-stage adaptive / Bulk-Absorption-Float-Equalize + Safe
Maximum DC Voltage Ripple (Vrms) < 1.25 V
Charge Current House Battery (A) 70A/40A/20A 140A/70A/40A
Charge Current Starter Battery (A) 4A
Output Charging Voltage (VDC) 12~16V / 24~32V / 48~64V
Absorption Voltage Default (VDC) 14.4V / 28.8V / 57.6V
Float voltage Default (VDC) 13.8V / 27.6V / 55.2V
Equalize Voltage default (VDC) 13.2V / 26.4V / 52.8V
Output Charge Voltage (min ~ max) 8V~16V / 11V~32V / 22V~64V
Battery Temperature sensor BTS-3 (optional)

Rich Electric Co. “CombiPlus” User Manual V7.19 Copyright 2009 Page12
(1) X should be 1, output voltage = 94~128 VAC or 2, output voltage = 210~245 VAC
Specifications subject to change
AC INPUT SWITCH
AC IN Internal Terminal Circuit Breaker 1500w: 30A -(110V) 15A -(230V)
3000w: 60A -(110V) 30A -(230V)
AC IN Auto Transfer Switch Current 1500w: 32A- (110V) 16A -(230V)
3000w: 63A -(110V) 32A -(230V)
Switch-over Time
a. inverter to AC input 0 msec.
b. AC input to inverter 0 msec.
Detection Time AC Input Fault 4 ~10 msec.
Trip Level AC Low Input to Inverter Default Setting: 94 VAC (94~120V) 110v Model
180VAC (180~230V) 230v Model
Trip Level Inverter toAC Low Input Default Setting: 101 VAC (95~121V) 110v Model
187VAC (181~231V) 230v Model
Trip Level Inverter to AC High Input Default Setting: 138 VAC (119~142V) 110v Model
265VAC (229~269V) 230v Model
Trip LevelAC High Input to Inverter Default Setting: 143 VAC (120~143V) 110v Model
270VAC (230~270V) 230v Model
Min.~ Max. Frequency Range 45-55 Hz / 55-65 Hz
MECHANICAL
Cabinet / Protecting Class Aluminum / IP20
Dimension (HXWXD) 362 x 258 x 370 mm 424 x 258 x 370 mm
Weight (kgs) 21 kgs 27 kgs

Rich Electric Co. “CombiPlus” User Manual V7.19 Copyright 2009 Page13
Dimensions
Dimensions 1500watt Model
Dimension for Wall Mounting/Vertical CombiPlus 1500W
CP-1500W-12/24
Unit: mm
AC IN CHARGER
SOLAR
CHARGER
SOLAR
PANEL
INVERTER AC OUT
ATS
POWER
Invertek CombiPlus
DSPL
ENT
RUN
STOP REMOTE
R
BATTERY
BULK
ABSOR
FLOAT
COM. ERR.
1
MODE 2
MODE
3
MODE 4
MODE
ERR.
COM.
1
0
Power Management Co ntrol System

Rich Electric Co. “CombiPlus” User Manual V7.19 Copyright 2009 Page14
Dimensions 1500watt Model
Installation Holes for Wall Mounting/Vertical CombiPlus 1500W
CP-1500W-12/24
BacksideMountingHoles BottomMountingHoles
10
10
10
10 M6-4
M8-4

Rich Electric Co. “CombiPlus” User Manual V7.19 Copyright 2009 Page15
Dimensions 3000watt Model
Dimension for Wall Mounting/Vertical CombiPlus 3000W
CP-3000W-12/24
Unit: mm
AC IN CHARGER
SOLAR
CHARGER
SOLAR
PANEL
INVERTER AC OUT
ATS
POWER
Invertek CombiPlus
DSPL
ENT
RUN
STOP REMOTE
R
BATTERY
BULK
ABSOR
FLOAT
COM. ERR.
1
MODE 2
MODE
3
MODE 4
MODE
ERR.
COM.
1
0
Power Management ControlSystem

Rich Electric Co. “CombiPlus” User Manual V7.19 Copyright 2009 Page16
Dimensions 3000watt Model
Installation Holes
BacksideMountingHoles BottomMountingHole
10
10
10
10 M6-4
M8-4

Rich Electric Co. “CombiPlus” User Manual V7.19 Copyright 2009 Page17
Chapter 1 Installation
This product should be installed by a qualified electrician.
ALL AC WIRING MUST BE CARRIED OUT BY A LICENSED
ELECTRICIAN AND MUST CONFORM TO AS3000
WIRING REGULATIONS OR RELEVANT STANDARDS
For other regions, the installation and wiring should comply with relevant
National Standards and Practices.
1.1 Box Contents
zCombiPlus
zUSER MANUAL
zQuick Reference Guide
zWarranty Card
zBag Containing connection items,
zFour M8 mounting bolts (including spring washers)
zFour DC terminals and casing

Rich Electric Co. “CombiPlus” User Manual V7.19 Copyright 2009 Page18
1.2 Location
This product must be installed in a dry and well-ventilated area, as close as possible to batteries.
There should be a clear space of at least 20 cm around the appliance for cooling.
Excessively high ambient temperature will result in the following
zReduced service life
zReduced charge current
zReduced peak capacity or shutdown of the inverter
Never position the inverter directly above the batteries.
CombiPlus is suitable for wall mounting. The back and the bottom of the enclosure
Has holes for wall mounting purposes.
The front of CombiPlus must remain accessible after installation. Ensure the AC and DC input cables
are fitted with fuses and circuit breakers. Try and keep the distance between the product and battery
to a minimum in order to minimize cable voltage losses.
The system should always be earthed for lightning and to reduce the risk of accidental short circuits,
Earthing the DC Power Wiring is not normally required. If the system is installed in a lightning
prone area then protection for the earthing of the DC wiring may be needed.
DC Earth cables must be capable of caring the battery fault current and trip the battery fuse before
the cabling fails.
A Battery Fuse or Circuit Breaker is required at all times; Never connect the CombiPlus directly to
the battery. The fuse or Circuit breaker should be connected as close to the battery as possible.
If the batteries are not earthed then protection should be provide on both the Positive and Negative
sides of the battery.
NOTE: The DC cabling should always be kept separated from any of the AC cabling.

Rich Electric Co. “CombiPlus” User Manual V7.19 Copyright 2009 Page19
1.3 Requirements
zScrewdrivers for removing the lower-front panel and connecting AC loads.
z2x battery cables (maximum length 6 meters) ensure battery cables are correctly sized.
zInsulated box spanner (13 mm) for securing the DC terminal nuts.
zTwin and Earth power cable for AC cabling.
1.4 Connection of Battery Cables
Ensure you have enough battery capacity to be able to operate your CombiPlus to its full
capacity.
Model
Item CP-1500-12X CP-1500-24X CP-3000-12X CP-3000-24X
Minimum Battery
Capacity (Ah) 200Ah 100Ah 400Ah 200Ah
Recommended
Cable Size (mm2)
53.5 mm2
0 AWG
33.6 mm2
2 AWG
85 mm2
000 AWG
53.5 mm2
0 AWG
NOTE: Consult your battery manufacturer for correct battery sizing for your application,
Battery cable sizes are based on recommended cable length of 2 meters. Longer cable lengths will
require large cable sizes.
Always use an insulated box spanner in order to avoid shorting the battery.
Never short the battery cables!
zRemove the four screws at the lower-front panel of the enclosure and remove the panel.
zConnect the battery cable: the + (red) on the right and the – (black) on the left.
zDon’t reverse the (+) and (-) of the battery. This may cause internal damage.
zSecure battery nuts tightly in order to reduce the contact resistance as much as possible.
For more information on battery bank enclosures and installations please refer to AUS/NZ standards
AS 2676, AS4509, AS3010 & AS4086.
For other regions, the installation and wiring should comply with relevant
National Standards and Practices.

Rich Electric Co. “CombiPlus” User Manual V7.19 Copyright 2009 Page20
1.5 Connection of AC Cabling
Ensure the CombiPlus is grounded for safety.
The main earth screw has been fitted at the bottom left side of the enclosure.
The AC terminal connection is located in lower-front panel of the enclosure:
The AC Supply (AC IN) cable must be connected to AC IN terminals,
Use a Twin and Earth power cable; refer to table below for correct AC cable sizes.
The AC output terminal connection is labeled “AC OUT”. The terminal points are indicated
clearly. From left to right: “G” (earth), “N” (neutral), and “L” (phase).
The AC input terminal connection is labeled “AC IN”, The terminal points are indicated clearly:
From left to right “L” (phase), “N” (neutral), and “G” (earth).
External fuses or circuit breakers must be installed.
The AC input circuit breaker built in to the CombiPlus is designed to protect the internal wiring
inside the unit only. Faults on sub circuits will not normally trip this breaker.
All External AC wiring must be protected with suitably rated external circuit breakers
and RCD Earth Leakage protection.
For AC input protection we recommend the use of a Circuit Breaker (MCB).
The electricity which is switched through to the Inverters output (AC OUT) is NOT fused.
External fuses or circuit breakers must be installed. For correct sizing see table below.
AC output Circuit breakers and Earth Leakage protection is recommend for
Protection of the AC output from the Inverter.
Table of contents
Other Rich electric Batteries Charger manuals