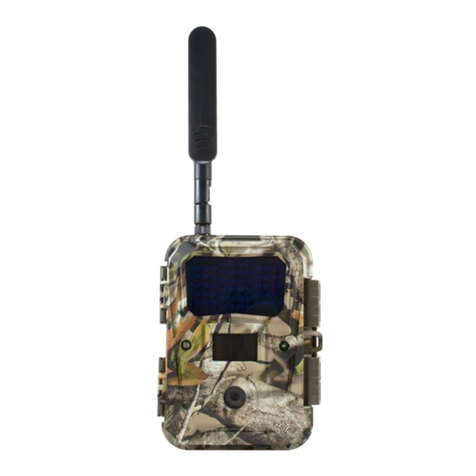
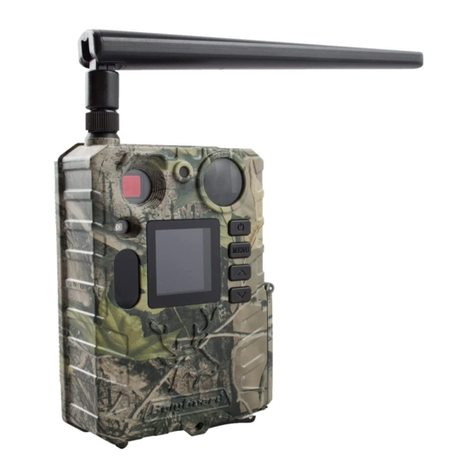
Ridgetec Lookout User manual

1
- LOOKOUT DUAL- QUICK START GUIDE
READ ME FIRST: (IMPORTANT)
You will need the following before you begin:
12 AA batteries (Energizer Lithium recommended)
SD card (up to 64GB SD card)
Computer or mobile device with internet
The ability to check your email (to complete account registration)
Please follow the detailed instructions below.
IN THE BOX:
1 x camera
1 x mounting strap
2 x antenna
2 x SIM card (AT&T + Verizon)
NOTE: SD Memory card and batteries are sold separately
PREPARE YOUR CAMERA:
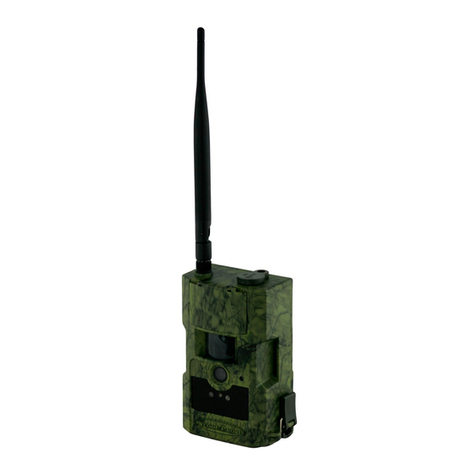
Screw antennas onto top of camera with black rubber washer (do not overtighten)
Insert 12 AA batteries new (Energizer Lithium recommended)

2
Insert SD memory card (up to 64GB SD card)
Insert SIM card (Verizon or AT&T)
Step 1: REGISTER FOR AN ACCOUNT:
On computer or mobile device, visit portal.ridgetec.com
On the LOGIN screen click REGISTER FOR A NEW ACCOUNT
INPUT: Name, E-mail address and password (min 6 characters)
Click the REGISTER button
Check your email for the confirmation email from ridgetec.com
oCheck your spam folder if you do not see the email
Note: If you do not get the email click the Resend Confirmation Email link (on Login page)
In the confirmation Email, click the VERIFY button to complete your REGISTRATION
Step 2: FIND SIM ICCID:
Turn camera switch to SET and push MENU button
Select Network and push OK button
Select the network that matches installed sim card
Select ICCID and push OK
RECORD ICCID # here:____________________________________________
Step 3: ADD PLAN:
On computer or mobile device, visit portal.ridgetec.com
Input your E-mail and Password and click the LOGIN button

3
From the portal main menu, select ADD CAMERA/PLAN
Note: On mobile devices, portal menus may collapse. Expand the main menu to reveal ADD CAMERA/PLAN
Step 4: INPUT SIM ICCID:
Input SIM ICCID #
Read the account Terms and Conditions
Check the I AGREE TO THE TERMS check box
Step 5: CREATE NEW PLAN:
Click the CREATE NEW CAMERA/PLAN button
The portal will indicate that your plan was added, and if applicable, indicate that a free month was
awarded
At this point the server will send an activation signal to your SIM card
Note: The SIM activation can take from several seconds to several minutes
Step 6: POWER UP CAMERA & VERIFY CONNECTION:
Turn camera switch to SET, wait and monitor this screen for a cellular connection
On the bottom of the screen, look for “Searching Network…”
If “Cannot Find Network”is displayed, cycle power (turn camera OFF and then back to SET) until
the camera connects to the network
Note: The SIM activation can take several seconds to several minutes to complete, so multiple
retries is normal. Please be patient as this is a network carrier delay. If the camera does not find
a network after several attempts, it may mean you do not have sufficient service in this area to
complete the activation; move to an area with stronger cellular service and try again.

4
Once the SIM activation is complete and a cellular connection is obtained, the screen will display a
network name (the network name depends on model, carrier and location) along with signal
strength in up to 5 bars
Verify your web and portal connection by performing two diagnostic steps:
oPress MENU
oSelect NETWORK TEST; Push OK when ‘Pass’ displayed
NOTE: PASS means you are on the internet
oSelect REPORT TEST; Push OK when ‘Pass’ displayed
NOTE: PASS means your camera is functioning 100% with the portal
oIf both tests pass, your camera is 100% ready and the new camera has been added to your
account and is visible under MY CAMERAS on the portal and mobile application
Turn camera switch to ON to fully activate camera
Step 7: MY CAMERAS
Login to the Portal and click MY CAMERAS from the main menu
Note: On mobile devices, portal menus may collapse. Expand the main menu to reveal MY CAMERAS
Click the ‘Refresh’ button in My Cameras (or in your browser) until your camera displays
Select SETTINGS to update your settings and click Save All Changes
NOTE: Please read the help under each setting option to better understand all of your camera’s
capabilities
Any updated settings will automatically download the next time the camera connects to the portal

5
Step 8: INSTALL MOBILE APP
Ridgetec supports both Android and iOS Applications. Please visit the appropriate app store for your
device. Search for “Ridgetec”. Install the app. Please complete steps 1 through 7 before continuing.
Launch and Login to mobile app
Input Email and Password and click Login
During first login, you will receive a message that indicates a confirmation email was sent and to
verify the mobile device
oNOTE: On first mobile app Login, the portal requires a confirmation by the account owner
via email for all new connections to the account by any mobile device - This is for your
account security
Click the VERIFY button in the email
Login to the app again to complete access
The complete user manual, latest camera firmware, and frequently asked questions
section is available at: www.ridgetecoutdoors.com
NOTE: By default the camera settings are not adjustable when Cellular Mode is ON (notice most menu items are
greyed out). This is by design as the camera will download the settings from the web portal. If Cellular Mode is
turned OFF, the camera settings can only be changed directly on the camera (camera will not transmit pictures when
Cellular Mode is OFF).

6
Thank you for purchasing your RIDGETEC camera.
Should you experience any problem with your RIDGETEC camera please contact RIDGETEC, NOT
the retail store, and we will be happy to assist you.
We know that in today’s competitive market place, customers have many choices when purchasing
surveillance cameras. We appreciate that you have chosen our high quality product, and we are
confident that you have made the best choice. It is our commitment to be uniquely better. Our
continued reputation is one of our top priorities and we take great pride in satisfying our
customers.
You can also reach us at 1-888-966-8929
REGISTER YOUR CAMERA TODAY TO OBTAIN A 2-YEAR WARRANTY
Register your product(s) online at: www.ridgetecoutdoors.com
FAQ, full user manual and the latest firmware updates are available at:
www.ridgetecoutdoors.com
Join our online community today
Other manuals for Lookout
1
Table of contents
Other Ridgetec Scouting Camera manuals
