Rime Lite i.2A User manual

1
USER GUIDE
i.2A/4A/6A
Please read this manual before operating i flashes, and keep it for future reference.

2
INTRODUCTION
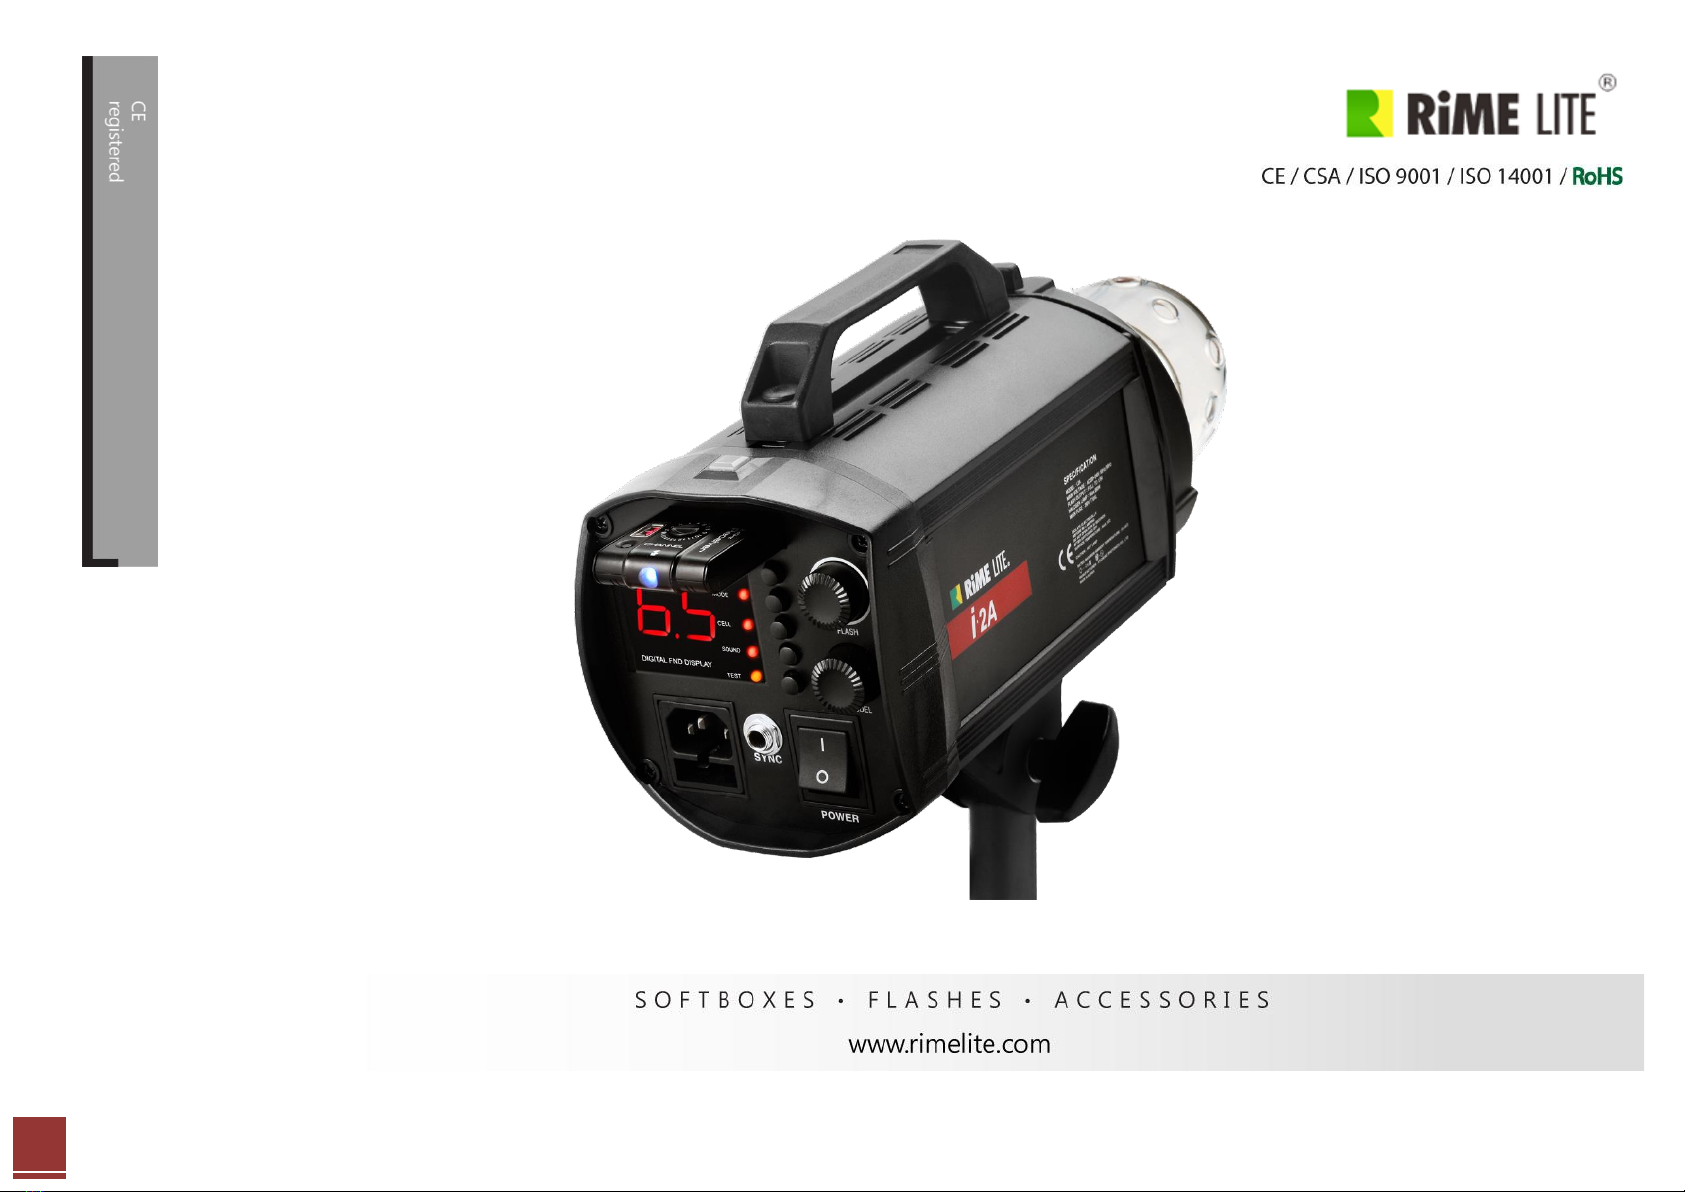
Thank you for choosing Rimelite i-flashe
i-flashes includes the controlling system for Duration time from 1/12,600s (t o.5) and High Sync Speed up to 1/8,000 s with Swing
III (Canon and Nikon version).
Precise and fast repeatability recharging times from 0.1sec ~ 1.2sec, you can capture every moment perfectly.
With RPT (continuative flashes per second 5,10, 15 times), HSS (High Sync Speed up to 1/8000 sec), Duration time control
mode (1/12,600), i-flash functionality involves all the newest Hot-issue in terms of the lighting technology
Rime Lite telecommunications
Web: www.rimelite.com
Facebook: rimelites
Twitter: @rimelites
Headquarters: Hyundae Photonics B/D, 118-16, Chimsan-Dong, Buk-Gu, Daegu, South Korea.
Tel: 82–53–359–1445 / Fax: 82–53–359-0333
INTELLECTUAL PROPERTY
All intellectual property, owned by or which is otherwise the property of Rime Lite or its respective suppliers relating to IGBT flashes, including but not
limited to, accessories, parts, or software, is proprietary to Rime Lite. No title to or ownership in the intellectual property is transferred to you. All applicable
rights of the intellectual Property shall remain with Rime Lite and its suppliers.

3
General Safety Instructions
Please read and understand all the instructions to avoid injury to yourself and/or damage to
i flashes
-Do not expose to extream temperatuers ( above 140℉or below -4℉, or above 60℃or below -20℃).
-Do not expose to moisture. Do not use i flashes near water.
-Do not let any foreign matter spill into i flashes
-Do not expose to chemicals such as benzene and thinners. Do not use liquid or aerosol cleaners. Clean with a soft damp cloth only.
-Do not expose to direct sunlight or heat sources for a prolonged period.
-Do not try to disassemble and/or repair i flashes yourself.
-Do not subject i flashes to severe impact,
-Do not place heavy objects on i flashes.
-Do not subject i flashes to excessive pressure.
-Do not touch i flashes with wet hands
-Do not store in dusty areas.
Please be aware that Rime Lite claims no responsibility for damage from data loss due to breakdown, repair, or other causes.

4
Package
Your package contains the following items.
i-flash body Modeling Lamp:300w Power Cable Sync Cable Pyrex protect glass Protect cap
You can obtain the following accessories for i flashes from your local dealer:
NS-SWING III-Transmitter Swing III-Receiver Swing I-Transmitter Swing I-Receiver
Canon and Nikon

5
Overview
Number
Description
Number
Description
①
Halogen Lamp
②
X-non Flashtube
③
Modeling Lamp Base
④
Locking Holder
⑤
Handle
⑥
Photo Cell
⑦
Bracket for stand

6
Number
Description
Number
Description
①
FND Display
⑥
Charge Jack
②
AC Inlet
⑦
Mode Selection Buttons
③
Plug-in Radio Trigger
⑧
1/10 Stop Power Adjust Dial
④
Sync Connector
⑨
Modeling Lamp Adjust Dial
⑤
LED Operation Indicator
⑩
Power Switch

7
SPECIFICATION
Model
i.2A
i.4A
i.6A
Flash Power
200
400
600
F-Stope, 1m, ISO100, With New reflector(H)
32.5
45.0
45.5
Power range(W)
6~200
8~400
12~600
Variable Range of flash
6 F-Stop
Recycling, max (/sec) at full power
0.6
0.9
1.2
Recycling, min (/sec) at lowest power.
0.01
0.02
0.1
Flash Duration (t0.5) @min : max (Duration Mode)
1/12800 : 1/500
1/12800 : 1/500
1/12800 : 1/500
Flash Duration (t0.5) @min : max (Watt Mode)
1/3700 : 1/690
1/2750 : 1/500
1/2300s ~ 1/125
Color Temperature(+/-200) in F-stop mode
5600(+/-200) = Watt Mode
Voltage Stabilization
Max.土0.1% stability for digital Image
Sync voltage
10V(+/- 1V)
Adjustment of Power
Digital Encoder Knobe Volume System, Swing-III
Modeling Lamp
Halogen Lamp: 150w~300w G 6.35 Base
Weight(Kg)
2.5Kg
2.6Kg
2.7Kg
Dimension (HxWxD, mm)
120 X 118 X275
120 X 118 X345
Over heat tempratuer (stopped system & beep)
80°C Heatshield checksum

8
Operation Instruction for i flashes
A. Insert a power cord into the main Inlet.
B. Turn the power switch ON
C. Before the switch turn it off, you better to set all buttons & indicators to “Minimum” or “OFF”
1. How to use HSS mode
HSS function is possible only with SWING III
SWING III has two version. Canon, Nikon.
Before using HSS mode, please, check your Camera type
and SWING III version.
-Press, ‘+’ button for 2 sec of SWING III Transmitter.
-Press, ‘RPT/HSS’ mode button(A1) for 2 sec on i-
flash’s control panel
-The capital letter ‘H’ can support HSS on Dslr Camera’s Full frame body type
Compatible Camera model : Canon models after Canon 5D..
-Press, RPT/HSS mode button (A1) again.
-The small letter ‘h’ can support HSS on Dslr Camera’s
APC-S body type.
Compatible Camera model : Canon models after
Canon 1D..
SWING III (Canon version) is compatible with
Nikon camera up to 1/160sec shutter speed.
How to cancel HSS mode.
-Press, ‘HSS’ button on i-flash control panel.

9
The Data sheet in HSS mode
i.2A
F-STOP(Distance : 1m,
with Standard reflector(Hard type)
D-time
H1, h1
11 3
1/125
H2, h2
11 7
1/125
H3, h3
16
1/125
H4, h4
16 4
1/125
H5, h5
16 8
1/125
H6, h6
22 1
1/125
H7, h7
22 4
1/125
i.4A
F-STOP(Distance : 1m,
with Standard reflector(Hard type)
D-time
H1, h1
11 7
1/125
H2, h2
16
1/125
H3, h3
16 3
1/125
H4, h4
16 6
1/125
H5, h5
22
1/125
H6, h6
22 3
1/125
H7, h7
22 6
1/125
i.6A
F-STOP(Distance : 1m,
with Standard reflector(Hard type)
D-time
H1, h1
16 6
1/125
H2, h2
16 9
1/125
H3, h3
22 4
1/125
H4, h4
22 8
1/125
H5, h5
32 1
1/125

10
H6, h6
32 4
1/125
H7, h7
32 7
1/125
HSS Mode for Canon Full frame body type HSS Mode for Canon APC-S body
type and All Nikon DSLR
2. t-Mode.
Duration time setting Mode.
-Press Mode Button( A2)-The Mode LED operation indicator On
-The display will change from F-Step mark to t.1, t.2 …
-Turn Flash’s power adjust Dial right or left, Duration time gradually changed.
t-Mode has 7- steps for Duration time variation. ( t.1, t.2, t.3, …t.7 )

11
3. F-Mode. (Normal Mode)
'F-Stop' Mode (Flash power increments ) 1/10 f-stop
-Press Mode Button once more(A2)- Mode LED Off
-The display will change from t-mode mark t.1, t.2 … to F-stop mark 1.1, 1.5, 2.0...
-F-mode has sequential 6f-stop (0.1 f-stop 1/10 power increments, 7 f-stop power variation).

12
The data sheet in t-mode(Duration Time Mode): 7 F-Steps (t.1 , t.2…….t.7)
Mode(A2) LED On,

13
‘t’-Mode Performance

14
The data sheet in F-mode (Normal Flash Power Mode) : 60 F-Steps ( 0.1 f-stop
increments)
Mode(A2) LED Off
i.2A
T-Mode.
Duration Time
Color Temperature
F-Stop
t.1(C.1)
1/3700
5440
2.8 5
t.2(C.2)
1/2950
5440
4 5
t.3
1/2150
5420
5.6 5
t.4
1/1150
5330
8 5
t.5
1/950
5420
11 5
t.6
1/800
5430
16 5
t.7
1/690
5380
22 5
ISO 100 / 1m Distance / RST-165H:Standard reflector(Hard type)
i.4A
T-Mode.
Duration Time
Color Temperature
F-Stop
t.1(C.1)
1/2750
5500
4 5
t.2(C.2)
1/2560
5550
5.6 5
t.3
1/2220
5590
8 5
t.4
1/1650
5600
11 5
t.5
1/1170
5560
16 5
t.6
1/800
5480
22 5
t.7
1/500
5420
32 5
ISO 100 / 1m Distance / RST-165H:Standard reflector(Hard type)

15
i.6A
T-Mode.
Duration Time
Color Temperature
F-Stop
t.1(C.1)
1/12800
6200
4
t.2(C.2)
1/6400
5700
8 5
t.3
1/2220
5590
11 7
t.4
1/1900
5600
22
t.5
1/1650
5600
22 8
t.6
1/1350
5570
32 6
t.7
1/1170
5560
45
ISO 100 / 1m Distance / RST-165H:Standard reflector(Hard type)
4. Continuative flashing (RPT)
It is very helpful function for DSLR’s ‘bulb-shot’
It has 2 steps. (C.1 and C.2)
Only this mode could be activated in
(in F-mode) 1.1 ~1.9 C.1 t.1 (in t-mode)
2.0 ~2.9 C.2 t.2
Ex) in ‘t.1’ mode, Press, RPT button lightly,
Display is changed ‘t.1’ to ‘C.1’
1st press : flashing 5 times( at intervals of 0.2/sec ).
Per second instantly.
2nd press: flashing 10times per second

16
3rd press: flashing 15times per second
4-1) RPT(C.1, C.2) Mode ‘1’ (in ‘t’ mode): Super-short duration time RPT mode
In 5FPS, 10FPS, 15FPS function. The duration time and F-stop at C.1 C.2 is the same as t.1, t.2 of
‘t’ mode data.
Ex) Press RPT(A1) Button once time(5FPS) lightly only in t.1, t.2.. ‘t’ mode (in Mode LED On)
Duration time F-stop
C.1 : 1/12,800 2.8 2
C.2 : 1/6400 5.6 9
4-2) RPT(C.1, C.2) Mode ‘1’ (in F-Mode on): Normal RPT mode.
In 5FPS, 10FPS, 15FPS function. The duration time and F-stop at C.1 C.2 is the same as F-mode
data.
Ex) press RPT(A1) Button once time(5FPS), in F-Mode ( in Mode LED Off)

17
Duration time F-stop
C.1 : 1/2600 4 0
C.2 : 1/2200 5.6 0
5. Control panel
A1) RPT/HSS Button.
Press, the button lightly
RPT Mode: ‘C.1’(RPT) only in 1.1~1.9 or t.1
‘C.2’(RPT) only in 2.1~ 2.9 or t.2
5FPS (5 times auto-flashes per second).
2rd Pressing -10FPS (10 times flashes per second)
3rd Pressing –15FPS(15 times flashes per second)
Press, the button for 2 sec -> HSS mode ‘H.1 ~H.7’
2rd Pressing for 2 sec ‘h1~h7’
A2) MODE Button
-‘t’ mode-Press the mode button (LED On)
-‘F’ mode (1.1, 1.2~8.0)-Press the mode button again (LED Off)
A3) CELL
-Photo slave cell On/Off button.
A4) SOUND
-Sound On/Off
A5) TEST

18
Replacing lamp and flash tube .You must switch off and disconnect the power cord before changing lamp or flash tube!!

19

20
Accessories
This manual suits for next models
2
Table of contents
Other Rime Lite Lighting Equipment manuals