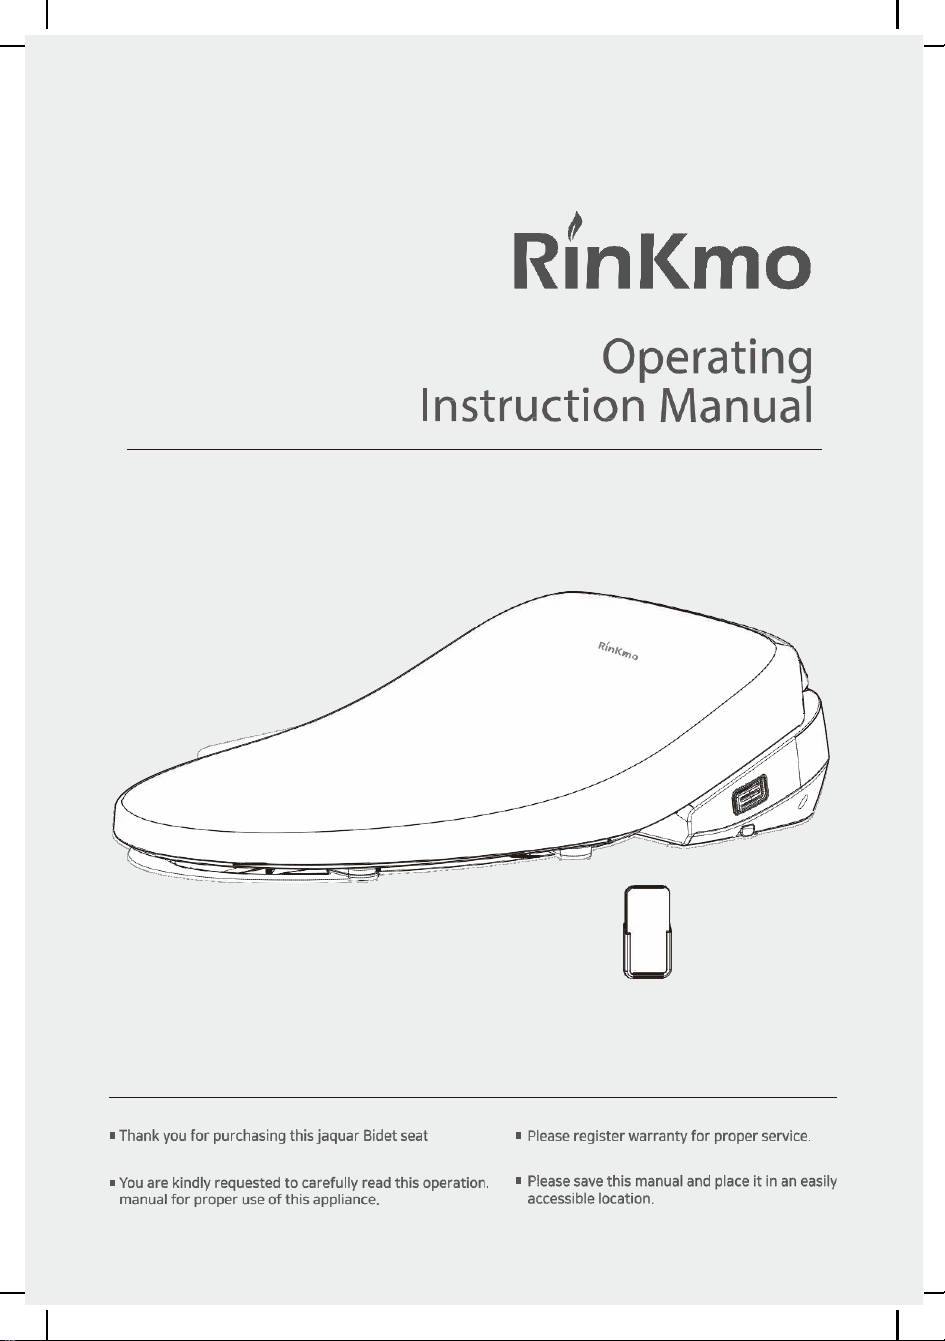
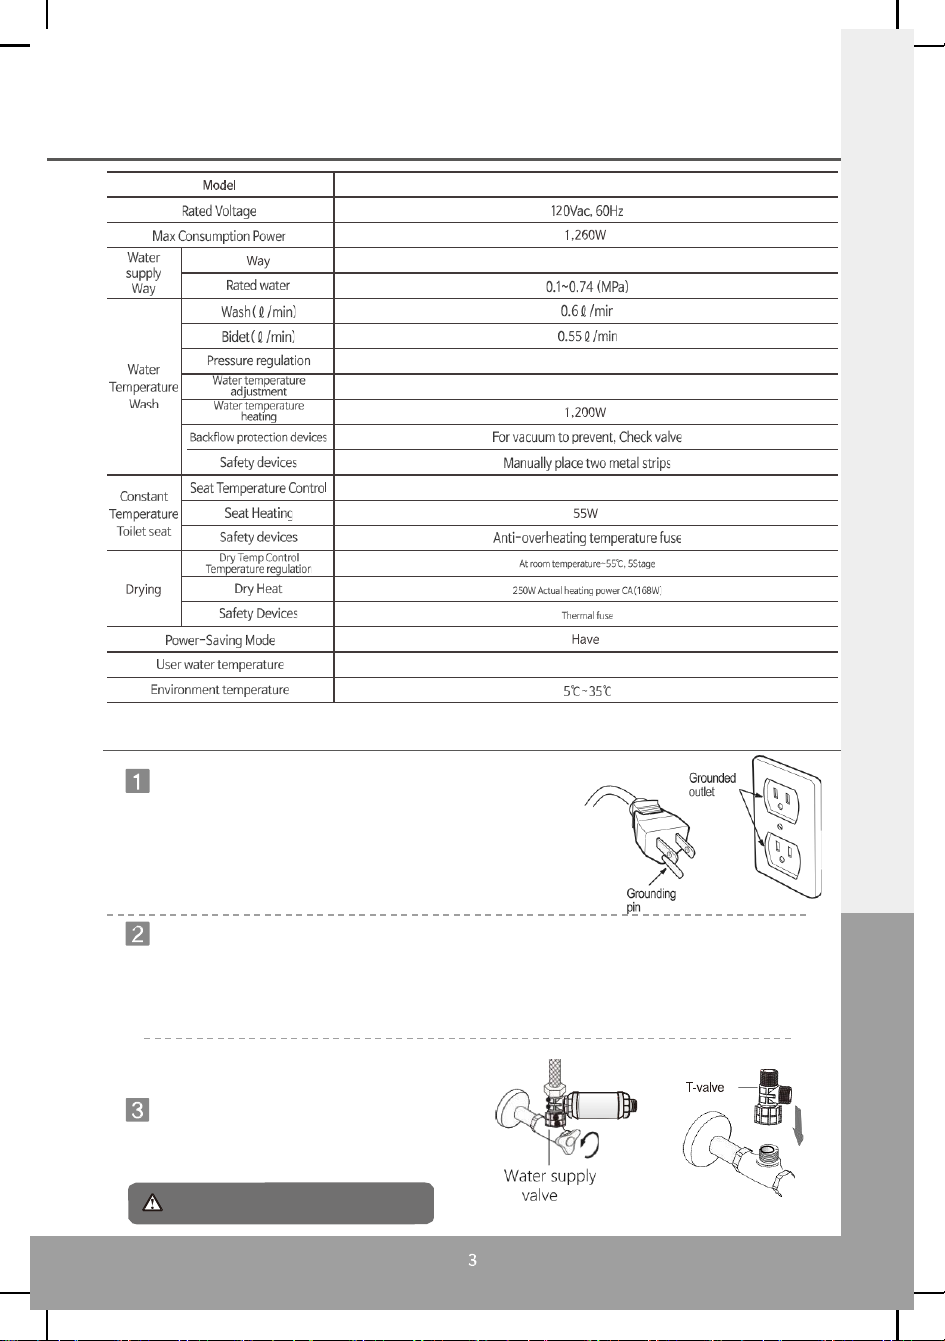
Technical parameters
EBS-01
Be sure to confirm before use.
This product is suitable for AC120v/60Hz.
-The power cord must be connected to a special AC120v/60Hz
socket with ground wire.
-Only by connecting the power supply correctlycan the product
start normally.
-Confirm wire specifications according to technical requirements.
-Confirm whether the ceramic base is suitable for installation
according to the technical requirements.
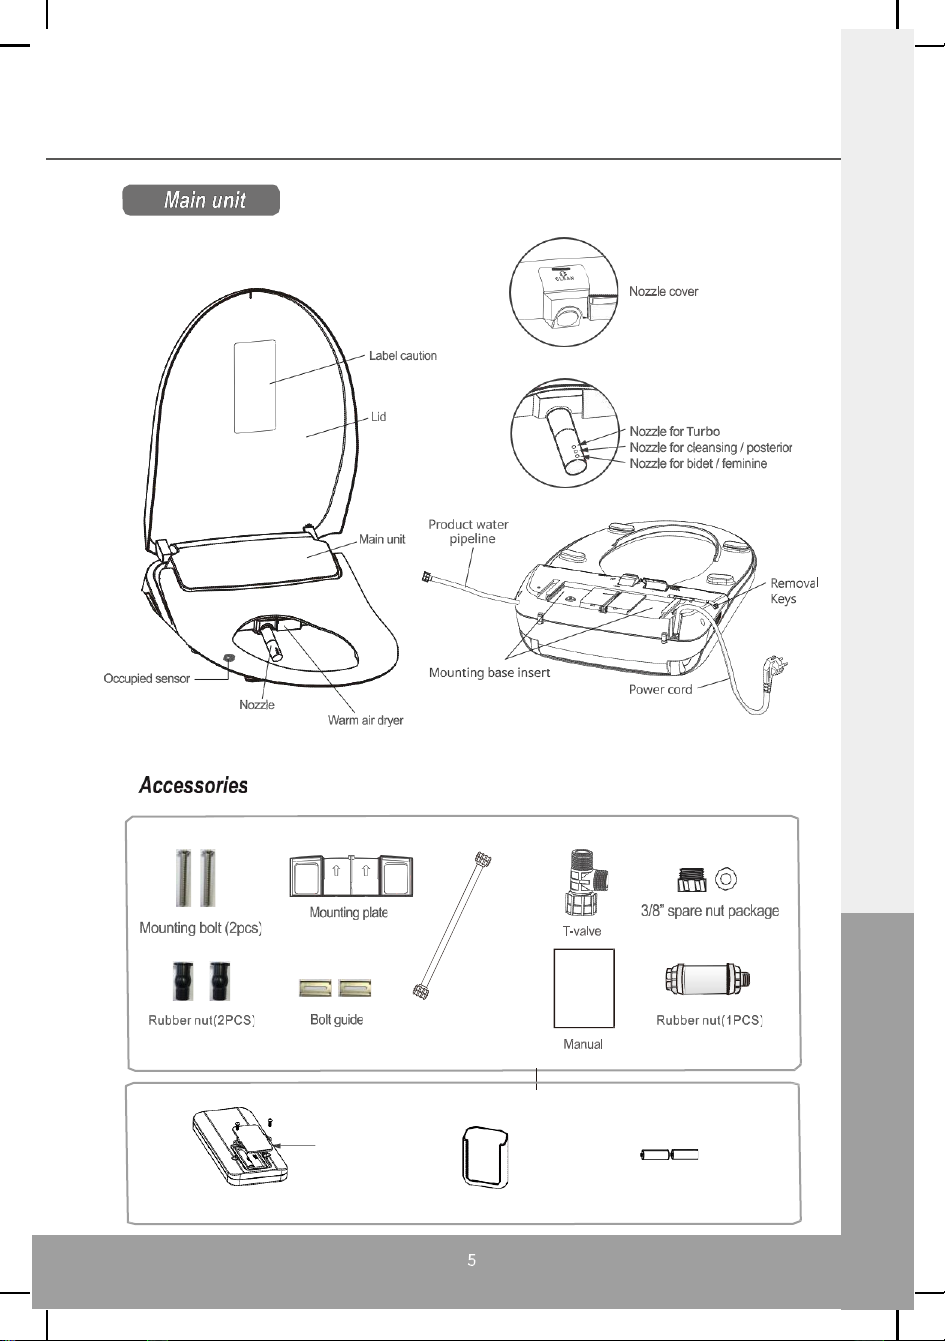
Hip wash and Female wash, common (1-5 phase)
The direct-coupled water supply system
Adjust four stages(Off, LoW, Medium, High)
Adjust four stages(Off, LoW, Medium, High)
Recommendation:15°C-25℃
In order to prevent water leakage in thethree-way,
be sure to use a three-way rubber gasket.
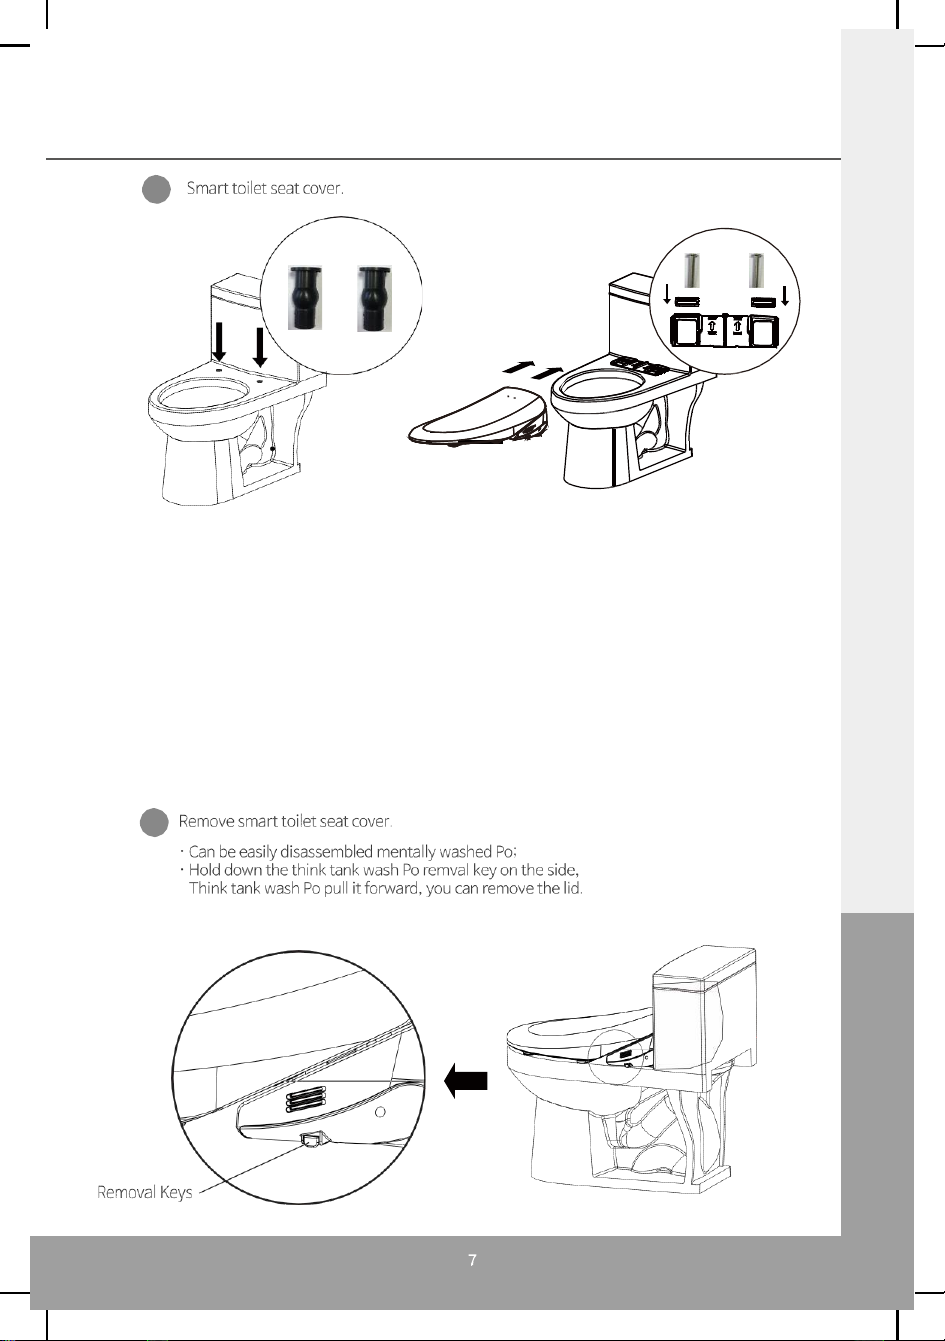
Items to be confirmed after product installation
After opening the water supply valve,
please confirm whether there is water
leakage in the water connection.
●This product requires water supply to start normally.
Confirm water pressure
-The use of intelligent toilet covers at the same time weakens the use of water pressure.
-The water pressure of the installation environment itself is on the low side, and the water pressure of the
guiding products will also be reduced.
-When the water pressure is less than 0.07 MPa, it is recommended that the user install the booster
pump, otherwise it may affect the normal use.