3
2
INSTALLATION
RoadPro sat-domes come with the following parts in the box:
- Sat-dome - 1 HQ co-ax cable (1m)
- Control box incl. power supply - 1 Cable-entry box
- 1 HQ co-ax cable (10m) with F-plugs (2 - 12 screws (3 in dome cover, 9 in bag)
cables are supplied with twin-LNB models - Installation and usage instructions
DELIVERY
1. Ensure that the roof of your vehicle is able to carry the sat-dome. If you are not sure, check
with your dealer or the vehicle's manufacturer.
2. Check that you have all the parts that are
as Dekasyl MS-2 or MS-5.
3. Find a suitable place on the roof of your vehicle to mount the sat-dome. T
The mounting place must be level and even. Mark the outline
of the sat-dome’s feet with a pencil.
4.
It is essential to roughen the underside of the feet and the fixing area on the roof:
follow the instructions that came with the adhesive / sealant and then apply it evenly to the
underside of the mounting feet. The
listed above + a suitable adhesive / sealer such
he sat-dome’s
external cable connector must face towards the rear of the vehicle and be waterproofed
with self-amalgamating tape.
Ensure that the underside of the mounting feet and the area of the roof where they will sit
is clean and dry. If necessary, clean with methylated spirits, acetone, Dekaclean Ultra or a
specialist cleaner supplied by the adhesive manufacturer. If in doubt, test the surface first
and consult the manufacturer of the sealant / adhesive.
5. At this point you should remove the cover of the dome and the transit screw. Replace the
cover with the screws supplied.
6.
minimum thickness of the adhesive layer must be at
least 2mm. Within 5 minutes of applying the adhesive, replace the sat-dome on the roof in
the pre-selected position. Press the feet onto the roof and trim off any excess adhesive.
7. It is essential that you give the adhesive enough time to harden completely. The time this
takes will vary according to the adhesive used and the ambient temperature and humidity.
Always follow the instructions that come with the adhesive / sealant and, if you are in any
doubt as to how it should be applied, seek professional advice.
8. We strongly advise screwing the mounting feet to the roof after applying the adhesive.
9. On twin LNB systems:Make sure that the cable which goes to the controller (the main
feed) is connected to the dome using the connector on the left as you look at the dome.
Use the cable-entry box supplied to take the 10M cable from the sat-dome through the
roof to the controller. Ensure that the cable is secure and cannot be caught by obstacles.
Install the controller in a convenient position inside the vehicle and, using the power cable
supplied, connect to a reliable 12V or 24V power source. Put the connector on the power
cable into the right-hand pair of sockets - above the “24V” marking.
Connect the cable from the sat-dome to the connector marked ANTENNA on the back of
the controller and the short cable supplied to the connector marked RECEIVER. Connect
the other end of that cable to your satellite receiver.
The installation is now complete and you can connect a TV to the receiver, turn everything
on and use your sat-dome for the first time.
10.
11.
12.
Very important. Please read this!!
It is essential that your sat-dome is installed using the cables supplied and that these cables are not
cut or modified in any way. If any other cables or connectors are used, or if the cables are cut, the
system will not work correctly. This applies to both original and secondary installations.
We strongly recommend getting the sat-dome fitted to your vehicle or boat
by a professional installer!
Introduction
RoadPro / Wiworld Satdome systems satellite dish can access six satellites, including Astra 2 which
carries all the channels that are transmitted by UK broadcasters and intended for UK viewers.
The controller is neat and simple to operate, running on 12V and 24V and with easy to understand
controls. There is a USB socket at the front in case it should ever need updating with new software.
The dish is the same size as the one used on our “Compact” system and will pick up these
channels all over the UK, Ireland, Belgium and Holland and, in France, down to the Bordeaux area.
Before attempting to operate the system, make sure that the controller is connected to a 12V / 24V
power supply and that a suitable receiver or TV with built-in satellite receiver is also connected.
Make sure that the receiver is set to work with the Astra 2 satellite and that the TV is connected to
the receiver and switched to the appropriate “source”.
To operate the Satdome Satellite System:
Operating the Satdome couldn’t be easier. Once everything is connected, turn on the controller
and....that’s it.
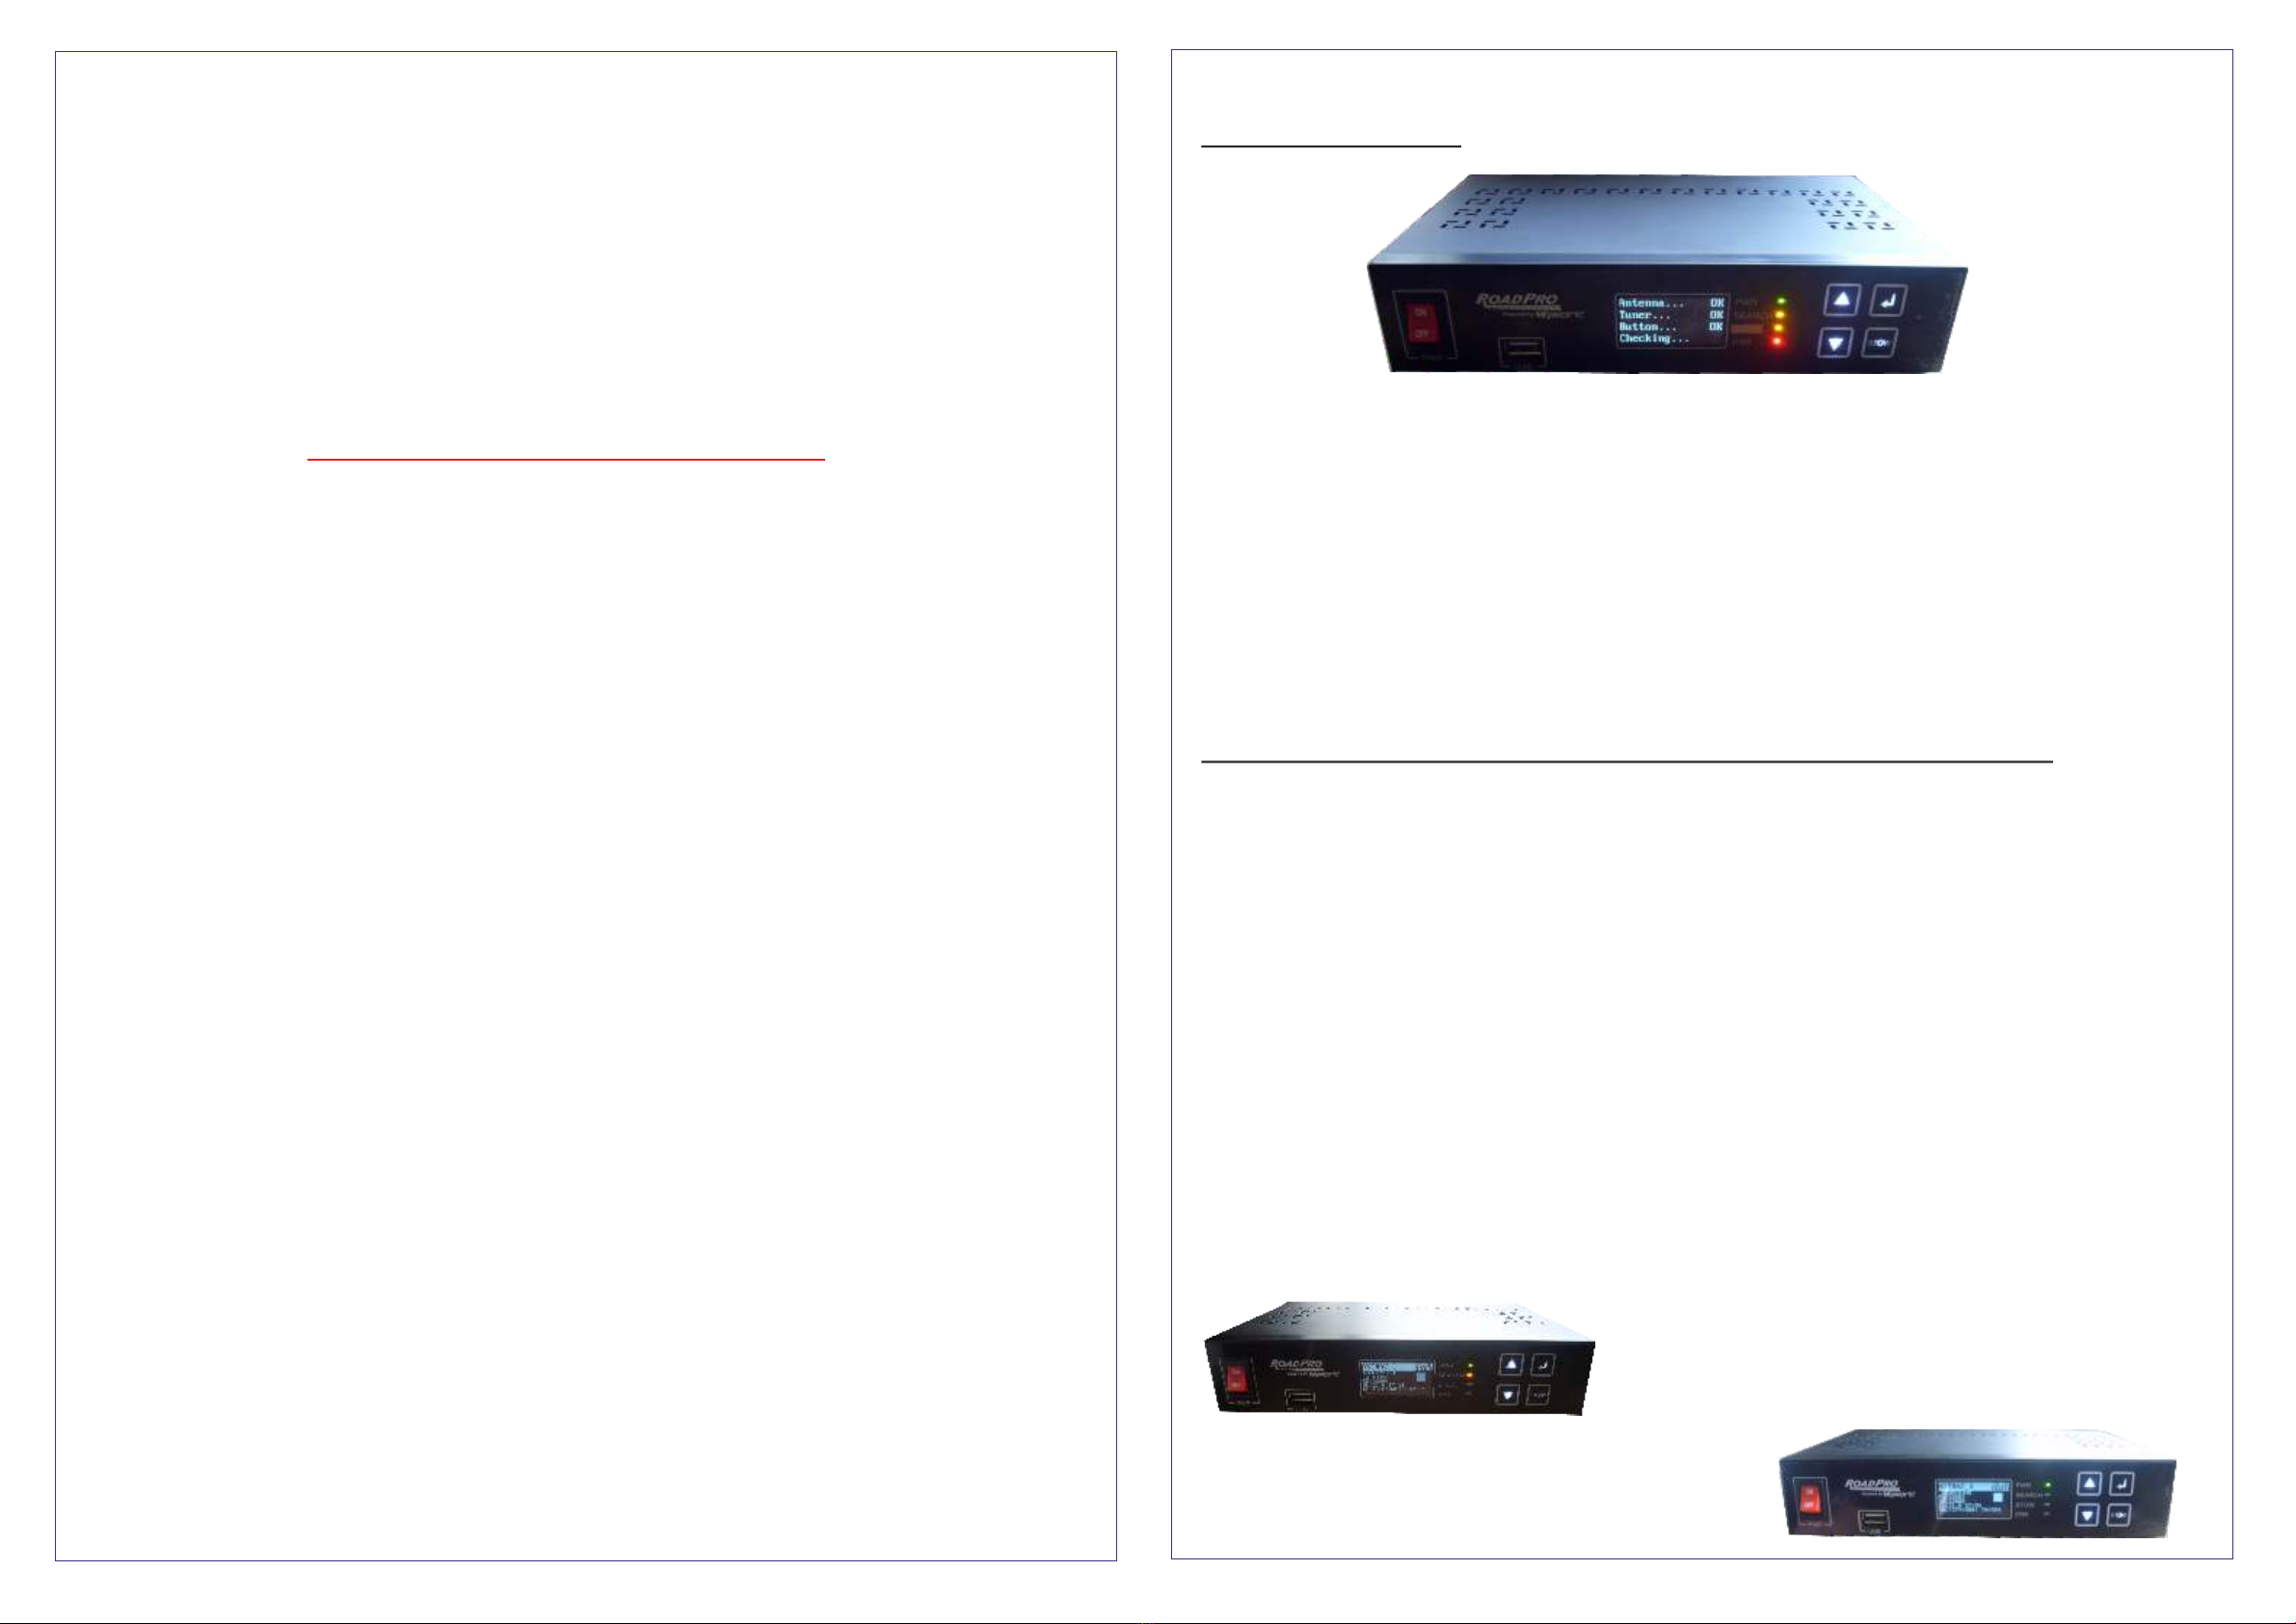
While the dish is searching for the satellite, you will see a green power light and an orange search
light. When it's found the satellite and locked on to it, the display does some fine-tuning and then
goes through a checking procedure. When it has confirmed that everything is as it should be, the
search light goes out leaving only the green power light on. You can then turn the controller off and
this will save a little bit of power. Alternatively, you can leave the controller on.
There are controls on the front panel but you won’t normally need to use them. In particular, ignore
the STOW button.As you have a dome, you won’t have to worry about what the wind is doing!
While keeping an eye on the LCD display, you can choose a satellite using the up and down
buttons and then press the top right button to select. The programmes you’ll be able to watch will
depend on your geographical location: see the footprint map. With a standard “freesat” or free-to-air
receiver, use the blue ring as a guide. If you should be venturing towards southern Europe and you
have a Sky receiver and viewing card, you may be able to access some Sky subscription channels
within the area enclosed by the yellow ring.
Green light is on and amber light is flashing =
System is searching for the satellite.
Only green light is on =
System has found the satellite and has locked on.


