ROBO-TEK Robo-Plus V2 User manual

Robo-Tek Robo-Plus V2 User Manual - Jan 2023
Please read this manual carefully before using the Pool Cleaner
1. Safety Warnings
•Before performing maintenance or service on the Pool Cleaner please ensure the power is disconnected to
avoid personal injury or property loss.
•The Pool Cleaner is designed for use in swimming pools only. Any other use is prohibited, and no warranty
will be provided.
•Do not swim in the pool whilst the Pool Cleaner is in use in order to avoid personal injury.
•Do not allow the Control Box to come in contact with water and it is recommended to be stored in a dry and
shaded area, out of the weather.
•Do not cover the Control Box whilst Pool Cleaner is in use, to avoid overheating.
•When in use, the Control Box and Caddy Cart must remain 3 meters away from the edge of the pool.
•Do not use the Pool Cleaner if there is a chance of thunderstorm to avoid personal injury.
•Ensure the Pool Cleaner is fully submerged before turning the Control Box on. If the robot is not fully
submerged, the control box will flash a green light (out of water error code) and the robot will need to be
restarted.
•After use, make sure the Control Box is disconnected from the pool cleaner, manually rewind the lead and
place on the caddy, then store robot on the caddy in a safe, dry and well-ventilated area.
•If the Pool Cleaner stops working, please refer to the” Troubleshooting section” of this manual. If you
cannot find the root cause, please contact your local distributor.
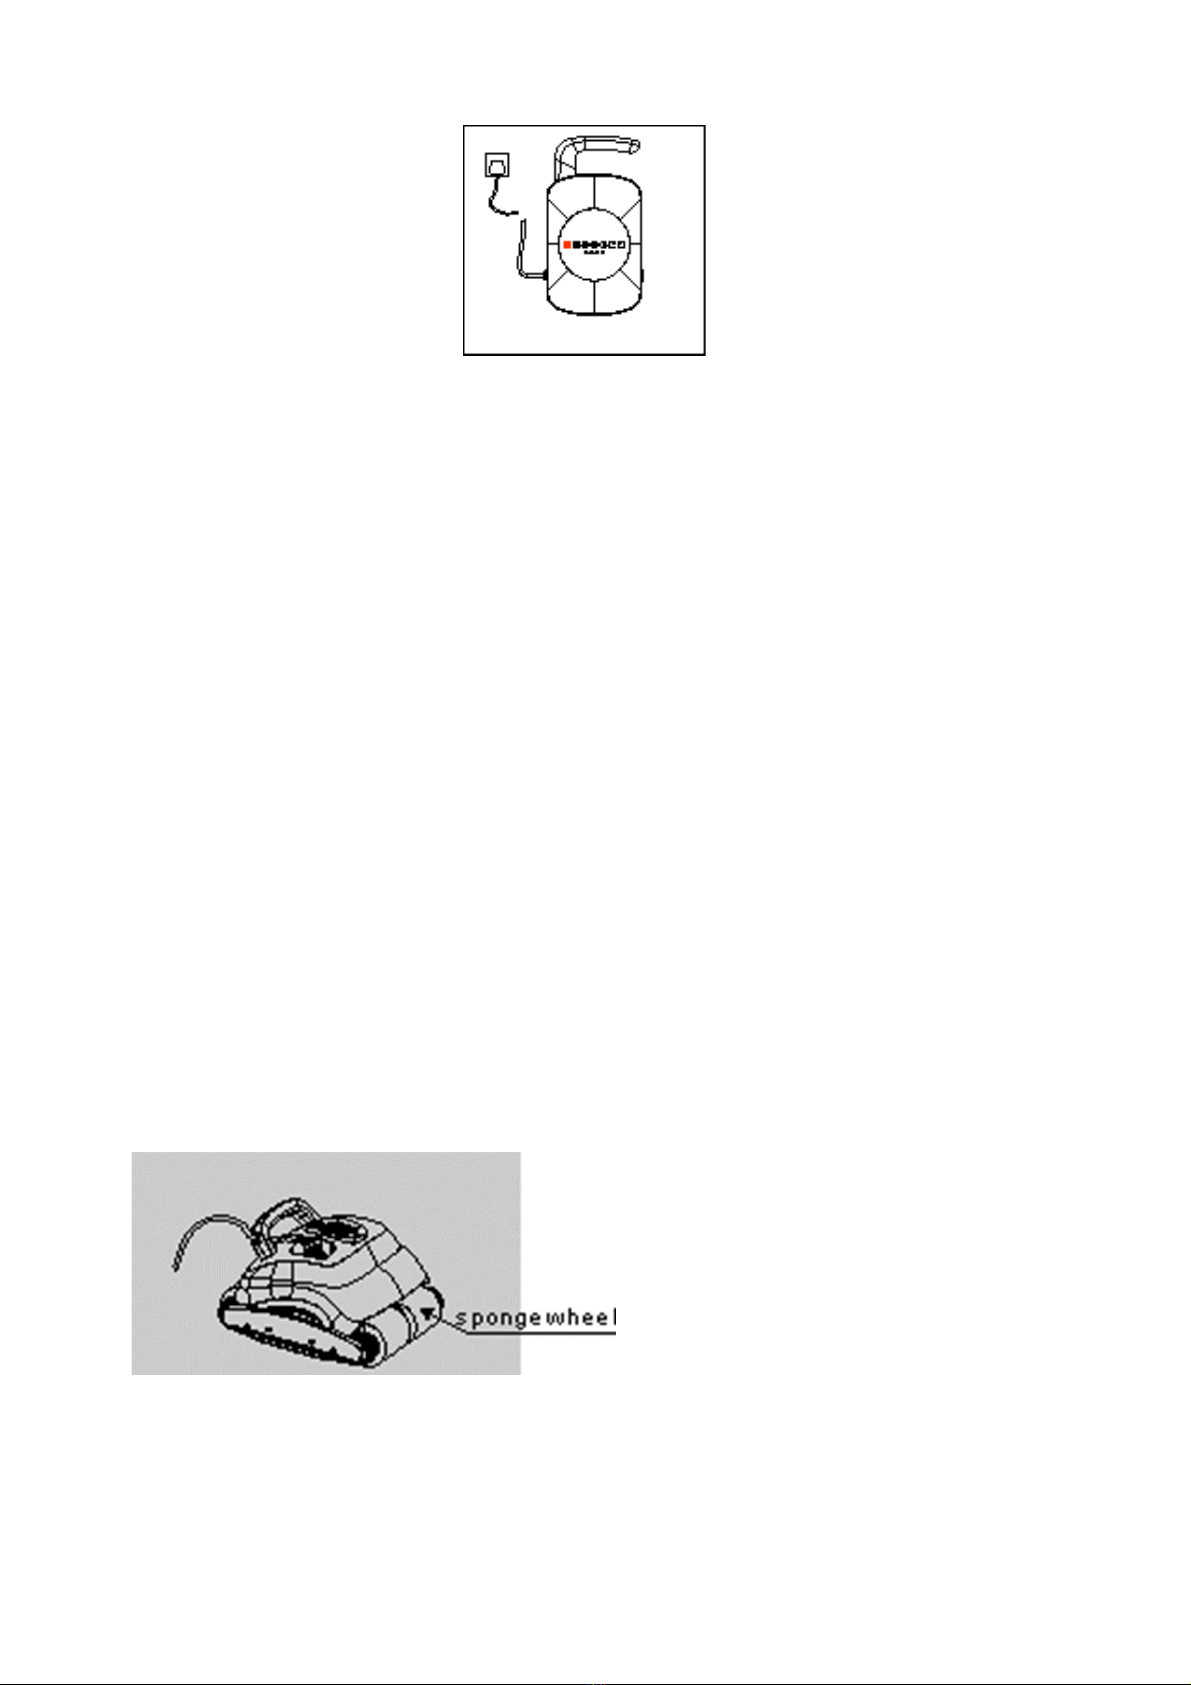
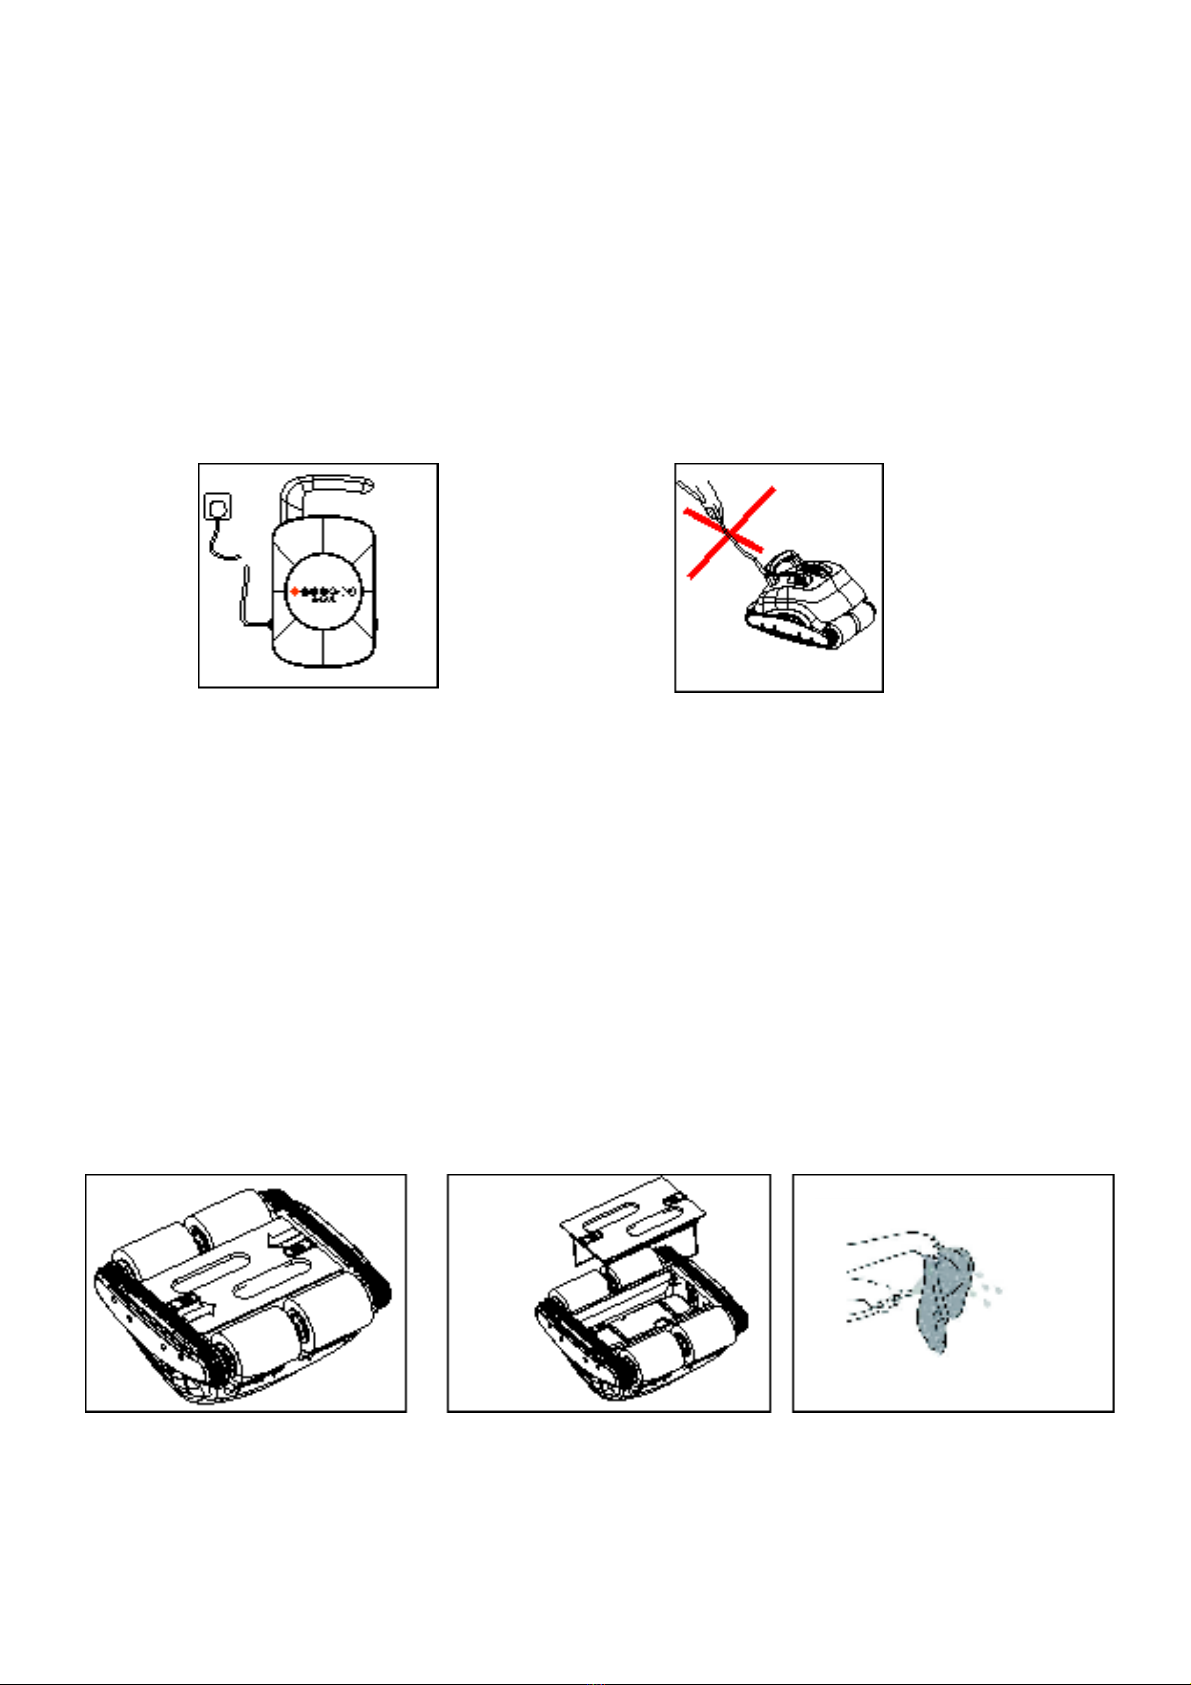
•Do not lift the Pool Cleaner using the floating cable, as no warranty will be provided for cable misuse. Only
lift the Pool Cleaner out of the water by using the Pool Cleaner handle. You can use the floating cable to pull
the robot closer to the side of the pool but, do not lift the robot by the cable out of the water.
•Alternatively, you can drive the robot up the wall backwards (with the handle facing up towards you) grab,
the handle as it surfaces, assist the robot over the top of the pool edge, then turn the robot off using the
remote control.
•Remove the robot from the pool after use.
•Avoid direct sunlight when not in use.
•Do not use the Pool Cleaner more than 4hrs at a time.
•The optimum working temperature for the Pool Cleaner is between 10℃ and 35℃,
•Ensure the electrical outlet is protected by a ground fault interrupter (GFI) or an
•earth leakage interrupter (ELI).
•If the supply cord is damaged, contact your local distributor for guidance.
•Children should be supervised to ensure that they do not play with the appliance.
•This appliance can be used by children aged from 8 years and above and persons with reduced physical,
sensory or mental capabilities or lack of experience and knowledge, if they have been given supervision or
instruction concerning use of the appliance in a safe way and understand the hazards involved.
•Cleaning and user maintenance shall not be made by children without supervision.

2. Assembly
When you receive your Robo-Tek robot you will receive 2 boxes, 1 box will have the Robo-Tek robot inside and
the other box will have the caddy for the robot.
Unpack the box containing the robot and remove the contents. The contents of the robot box will be as follows.
a. Robo-Tek robot
b. Control box
c. Remote control
d. 1x20 micron filter bag (A 70-micron filter bag will be already installed inside the robot).
Unpack the box containing the caddy. The caddy box will have a caddy partly assembled and relevant nuts and
bolts to complete the assembly. There will also be screws, two of which you will use to secure the control box to
the rear of the caddy. There are a complete set of instructions on how to assemble the caddy within the caddy
box.
Attach the control box to the caddy with the screws supplied. The control box is placed on the outside, towards
the base of the caddy, there are two holes and two screws supplied to connect the control box to the caddy.
Unwind the blue floating cable and lay it out on the pool deck, in an “S” shape. During packing, the floating
cable is wound tight, therefore you will have to manually unwind the cable before the first operating cycle
commences. Removing the cable from the control box at the end of each cycle, is key to maintaining a tangle
free cable.
Unscrew the socket safety cap and insert the floating cable plug into the socket of the Control Box.

Connect the Control Box to an outside AC power of 100v/240v 50/60Hz with a earth leakage detection device.
Note: The control box is water resistant, but not water proof, due to the cooling vents on the back. It is your
responsibility to protect the control box from water damage, as water damage to the control box is not
covered under the manufacturers warranty.
Please ensure the Control Box is placed in a dry, shaded area, when not in use.
3. Using the Robo for the first time
Place the robot in the shallow end of your pool, squeeze the 4 sponge wheels until no more air bubbles come out of
them. Turn the robot upside down (in the water) to release any trapped air. The robot should now submerge.
Ensure the cable is laid in an “S” shape on the decking/paving, and allow the robot to pull the cable into the water
as required. (Do not throw all the floating cable into the pool)
Proceed to the control box, ensure you have turned on the power at the source (Red Light will illuminate on the
control box, once the control box has power).
Press the Red button to turn the control box on.
The Red power light will turn BLUE (indicating the robot is in the “Floor only” mode)
NOTE: This light will change to Green, when the Climb function is activated
If the Robot is not submerged, you will need to push the robot underwater, as soon as waterspouts from the top of
it.
IMPORTANT NOTES:
•If the robot resurfaces, this means the sponge wheels are not fully saturated. (Squeeze the wheels until the
air bubble stop coming out of them). Then recommence the start up procedures. (The green light will flash,
indicating the robot is out of water)
•The sponge wheels play an integral role in the balance, and cleaning effectiveness of the robot. They may
take up to 1 hour to fully saturated. Please keep the robot on the FLOOR ONLY MODE (Climb/Power light
showing Blue) for the initial 1 hour cycle.

•The Robo-Tek will extract dirt from your pool that you cannot even see from standing alongside your pool.
Therefore, on the initial clean, the filter bag may fill very quickly. It is best to stop the pool cleaner after 10
mins to see how dirty the filter bag is. If the filter bag is no longer white, or has a large number of leaves
inside, then please clean it, and start another 10 minute cycle. If the filter bag still looks good after 10
minutes, allow the robot to complete the 1-hour cleaning time.
•NOTE: Once the initial clean has been performed, it will not be necessary to clean the filter bag mid cycle
•When the cleaning cycle is completed, Unplug the 100V/240v socket. Pull the robot out of the pool by the
handle on the Pool Cleaner. NOTE: Do not lift the Pool Cleaner out of the water by using the floating cable.
4. Removing the Base Plate and cleaning the Filter Bag:
Unlock the Latches on the Base Plate to remove the Filter Bag from Base Plate. When cleaning the bag remove the
major particles and place them in the bin, they will usually be in the corners of the bag. To make the filter bag easier
to clean, you can turn it inside out, and place it back over the base plate wire frame. Then squirt water at it, using a
trigger hose.
Once clean, allow the filter bag to dry, before re-installing it into the base of the robot, ready for the next clean.
(Note: when re-fitting the Filter Bag to the Base Plate, please ensure the “SHORT SIDE” tag is at one of the short
ends of the base plate).
NOTE: For optimal cleaning, we recommend placing the filter bag in your washing machine once a month.
At the end of the cleaning cycle, place the robot on the caddy, disconnect the floating cable from the control box,
wind the floating cable in a circle by hand and place it on the caddy hanging bracket.
Then wheel the caddy to a dry, well-ventilated shaded area.

5. Control Box Buttons and functions
Power Button
Hold Button until robot turns in the direction required.
Short press to make the robot reverse the direction of travel.
Short press to make the robot reverse the direction of travel
Short press to commence climbing Model
Not used
Short press to select the time cycle.
LED Light Colours and definitions
Light1: Power /Climb
Thid LED can change colours from Red, to Blue to Green depending
on the status of the robot.
•Standly mode is RED,
•No Climb mode is BLUE,
•Climb mode GREEN.
Lights 2,3 and 4
When the time cycle light is pressed repeatedly, the LED will scroll
between lights 2, 3 and 4
Light 2: For the working time 0.5h.(blue)
Light 3: For the working time 1h. (Yellow)
Light 4: For the working time 2h. (Green)

6. Troubleshooting:
Note: The power MUST BE DISCONNECTED from the Control Box prior to conducting any maintenance on the
Pool Cleaner, Contact your local distributor, or place of purchase for problems not covered in Trouble Shooting
Guide.
Common fault
Reason
Solution
Remarks
Pool Cleaner doesn’t
work
Connection is wrong.
Plug in the Power lead,
turn on.
Please turn off the power
before you
perform any maintenance
on the Pool Cleaner.
Check the connection.
Debris not being
collected
Impeller is jammed or
dirty.
Check the Impeller.
Impeller is damaged.
Replace the Impeller.
Filter Bag is full.
Clean the Filter Bag.
Impeller cover is missing
Replace Impeller cover
Pool Cleaner is
turning in one direction
only
Drive Belt is loose.
or broken at one side.
Replace the Drive Belt.
The Filter Bag is full
Clean the Filter bag.
Pool Cleaner will
not sink to the
bottom of the pool
The Sponge Wheels are
not
saturated.
You must hold Pool Cleaner
in water and make sure
Sponge wheel are soft
It has air inside the Pool
Cleaner
Invert Pool Cleaner and
make sure air is released,
then re-invert.
Dirt is coming
through the
Impeller Cover.
Belt of Filter Bag is loose
or broken.
Replace broken Filter Bag
or Replace with a finer
Filter Bag.
Run Pool Filter
simultaneously over the
next 2 days with the pool
cleaner.
Dirt is too fine or the
Filter Bag
Table of contents