manuals.online logo
Brands
  1. Home
  2. •
  3. Brands
  4. •
  5. Roger
  6. •
  7. Extender
  8. •
  9. Roger MCX2 User manual

Roger MCX2 User manual

MCX2 and MCX8 Expanders Installation Guide 2017-05-23
Page 1of 2
Roger Access Control System
MCX2 and MCX8 Expanders Installation Guide
Firmware: 1.1.6 and newer
Hardware version: v1.0
Document version: Rev. B
This document refers to following products:
MCX2, MCX8
This manual contains minimum information that is necessary to
properly install device. For more information refer to RACS 5
documentation which is available at www.roger.pl.
INTRODUCTION
The expander is designed to operate within RACS 5 system as a slave
unit connected to MC16 through RS485 bus. Factory new expander is
addressed to ID=100 and the rest of settings are default.
Before connecting to the controller expander requires an unique
address in range of 100-115. Programming of other parameters
depends on the individual installation scenario requirements and is not
obligatory. Addressing and setting parameters of the expander can be
done from PC by means of RogerVDM program.
PROGRAMMING FROM PC
To configure the expander connect it to RUD-1 interface (Fig. 1) and
run RogerVDM program.
Fig. 1 Expander connection method to RUD-1 interface.
RogerVDM programming procedure:
1. Connect expander to RUD-1 interface according to Fig. 1 (screw
terminals and wires description is in the Table 1).
2. Put jumper on JP7 contacts (location of contacts is described in
Fig. 3 and Fig.4).
3. Restart device (switch power supply off and on or press RESET
button for a while).
4. While LED Pwr is flashing, in RogerVDM click: Device -> New.
5. Select proper device model, firmware version, communication
channel and serial port, on which RUD-1 is installed.
6. Click Connect, the software will establish connection with the
expander and automatically will proceed to Configuration tab.
7. Set the address (EPSO ID value in range of 100 - 115) and also the
rest of parameters (if necessary).
8. Click Send to device –the software will send the configuration to
expander.
9. Optionally, save configuration parameters to file using Save to file
button.
10. Click Device->Disconnect.
11. Disconnect expander from RUD-1 interface and remove jumper
from JP7 contacts.
FIRMWARE UPDATE
Firmware can be upgraded by means of RogerVDM software and RUD-1
communication interface. The file with latest firmware is available at
www.roger.pl
1. Connect expander to RUD-1 interface according to Fig. 2.
2. Put jumper on FDM contacts (location of contacts is given on Fig. 3
and Fig. 4).
3. Restart the expander (switch power supply off and on or press
RESET button for a while).
4. Run RogerVDM program.
5. Choose: Tools -> Update Firmware.
6. Select device type, communication port for RUD-1, and path to
firmware file (*.hex).
7. Click Update and follow the instructions on the screen.
8. Restart the expander one more time.
Fig. 2 Connecting expander to RUD-1 interface for firmware upgrade.
OTHER INFORMATION
Fig. 3 MCX2 expander with enclosure and MCX2-BRD expander without
enclosure view.
MCX2 and MCX8 Expanders Installation Guide 2017-05-23
Page 2of 2
Fig. 4 MCX8-BRD expander view.
Fig. 5 Expander connection to MC16 access controller.
Fig. 6 Power supply of expander.
Table 1: Screw terminals description.
Terminal
Description
+12V
Power supply plus
GND
Power supply minus (ground)
IN1..IN8
IN1..IN8 input lines
A
RS485 interface, line A
B
RS485 interface, line B
NCx
Relay output RELx normally closed contact
COMx
Relay output RELx common contact
NOx
Relay output RELx normally open contact
Table 2: Technical Data
Supply voltage
12VDC nominal, 10-15VDC
Avg. current
consumption
MCX2/MCX8: 30mA (relay output off)
Inputs
MCX2: Two (IN1, IN2)
MCX8: Eight (IN1..IN8)
parametric type input lines NO/NC/2EOL/3EOL
electrically biased to +12V via 15kΩ resistor,
triggering level app. 3.5V
Relay output
MCX2: Two relay output lines
REL1: 30VDC/1.5A
REL2: 30VDC/5A
MCX8: Eight relay output lines
REL1..REL8: 30VDC/1.5A
Single NO/NC contact, max. load 30V/1.5A
Cable distances
RS485: 1200m between expander and access
controller
Ingress Protection
IP41: MCX2
IP20: MCX2-BRD/MCX8-BRD
Environmental class
(according to EN
50133-1)
Class I, indoor general conditions,
temperature: +5°C to +40°C, relative
humidity: 10 to 95% (no condensation)
Dimensions HxWxD
MCX2: 85 x 62 x 73mm
MCX2-BRD: 80 x 54 x 20mm
MCX8-BRD: 72 x 155 x 20mm
Weight
MCX2: approx. 110 g
MCX2-BRD: approx. 50 g
MCX8-BRD: approx. 115 g
Certificates
CE
This symbol placed on a product or packaging indicates that the product
should not be disposed of with other wastes as this may have a
negative impact on the environment and health. The user is obliged to
deliver equipment to the designated collection points of electric and
electronic waste. For detailed information on recycling, contact your
local authorities, waste disposal company or point of purchase.
Separate collection and recycling of this type of waste contributes to the
protection of the natural resources and is safe to health and the
environment. Weight of the equipment is specified in the document.
Contact:
Roger Sp. z o.o. sp. k.
82-400 Sztum
Gościszewo 59
Tel.: +48 55 272 0132
Faks: +48 55 272 0133
Tech. support.: +48 55 267 0126
Tech. support (GSM): +48 664 294 087
E-mail: [email protected]
Web: www.roger.pl

This manual suits for next models

1

Other Roger Extender manuals

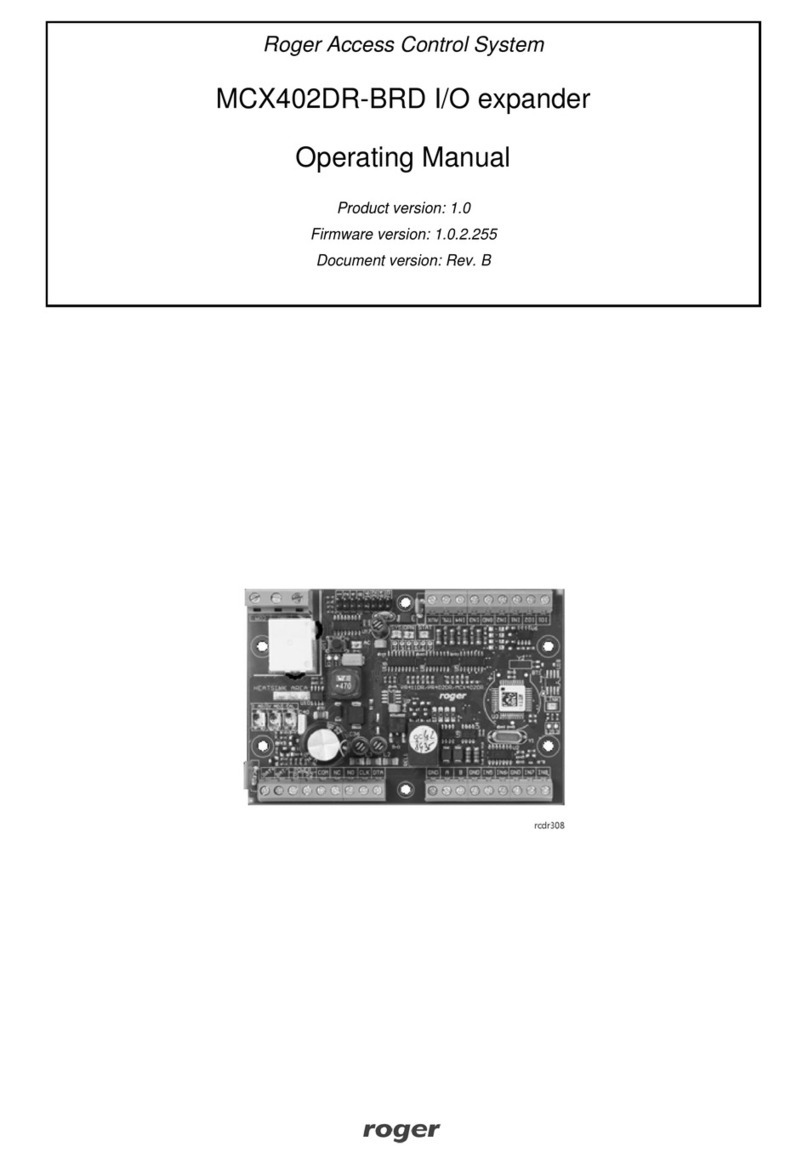
Roger MCX402DR-BRD User manual

Roger

Roger MCX402DR-BRD User manual

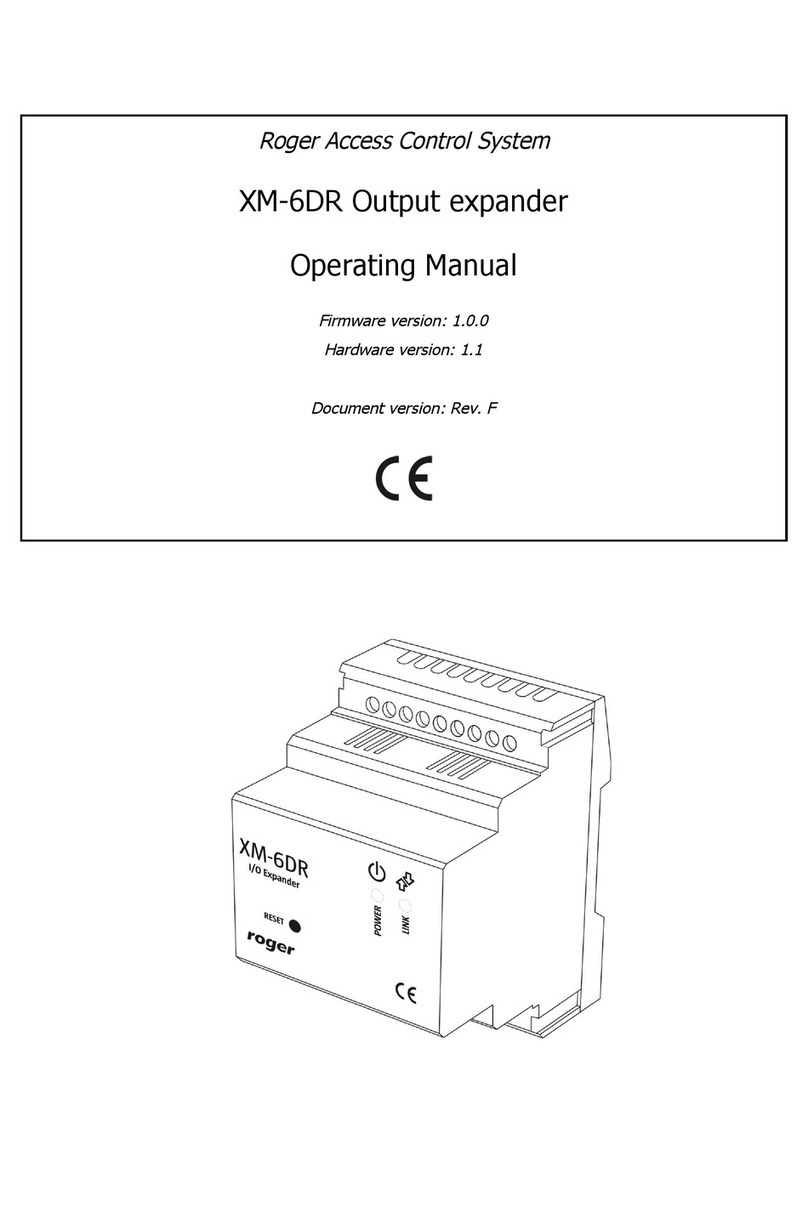
Roger XM-6DR User manual

Roger

Roger XM-6DR User manual

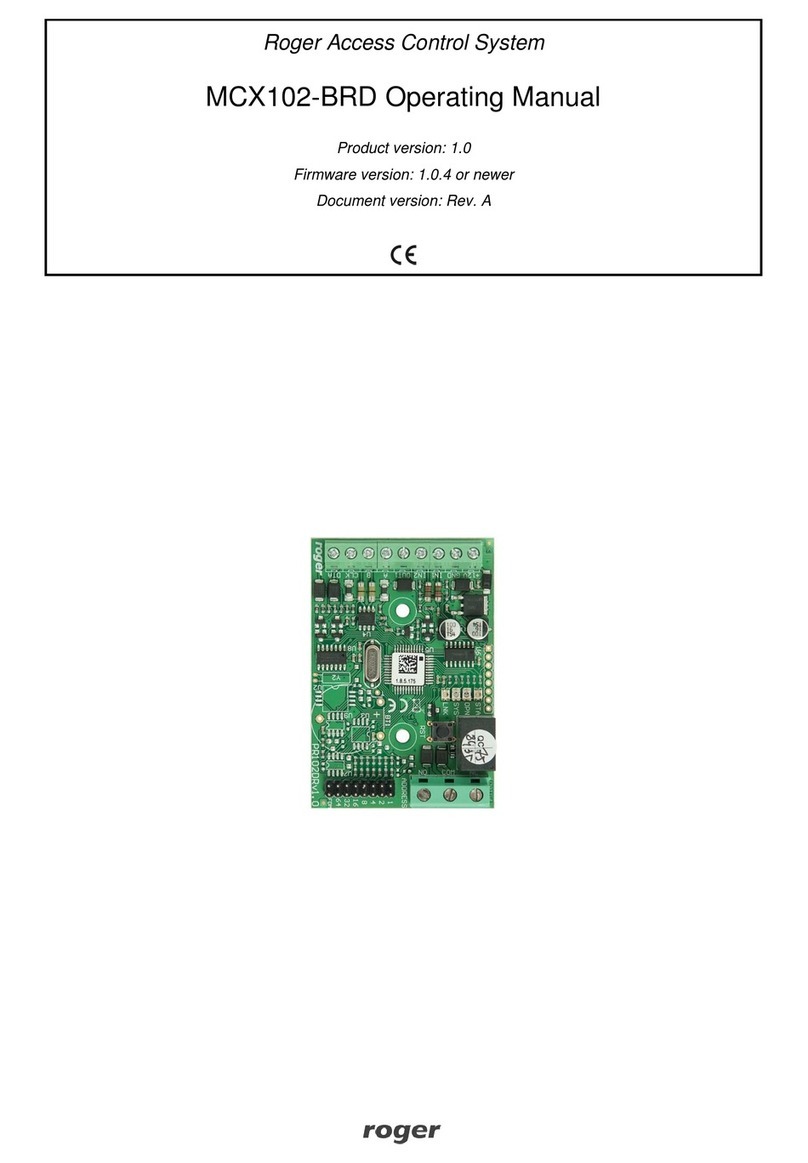
Roger MCX102-BRD User manual

Roger

Roger MCX102-BRD User manual

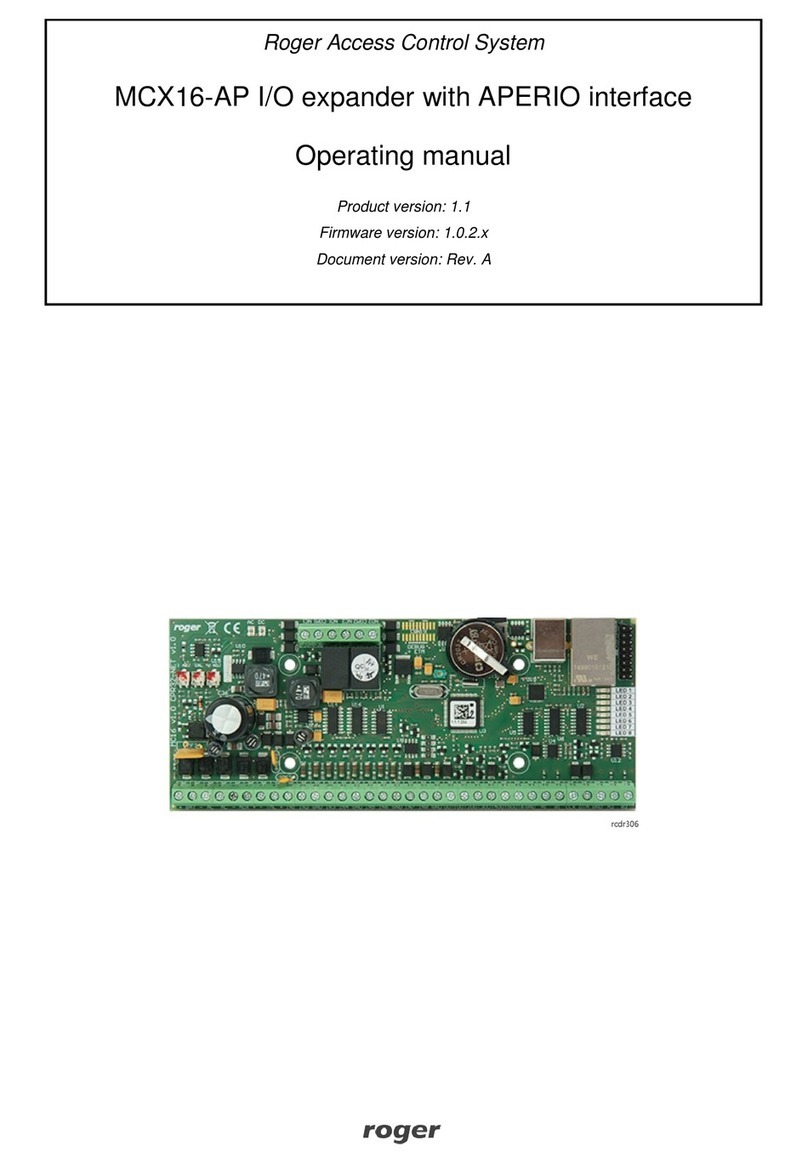
Roger MCX16-AP User manual

Roger

Roger MCX16-AP User manual

Popular Extender manuals by other brands

TP-Link TL-WA850RE user guide

TP-Link

TP-Link TL-WA850RE user guide

QSC Q-SYS QIO Series Hardware user manual

QSC

QSC Q-SYS QIO Series Hardware user manual

foxunhd FX-EX46 operating instructions

foxunhd

foxunhd FX-EX46 operating instructions

Abtus CAT-HDX11MT/A1 user manual

Abtus

Abtus CAT-HDX11MT/A1 user manual

Devolo dLAN 200 manual

Devolo

Devolo dLAN 200 manual

Monacor CARPOWER D-REX/1200 Mounting instructions

Monacor

Monacor CARPOWER D-REX/1200 Mounting instructions

Panduit Atlona Avance AT-AVA-EX70-KIT installation guide

Panduit

Panduit Atlona Avance AT-AVA-EX70-KIT installation guide

Clarion HEML-0034K3 quick start guide

Clarion

Clarion HEML-0034K3 quick start guide

ALLEN & HEATH iDR-8 Service information

ALLEN & HEATH

ALLEN & HEATH iDR-8 Service information

Techlogix TL-TP70-HDC user manual

Techlogix

Techlogix TL-TP70-HDC user manual

Straightpoint SW-SB user manual

Straightpoint

Straightpoint SW-SB user manual

Lightware HDBaseT HDMI-TPS-RX110AY-Plus user manual

Lightware

Lightware HDBaseT HDMI-TPS-RX110AY-Plus user manual

Gefen USB-500 user manual

Gefen

Gefen USB-500 user manual

LevelOne HVE-9004 Specifications

LevelOne

LevelOne HVE-9004 Specifications

Eneo MAM-5MF1001MTA Quick installation guide

Eneo

Eneo MAM-5MF1001MTA Quick installation guide

Falltech D-Ring instruction manual

Falltech

Falltech D-Ring instruction manual

Binary B-520-EXT-230-RS-W installation manual

Binary

Binary B-520-EXT-230-RS-W installation manual

Zektor SoloCAT HD user manual

Zektor

Zektor SoloCAT HD user manual

manuals.online logo
manuals.online logoBrands
  • About & Mission
  • Contact us
  • Privacy Policy
  • Terms and Conditions

Copyright 2025 Manuals.Online. All Rights Reserved.