2
Bass
Drum
Hoop
Pedal Set-up
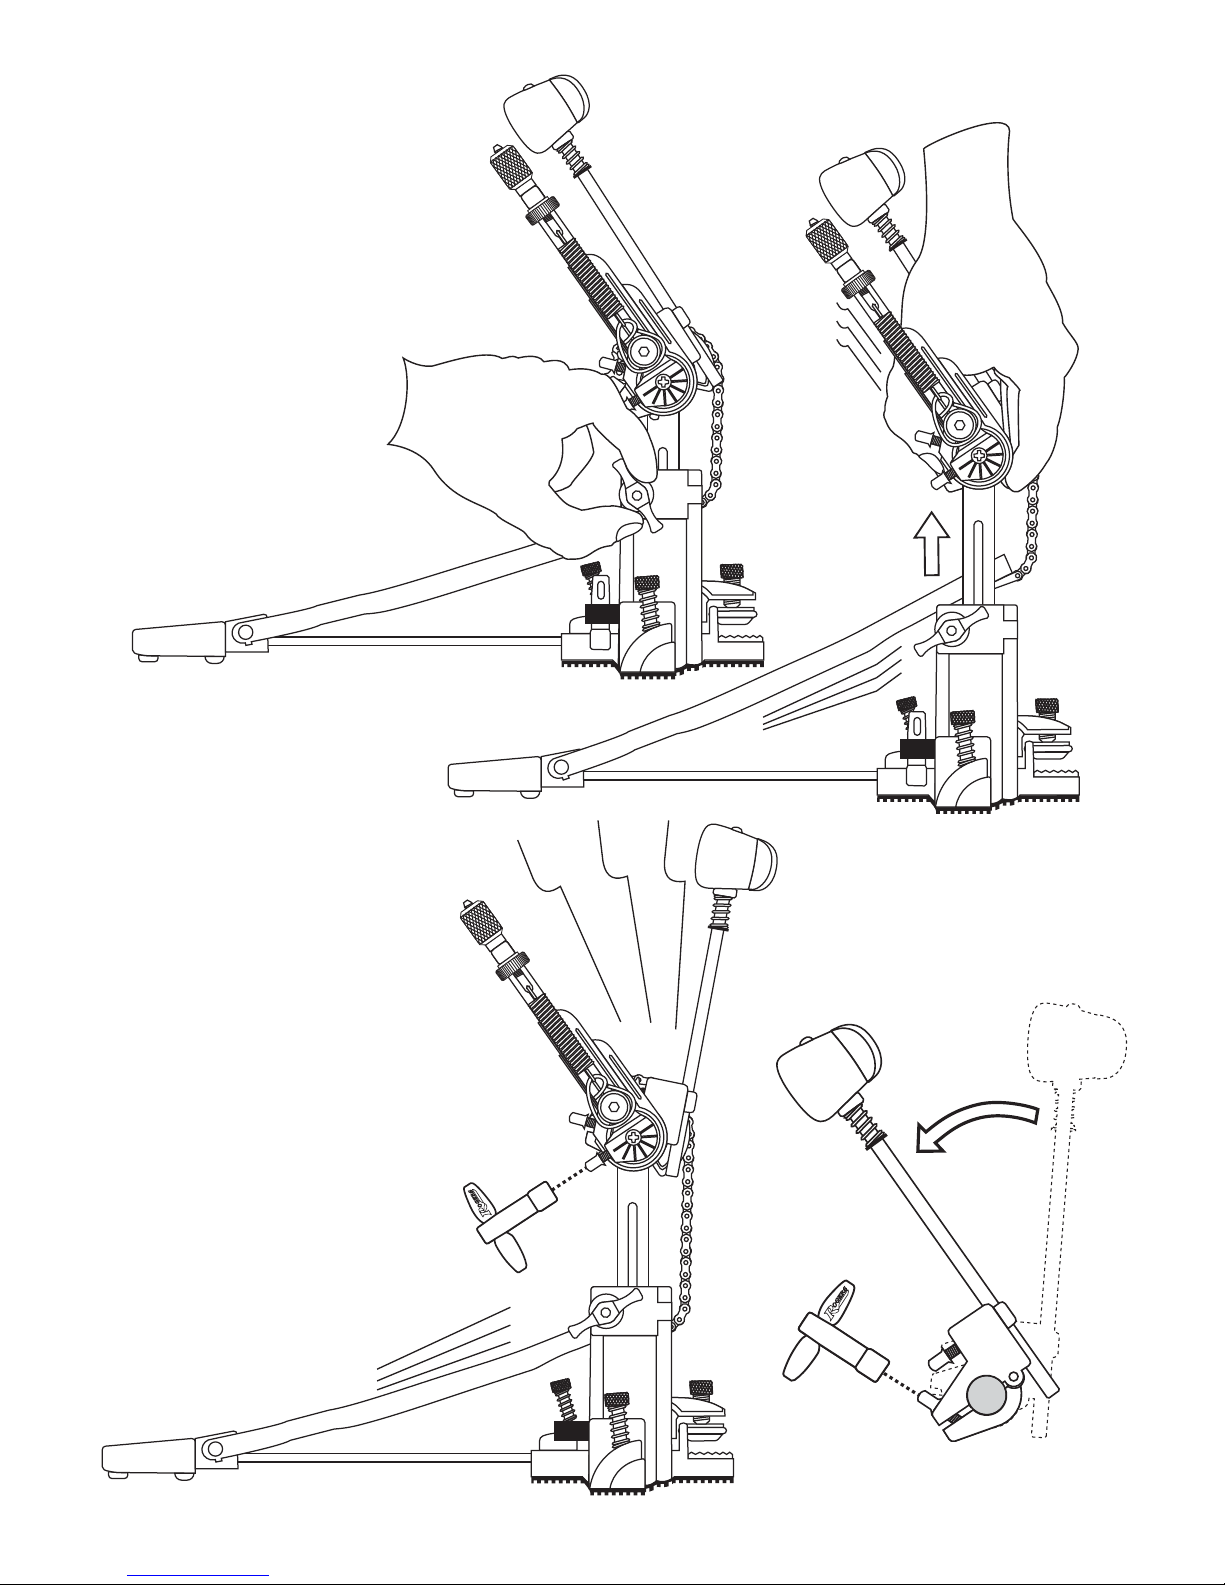
Attaching the Pedal
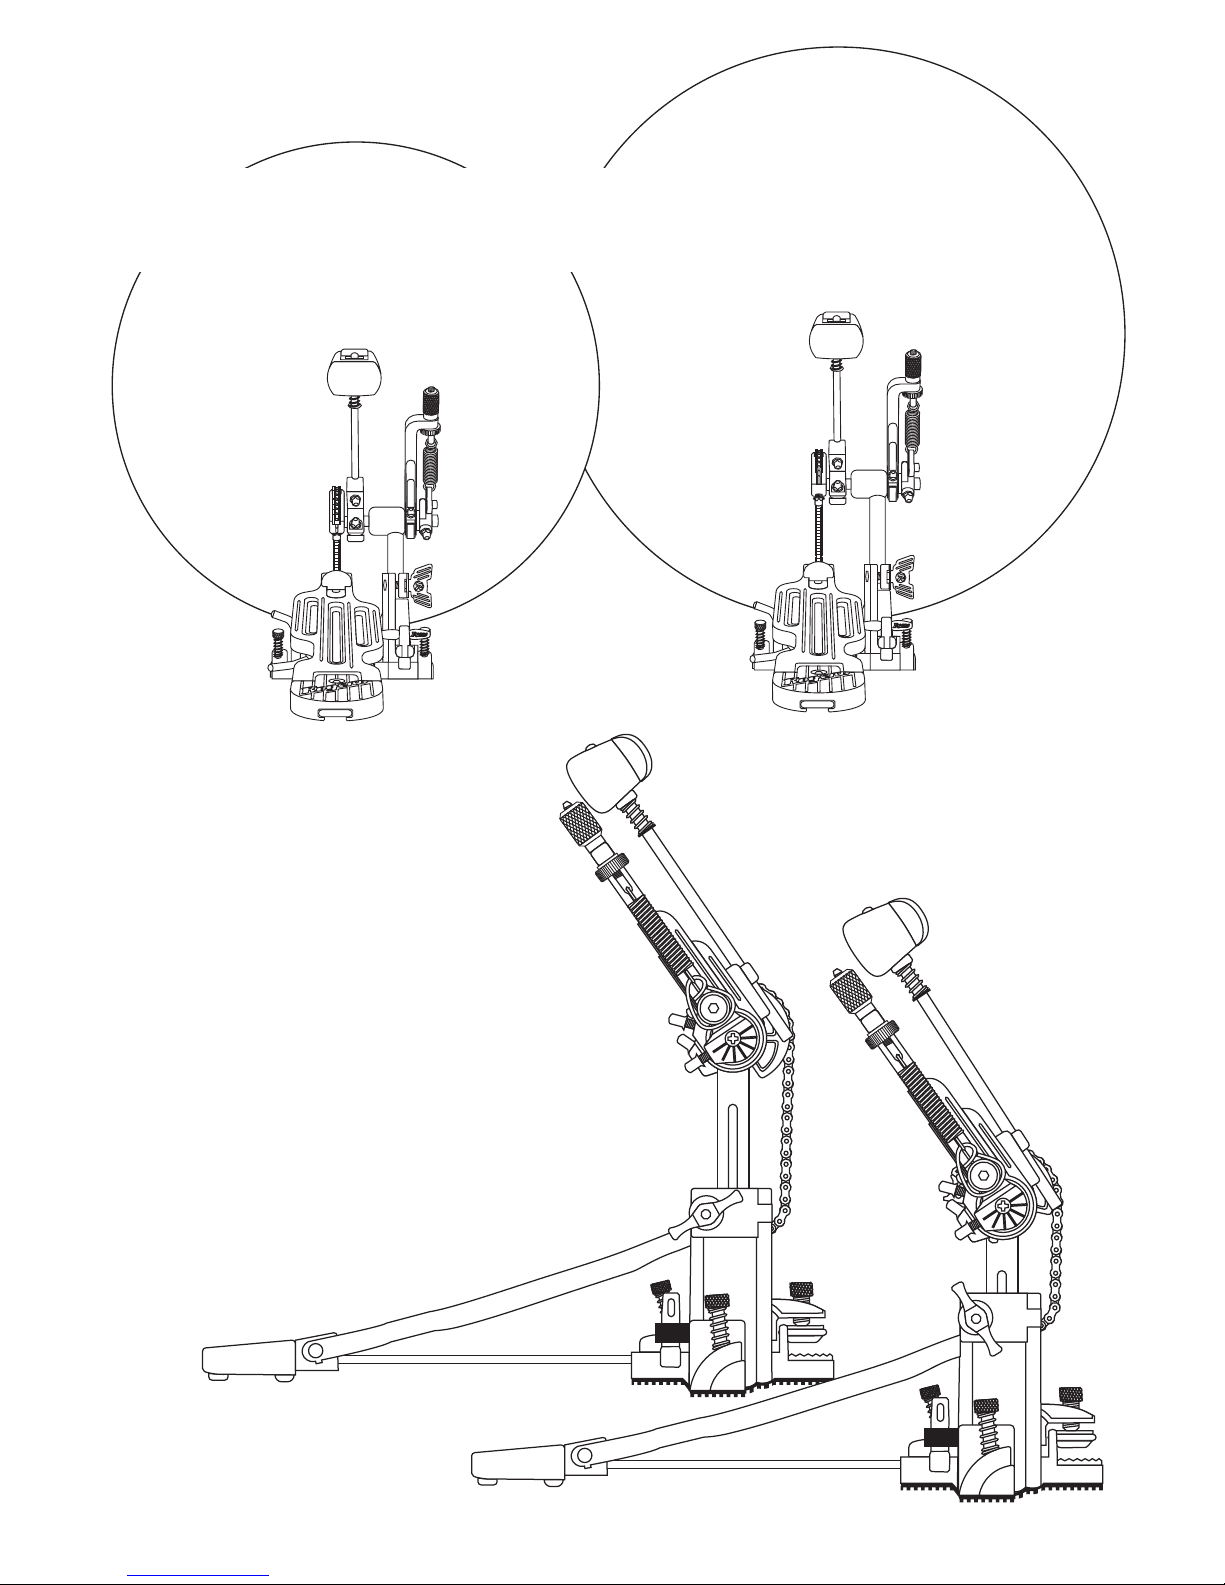
In the box, your Dyno-Matic Pedal has been collapsed
for transport. It is easily adjusted for play using the
following procedure. Locate the Drum Key mounted in
the holder clip on the right side of the frame. Use the
Drum Key to loosen the Axle Position Screw as shown
above. Once loose, swivel the Spring Arm up to a
comfortable angle, where you can easily reach it from
your throne (the classic position shown at right, 55˚).
You will notice the Spring Arm, Beater and Pedal-
board move together once the Axle Position Screw is
released. Make sure to tighten the Axle Position
Screw securely, and return the Drum Key to its
holding clip on the pedal frame.
KEY
The Dyno-Matic attaches to a bass drum
hoop quickly & simply with the flip of the
Hoop Clamp lever. With the Hoop Clamp
open (lever down), insert the hoop fully
into the clamp area as shown. Raise the
lever all the way forward, until it snaps
against the stop (as shown below).
You can fine-tune how tightly
the Hoop Clamp holds the
hoop by adjusting the hoop
tongue adjuster screw, as
shown on the left.
ALWAYS
RETURN
DRUM KEY
TO CLIP
ALWAYS
TIGHTEN
SCREWS
SECURELY
OUT
OF
THE
BOX