manuals.online logo
Brands
  1. Home
  2. •
  3. Brands
  4. •
  5. Roland
  6. •
  7. Drum
  8. •
  9. Roland TR-8 Technical manual

Roland TR-8 Technical manual

Other manuals for TR-8

4

Other Roland Drum manuals

Roland CY-15R User manual

Roland

Roland CY-15R User manual

Roland CR-80 User manual

Roland

Roland CR-80 User manual

Roland Compu Rhythm CR-68 User manual

Roland

Roland Compu Rhythm CR-68 User manual

Roland CY-8 User manual

Roland

Roland CY-8 User manual

Roland TD-25K User manual

Roland

Roland TD-25K User manual

Roland PAD-80 User manual

Roland

Roland PAD-80 User manual

Roland V-Drums TD-6KX User manual

Roland

Roland V-Drums TD-6KX User manual

Roland KD-A22 User manual

Roland

Roland KD-A22 User manual

Roland Rhythm Plus PB-300 User manual

Roland

Roland Rhythm Plus PB-300 User manual

Roland V-Drums KD-140 V-Kick User manual

Roland

Roland V-Drums KD-140 V-Kick User manual

Roland PDX-8 User manual

Roland

Roland PDX-8 User manual

Roland V-Drums VH-14D User manual

Roland

Roland V-Drums VH-14D User manual

Roland CR-5000 User manual

Roland

Roland CR-5000 User manual

Roland RM-2 User manual

Roland

Roland RM-2 User manual

Roland V-Drums KD-9 User manual

Roland

Roland V-Drums KD-9 User manual

Roland V-Drums TD-3 Manual

Roland

Roland V-Drums TD-3 Manual

Roland TD-12 User manual

Roland

Roland TD-12 User manual

Roland TR-6S User manual

Roland

Roland TR-6S User manual

Roland TD-20KX User manual

Roland

Roland TD-20KX User manual

Roland TR-606 User manual

Roland

Roland TR-606 User manual

Roland V-Drums TD-20 User manual

Roland

Roland V-Drums TD-20 User manual

Roland V-Cymbal Crash CY-12C User manual

Roland

Roland V-Cymbal Crash CY-12C User manual

Roland OCTAPAD SPD-30 Setup guide

Roland

Roland OCTAPAD SPD-30 Setup guide

Roland V-HI-HAT VH-11 User manual

Roland

Roland V-HI-HAT VH-11 User manual

Popular Drum manuals by other brands

Audiothingies DoubleDrummer user manual

Audiothingies

Audiothingies DoubleDrummer user manual

Yamaha RX-21 owner's manual

Yamaha

Yamaha RX-21 owner's manual

Sudoku LEXUS owner's manual

Sudoku

Sudoku LEXUS owner's manual

Cherub WRW-206 owner's manual

Cherub

Cherub WRW-206 owner's manual

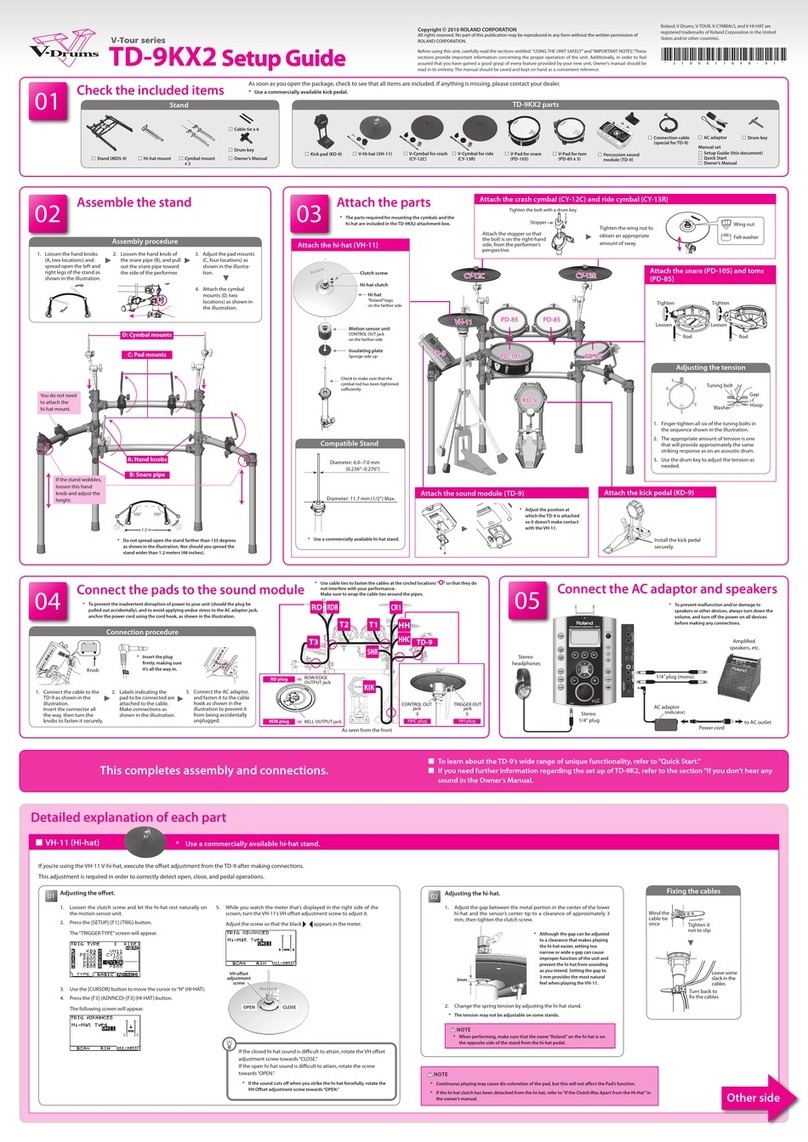
V-Drums V-Tour TD-9KX2 Setup guide

V-Drums

V-Drums V-Tour TD-9KX2 Setup guide

Yamaha DTXPLORER manual

Yamaha

Yamaha DTXPLORER manual

Yamaha DD65 YDD-60 null

Yamaha

Yamaha DD65 YDD-60 null

Koma Elektronik RH 301 user manual

Koma Elektronik

Koma Elektronik RH 301 user manual

Casio RZ-1 manual

Casio

Casio RZ-1 manual

Yamaha DD-7 owner's guide

Yamaha

Yamaha DD-7 owner's guide

Pintech E-Gig Care and instruction guide

Pintech

Pintech E-Gig Care and instruction guide

Krüger & Matz Warrior KM0764 quick start guide

Krüger & Matz

Krüger & Matz Warrior KM0764 quick start guide

Alesis DM10 MKII Pro Assembly guide

Alesis

Alesis DM10 MKII Pro Assembly guide

Opti-Med JM-D1 Series user manual

Opti-Med

Opti-Med JM-D1 Series user manual

Yamaha DTX720K Assembly manual

Yamaha

Yamaha DTX720K Assembly manual

Mattel Syntronics instructions

Mattel

Mattel Syntronics instructions

Yamaha DTS70 Operation manual

Yamaha

Yamaha DTS70 Operation manual

Alesis Performance Pad Quick start owner's manual

Alesis

Alesis Performance Pad Quick start owner's manual

manuals.online logo
manuals.online logoBrands
  • About & Mission
  • Contact us
  • Privacy Policy
  • Terms and Conditions

Copyright 2025 Manuals.Online. All Rights Reserved.

TR-8 Update
Contents of Ver. 1.12
Switching the pattern sequencer’s operating mode
Now you can change the operating mode of the pattern sequencer.
* Until Ver. 1.11, the sequencer operated with timing that models
the TR-808.
1. While holding down the [PTN SELECT] button, turn on the
power.
2. Press pad [7] to switch the operating mode.
ON (lit) The pattern sequencer operates with precise timing.
OFF (unlit) The pattern sequencer operates with timing that models the
TR-808. (Default)
Fixed a problem withTR-REC
We xed the problem in which it became impossible to set LAST
STEP to “1.”
Contents of Ver. 1.11
Adding an accent to an instrument’s performance
5When using INST-PLAY (realtime performance) or INST-REC (realtime
recording), you can hold down the ACCENT [STEP] button and press a
pad to add an accent to the specied step.
To adjust the volume of the accent, use the ACCENT [LEVEL] knob in
the same way as for TR-REC (step recording).
5INST-REC (realtime recording) now lets you record an accent at the
step location that you play.
Color indication of the instrument’s sound (tone)
When selecting a tone, the color that is shown when you press a pad
now distinguishes the tone.
TR-808 type Pink
TR-909 type Yellow
Fixed a problem with ASSIGNABLE OUT
We have xed a problem that had caused the eect sound to be sent
to MIX OUT when an instrument with reverb or delay applied was
assigned to ASSIGNABLE OUT.
* Properly speaking, an instrument assigned to ASSIGNABLE OUT
should not be output from MIX OUT.
Contents of Ver. 1.10
Instrument gain setting
1. Press the [KIT] button.
2. Turn the [TEMPO] knob while holding down each
instrument button from [BD] to [RC].
Its range is from 0 to 200 (-24 dB to +24 dB).
This parameter is stored within each kit.
Scatter 1 cycle on
Press [ON] while holding down the [DEPTH] button.
Scatter is enabled in current cycle only.
Scatter [ON] button mode
1. While holding down the [PTN SELECT] button, turn on the
power.
2. Press [STEP5].
ON Momentary
OFF Latch (default)
Improved roll function
To play rolls, you can either press the instrument play buttons
([STEP1]–[STEP11]) rst and then the roll variation ([STEP12]–
[STEP15]) buttons, or vice versa.
Copyright © 2014 ROLAND CORPORATION
1
TR-8 Update
2
Data backup/restore
7Backup
1. Hold down [STEP2] and switch on the power.
2. Connect your computer to the TR-8’s USB port via USB
cable.
3. Open the “TR-8” drive folder on your computer.
4. Copy the TR-8 kit/pattern les in the “BACKUP” folder to
your computer.
KIT 1–16 TR8_KIT1.PRM–TR8_KIT16.PRM
PATTERN 1–16 TR8_PTN1.PRM–TR8_PTN16.PRM
5. After copying is completed, disconnect the USB cable.
Windows 8/7
Right-click on the “TR-8” icon in“My Computer”and execute “Eject.”
Mac OS
Drag the “TR-8” icon to the Trash icon in the Dock.
6. Turn the TR-8 power o.
7Restore
1. Hold down [STEP2] and switch on the power.
2. Connect your computer to the TR-8 USB port via USB cable.
3. Open the “TR-8” drive folder on your computer.
4. Copy the TR-8 kit/pattern les into the “RESTORE”folder.
5. After copying is completed, disconnect the USB cable.
Windows 8/7
Right-click on the “TR-8” icon in“My Computer”and execute “Eject.”
Mac OS
Drag the “TR-8” icon to the Trash icon in the Dock.
6. Turn the TR-8 power o.
Lock pattern data
Turn the [TEMPO] knob while holding down the [PTN SELECT] button
to lock or unlock the current pattern.
When pattern is locked any editing is erased in the case of turning o
the power or choosing another pattern.
Edit Pattern A/B while playing the sequencer
Press the [A] or the [B] button while holding down the [TR-REC]
button.
Sync reset
Press the [START/STOP] button while holding down the [TAP] button.
When you play a pattern, it returns to the beginning immediately.
MIDI Local On/O and MIDI Controller mode
1. Stop the sequencer.
2. Turn the [SCATTER] knob while holding down the [LAST
STEP] button.
LOCAL ON It produces sound through any operation including
external MIDI message.
LOCAL OFF It produces sound only through external MIDI
message.
MIDI CONTROLLER It doesn’t produce sound through any operation,
only outputs MIDI message.
MIDI velocity is variable via accent setting
Select kit number via program change messages
MIDI implementation of scatter via control change
CC#70 SCATTER SW
CC#68 SCATTER TYPE
CC#69 SCATTER DEPTH
MIDI implementation of eect via note messages
C0 ACCENT PATTERN ALL ON/OFF
D0 REVERB PATTERN ALL ON/OFF
E0 DELAY PATTERN ALL ON/OFF
F0 EXT. IN PATTERN ALL ON/OFF
G0 ACCENT PATTERN ALL MUTE
A0 REVERB PATTERN ALL MUTE
B0 DELAY PATTERN ALL MUTE
C1 EXT. IN PATTERN ALL MUTE
Real time recording via external MIDI messages
MIDI O
No MIDI messages are transmitted out when the MIDI channel is set
to OFF.
Option to receive or ignore MIDI play/stop messages
1. While holding down the [PTN SELECT] button, turn on the
power.
2. Press [STEP6].
ON Only MIDI clock is received
OFF MIDI clock, play, and stop messages are received (default)