manuals.online logo
Brands
  1. Home
  2. •
  3. Brands
  4. •
  5. Roland
  6. •
  7. Drum
  8. •
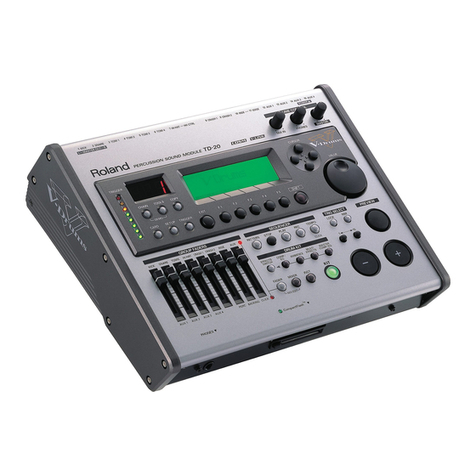
  9. Roland V-Drums TD-20 User manual

Roland V-Drums TD-20 User manual

Other manuals for V-Drums TD-20

5

This manual suits for next models

1

Other Roland Drum manuals

Roland TD-4K User manual

Roland

Roland TD-4K User manual

Roland Compurhythm CR-78 User manual

Roland

Roland Compurhythm CR-78 User manual

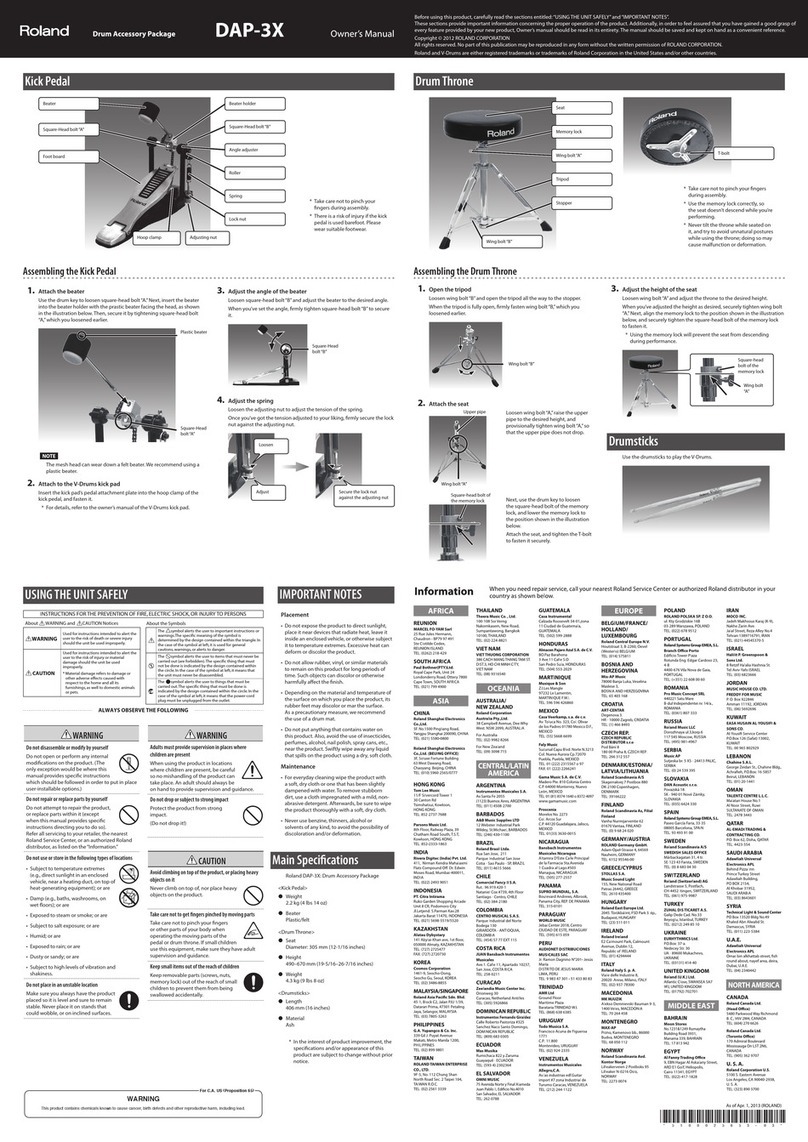
Roland DAP-3X User manual

Roland

Roland DAP-3X User manual

Roland TD-20K User manual

Roland

Roland TD-20K User manual

Roland TD-17 User manual

Roland

Roland TD-17 User manual

Roland SPD-8 User manual

Roland

Roland SPD-8 User manual

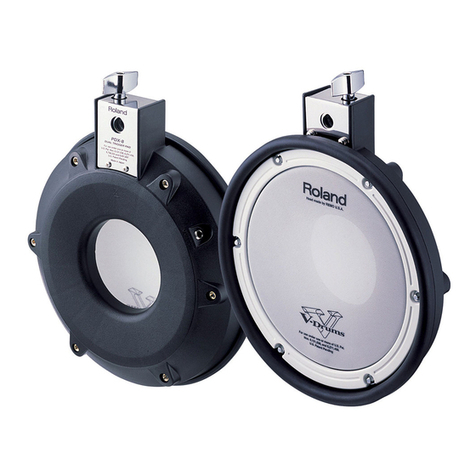
Roland V-Drums PD-100 User manual

Roland

Roland V-Drums PD-100 User manual

Roland VH-12 User manual

Roland

Roland VH-12 User manual

Roland CR-5000 User manual

Roland

Roland CR-5000 User manual

Roland Rhythm Plus PB-300 User manual

Roland

Roland Rhythm Plus PB-300 User manual

Roland V-Drums Lite HD-1 User manual

Roland

Roland V-Drums Lite HD-1 User manual

Roland V-DRUMS TD-10 User manual

Roland

Roland V-DRUMS TD-10 User manual

Roland V-Drums TD-1KV User manual

Roland

Roland V-Drums TD-1KV User manual

Roland V-Drums TD-50KV User manual

Roland

Roland V-Drums TD-50KV User manual

Roland KD-85 User manual

Roland

Roland KD-85 User manual

Roland V-Drums TD-07KX User manual

Roland

Roland V-Drums TD-07KX User manual

Roland V-Drums TD-3KV User manual

Roland

Roland V-Drums TD-3KV User manual

Roland V-Drums TD-8 Instruction Manual

Roland

Roland V-Drums TD-8 Instruction Manual

Roland V-Drums TD-20 Guide

Roland

Roland V-Drums TD-20 Guide

Roland KD-180L User manual

Roland

Roland KD-180L User manual

Roland TD-15 User manual

Roland

Roland TD-15 User manual

Roland TDM-10 User manual

Roland

Roland TDM-10 User manual

Roland VH-12 Guide

Roland

Roland VH-12 Guide

Roland TD-07 User manual

Roland

Roland TD-07 User manual

Popular Drum manuals by other brands

Audiothingies DoubleDrummer user manual

Audiothingies

Audiothingies DoubleDrummer user manual

Yamaha RX-21 owner's manual

Yamaha

Yamaha RX-21 owner's manual

Sudoku LEXUS owner's manual

Sudoku

Sudoku LEXUS owner's manual

Cherub WRW-206 owner's manual

Cherub

Cherub WRW-206 owner's manual

V-Drums V-Tour TD-9KX2 Setup guide

V-Drums

V-Drums V-Tour TD-9KX2 Setup guide

Yamaha DTXPLORER manual

Yamaha

Yamaha DTXPLORER manual

Yamaha DD65 YDD-60 null

Yamaha

Yamaha DD65 YDD-60 null

Koma Elektronik RH 301 user manual

Koma Elektronik

Koma Elektronik RH 301 user manual

Casio RZ-1 manual

Casio

Casio RZ-1 manual

Yamaha DD-7 owner's guide

Yamaha

Yamaha DD-7 owner's guide

Pintech E-Gig Care and instruction guide

Pintech

Pintech E-Gig Care and instruction guide

Krüger & Matz Warrior KM0764 quick start guide

Krüger & Matz

Krüger & Matz Warrior KM0764 quick start guide

Alesis DM10 MKII Pro Assembly guide

Alesis

Alesis DM10 MKII Pro Assembly guide

Opti-Med JM-D1 Series user manual

Opti-Med

Opti-Med JM-D1 Series user manual

Yamaha DTX720K Assembly manual

Yamaha

Yamaha DTX720K Assembly manual

Mattel Syntronics instructions

Mattel

Mattel Syntronics instructions

Yamaha DTS70 Operation manual

Yamaha

Yamaha DTS70 Operation manual

Alesis Performance Pad Quick start owner's manual

Alesis

Alesis Performance Pad Quick start owner's manual

manuals.online logo
manuals.online logoBrands
  • About & Mission
  • Contact us
  • Privacy Policy
  • Terms and Conditions

Copyright 2025 Manuals.Online. All Rights Reserved.

®ÂØÒňÎ
TD-20
Percussion Sound
Module
TurboStart
TBS210 ©2004 Roland Corporation U.S.
www.RolandUS.com
Faxback #20243 Page 1
Welcome
Congratulations on your purchase of the Roland
TD-20. This TurboStart contains step-by-step
instructions that will quickly introduce you to a few of
the TD-20’s major features.
Note: This TurboStart discusses the use of the TD-20
as part of the Roland V-Pro Series TD-20S-BK.
Setting the Hi-Hat Offset
The open/close range for the VH-12 Hi-Hat is set by
the Offset parameter in the TD-20. Adjusting the
Offset parameter is crucial for ensuring that the
VH-12 performs correctly. Once it’s set, you won’t
have to worry about it again unless you perform a
factory reset on the TD-20 or decide to install the
VH-12 pads on a different hi-hat stand. To adjust the
hi-hat open/close range:
1. Loosen the clutch of the top hi-hat pad, letting it
rest on the bottom hi hat.
2. While pressing and holding the KIT button, press
TRIGGER—TRIGGER starts to flash.
After a few seconds TRIGGER stops flashing,
the Offset value stabilizes and the adjustment is
complete.
3. Press KIT to exit, and then re-adjust and tighten
the hi-hat clutch.
Tip: If you wish, you can further adjust and customize
the Offset settings and other hi-hat parameters to
match your playing style. Refer to the TD-20 Owner’s
Manual for more information.
Selecting and Auditioning Drum Kits
There are 50 drum kits in the TD-20, ready to go. Use
the following steps to select and try out a few:
1. Press KIT so it’s lit.
2. Turn the VALUE dial or press the INC+/DEC-
buttons to select 8 UNIVERSE.
3. Play the pads. Try performing some rim shots
with the toms.
4. Now turn the VALUE dial counterclockwise or
press the DEC- button to select 2 Slamin’.
5. Play the pads. Strike the bow of Crash 2—this
starts one of the patterns in the TD-20 using a
feature called “Pad Pattern,” described later in
this TurboStart.
6. Strike the bow of Crash 2 again to stop the
pattern.
Selecting Instruments in a Kit
Any of the TD-20’s drum kits can be customized.
Instrument tuning, changing the apparent shell depth
of a tom and adding the sound of rivets to a cymbal
are just a few of the things you can do. Choosing
your own instruments for a kit is a good place to start.
You can select different instruments for each of the
pads within a drum kit. Use the following steps:
1. Press KIT so it’s lit.
2. Turn the VALUE dial to select the kit you’d like to
edit.
3. Press INST so it’s lit.
4. Press F5 until “H & R” is not shaded.
5. Hit the pad—or portion of the pad, such as the
head or rim—that contains the instrument you
wish to change.
6. Turn the VALUE dial or use the INC+/DEC-
buttons to select the desired instrument.
7. Repeat Steps 5-6 for the remaining pads.
8. When you’re finished, press KIT. Your
customization is stored automatically.
Playing the Patterns
There are 100 preset patterns in the TD-20’s
sequencer. Use the following steps to select and play
them:
1. Press PATTERN so it’s lit.
2. Turn the VALUE dial to select one of the preset
patterns.
3. Press PLAY.
4. Press STOP when you’re finished.
Note: If you select a TAP pattern, press the PLAY
button repeatedly to move, or “tap,” through the
pattern. Tap patterns are identified by “||”
shown below the “P” in the display.
®ÂØÒňÎ
TD-20
Percussion Sound
Module
TurboStart
TBS210 ©2004 Roland Corporation U.S.
www.RolandUS.com
Faxback #20243 Page 2
Pattern Recording
You can use any of the 100 user pattern locations in
the TD-20’s sequencer to record your playing on the
pads. Use the following steps to record a basic
pattern.
Note: By default, the TD-20’s pattern time signature
is set to 4/4. To learn how to change it, or to adjust
other pattern parameters, refer to the TD-20 Owner’s
Manual.
1. Press PATTERN so it’s lit.
2. Press F5 (NEW).
3. Press REC—the metronome starts.
4. If you wish, press TEMPO, and then turn the
VALUE dial to adjust the tempo.
5. Press PLAY.
The TD-20 provides a one measure countoff.
- “-1” appears in the display for the duration of
the measure.
6. After the countoff, play the pads in time with the
metronome.
7. When you’re finished recording, press STOP.
8. Press PLAY to hear your new pattern.
Pad Pattern
As we noted earlier, you can hit one of the pads in a
kit to start and stop—or tap through—a pattern. Use
the following steps to assign a pattern to a pad:
1. Select the desired kit.
2. Press INST so it’s lit.
3. Press F3 (CONTROL).
4. Hit the pad to which you want to assign a
pattern.
5. Turn the VALUE dial or press the INC+ / DEC-
buttons to select the desired pattern.
6. Strike the same pad again to start and stop the
pattern.
Tip: Some of the TD-20’s preset kits have a pattern
already assigned to a pad. If you’d like to turn off the
Pad Pattern feature for such a kit, follow Steps 2-4
above. At Step 5, turn the VALUE dial counter-
clockwise or press the DEC- button to select OFF.
Mix Edit
You can adjust the volume levels of instruments
using the TD-20’s faders. The Mix Edit feature
provides a visual representation of volume and effect
levels in the display to make quick adjustments easy
and precise. Here’s how to use Mix Edit for adjusting
volume:
1. Hold MIXER and press FADER.
2. Press F1 (VOLUME).
3. Slide the faders up and down to adjust the levels
of the instruments as desired.
4. Press KIT when you’re finished.
Starting Over
If you’d like to redo the TD-20’s settings from scratch,
you can use the following procedure to clear the
TD-20’s internal memory and reload its factory
settings.
Caution: When you perform the following steps, all
USER information will be lost. Be sure to back up any
information you wish to keep first.
1. Press SETUP so it’s lit.
2. Press F5 (F RESET) three times.
Note: When you perform a factory reset, be sure to
perform the “Setting the Hi-Hat Offset” procedure at
the beginning of this TurboStart before playing the
VH-12.