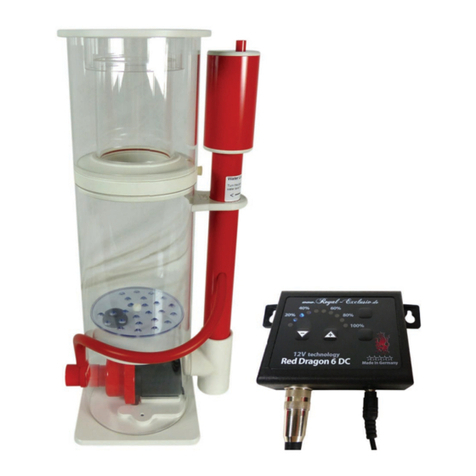
For more information, please visit www.royal-exclusiv.de. Simply enter the part number or name into
the search box or email: info@royal-exclusiv.de.
All information subject to change. We try our best, but printing errors reserved.
Royal Exclusiv pumps &skimmers
Vorgebirgsstr. 28 // 50389 Wesseling // Germany
Fon +49(0)2236/88055-0 // Fax +49(0)2236/88055-20
info@royal-exclusiv.de // www.royal-exclusiv.de
Since 1986
2. Maintenance
We recommend the cleaning of the Bubble King®DeLuxe
at frequent intervals respectively to check the needle
wheel for foreign objects. To check the needle wheel it is
not necessary to remove the internal skimmer from the
lter tank.
Unplug the skimmer from the mains. Remove the jet tube
from its seating. Turn the skimmer into your direction and
optically check the rst row of needles for foreign objects
like snails, mussels, activated carbon pellets, lter cotton
or food debris. In case of an accumulation of debris in the
pump, the pump must be disassembled.
Red Dragon®Bubble King®pumps have a built-in automat-
ic shutoff. The internal circuit is permanently measuring
the pumps power consumption. In the case of serious cal-
cifying, and thus, stiff bearings, the internal circuit will clas-
sify the rising power consumption as a failure and switch
off the pump, due to safety reasons. Because of this be-
haviour a Bubble King®pump never can be damaged by
smouldering re or other damage due to a short circuit.
Just plug off and on to bring the pump back into operation.
Please note, that it is not advisable to trick the internal
circuit into normal operation by a repeated switching of the
device. If a Red Dragon®pump was switched off, a failure
occurred apparently, which must be solved. If happened,
usually only a cleaning session is required.
IMPORTANT:
Permanently tricking the circuit may result in
severe motor damage, which will not be
covered by warranty.
2.1. Disassembling the pump
After removing the pump from the silicone hose please
remove the inlet nozzle from the designated opening. Put
the skimmer onto a at, soft surface or a towel and start to
disassemble the pump as shown below.
You just need a standard mid size screw driver and an
Allen wrench M5 required for a complete disassembling.
Turn off the 4 housing screws and remove the head.
Caution:Thepumpholdersaremadefromplastic.Justtighten
the screws until the gap between pump head and holder was
closed. Overtighten the screws may damage the threads.
The housing screws of the internal pumps (external V4A)
were made from titan and, thus, are 100 % salt water proof.
Use your ngers to grab behind the needle wheel and soft-
ly pull the wheel from its guidance. Clean the wheel by the
help of a sharp tip (for example with a Nail le).
Please decalcify the wheel unit in an applicable decalcify-
ing bath.
DO NEVER use hydrochloric acid even
when thoroughly diluted!!!
The pump may be seriously damaged.
Applicable are, formic acid, acetic acid and phosphoric
acid or even household decalciers for water conditioners
and coffee machines. Basically the wheel bearing of the
motor should be also decalcied. Thick, greasy residues
should be removed under running water by the help of a
semi hard brush.
Attention:
Please consider the safety regulations imprinted when
using decalciers. Please wear protective clothing and
safety glasses.
6


