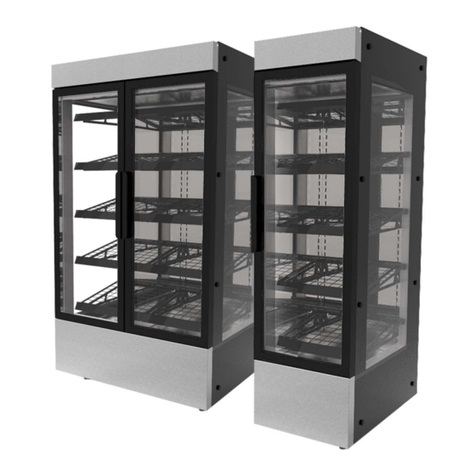
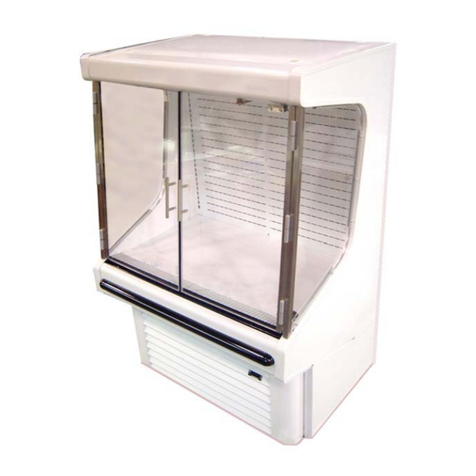
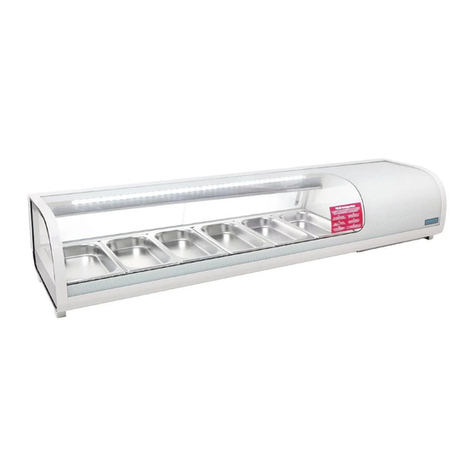
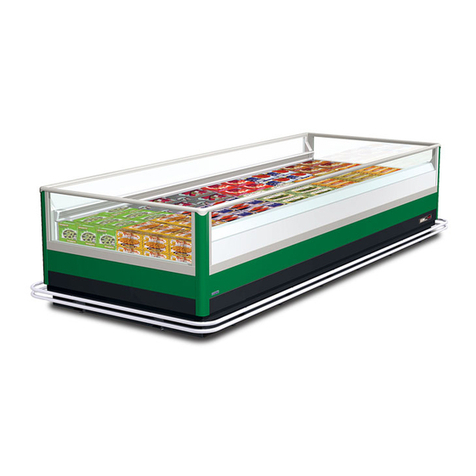
Royal-Kincool Anvil NDSJ2730 User manual

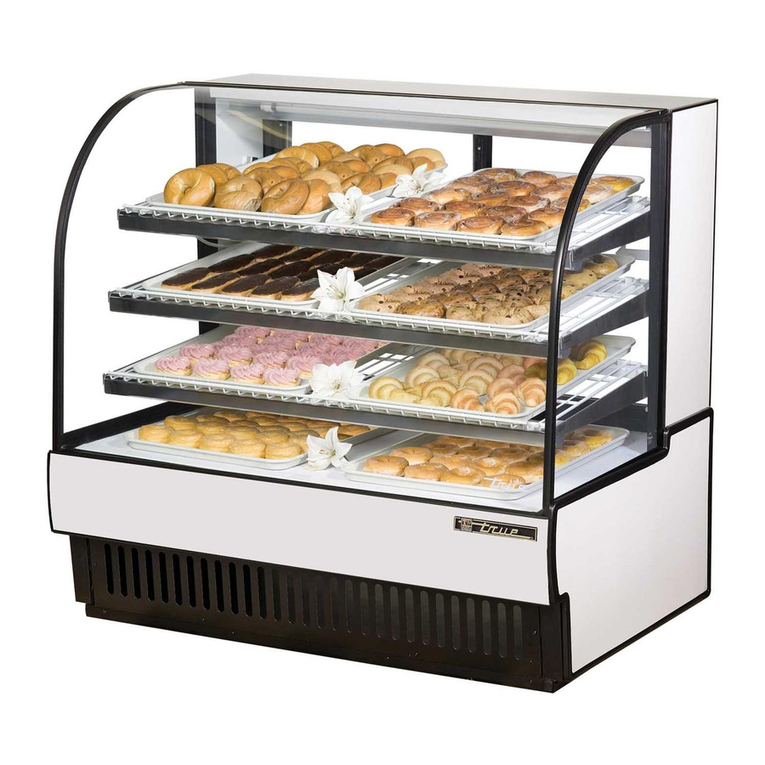
Cake Showcase
Instruction Manual
Read these operating instructions carefully bafore using the machine
By Royal-Kincool
11/2021 V1.0


Index
Warning--------------------------------------------------------------1
Installation-----------------------------------------------------------2
How to Use----------------------------------------------------------3
Maintenance------------------------------------------------------4
Disposal--------------------------------------------------------------4
Technical Specifications---------------------------------------5
Wiring Diagram---------------------------------------------------9
Trouble Shootings-----------------------------------------------11
Parts Diagram----------------------------------------------------12

1.This instruction manual is an integral part of the machine and must be kept for any further
consultation.
2.Never try to use this machine for applications which are not described in the instructions or for the
units intended purpose.
3.This machine should be used only for the purpose for which it was designed. Any other use is
inappropriate and therefore dangerous. The manufacturer will not be held responsible for any
damage caused by improper use.
4.Before installing and operating on the machine read the operation manual.
5.Unplug the machine from outlet when not in use, before putting on or taking off parts, and before
cleaning. Do not power unit through a power board or extension cord.
6.Be sure to unplug the machine if not using the machine for a long time.
7.If the supply cord is damaged, it must be replaced by the manufacturer, its service agent or
similarly qualified persons to avoid a hazard.
8.Do not use the machine in a dusty environment or in an explosive atmosphere (inflammable gases
and vapors from organic solvents)
9.The motor is permanently lubricated and will require no oil.
10.Repairs, when necessary, must be performed by an authorised service agent
11.The machine is suitable for indoor use only.
12.Basic safety rules:
a. Do not touch the machine when hands or feet are wet
b. Do not allow the machine to be used by children or untrained persons.
c. Do not leave the machine outside.
d. Do not pull on the electrical cord when unplugging the machine.
1
Warning:
The company reserves the right to modify the construction or appearance without notice
Caution Risk of Fire
Do not Store explosive substances such as aerosol cans with flammable
propellant in this appliance.

2
Installation:
Useful instruction for transport
In order to prevent oil contamination in the hermetic compressor from flowing into the cooling circuit, it
is necessary to always carry, store and handle the machine in a vertical position, following the
instructions found on the packaging.
Unpacking:
If the machine has not been damaged remove the plastic film from all the stainless-steel panels.
Important:
The various packaging should be kept away from children since this is potentially dangerous.
Dispose of packaging according to the regulations from local authorities.
Loading:
1. When loading the unit, make sure front and rear vents inside the unit are left open and are not
covered or blocked with drinks, trays, plates, or any other objects. The unit relies on airflow to
ensure all shelves remain cold. By blocking the air vents, even partially, the air flow is restricted,
and upper shelves will not reach the required temperature.
2. Do not fill the unit with room temperature product (warm drinks) unless you intend leaving the
doors closed for a few hours to enable it to cool the drinks and recover temperature.
Positioning:
1. Do not install the machine in the area where it can be damaged by water.
2. This unit is intended for indoor use only.
3. Place machine on a horizontal and sturdy surface.
4. For good ventilation, keep a distance of 200mm between unit and wall or other objects. Increase
the distance if the objects are a near a heating source. When the display is in place, press
the brake on the wheels to keep it level and secure.
Assembling
1. Remove the bottom pallet from the machine.
2. Put glass shelves on to the shelf support.
3. The unit has factory set temperature and does not need to be changed.
Electrical connection
Before inserting the plug in to the electrical socket, carefully read the following precautions:
1. Make sure that the machines properly connected to an efficient grounding system, in
compliance with current safety standards.
2. Make sure that the voltage is in accordance with what indicated on the "serial number C label
applied on the chassis.
3
How To Use:
Display
Button for defrost/
decrease set temp.
Turn on/Turn off Button
Light Button
The unit’s temperature has been factory set. Please call International Catering Equipment if you would
like to change your temperature.
Cold Deli cake showcase
Button for demist/
increase set temp.
By Royal-Kincool
1.Plug in the machine.
2.Before starting the machine, ensure the sliding doors are properly closed.
3.For lighting, press the light button below the thermostat.
4.
5.
6.
Press for 3s to start up.
Press for 3s to shut down.
Set temperature: press for 1s, the setting temperature flashing, and then press to
enter the setting temperature. It will display the working temperature after stopping setting for 6s.
7.Manual demisting: demisting function is default as "off", if you need to turn on the demisting, you need
CAUTION: You are suggested not to reset the temperature controller frequently.
The factory default value of set temp. is 2°C.
press button for 6s .
8.Manual deManual defrosting, press for 3s and shows on the display and the manual defrosting starts
Long pressLong press for 3s again to stop.

4
1.Plug in the machine.
2.Before starting the machine, ensure the sliding doors are properly closed.
3.For lighting, press the light button below the thermostat.
4.
5.
6.
Press for 3s to startup.
Press for 3s to shut down.
Set temperature: press for 1s, the setting temperature flashing, and then press to
enter the setting temperature. It will display the working temperature after stopping setting for 6s.
CAUTION: You are suggested not to reset the temperature controller frequently.
The factory default value of set temp. is 65°C.
Maintance:
The machine is suitable for an ambient temperature ranging between 32℃.
Cleaning
For health standard and quality of beverages or foods, clean interiors of machine as often as possible.
Please clean the removable condenser filter at least monthly.
Caution:
1. Before carrying out cleaning, remove the power plug
2. Do not use abrasive powders that might impair the interior parts of showcase
3. Use neutral soap and a little warm water to wash the interiors, Rinse carefully with
water in order to remove any residual of soap
Disposal
Render old machine unusable:
I. Pull out the mains plug,
2. Cut off the power cable and discard with the plug,
Caution:
Refrigerants in refrigeration machines and gases in thermal insulation must be disposed of
professionally. Please discard the machine according to the local regulations.
Gelato Display Showcase
1. Please ensure you use the correct gelato pans for your unit.
2. These units are not designed for overnight storage. It is recommended that all product is
removed after service period and stored in a storage freezer.
3. It is required to turn this unit off every few days to defrost naturally. Ideally 2-3 times a week. This
can vary depending on location, ambient temperature, number of door opening per day.
a) Remove product to storage freezer
b) Unplug and turn unit off
c) Do not change settings
Hot Pastry Showcase

5
Technical Specifications
MODELS
Parameter
Capacity(L)
Working Temp.(℃)
Gas
Weight(Kg)
Climate Class
LED(W)
Dimensions(cm)
NDSJ2730 NDSJ2740 NDSJ2750 NDSJ2760
220-240V~50HZ
190L
2~8℃
R290
2*10 2*15 2*20 2*24
90X68X100
4,5,7
120X68X100 150X68X100 180X68X100
260L 325L 395L
153KG 190KG 222KG 255KG
Cold Deli cake showcase
MODELS
Parameter
Capacity(L)
Working Temp.(℃)
Gas
Weight(Kg)
Climate Class
LED(W)
Dimensions(cm)
220-240V~50HZ
2~8℃
R290
4,5,7
NDSV3730
285L
3*10
90X68X120
174KG
NDSV3740
3*15
120X68X120
385L
215KG
NDSV3750
3*20
485L
254KG
150X68X120
NDSV3760
3*24
180X68X120
585L
291KG
MODELS
Parameter
Capacity(L)
Working Temp.(℃)
Gas
Weight(Kg)
Climate Class
LED(W)
Dimensions(cm)
220-240V~50HZ
2~8℃
R290
4,5,7
NDSV4730 NDSV4740 NDSV4750 NDSV4760
355L
4*10 4*15 4*20 4*24
90X68X135 120X68X135 180X68X135
480L 605L 735L
196KG 239KG 280KG 319KG
150X68X135

6
MODELS
Parameter
Capacity(L)
Working Temp.(℃)
Gas
Weight(Kg)
Climate Class
LED(W)
Dimensions(cm)
220-240V~50HZ
2~8℃
4,5,7
DSS3830 DSS3840 DSS3850 DSS3860
415L
3*10 3*15 3*20 3*24
90X83X135 120X83X135 180X83X135
560L 705L 850L
210KG 257KG 297KG 338KG
R290
150X83X135
MODELS
Parameter
Capacity(L)
Working Temp.(℃)
Gas
Weight(Kg)
Climate Class
LED(W)
Dimensions(cm)
220-240V~50HZ
2~8℃
4,5,7
R290
DSD0001
97L
3*5
119KG
60X70X120
3*15
194L
200KG
DSD0002
120X70X120
MODELS
Parameter
Capacity(L)
Working Temp.(℃)
Gas
Weight(Kg)
Climate Class
LED(W)
Dimensions(cm)
DSG1200
320L
R290
1*15
120X68X115
4,5,7
178KG
-18~-22℃
220-240V~50HZ
Gelato Showcase

7
R290
4,5,7
2~8℃
MODELS
Parameter
Capacity(L)
Weight(Kg)
Climate Class
Dimensions(cm)
Working Temp.(℃)
Halogen lamp(W)
220-240V~50HZ
40~75℃
4,5,7
Hot Showcase
NDHV3730 NDHV3740
285L
9*20 12*20
385L
122KG 139KG
90X68X120 120X68X120
MODELS
Parameter
Capacity(L)
Weight(Kg)
Climate Class
Dimensions(cm)
Working Temp.(℃)
Halogen lamp(W)
NDHV4730 NDHV4740
220-240V~50HZ
355L
40~75℃
12*20 16*20
4,5,7
480L
145KG 175KG
90X68X135 120X68X135
MODELS
Parameter
Capacity(L)
Weight(Kg)
Climate Class
Dimensions(cm)
Working Temp.(℃)
Halogen lamp(W)
NDSSH3830 NDSSH3840
415L 560L
198KG 244KG
220-240V~50HZ
40~75℃
9*20 12*20
4,5,7
90X83X135 120X83X135

8
Countertop cold deli Showcase
MODELS
Parameter
Capacity(L)
Working Temp.(℃)
Gas
Weight(Kg)
Climate Class
LED(W)
Dimensions(cm)
DGV0530 DGV0540 DGV0550
220-240V~50HZ
140L
2~8℃
3*10 3*15 3*20
90X54X82
4,5,7
120X54X82 150X54X82
190L 240L
112KG 132KG 155KG
R290
MODELS
Parameter
Capacity(L)
Weight(Kg)
Climate Class
Dimensions(cm)
Working Temp.(℃)
Halogen lamp(W)
Countertop Hot Pastry Showcase
DGHV530 DGHV0540 DGHV0550
220-240V~50HZ
140L
8*20 10*20
90X54X82
4,5,7
120X54X82 150X54X82
190L 240L
90KGS 110KGS 130KGS
40~75℃
6*20
Countertop Gelato Showcase
MODELS
Parameter
Capacity(L)
Working Temp.(℃)
Gas
Weight(Kg)
Climate Class
LED(W)
Dimensions(cm)
DSI0530 DSI0540 DSI0550
220-240V~50HZ
140L
-12~-18℃
1*10 1*15 1*20
90X54X79
4,5,7
120X54X79 150X54X79
190L 240L
108KG 130KG 152KG
R290

9
Parts Diagrams
Floor Standing & Countertop Showcase Refrigerator series
Electric Wiring Diagram
RK323 THERMOSTAT
RT1 SENSOR OF CABINET TEMP
MB CONTROL PANEL
SH1 SWITCH OF LIGHT
AC
N
L
IN
RT1
MB
M3
SH1 RK323
EL
12V
T2
Ft=90°
EE1,2
M3 FAN OF CABINET
EL LIGHT
T2 TRANSFORMER OF LIGHT
EE1,2 HEATING TUBE
Floor Standing &Countertop Showcase Warmer series
M2
M1
FA
C
M3-Mn
220V/240V AC
L
TC
12VDC
MB CONTROL PANEL
SH1 POWER OF LIGHT
DPF ELECTRONIC EXPANSION VALVE
FA OVERLOAD PROTECTOR
M1 COMPRESSOR
C CAPACITOR OF START
M2 CONDENSER MOTOR FAN
TC AC/DC TRANSFORMER
EL LIGHT
M3-Mn FAN OF CABINET
T1 TRANSFORMER
EH1 HEATING WIRE OF DOOR
EH2 HEATING WIRE OF SIDE GLASSES
EH3 SPARE HEATING WIRE OF DOOR
EH4 HEATING WIRE OF TOP GLASSES
EH5 HEATING WIRE OF FRONT GLASSES
RK625 THERMOSTAT
RT1 SENSOR OF CABINET TEMP
RT2 SENSOR FOR DEFROSTING
RT3 SENSOR OF INTAKE TUBE
RT4 SENSOR FOR SUCTION
RT2
RT1
RK625
RT3
RT4
DPF
MB
EL
NL
SH1
T1
36V
V
0V
EH1
EH4
EH5
EH2
EH3
Electric Wiring Diagram

10
Floor Standing &Countertop Gelato showcase
Electric Wiring Diagram

11
Trouble Shooting:
Warning: If the machine has any problem or has been damage, please contact a service agent.
Possible reasons
Symptom Solution
•No power
input/lights are
not working
•Poor contact of plug and socket
•Failure in input control circuit •Replace parts
•High temperature
•Ambient temperature is too high.
•Too much dust and dirt on the
condenser
•Frost on the evaporator is too
thick
•Faulty controller
•Clean the condenser
filter
•Defrost unit
•Contact service agent
•Compressor
Starts/stops
frequentl •Faulty compressor •Contact service agent
•The fan of the
evaporator
does not work
•Faulty fan motor •Replace parts
•ER1 Error Code
•Faulty evaporator liquid inlet
sensor
•Faulty controller
•Replace the
probe/controller
•Contact service agent
•ER2 Error Code
•Faulty evaporator suction inlet
sensor
•Faulty controller
•Replace the
probe/controller
•Contact service agent
•ER3 Error Code
•Faulty evaporator temperature
inlet sensor
•Faulty controller
•Replace the
probe/controller
•Contact service agent

12
Parts diagram
Countertop Showcase Refrigerator
1. Sliding doors
2. Ventilation grill
3. Limit baffle
4. Top Shelf
5. Top Shelf bracket
6. LED Light
7. Front s/s air grill
8. Bottom iron shelf
9. Rear s/s air grill
10. Evaporator cover
11. Evaporator fan motor
12. Evaporator
13. Decoration right panel
14. Right side glass
15. Front glass
16. Left side glass
17. Decoration front panel
18. Decoration left panel
19. Control panel
20. Control panle sticker
21. Light switch
22. Compressor
23. Condenser fan motor
24. Condenser
25. Dust screen
26. Dry filter
27. Electronic expansion valve
28. Electronic expansion valve coil
29. Controller
30. Light Power supply
31. Glass Power supply

13
Countertop Showcase Warmer
1. Sliding doors
2. Ventilation grill
3. Top iron shelf
4. Top shelf bracket
5. Halogen bulb
6. Front s/s air grill
7. Bottom iron shelf
8. Bottom stainless steel shelf
9. Rear s/s air grill
10. Evaporator cover
11. Evaporator fan motor
12. Heating element
13. Right side glass
14. Left side glass
15. Front glass
16. Decoration front panel
17. Decoration right panel
18. Decoration left panel
19. Power supply
20. Controller
21. Control panel
22. Control panel sticker
23. Light switch

14
Countertop Gelato Showcase
1. Synthetic glass
2. PC pan
3. Supporter of the PC Pan
4. Bottom shelf
5. Left Sliding door
5-A. Right Sliding door
6. Back panel
7. Control panel
8. Digital thermostat
9. Power Switch
9-A. Switch
10. Left Side glass
10-A. Right Side glass
11. S/S bar
12. Front glass
13. Panel of evaporator Fan
14. Evaporator Fan motor
15. Evaporator
16. Condenser
17. Compressor
18. Decoration left panel
18-A. Decoration right panel
19. Decoration front panel

15
Floor Standing Showcase Refrigerator
1.
2.
3.
4.
5.
6.
7.
8.
9.
10.
11.
12. Display
13.
14.
Back Sliding door
Ventilation grill
Shlef
Shelf bracket
Light
Front s/s air grill
Bottom Shelf
Rear s/s air grill
Fan Cover
Evaporator Fan Motor
Evaporator
Digital Thermostat
Transformer
15.
16.
17.
18.
19.
20.
21.Sticker of Controller
22.
23.
24.
25.
26.
27.
28.
Power Supply
Top glass
Front glass
Left side glass
Right side glass
Control Panel
Light Switch
Compressor
Condenser fan motor
Condenser
Filter
Dry filter
Electronic Expansion Valve

16
1.
2.
3.Steel wire grille
4.
5.
6.Cover for Halogen bulb
7.
8.
9.
10.
11.
12.
13.
14.
15.
Back Sliding door
Ventilation grill
Shelf bracket
Light
Front s/s air grill
Bottom Steel wire grille
Bottom shelf
Rear s/s air grill
Panel for fan
Evaporator Fan Motor
Heater
Thermal protector
Temp.Controller
16.
17.
18.
19.Left
20.
21.
Transformer
Top side glass
Front side glass
side glass
Right side glass
Control Panel
22.Sticker of Controller
23.Light Switch
Floor Standing Showcase Warmer

17
Salad Showcase Refrigerator
1. Sliding doors
2. Ventilation grill
3. 1/1 GN pan
4. glass shelf
5. Shelf bracket
6. LED light
7. Front s/s air grill
8. Bottom glass shelf
9.Rear s/s air grill
10. Evaporator cover
11. Evaporator fan motor
12. Evaporator
13. Cabinet Temp. Display
14. Controller
15. Transformer
16. Power supply
17. Top glass
18. Front glass
19. Left side glass
20. Right side glass
21. Control panel
22. Control panel sticker
23. Light switch
24. Compressor
25. Condenser fan motor
26. Condenser
27. Dust screen
28. Dry filter
29. Electronic expansion valve
30. Electronic expansion valve coil
This manual suits for next models
23
Table of contents
Popular Display Case manuals by other brands

Federal
Federal RSSM360 Installation & operation instructions

FEDERAL INDUSTRIES
FEDERAL INDUSTRIES SSRC2452 Installation & operation instructions

Ideal AKE
Ideal AKE Gastro O-53 user manual

Roller Grill
Roller Grill VHF 1000 Use and installation manual

Hatco
Hatco MDW-1X Specifications

Polar Electro
Polar Electro GH428 instruction manual