INFORMACIÓN SOBRE LA GARANTÍA
GARANTÍA LIMITADA DE UN AÑO
Por favor lea las siguientes medidas de precaución antes
de usar la bomba RainPerfect™.
MEDIDAS DE PRECAUCIÓN
ADVERTENCIA: La exposición a baterías
dañadas o perforadas representa un
riesgo para la salud que se debe evitar.
Si cualquier líquido de la batería NiMH
entra en contacto con la piel, lave el área
rápidamente con un detergente suave
y agua, neutralice el líquido con una
substancia ligeramente ácida, como el vinagre, y consulte
al doctor si es necesario. Si le entra líquido en los ojos,
enjuáguelos con agua limpia durante quince minutos y
consulte a un doctor para obtener instrucciones adicionales.
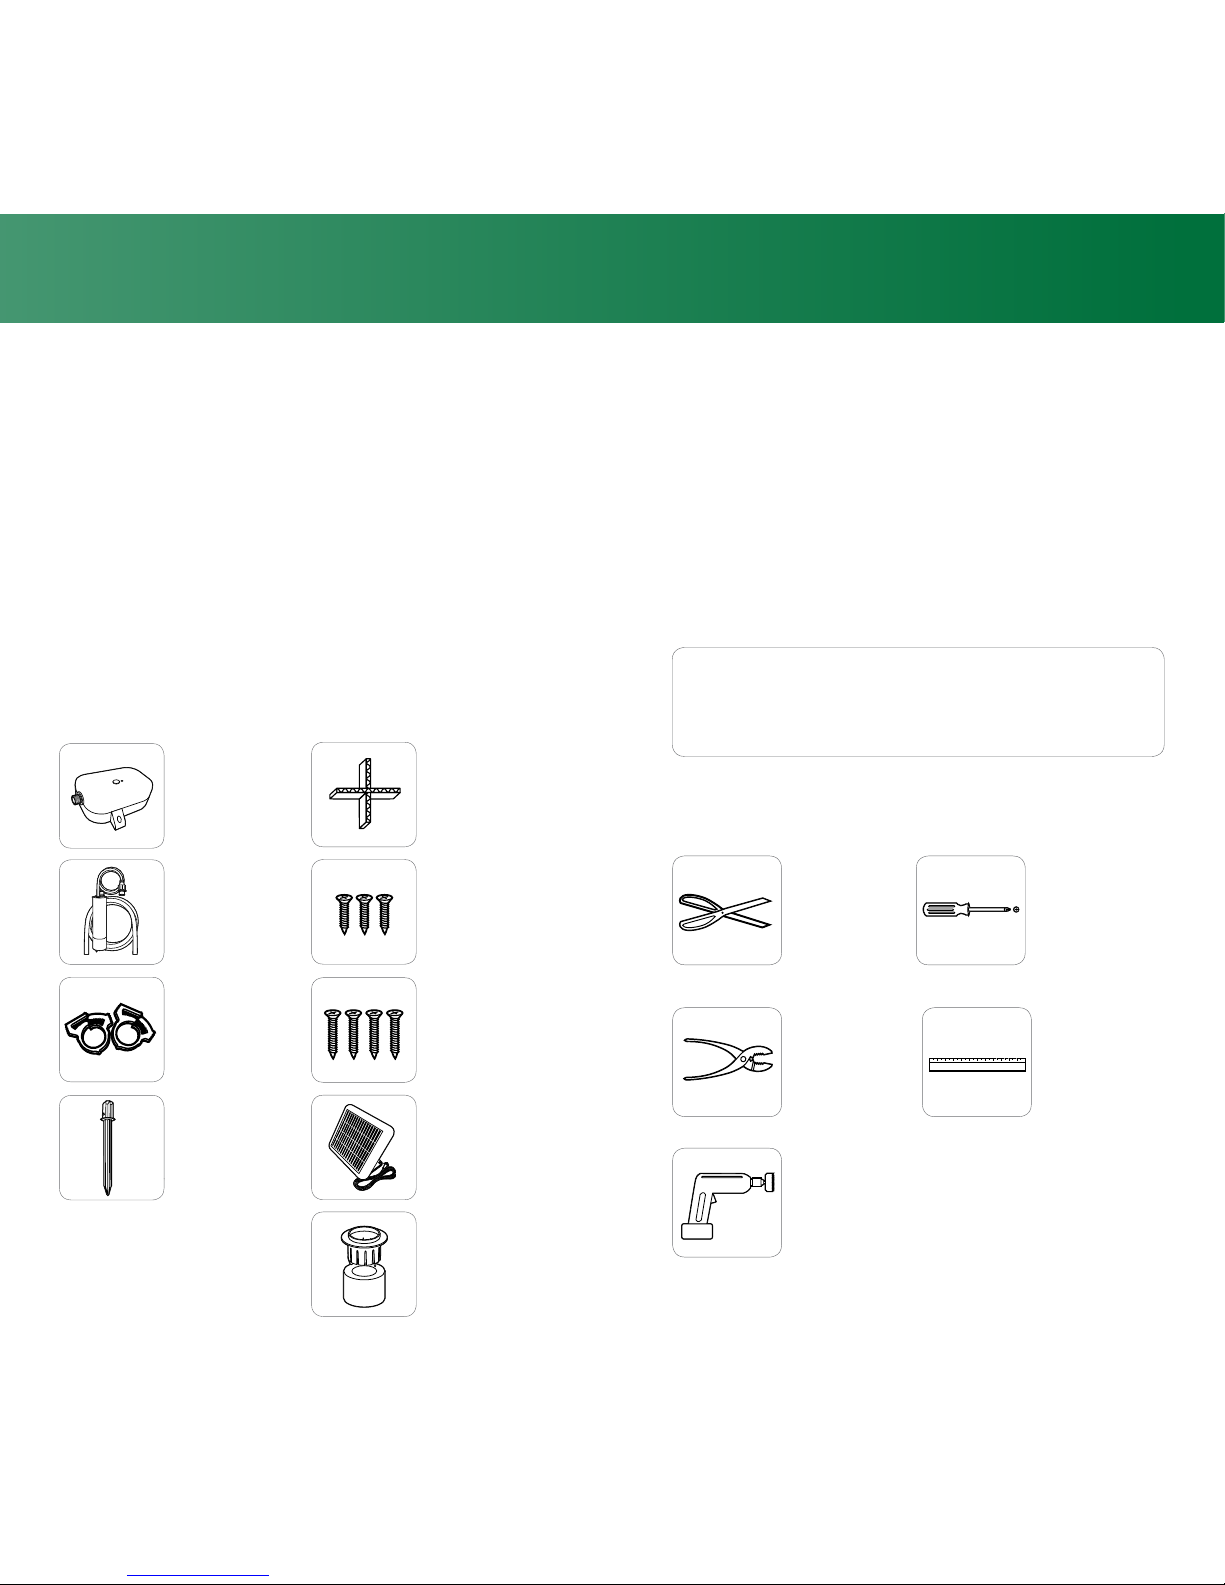
Esta bomba está diseñada para usarse con agua potable
y salada únicamente. PELIGRO: Si se usa con cualquier
otro material peligroso como líquidos o gases cáusticos,
corrosivos o inflamables, éstos pueden ocasionar daños
al producto y al medio ambiente a su alrededor, e incluye
pero no está limitado a una posible exposición a sustancias
peligrosas y lesiones personales.
SOLAMENTE H2O
Todos los productos que se venden y todos los servicios
que se ofrecen de la compañía están sujetos a la garantía
y los términos y condiciones de venta de la compañía
y se proporcionarán copias de los mismos bajo previa
solicitud. La información que aquí se proporciona es
sólo para orientación, no constituye una garantía de
funcionamiento o la especificación de ningún producto o
componente individual.
Para solicitar una copia de la garantía limitada, por favor
comuníquese con:
Información de la garantía de RainPerfect™
ITT Flow Control
Cape Ann Industrial Park
Gloucester, MA 01930
www.rainperfectpump.com
9 10
Comuníquese al centro de reciclado de su localidad y
solicite información relacionada con los métodos apropiados
de desecho.
No incinere la batería NiMH ya que existe la posibilidad de
que explote bajo altas temperaturas ocasionando lesiones
graves; también puede generar gases tóxicos.
Guarde la bomba en el interior cuando la temperatura baje a
menos del punto de congelación de forma regular. Recuerde
desconectar la batería cuando se almacene por largos
períodos.
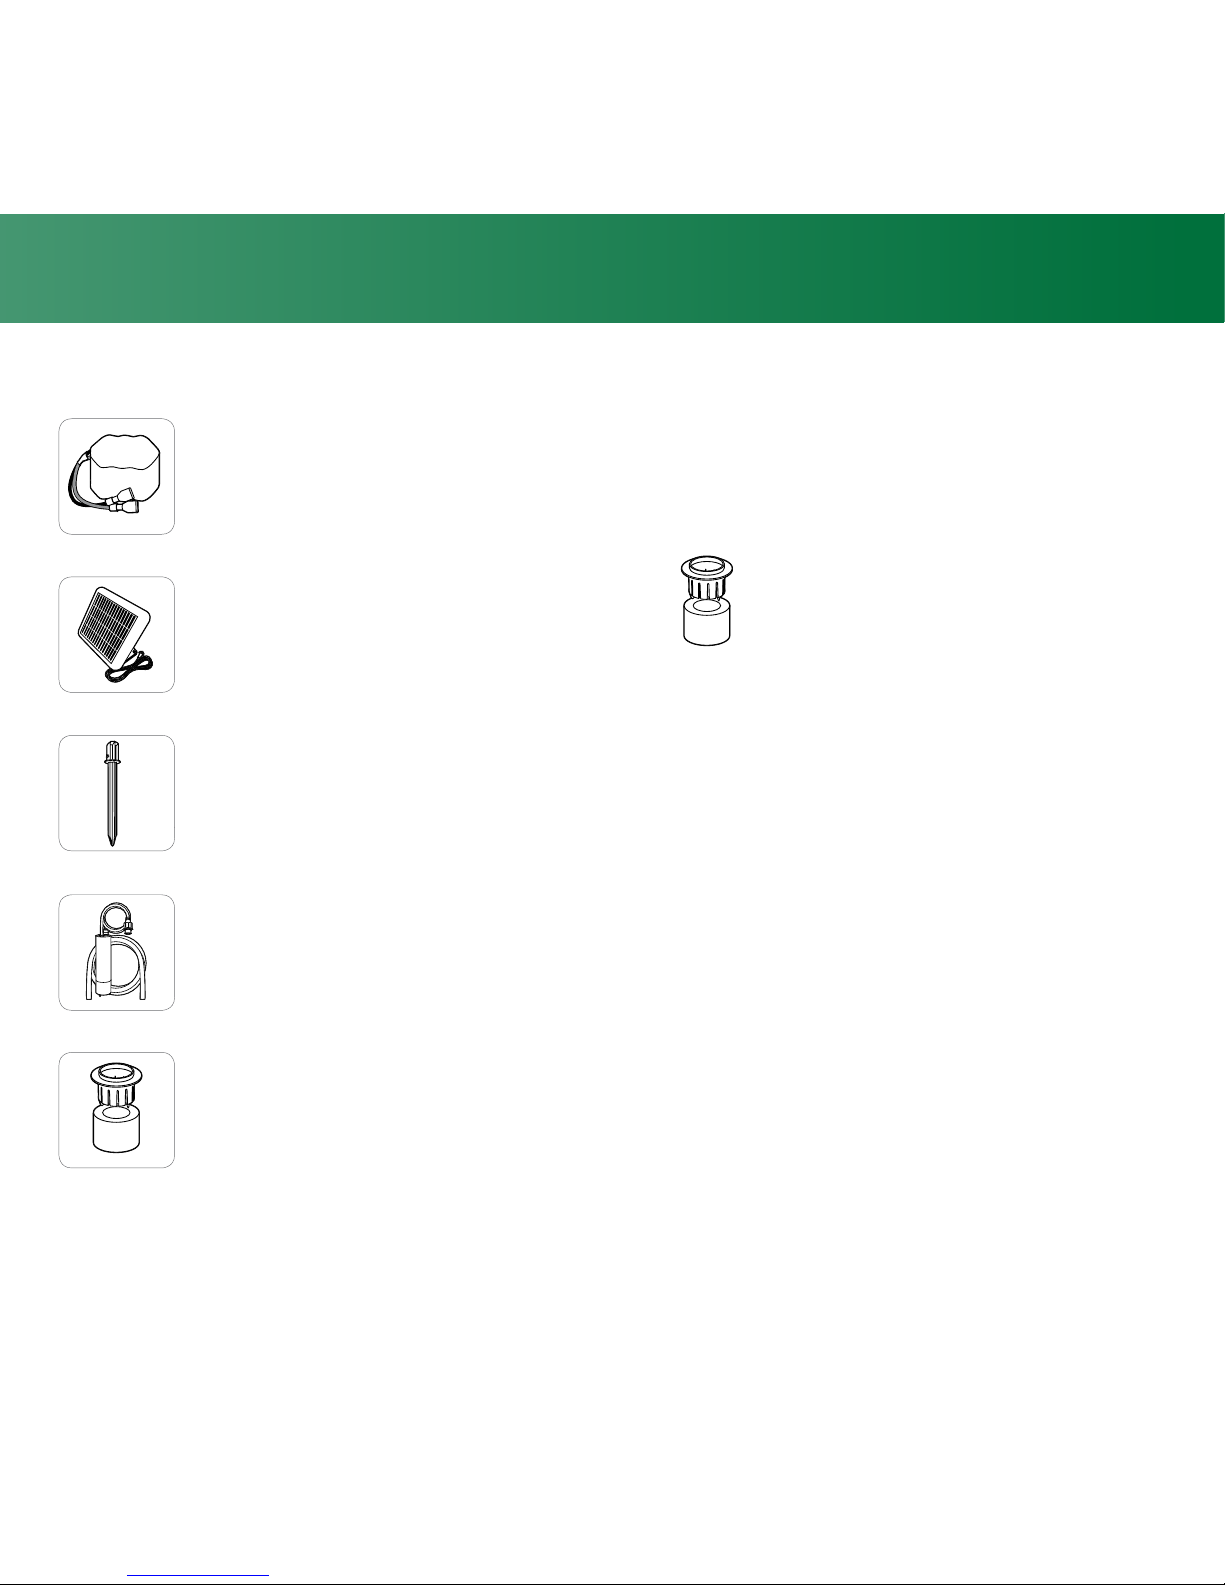
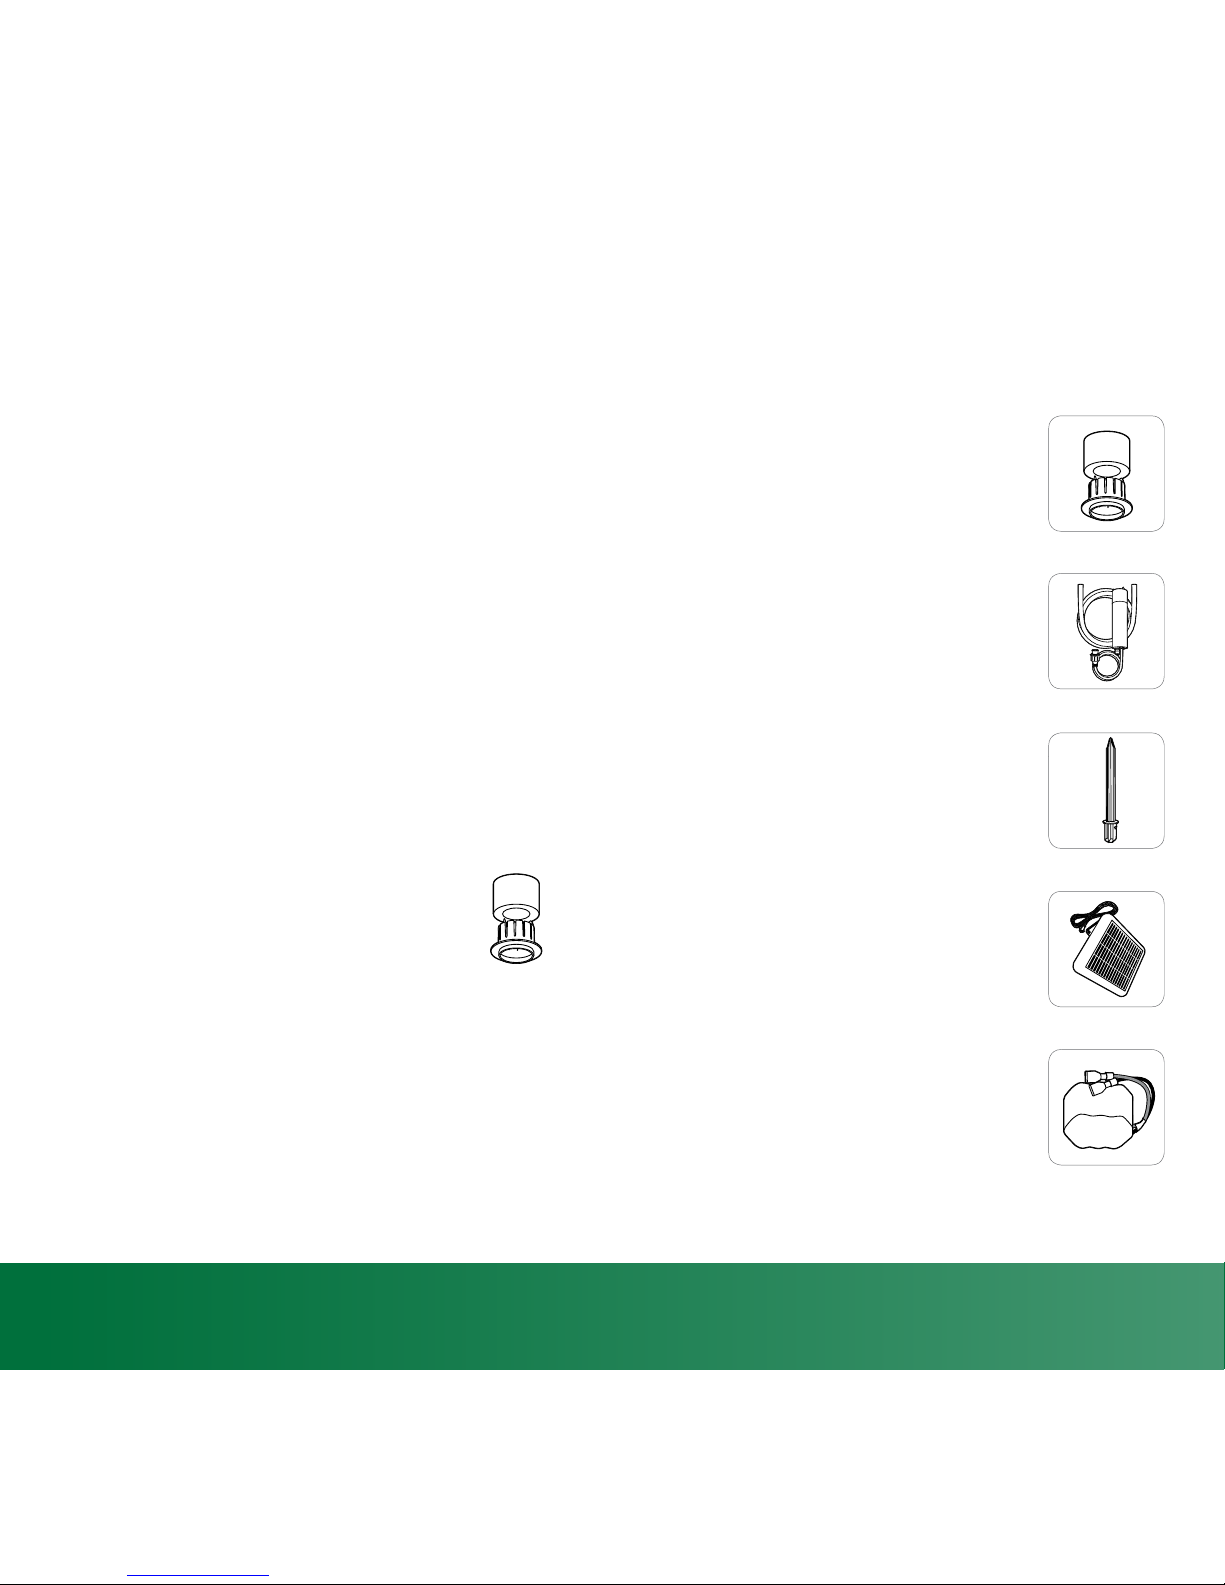
Batería NiMH 12v
Batería NiMH 12v y bomba
Cape Ann Industrial Park Gloucester, MA 01930
© Copyright 2010 ITT Corporation 950-0704 12/10 Rev A