manuals.online logo
Brands
  1. Home
  2. •
  3. Brands
  4. •
  5. Sabrent
  6. •
  7. Adapter
  8. •
  9. Sabrent USB-AVCPT User manual

Sabrent USB-AVCPT User manual

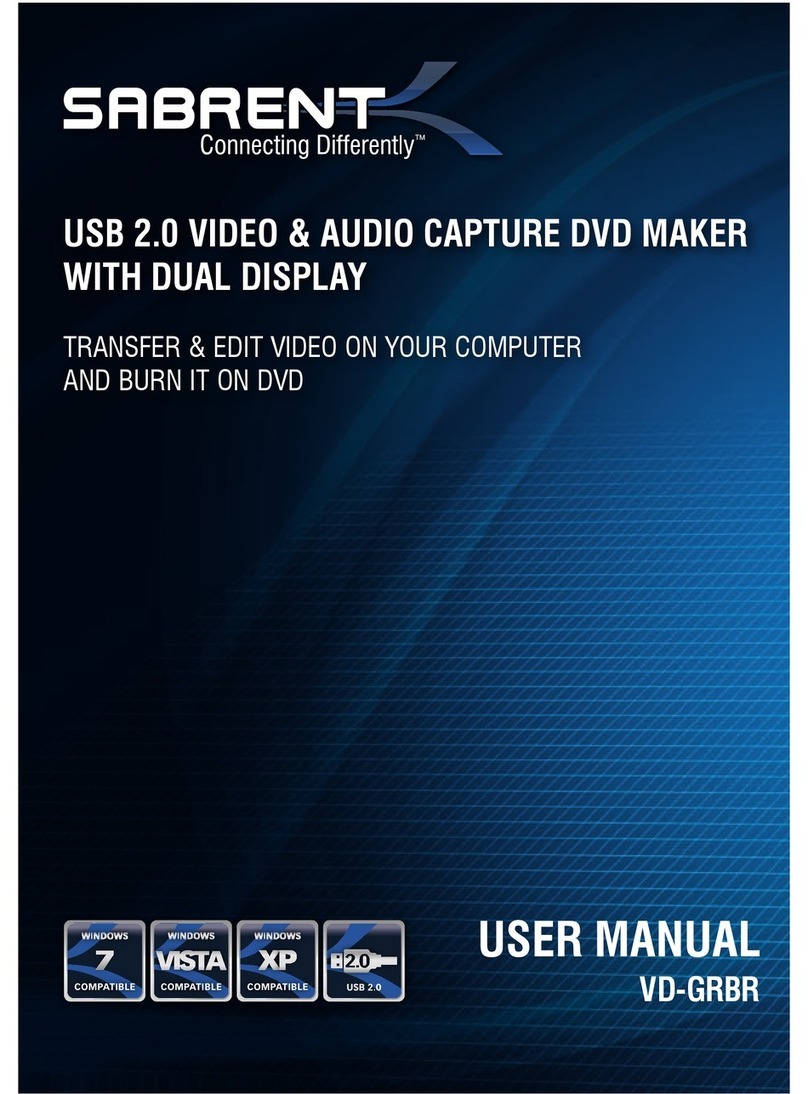
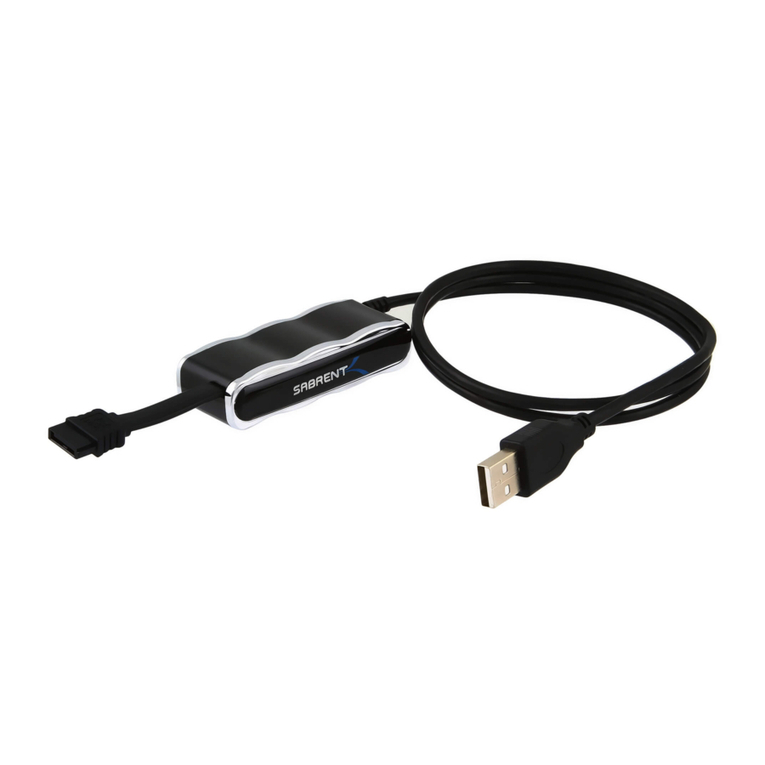
Sabrent USB-AVCPT USB 2.0 VIDEO & AUDIO CAPTURE DVD MAKER
Driver Installation for Windows XP
Note: Windows Vista/7 32-64 Bit instructions are located below these instructions
1. Insert the software disc into your computer’s CD drive.
2. When prompted, Click on Run HAutorun.exe:
3. At the following prompt, Click Install Driver:
4. At the following prompt, Click Install:
5. At the following prompt, Click on Install this driver software:
6. At the following prompt, Click on Finish:
7. Select “Yes, I want to restart my computer now”, and click Finish:
8. Once restarted, plug the USB-AVCPT into a USB port.
9. The Driver Software Installation utility will finalize the installation of the device driver. (Note: This process can
take a few minutes, so please be patient.)
10. Open the Device Manager and verify that the USB-AVCPT was correctly installed. (Note: Your installation may
slightly vary based on the OS you are running)
Driver Installation for Windows Vista/Windows 7 32/64 Bit
1. Connect the USB-AVCPT device into an open USB port on your computer.
2. Click on the Start button, this will bring up the Start menu. In the search box (2.) type in Device Manager. In the
list of results that appears, click Device Manager:
3. Verify that there is an entry for USB 2.0 Video Capture Controller with an exclamation point icon:
4. Open a web browser and navigate to this URL to download the latest driver:
http://sabrent.com/drivers/USB-AVCPT/USB-AVCPT-32bit-64bit-Vista-Win7.zip
5. Right-click the downloaded Zip file and extract the files:
6. Right-click on “Setup”, and click on “Run as administrator”:
7. At the following prompt, Click Install:
8. Click Install:
9. Click Finish:
10. Click on the Start button, this will bring up the Start menu. In the search box (2.) type in Device Manager. In the
list of results that appears, click Device Manager (3.):
11. Verify that there is an entry for STK1160 Grabber with a speaker icon, as well as an entry for USB Audio
Interface:
NOTE: Your unit may show up as an STK1150 or under a different name, as well as under Imaging Devices
rather than Sound, Video and game controllers. Be sure to check both sections to verify your driver is installed
with no exclamation point or question mark.
Installing Ulead VideoStudio
1. Insert the software disc into your computer’s CD drive.
2. When prompted, Click on Run HAutorun.exe:
3. At the following prompt, Click Install Video Studio:
4. Select your language and click Next:
5. Click Next:
6. Click on “I accept the terms of the license agreement” and then click Next:
7. Fill out your Name, Company, and Serial Number, and then Click Next. (Note: The serial number is located on
the disc sleeve, and in a file on the disc. If you cannot find the serial number, navigate to this link:
http://sabrent.com/support/knowledgebase.php?article=57)
8. Click Next:
9. Select the country you are in, then Click Next:
10. Click Next:
11. Click “Yes, I want to restart my computer now”, then Click Next:
12. Open the Ulead VideoStudio application. Click on VideoStudio Editor:
13. Click the “Capture” tab:
14. Click “Capture Video”:
15. Click OK:
16. Change the Source to “USB2.0 Grabber”:
17. Click on Options, then Click on “Video and Audio Capture Property Setting”:
18. Change the Input Source to “Video Composite”, TV System to “NTSC”. Change the Audio Device to “Digital
Audio Interface (USB Audio)”. Click on the checkbox labeled “Preview audio with USB device”. Click OK:
19. Click “Capture Video” to begin recording:
Frequently Asked Questions:
1. The VideoStudio software is asking me for a serial number, but I cant locate it/any number I type in
doesn’t work. What do I do?
The serial number for the software should be located on the sleeve of the envelope where your disc was
shipped in. If, for whatever reason, this number is not on the sleeve, there is an easy solution:
1. Insert the disc into the CD/DVD drive of your computer. When prompted, click on "Run HAutorun.exe".
2. Click on Browse at the menu, this will open up a directory with all the files on the disc.
3. Locate the file named "SN" or "Serial Number". Your serial number is located in this file.
2. I just recorded a video file in AVI and the filesize is huge. Is there anything I can do to lower the size of the
file?
AVI format videos are usually very high quality, but also take up a large amount of data (sometimes near 1
GB a minute or so). If you want a good quality video capture, with more reasonable file sizes, we
recommend you record your files in MPEG format. After many tests we have come up with a good baseline
setting, which is a good balance between quality and size.
1. Change the Format to MPEG:
2. Click on Options, and then Video Audio Capture Property Settings:
3. Click on the Capture tab, and click on Advanced:
4. Click on User Defined 1, underneath Templates, and select DVD NTSC (720x480). Click OK:
5. Click OK:
3. I’m trying to use the device with an application, but I cant select it/it doesn’t work, what can I do?
Unfortunately this device was designed with Ulead VideoStudio in mind, meaning this program will give you
the best compatibility and usage. While this doesn’t mean that you will be unable to use another program to
access the video or audio stream, it simply means that certain features will not be accessible through 3rd
party software.
4. I can see the preview, but for some reason the image is in black and white. What do I do?
This issue can be caused by a few things. First of all, ensure your device is properly installed by checking your
Device Manager and ensuring the components are properly installed, if this turns out to be the case then
reinstall the device drivers. The main cause for this issue will be due to improper compression settings. In
order to change these settings to see if the issue is resolved, continue below:
1. Change the source to AVI:
2. Click on Options, and then Video Audio Capture Property Settings:
3. Click on the Capture tab, then click on YUY2 and change it to l420 (or any other setting that may be
available). Click OK:

Other Sabrent Adapter manuals

Sabrent USB-DSC5 User manual

Sabrent

Sabrent USB-DSC5 User manual

Sabrent EC-HDSS User manual

Sabrent

Sabrent EC-HDSS User manual

Sabrent VD-GRBR User manual

Sabrent

Sabrent VD-GRBR User manual

Sabrent TH-3HD2 User manual

Sabrent

Sabrent TH-3HD2 User manual
Sabrent TH-3DP2 User manual

Sabrent

Sabrent TH-3DP2 User manual

Sabrent C35U User manual

Sabrent

Sabrent C35U User manual
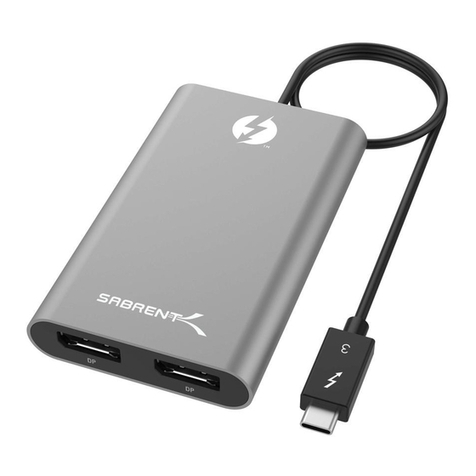
Sabrent TH-3HD2 User manual

Sabrent

Sabrent TH-3HD2 User manual

Sabrent DA-VGAH User manual

Sabrent

Sabrent DA-VGAH User manual

Sabrent USB-G1000 User manual

Sabrent

Sabrent USB-G1000 User manual

Sabrent BT-USB Mounting instructions

Sabrent

Sabrent BT-USB Mounting instructions

Sabrent TH-3DP2 User manual

Sabrent

Sabrent TH-3DP2 User manual

Popular Adapter manuals by other brands

KWorld USB Analog TV Stick II installation manual

KWorld

KWorld USB Analog TV Stick II installation manual

Planex URS-02 user manual

Planex

Planex URS-02 user manual

Sony DWA-01D operating instructions

Sony

Sony DWA-01D operating instructions

Casio Privia PX-S3100 Connection guide

Casio

Casio Privia PX-S3100 Connection guide

Parani SD1000U user guide

Parani

Parani SD1000U user guide

Westermo EDW-100 EX user guide

Westermo

Westermo EDW-100 EX user guide

HUANUO HNMUA4 instruction manual

HUANUO

HUANUO HNMUA4 instruction manual

netvox R718PC user manual

netvox

netvox R718PC user manual

Proware PW-DN523 user guide

Proware

Proware PW-DN523 user guide

Grandstream Networks HandyTone-801 user manual

Grandstream Networks

Grandstream Networks HandyTone-801 user manual

ZyXEL Communications PLA5215 manual

ZyXEL Communications

ZyXEL Communications PLA5215 manual

TRENDnet TPL-310AP user guide

TRENDnet

TRENDnet TPL-310AP user guide

TP-Link TL-POE200 user guide

TP-Link

TP-Link TL-POE200 user guide

Sony XLR-A3M Startup guide

Sony

Sony XLR-A3M Startup guide

Rotronic HygroClip2 ADVANCED Short instruction manual

Rotronic

Rotronic HygroClip2 ADVANCED Short instruction manual

SENAO AT53V214 user manual

SENAO

SENAO AT53V214 user manual

PCB Piezotronics IMI SENSORS 075M18 Installation and operating manual

PCB Piezotronics

PCB Piezotronics IMI SENSORS 075M18 Installation and operating manual

D-Link DVG-5112S user manual

D-Link

D-Link DVG-5112S user manual

manuals.online logo
manuals.online logoBrands
  • About & Mission
  • Contact us
  • Privacy Policy
  • Terms and Conditions

Copyright 2025 Manuals.Online. All Rights Reserved.