Table of contents
目录表
重要安全事项和符号说明.................................................................1
前言......................................................................................................2
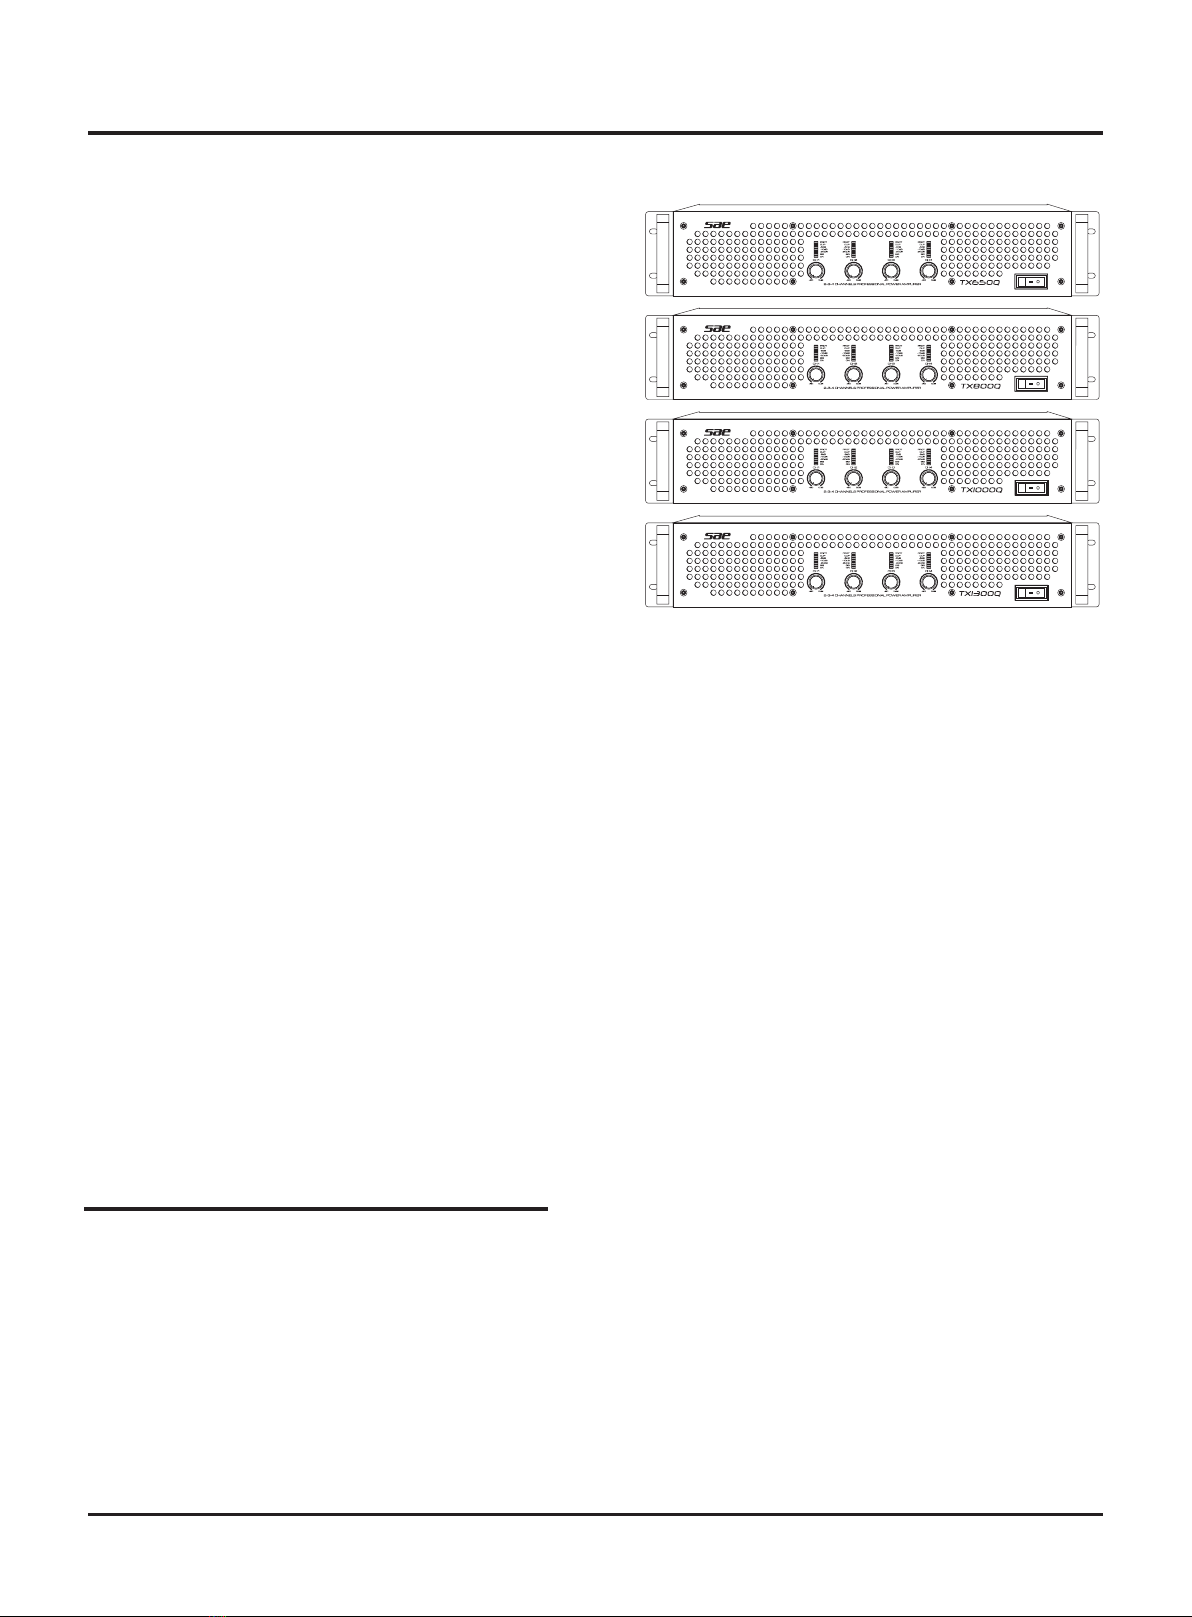
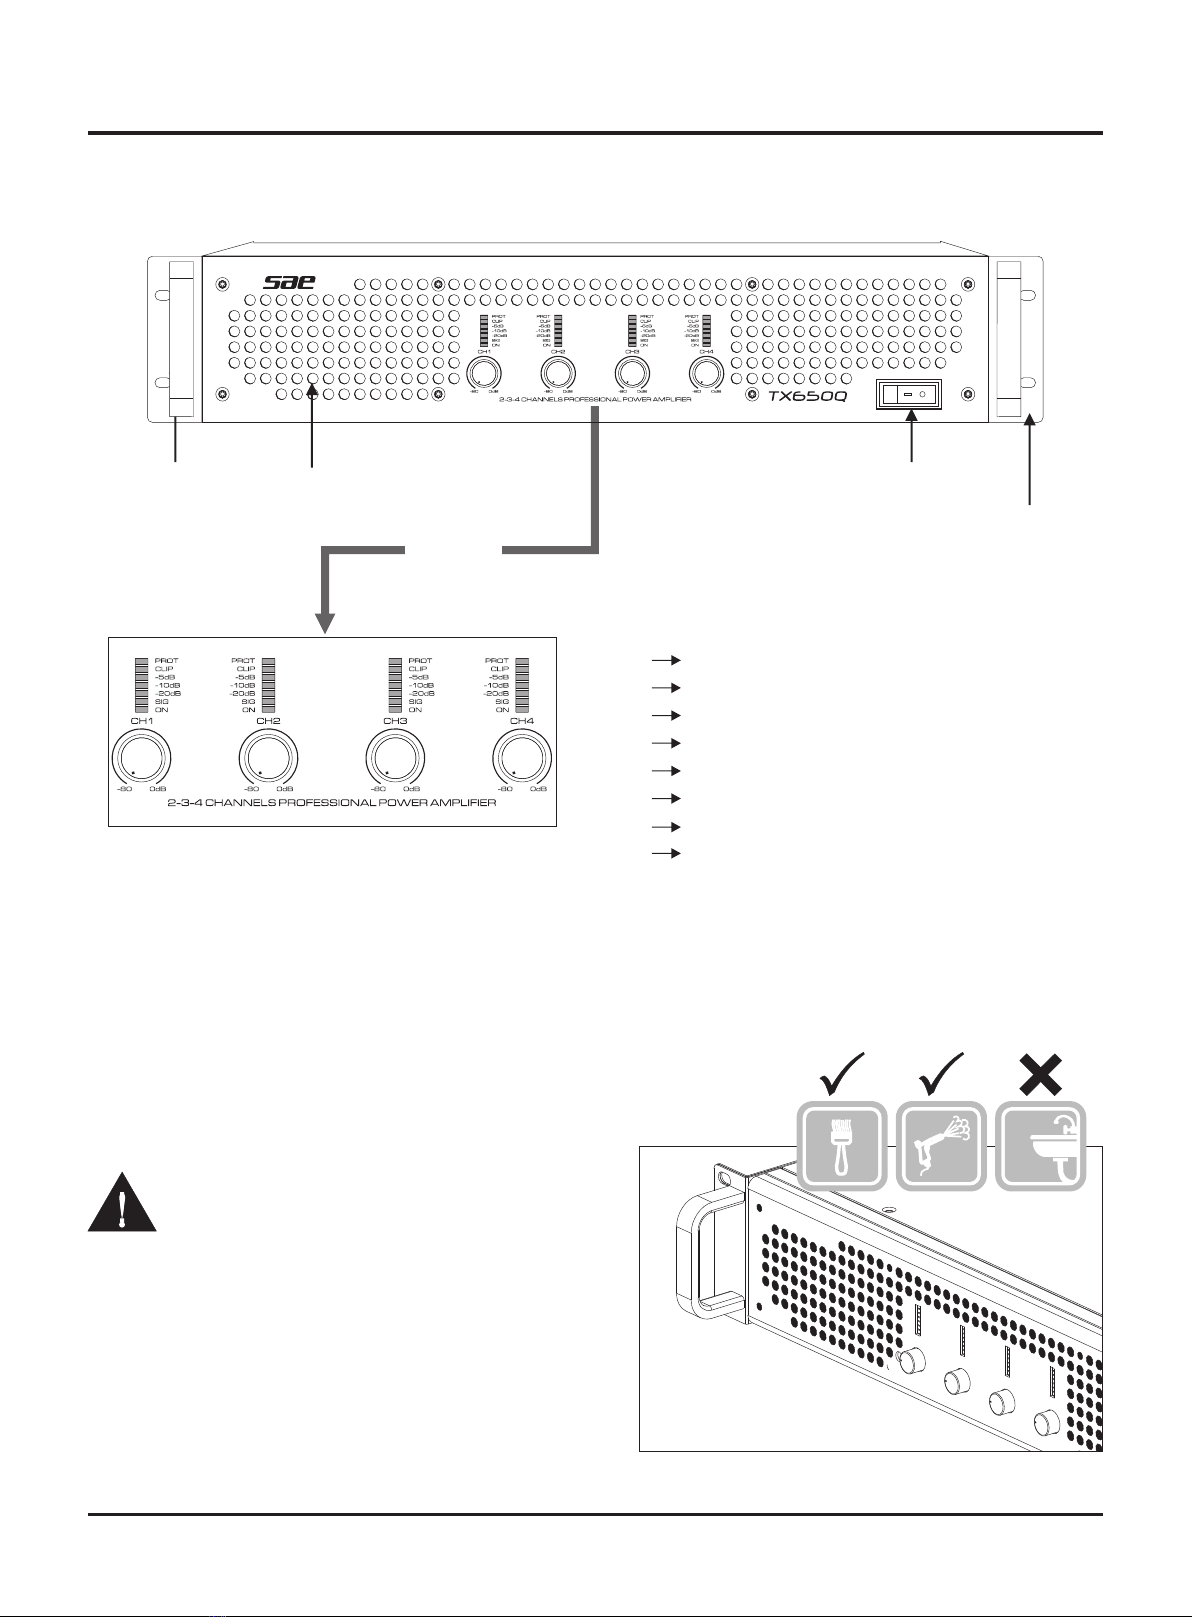
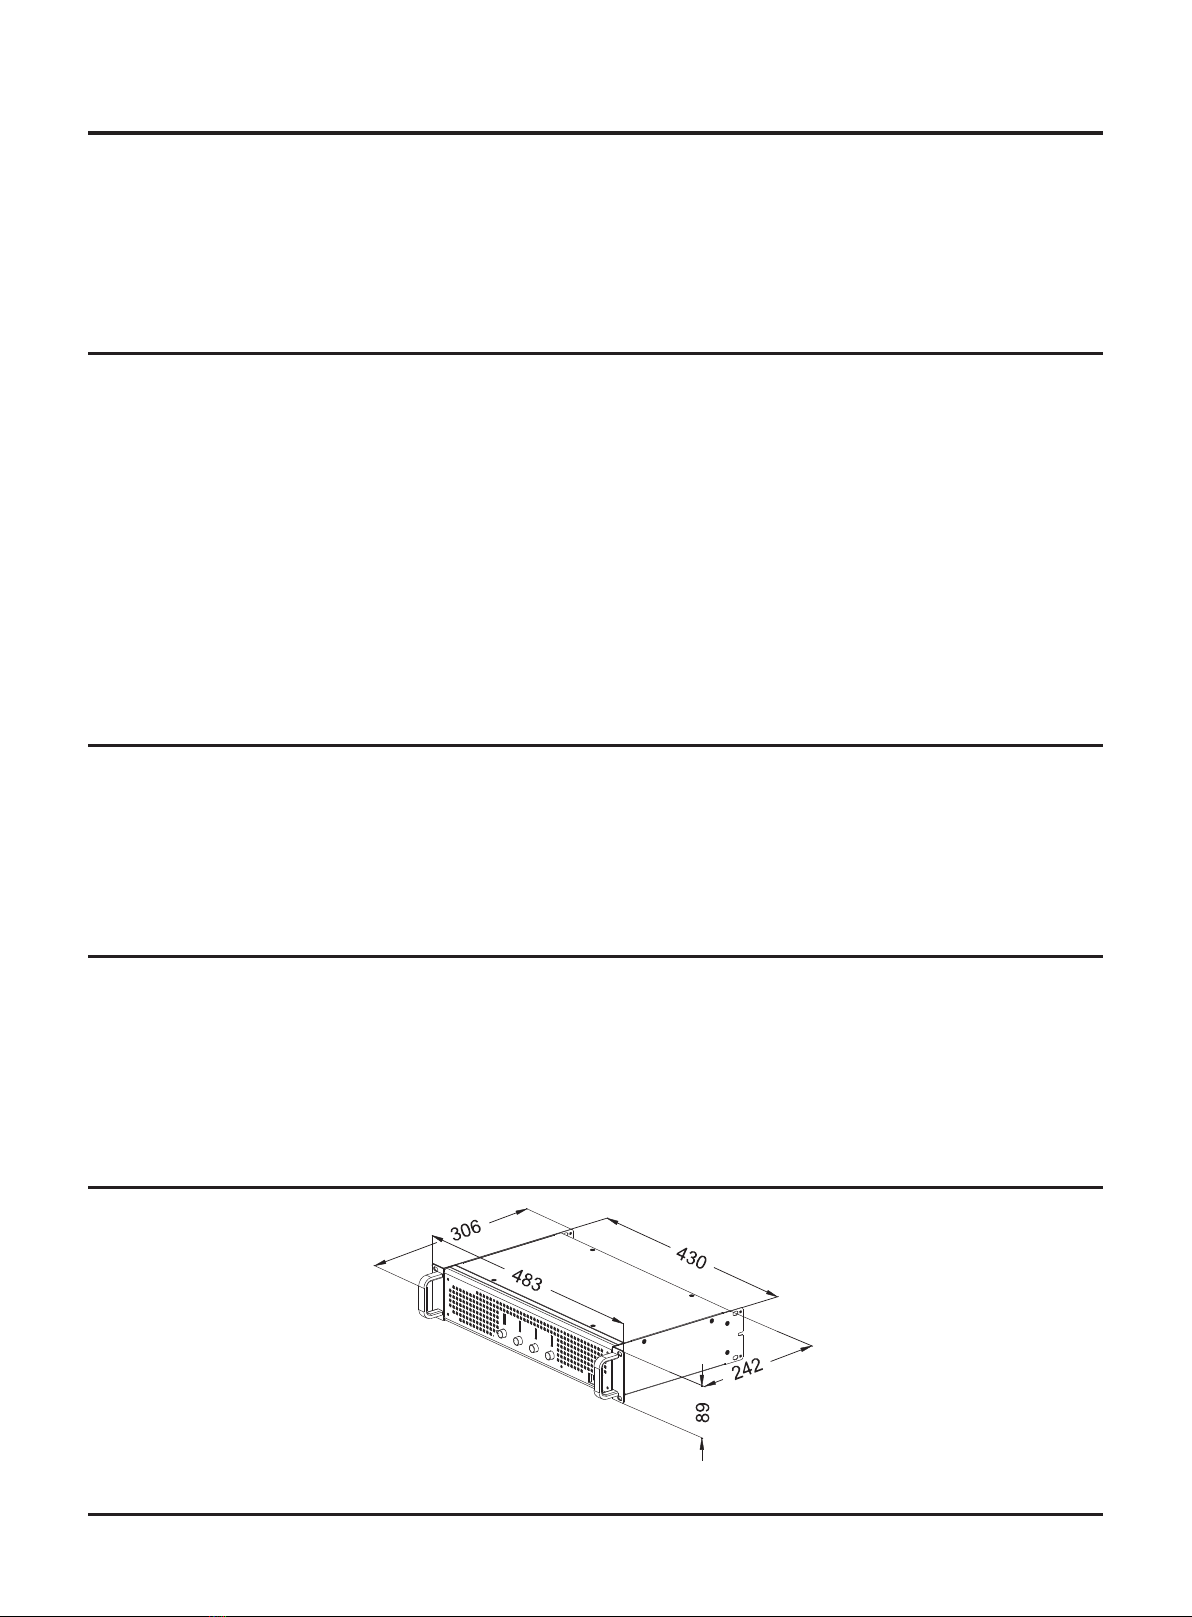
前板功能介绍......................................................................................3
后板功能介绍......................................................................................4
系统连接实例......................................................................................5
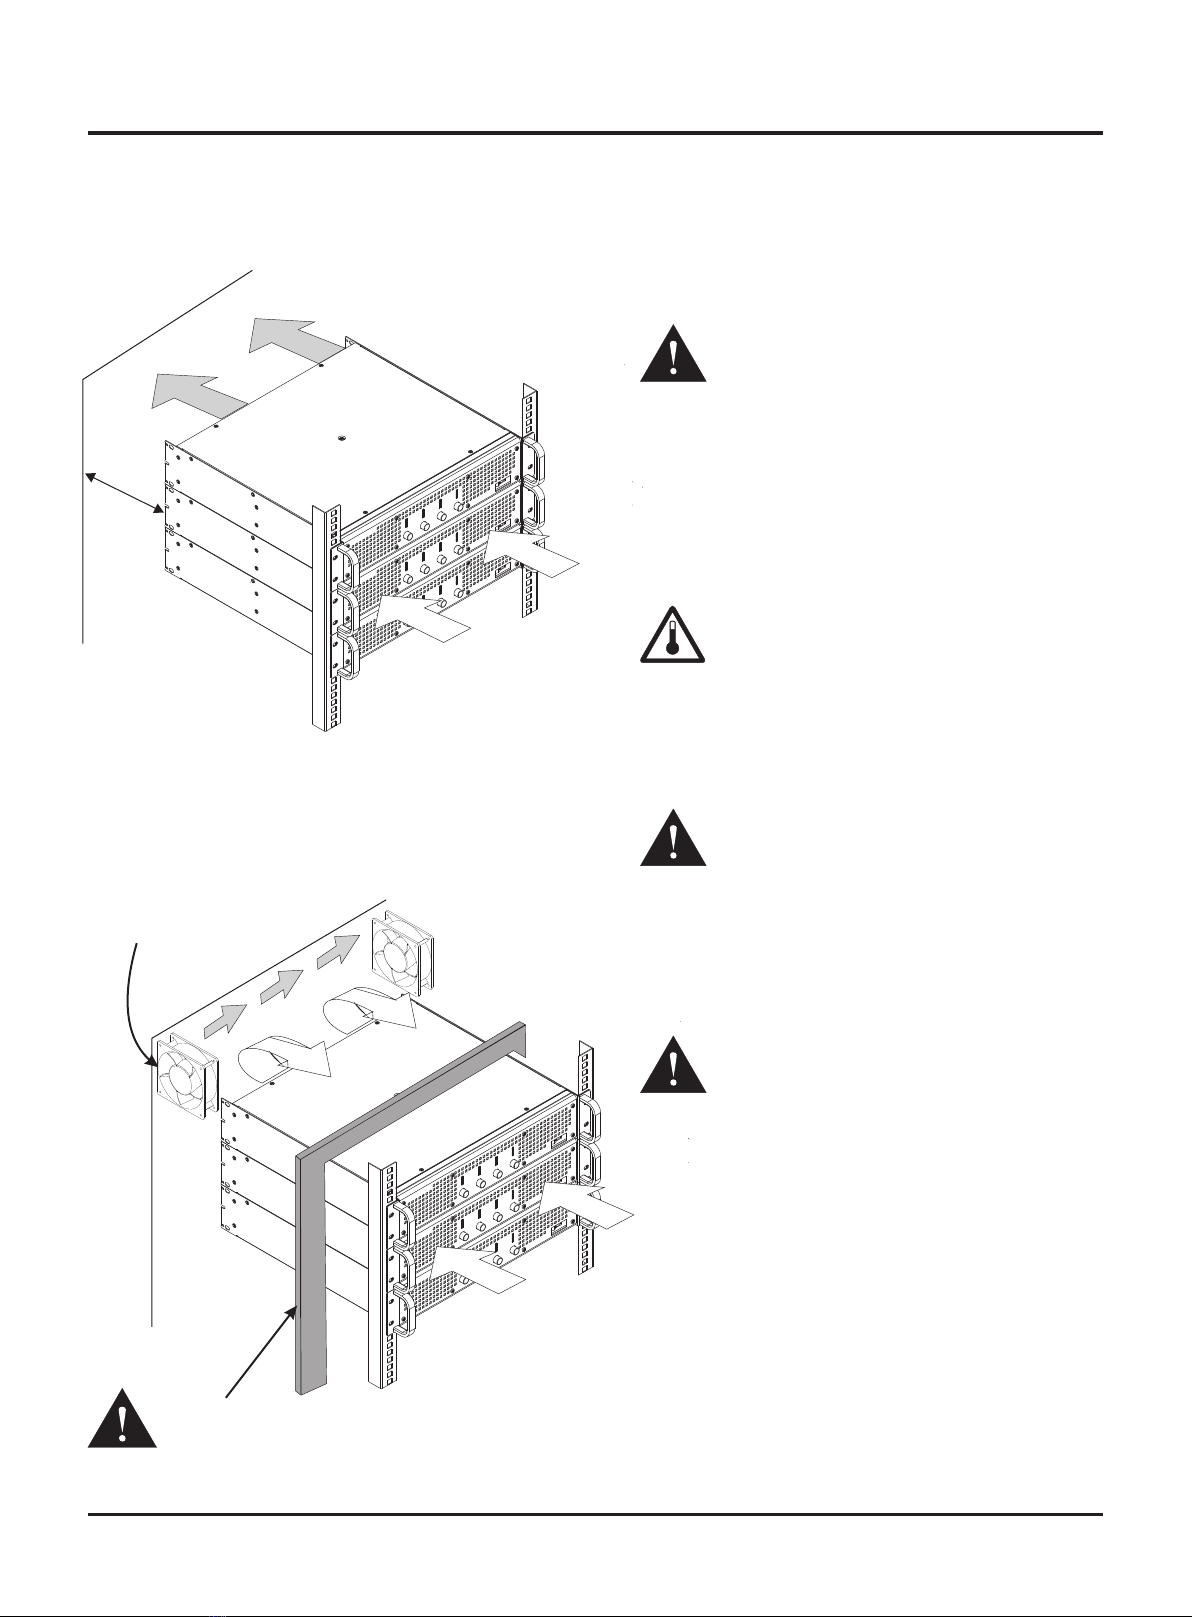
功放散热条件......................................................................................6
功放使用电平的调整.........................................................................7
技 术 指 标 ............................................................................................8
故障排除..............................................................................................9
保修条例............................................................................................10
产品物质拆分表...............................................................................10
.....11
oreword..........................................................................................12
...................................................................13
Rear ....................................................................14
............................................................15
......................................................................16
Power Level adjustment...............................................................17
.................................................................................18
Troubleshooting............................................................................19
Warranty...........................................................................................20
Important Safety Instruction and symbol description
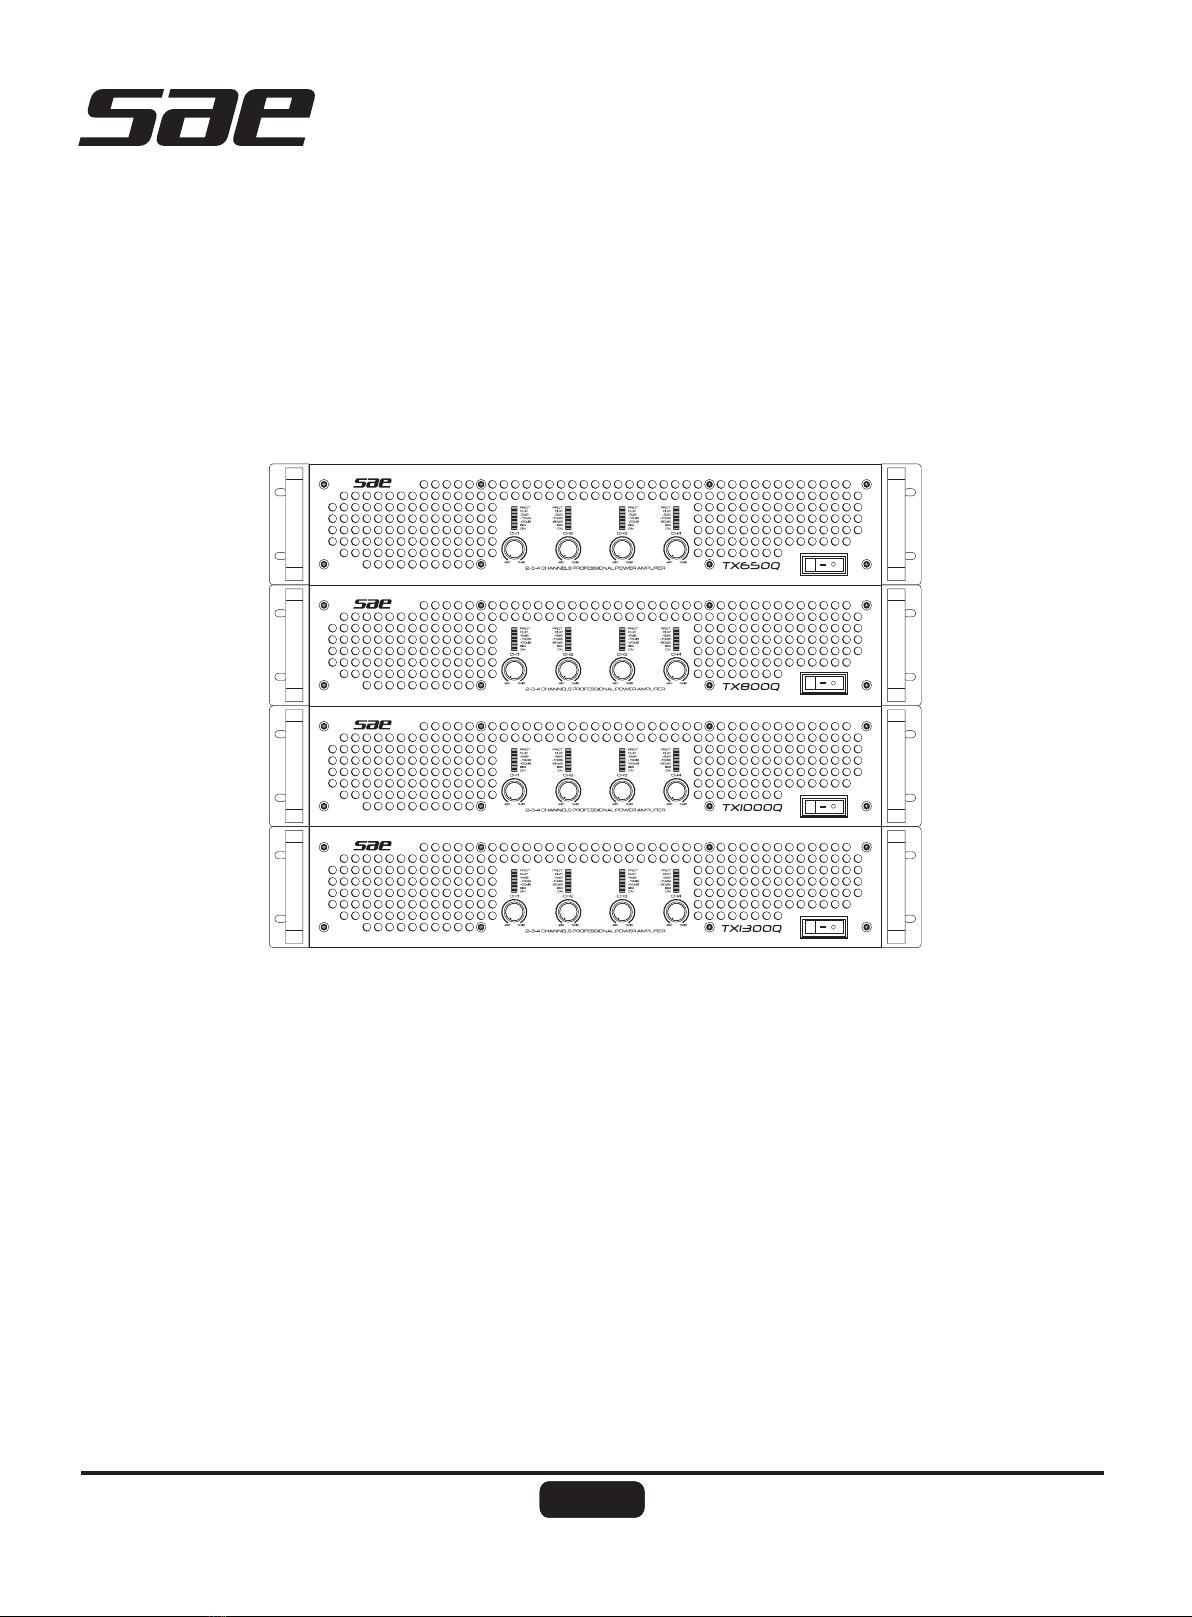
Front panel functions
panel functions
System connection cases
Thermal Dissipation
F
Specifications
CN/ENCN/EN
User Manual's
用户使用手册
TXQ Series