Components
Front Panel
1 - Status LEDs - See table at right.
2 - External GPS Input (top) - Connect the
Garmin® GPS antenna.
3 - CANBUS (bottom) - Connect option
CANBUS compatible accessories.
4 - USB Port (top) - USB 2.0. For rmware
uploads and Service Technician use.
5 - USB Port (bottom) - USB 1.1. Connect the
LCD Control Panel.
6 - LAN Ethernet (top) - Use an Ethernet cable
to connect an external Wi-Fi bridge or a computer to access
the conguration web server.
7 - RS-232 (bottom) - Connect an optional external device.
8 - RS-485 - For future development.
9 - Micro USB - For Service Technician use only.
10 - Micro HDMI -Connect an optional external monitor to
display live camera feeds. See the Firmware Settings section
of the Conguration chapter for more information about the
Mosaic function.
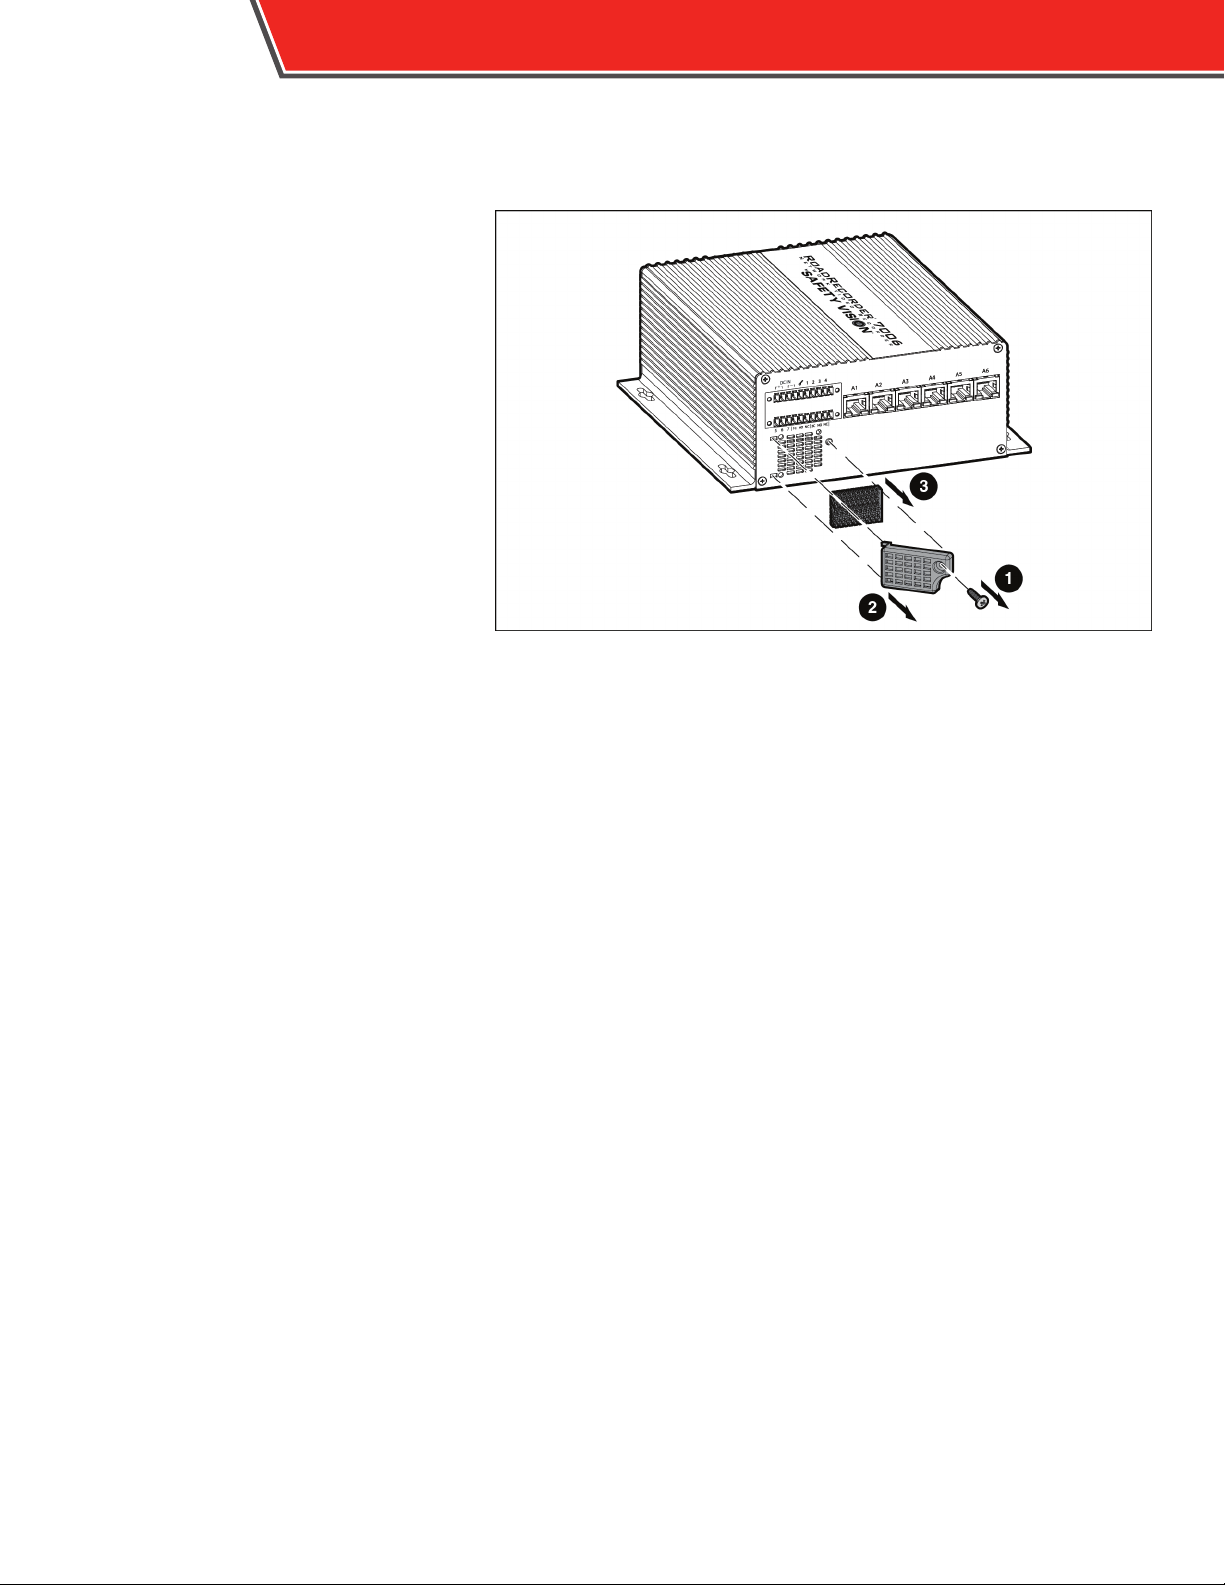
11 - Hard Drive Bay - Insert or remove the removable
hard drive. See the Hard Drive section of the Video Retrieval
chapter for more information.
LED Color Status
Green On: NVR is ready to record
Blink: NVR Power on (startup) condition met
Red On:Vehicle power failure, in shutdown sequence
Blink: Shutdown condition met, shutting down
O NVR shut down complete
Green On: All cameras initialized correctly and have video
Blink: Camera initialization in progress
Red On: One or more cameras has video loss
Blink: One or more camera initializations failed
Green Solid: GPS x attained
Orange Blink: Searching for GPS signal
Red O: No GPS signal or error
Green On: NVR running and recording
Blink: NVR running, but not recording currently
Red On: One or more events have been recorded
Blink: NVR shutting down
O NVR powered o
Green On: SSD OK (mounted) Blink: SSD activity
Orange On: N/A
Red On: SSD error/failure/not present
O SSD powered o
Note: SSD error/failure is detected when volume is mounted on SSD.
2ROADRECORDER®7006 NVR USER GUIDE