Contents
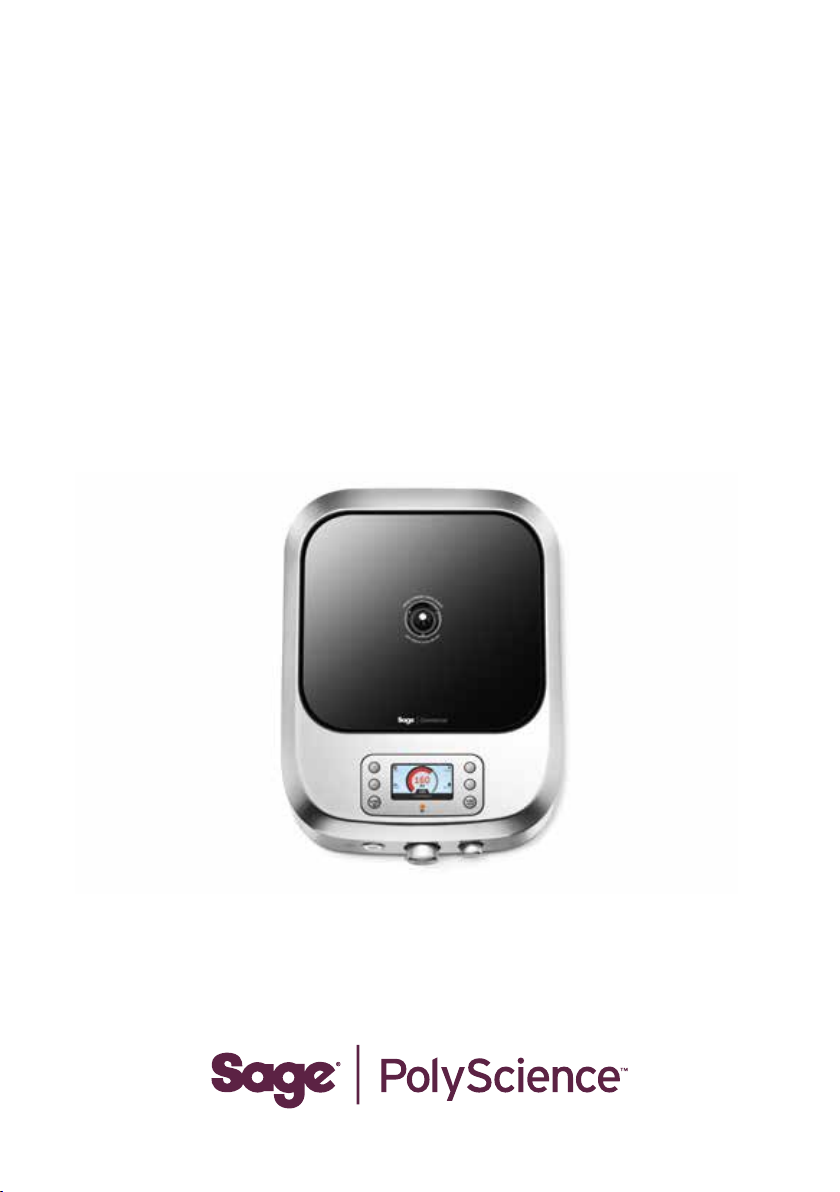
The Kit 3
Cookware Compatibility 4
Cookware Usage 5
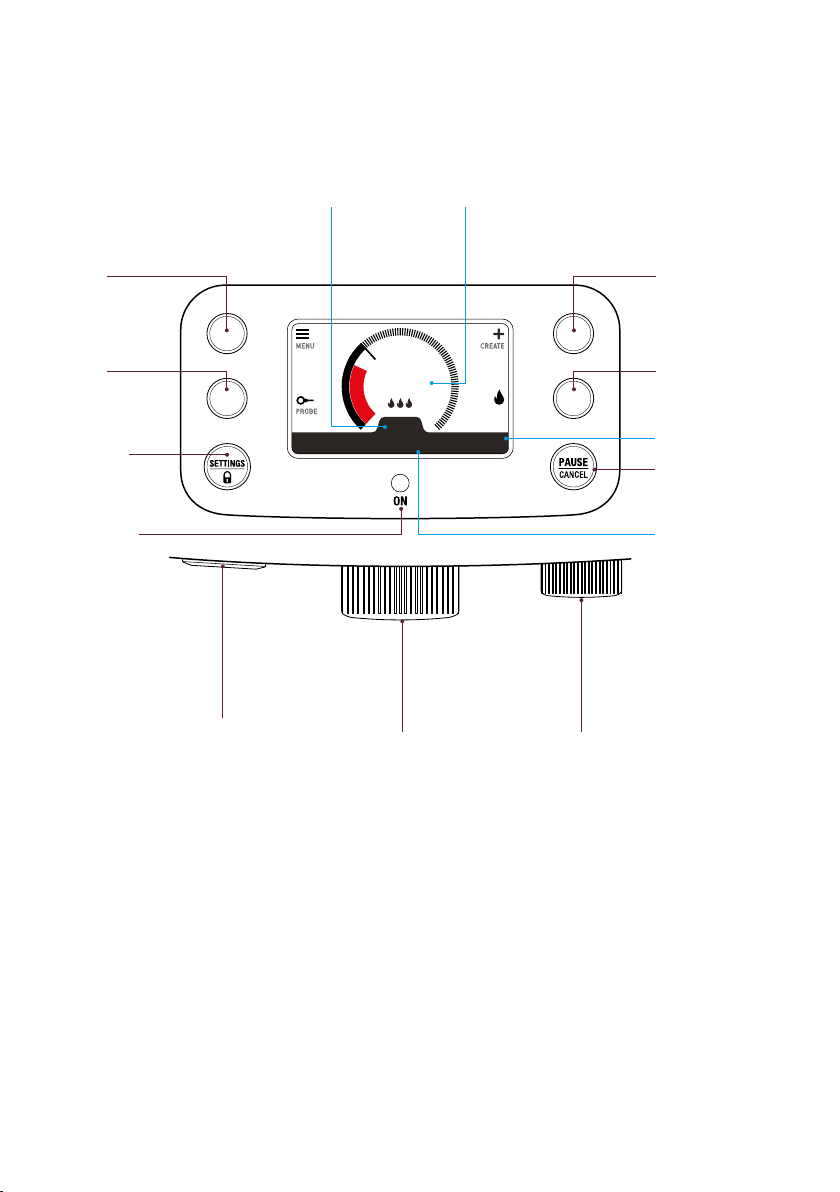
The Interface 6
Control Dial Operation 7
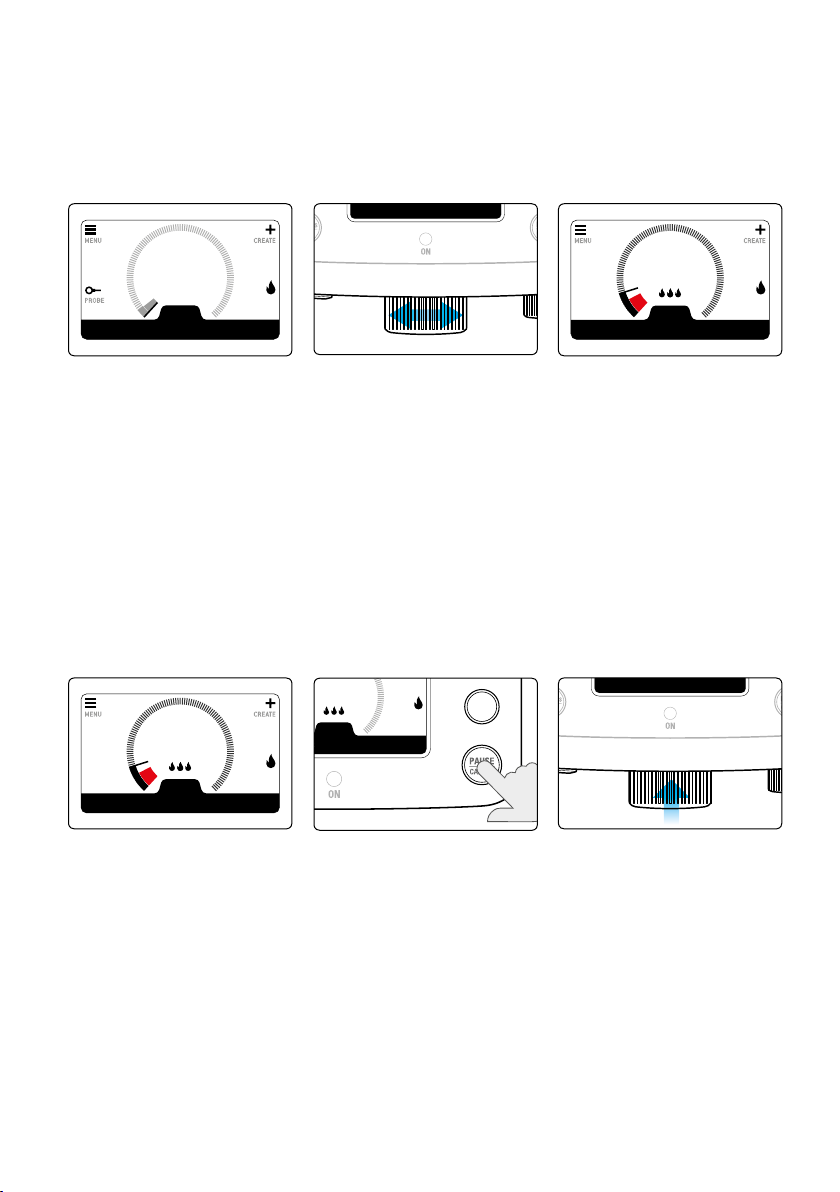
Switching On 8
Start Cooking 9
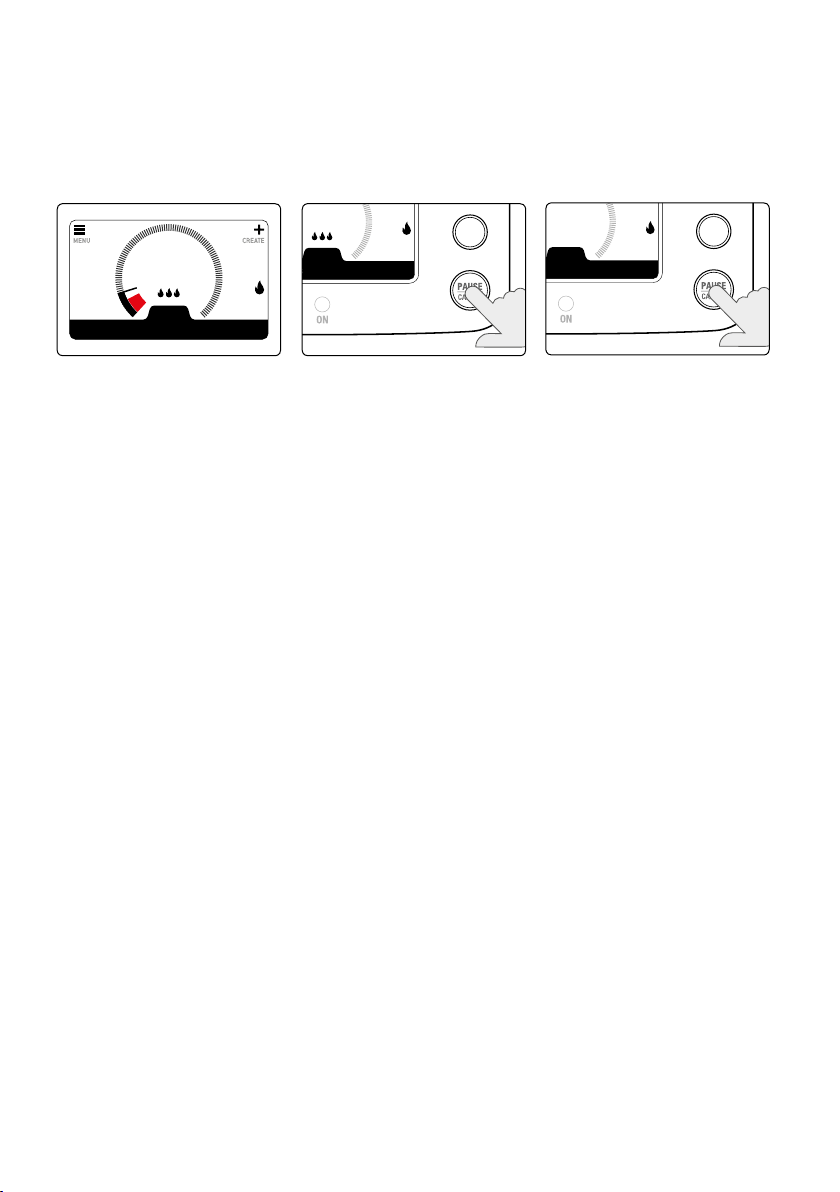
Cancel Cooking 10
Screen Lock 11
Pan Temperature Control 12
Intensity 13-14
Timer 15
Timer Options 16–18
Create 19–22
Edit Custom Cooking Program 22
Delete Custom Cooking Program 23
Thermometer Function 24–27
Probe Control Function 28–31
Settings 32–35
Care and Cleaning 36
Save/Copy Function 37–39
Software Update 40–41
Software Update Fail/Error 42
Notification Screens 43
Warning & Error Commands 44
Consumer Support 45
Diagnosis 45