-2- ES
LST-86 LST-106 LST-126
6 6 6
84 84 84
60 60 60
54 54 54
71 71 71
230 V / 50hz 230 V / 50hz 230 V / 50hz
10 10 10
2200 2200 2200
800 1000 1200
• Esteproductohasidodiseñadoparausodoméstico.
• Silosfusiblesdelainstalacióneléctricadesudomiciliotienen
unamperajemenora16A,póngaseencontactoconuntécni-
coelectricistaparaqueleinstaleunosdelamperajeindicado.
• Enelcasodequeutilicelalavadoracontransformadorosin
transformador, deberá contactar con un electricista autorizado
para instalar una toma de tierra. El uso indebido sin toma de
tierra no es nuestra responsabilidad.
• Nuncainstalesulavadorasobreunsueloconmoqueta.
• Asegúresedeinstalarcorrectamentelostubosdedesagüey
toma de agua.
• Laprimeravezquepongaenmarchalalavadora,deberáha-
cerloconelprogramapararopadealgodóna90°Csincargar
para poner a punto su lavadora.
• Elrendimientodesulavadoradependedelacalidaddelagua
ydeldetergentequeutilice.Siutilizaundetergentedemala
calidad o inadecuado, las manchas no saldrán.
• Deberáguardaralgunaspiezasderecambioparaquesu
máquinafuncionecorrectamente.Debidoaloscontrolesde
calidadaplicadosalalavadora,esposiblequeencuentreuna
pequeñacantidaddeaguaensuinterior.Estonosignicaque
estéestropeada.
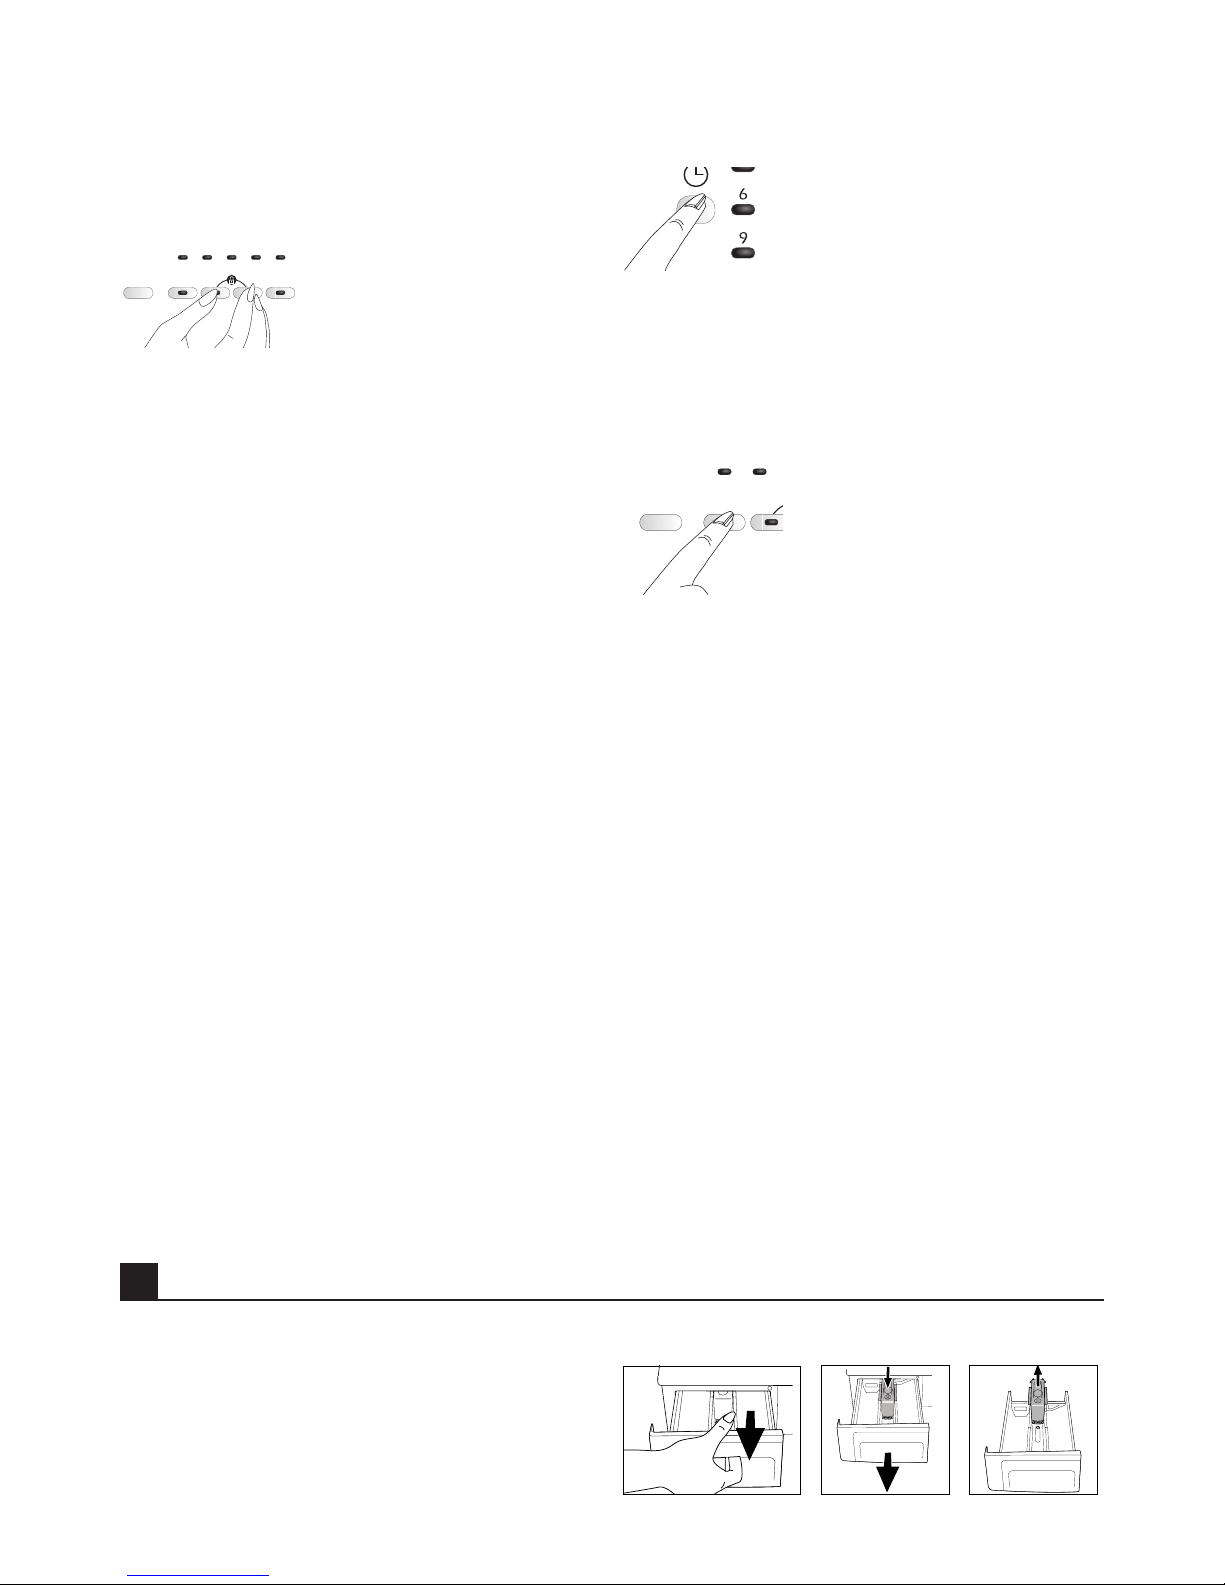
• Esteaparatoestáprogramadoparaponerseenmarchaauto-
máticamente tras un corte de luz. Para cancelar un programa,
no podrá pulsar el botón “On / Off”. La lavadora se pondrá en
marcha cuando vuelva a haber corriente. Para CANCELAR el
programa, mantenga pulsado el botón “Start/Pause/Cancel” du-
rantetressegundos.(Véaseelapartado“Cancelarunprogra-
ma”).
• Sitrashaberiniciadounprogramaelindicador“Start/Pause/
Calncel”parpadea,signicaquelapuertanoestábiencerra-
da. Abra y cierre la puerta y ponga en marcha el programa de
nuevo.
• Sieltestigo“Washing”(lavado)delapantalladeindicacióndel
progresodellavadoparpadeasignicaquenohayaguaoque
la toma de agua está cerrada. Compruebe la toma de agua.
Apague y vuelva a encender la lavadora. Si el problema persiste,
desenchufe la lavadora, cierre la toma de agua y póngase en
contactoconelserviciodeasistenciatécnica.
• Siponeenmarchalalavadoraynopuedeseleccionarelpro-
grama,esposiblequelalavadoraestéfuncionandoenmodode
proteccióndebidoaalgúnproblemadeinfraestructura(voltaje,
presión del agua, etc.).
Antes de poner en marcha su lavadora, tenga en cuenta lo
siguiente:
-Haenchufadoelcableeléctrico?
-Hacolocadocorrectamenteeltubodedesagüe?
-Ha cerrado la puerta delantera?
-Ha abierto la toma de agua?
Selección de la colada
Seleccionelacoladasegúneltipodetejido,elcolor,elgradode
suciedad y la temperatura de lavado permitida. No lave ropa blanca
junto con ropa de color. Extraiga las piezas duras, como por ejem-
plo los cinturones, los gemelos, los botones de las cortinas, etc., o
utilice una bolsa de lavado. Vacíe los bolsillos. Cierre las cremalleras
yabrochelosbotones.Laspiezasderopamuypequeñas,como
porejemplolaropadeunbebé,podríanintroducirsedentrodel
tambor,entrarenelltrodelabomba,eneltubodedesagüe,etc.
Paraevitarlo,lerecomendamosqueutiliceunabolsaparalavado
o ponga estas prendas con una colada mayor. Para prendas muy
sucias,consultelasecciónsobreinformaciónprácticayútil.Estala-
vadoraadmiteprendasdealgodónquetenganlaetiqueta“Lavado
amáquina”o“Nofrotar”conelprogramadelavadoespecialpara
algodón. Las piezas de ropa delicadas (como por ejemplo de seda,
cachemir,lanapura,etc.)conlasetiquetas“Nofrotar”o“Lavadoa
mano” pueden lavarse con el programa especial de lavado a mano.
Apertura de la puerta delantera
Para abrir la puerta delantera, tire del asa. La puerta delantera de
lalavadoraestádiseñadaparaqueseabrasólosinohayningún
programa en marcha. Si el indicador “door” está encendido, puede
abrir la puerta.
Carga de la ropa en la lavadora
Lleneeltambordelamáquinadeplegandolaropaysinapretarla
demasiado.Introduzcalaspiezasderopatejidasamanodelrevés.
Asegúresedequenohayningunapiezaderopaentrelaparte
inferior de la puerta y la puerta.
Cierre la puerta de carga pulsándola. Si la puerta de carga no se
cierra correctamente, la lavadora no se pondrá en marcha.
Selección de detergente y suavizante
La cantidad de detergente depende de la dureza del agua y de la
suciedad de la ropa. En el embalaje de cada producto encontrará
los valores recomendados. Si la ropa no está muy sucia y/o el agua
no es muy dura, utilice la cantidad de detergente mínima indicada
enelpaquetededetergente.Denoserasí,seproducirádemasiada
espuma.
Deberá utilizar detergente especial para lavadoras automáticas.
Eviteusarproductosblanqueadoresquecontengansulfuroocloro.
Introduzca el detergente en polvo y el suavizante en el comparti-
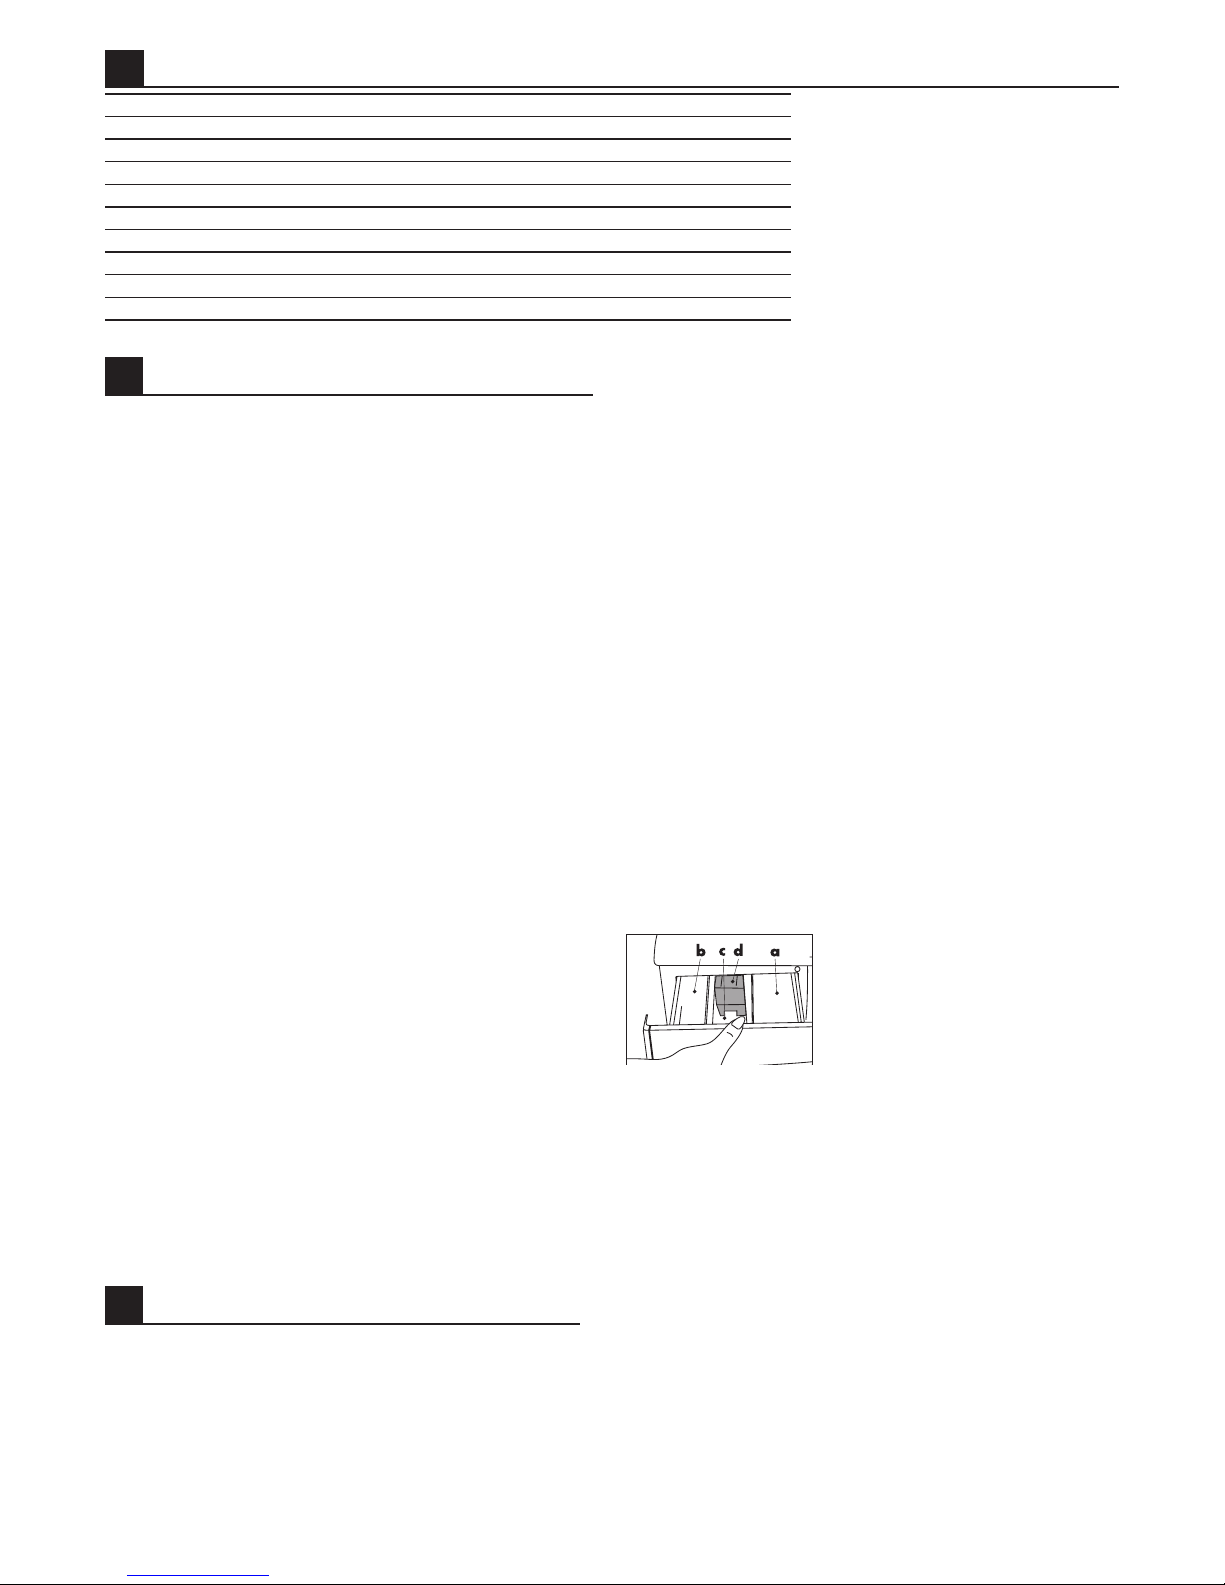
mentoadecuadoenelcajónyciérrelo.
a.Compartimiento I, cajón para el deter-
gente en polvo para prelavado.
b.Compartimiento II, cajón para el deter-
gente en polvo para el lavado general.
c.Expendedor de suavizante
d.Sifón
Introduzcalacantidaddesuavizanteindicadaenelpaquete(nor-
malmente menos de 100 ml). Nunca supere el nivel “MAX” (máxi-
mo).Lacantidadsobrantepasarádirectamentealdesagüeyse
desechará. Deberá rellenar de nuevo la cubeta con suavizante. Si el
suavizantesesecaporelpasodeltiempo,añadaunpocodeagua
paradiluirlo.Elsuavizantepodríaobstruirelsifónybloquearelujo
de agua.
Funciones complementarias
Aclarado extra
Conestafunciónlalavadoraañadiráunnuevoprocesodeaclarado
alostresciclosdeaclaradoquerealizanormalmente.Esteaclarado
adicionallepermitiráevitarcualquierafectoadversoenpielessensi-
bleslavandoeldetergentequequedeeneltambor.
Flot antiarrugas
Siustedpreeredejarsustejidosyropadelanadentrodela
lavadoradespuésdelaclarado,puedepresionarelbotondeot
antiarrugasparaevitarquesearruguen.Paracontinuarpresione
de nuevo el boton de cuba llena, ó seleccione P en el selector de
programa para evacuar el agua.
Boton de Velocidad
Para escoger la velocidad de centrifugado reducida, pulsar la tecla
1000/500 .
Botón “On/Off”
Al pulsar el botón “On/Off” pone a punto la lavadora para elegir el
3Avisos
Características técnicas de la lavadora
Lascaracterísticastécnicaspuedensufrir
cambios sin previo aviso para mejorar la
calidad del producto.
Lasimágenesdelmanualsonesquemáti-
cas y no necesariamente representan a la
lavadora real con exactitud.
Paralaidenticacióndelalavadoramedi-
antelasetiquetassituadasenelaparatoe
indicadas en la documentación se han utili-
zado los valores obtenidos en condiciones
de laboratorio con la normativa vigente.
Estosvalorespuedenvariarsegúnelusoy
las condiciones ambientales.
2
4Preparativos
Capacidad máxima de carga en seco (kg)
Alto (cm)
Ancho (cm)
Profundidad (cm)
Peso neto (kg)
Toma de corriente (V/Hz)
Corriente total (A)
Energía total (W)
Velocidad de centrifugado (rpm máx.)