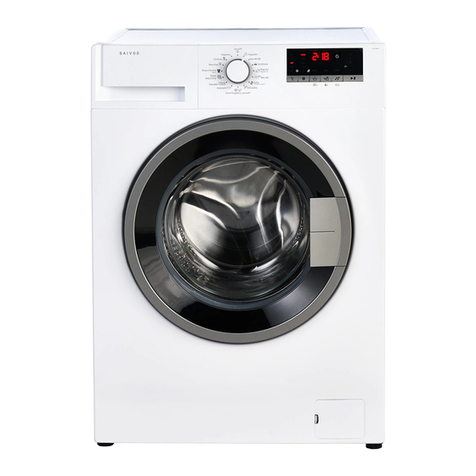
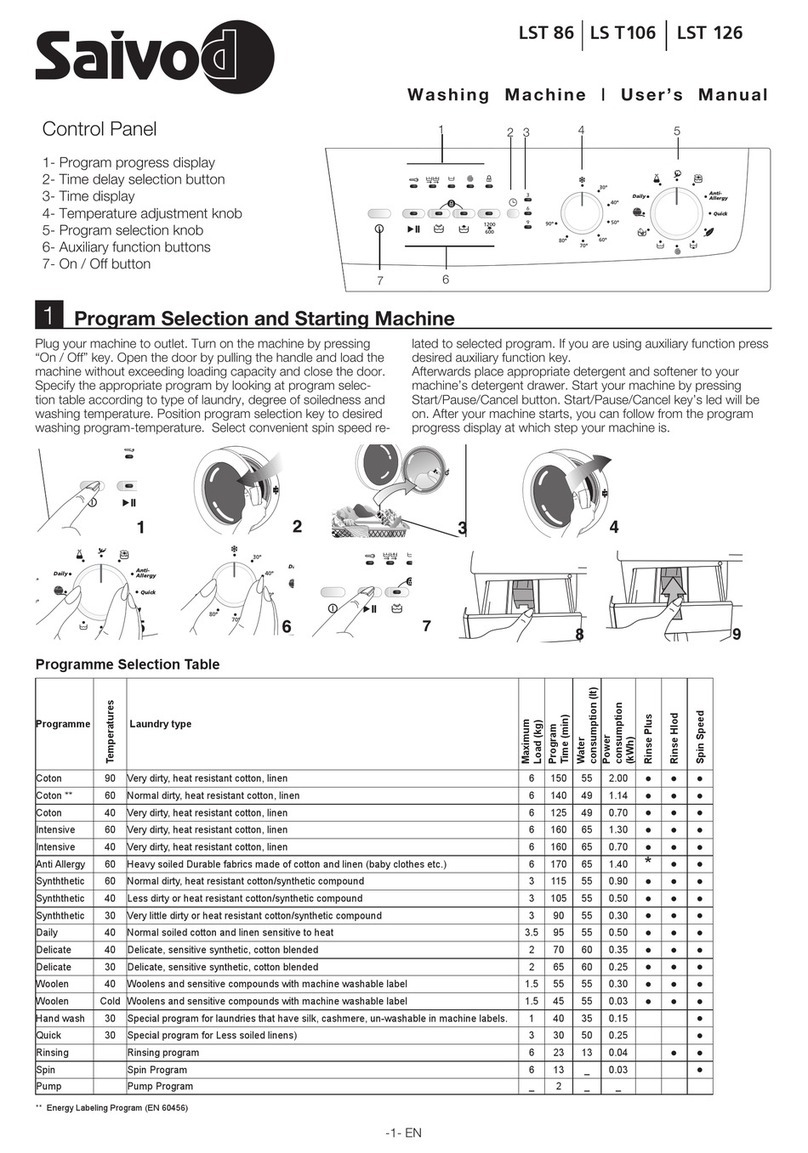
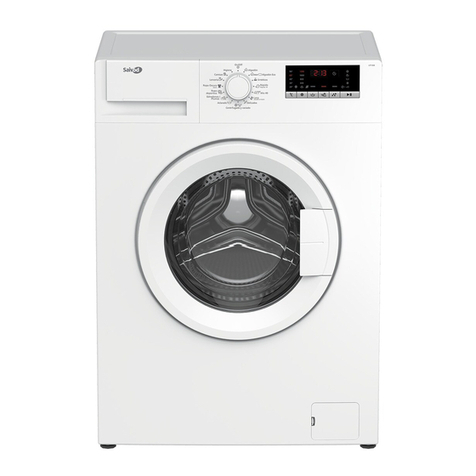
Saivod LST1261 User manual

LST1261
Washing Machine
Lavadora
Máquina de lavar

2EN
1 Important safety instructions
This section contains safety instructions that will
help protect from risk of personal injury or property
damage. Failure to follow these instructions shall
void any warranty.
General safety
• Thisproductshouldnotbeusedbypersons
with physical, sensory or mental disorders or
unlearned or inexperienced people (including
children)unlesstheyareattendedbyaperson
whowillberesponsiblefortheirsafetyorwho
will instruct them accordingly for use of the
product.
• Neverplacetheproductonacarpet-covered
floor;otherwise,lackofairflowbeneath
the machine will cause electrical parts to
overheat.Thiswillcauseproblemswithyour
product.
• Donotoperatetheproductifthepower
cable/plugisdamaged.CalltheAuthorized
ServiceAgent.
• Haveaqualifiedelectricianconnecta
16-Amperefusetotheinstallationlocationof
the product.
• Iftheproducthasafailure,itshouldnot
beoperatedunlessitisrepairedbythe
AuthorizedServiceAgent.Thereistheriskof
electric shock!
• Thisproductisdesignedtoresumeoperating
in the event of powering on after a power
interruption.Ifyouwishtocancelthe
programme,see"Cancellingtheprogramme"
section.
• Connecttheproducttoagroundedoutlet
protectedbyafusecomplyingwiththevalues
inthe"Technicalspecifications"table.Donot
neglect to have the grounding installation
madebyaqualifiedelectrician.Ourcompany
shallnotbeliableforanydamagesthat
will arise when the product is used without
grounding in accordance with the local
regulations.
• Thewatersupplyanddraininghosesmustbe
securely fastened and remain undamaged.
Otherwise,thereistheriskofwaterleakage.
• Neveropentheloadingdoororremovethe
filter while there is still water in the drum.
Otherwise,riskoffloodingandinjuryfromhot
water will occur.
• Donotforceopenthelockedloadingdoor.
Theloadingdoorwillbereadytoopenjusta
few minutes after the washing cycle comes to
anend.Incaseofforcingtheloadingdoorto
open, the door and the lock mechanism may
get damaged.
• Unplugtheproductwhennotinuse.
• Neverwashtheproductbyspreadingor
pouring water onto it! There is the risk of
electric shock!
• Nevertouchtheplugwithwethands!Never
unplugbypullingonthecable,alwayspullout
bygrabbingtheplug.
• Usedetergents,softenersandsupplements
suitableforautomaticwashingmachinesonly.
• Followtheinstructionsonthetextiletagsand
on the detergent package.
• Theproductmustbeunpluggedduring
installation, maintenance, cleaning and
repairing procedures.
• Alwayshavetheinstallationandrepairing
procedurescarriedoutbytheAuthorized
ServiceAgent.Manufacturershallnotbe
heldliablefordamagesthatmayarisefrom
procedurescarriedoutbyunauthorized
persons.
Intended use
• Thisproducthasbeendesignedfordomestic
use.Itisnotsuitableforcommercialuseand
itmustnotbeusedoutofitsintendeduse.
• Theproductmustonlybeusedforwashing
and rinsing of laundry that are marked
accordingly.
• Themanufacturerwaivesanyresponsibility
arisen from incorrect usage or transportation.
Children's safety
• Electricalproductsaredangerousforthe
children. Keep children away from the product
whenitisinuse.Donotletthemtotamper
withtheproduct.Usechildlocktoprevent
children from intervening with the product.
• Donotforgettoclosetheloadingdoor
when leaving the room where the product is
located.
• Storealldetergentsandadditivesinasafe
place away from the reach of the children.
2 Installation
RefertothenearestAuthorisedServiceAgentfor
installation of the product. To make the product
ready for use, review the information in the user
manual and make sure that the electricity, tap
water supply and water drainage systems are
appropriatebeforecallingtheAuthorizedService
Agent.Iftheyarenot,callaqualifiedtechnician
andplumbertohaveanynecessaryarrangements
carried out.
CPreparation of the location and electrical,
tap water and waste water installations at
the place of installation is under customer's
responsibility.
B Installationandelectricalconnectionsofthe
productmustbecarriedoutbytheAuthorized
ServiceAgent.Manufacturershallnotbe
heldliablefordamagesthatmayarisefrom
procedurescarriedoutbyunauthorized
persons.
APrior to installation, visually check if the
producthasanydefectsonit.Ifso,donot
3EN
haveitinstalled.Damagedproductscause
risks for your safety.
C Makesurethatthewaterinletanddischarge
hosesaswellasthepowercablearenot
folded, pinched or crushed while pushing
the product into its place after installation or
cleaning procedures.
Appropriate installation location
• Placethemachineonarigidfloor.Donot
place it on a long pile rug or similar surfaces.
• Totalweightofthewashingmachineandthe
dryer-withfullload-whentheyareplaced
on top of each other reaches to approx.
180 kilograms. Place the product on a solid
and flat floor that has sufficient load carrying
capacity!
• Donotplacetheproductonthepowercable.
• Donotinstalltheproductatplaceswhere
temperaturemayfallbelow0ºC.
• Placetheproductatleast1cmawayfrom
the edges of other furniture.
Removing packaging reinforcement
Tiltthemachinebackwardstoremovethe
packaging reinforcement. Remove the packaging
reinforcementbypullingtheribbon.
Removing the transportation locks
A Donotremovethetransportationlocksbefore
taking out the packaging reinforcement.
A Removethetransportationsafetyboltsbefore
operating the washing machine, otherwise,
theproductwillbedamaged.
1. Loosenalltheboltswithaspanneruntilthey
rotatefreely(C).
2. Removetransportationsafetyboltsbyturning
them gently.
3. AttachtheplasticcoverssuppliedintheUser
Manualbagintotheholesontherearpanel.
(P)
C Keepthetransportationsafetyboltsinasafe
place to reuse when the washing machine
needstobemovedagaininthefuture.
CNever move the product without the
transportationsafetyboltsproperlyfixedin
place!
Connecting water supply
C Thewatersupplypressurerequiredtorun
theproductisbetween1to10bars(0.1–10
MPa).Itisnecessarytohave10–80litersof
water flowing from the fully open tap in one
minute to have your machine run smoothly.
Attachapressurereducingvalveifwater
pressure is higher.
C Ifyouaregoingtousethedoublewater-inlet
productasasingle(cold)water-inletunit,you
must install the supplied stopper to the hot
watervalvebeforeoperatingtheproduct.
(Appliesfortheproductssuppliedwithablind
stopper group.)
C Ifyouwanttousebothwaterinletsofthe
product, connect the hot water hose after
removing the stopper and gasket group from
thehotwatervalve.(Appliesfortheproducts
suppliedwithablindstoppergroup.)
A Modelswithasinglewaterinletshouldnot
beconnectedtothehotwatertap.Insuch
a case the laundry will get damaged or the
product will switch to protection mode and
will not operate.
A Donotuseoldorusedwaterinlethoseson
thenewproduct.Itmaycausestainsonyour
laundry.
1. Connectthespecialhosessuppliedwiththe
product to the water inlets on the product.
Redhose(left)(max.90ºC)isforhotwater
inlet,bluehose(right)(max.25ºC)isforcold
water inlet.
AEnsure that the cold and hot water
connections are made correctly when
installingtheproduct.Otherwise,yourlaundry
will come out hot at the end of the washing
process and wear out.
2. Tightenallhosenutsbyhand.Neverusea
wrench when tightening the nuts.
3. Openthetapscompletelyaftermakingthe
hose connection to check for water leaks at
theconnectionpoints.Ifanyleaksoccur,turn
off the tap and remove the nut. Retighten
the nut carefully after checking the seal. To
prevent water leakages and damages caused
bythem,keepthetapsclosedwhenthe
machine is not in use.
Connecting to the drain
• Theendofthedrainhosemustbedirectly
connected to the wastewater drain or to the
washbasin.
A Yourhousewillbefloodedifthehosecomes
out of its housing during water discharge.

4EN
Moreover,thereisriskofscaldingdueto
high washing temperatures! To prevent such
situations and to ensure smooth water intake
and discharge of the machine, fix the end of
the discharge hose tightly so that it cannot
come out.
• Thehoseshouldbeattachedtoaheightofat
least 40 cm, and 100 cm at most.
• Incasethehoseiselevatedafterlayingiton
the floor level or close to the ground (less than
40cmabovetheground),waterdischarge
becomesmoredifficultandthelaundrymay
come out excessively wet. Therefore, follow
theheightsdescribedinthefigure.
• Topreventflowingofdirtywaterbackintothe
machine and to allow for easy discharge, do
not immerse the hose end into the dirty water
ordriveitinthedrainmorethan15cm.Ifitis
too long, cut it short.
• Theendofthehoseshouldnotbebent,it
shouldnotbesteppedonandthehosemust
notbepinchedbetweenthedrainandthe
machine.
• Ifthelengthofthehoseistooshort,useit
byaddinganoriginalextensionhose.Length
ofthehosemaynotbelongerthan3.2m.
To avoid water leak failures, the connection
betweentheextensionhoseandthedrain
hoseoftheproductmustbefittedwellwith
an appropriate clamp as not to come off and
leak.
Adjusting the feet
A Inordertoensurethattheproductoperates
moresilentandvibration-free,itmuststand
levelandbalancedonitsfeet.Balancethe
machinebyadjustingthefeet.Otherwise,the
product may move from its place and cause
crushingandvibrationproblems.
1. Loosenthelocknutsonthefeetbyhand.
2. Adjustthefeetuntiltheproductstandslevel
andbalanced.
3. Tightenalllocknutsagainbyhand.
A Donotuseanytoolstoloosenthelocknuts.
Otherwise,theywillgetdamaged.
Electrical connection
Connecttheproducttoagroundedoutlet
protectedbyafusecomplyingwiththevaluesin
the"Technicalspecifications"table.Ourcompany
shallnotbeliableforanydamagesthatwillarise
when the product is used without grounding in
accordance with the local regulations.
• Connectionmustcomplywithnational
regulations.
• Powercableplugmustbewithineasyreach
after installation.
• Thevoltageandallowedfuseorbreaker
protection are specified in the “Technical
specifications”section.Ifthecurrentvalueof
thefuseorbreakerinthehouseislessthan
16Amps,haveaqualifiedelectricianinstalla
16Ampfuse.
• Thespecifiedvoltagemustbeequaltoyour
mains voltage.
• Donotmakeconnectionsviaextension
cablesormulti-plugs.
B Damagedpowercablesmustbereplacedby
theAuthorizedServiceAgents.
First use
Beforestartingtousetheproduct,makesure
that all preparations are made in accordance
withtheinstructionsinsections"Importantsafety
instructions"and"Installation".

5EN
To prepare the product for washing laundry,
performfirstoperationinDrumCleaning
programme.Ifyourmachineisnotfeaturedwith
DrumCleaningprogramme,useCottons-90
programmeandselectAdditionalWaterorExtra
Rinseauxiliaryfunctionsaswell.Beforestarting
the programme, put max. 100 g of powder
anti-limescaleintothemainwashdetergent
compartment(compartmentnr.II).Iftheanti-
limescaleisintabletform,putonlyonetabletinto
compartmentnr.II.Drytheinsideofthebellow
with a clean piece of cloth after the programme
has come to an end.
C Useananti-limescalesuitableforthewashing
machines.
CSome water might have remained in the
productduetothequalitycontrolprocesses
intheproduction.Itisnotharmfulforthe
product.
Disposing of packaging material
Packaging materials are dangerous to children.
Keep packaging materials in a safe place away
from reach of the children.
Packaging materials of the product are
manufacturedfromrecyclablematerials.Dispose
of them properly and sort in accordance with
recycledwasteinstructions.Donotdisposeof
them with normal domestic waste.
Transportation of the product
Unplugtheproductbeforetransportingit.Remove
waterdrainandwatersupplyconnections.Drain
the remaining water in the product completely;
see,"Drainingremainingwaterandcleaningthe
pumpfilter".Installtransportationsafetybolts
in the reverse order of removal procedure; see,
"Removing the transportation locks".
CNever move the product without the
transportationsafetyboltsproperlyfixedin
place!
Disposing of the old product
Disposeoftheoldproductinanenvironmentally
friendly manner.
Refer to your local dealer or solid waste collection
centre in your area to learn how to dispose of your
product.
Forchildren'ssafety,cutthepowercableand
breakthelockingmechanismoftheloadingdoor
sothatitwillbenonfunctionalbeforedisposingof
the product.
3 Preparation
Things to be done for energy saving
Following information will help you use the product
inanecologicalandenergy-efficientmanner.
• Operatetheproductinthehighestcapacity
allowedbytheprogrammeyouhaveselected,
butdonotoverload;see,"Programmeand
consumptiontable".
• Alwaysfollowtheinstructionsonthe
detergent packaging.
• Washslightlysoiledlaundryatlow
temperatures.
• Usefasterprogrammesforsmallquantitiesof
lightly soiled laundry.
• Donotuseprewashandhightemperatures
for laundry that is not heavily soiled or stained.
• Ifyouplantodryyourlaundryinadryer,select
the highest spin speed recommended during
washing process.
• Donotusedetergentinexcessoftheamount
recommended on the detergent package.
Sorting the laundry
• Sortlaundryaccordingtotypeoffabric,
colour,anddegreeofsoilingandallowable
water temperature.
• Alwaysobeytheinstructionsgivenonthe
garment tags.
Preparing laundry for washing
• Laundryitemswithmetalattachmentssuch
as,underwiredbras,beltbucklesormetal
buttonswilldamagethemachine.Remove
themetalpiecesorwashtheclothesby
puttingtheminalaundrybagorpillowcase.
• Takeoutallsubstancesinthepocketssuch
as coins, pens and paper clips, and turn
pocketsinsideoutandbrush.Suchobjects
may damage the product or cause noise
problem.
• Putsmallsizeclothessuchasinfant'ssocks
andnylonstockingsinalaundrybagorpillow
case.
• Placecurtainsinwithoutcompressingthem.
Remove curtain attachment items.
• Fastenzippers,sewloosebuttonsandmend
rips and tears.
• Wash“machinewashable”or“hand
washable”labeledproductsonlywithan
appropriate programme.
• Donotwashcoloursandwhitestogether.
New, dark coloured cottons release a lot of
dye.Washthemseparately.
• Toughstainsmustbetreatedproperlybefore
washing.Ifunsure,checkwithadrycleaner.
• Useonlydyes/colourchangersandlimescale
removerssuitableformachinewash.Always
follow the instructions on the package.
• Washtrousersanddelicatelaundryturned
inside out.
• KeeplaundryitemsmadeofAngorawoolin
thefreezerforafewhoursbeforewashing.
Table of contents
Languages:
Other Saivod Washer manuals

Saivod
Saivod LST-1079 User manual

Saivod
Saivod LST1281 User manual

Saivod
Saivod LST1058 User manual

Saivod
Saivod LST1285 User manual

Saivod
Saivod LST 1053 User manual

Saivod
Saivod LST-1289 User manual

Saivod
Saivod LST1265 User manual

Saivod
Saivod LST-1069 User manual

Saivod
Saivod LS 1065 User manual

Saivod
Saivod LST 1260 User manual

Saivod
Saivod LST 126 User manual

Saivod
Saivod LST1488N User manual

Saivod
Saivod LST1271 User manual

Saivod
Saivod LST1278 User manual

Saivod
Saivod LST1278 User manual

Saivod
Saivod LST14921 User manual

Saivod
Saivod LST1055 User manual

Saivod
Saivod LST1268 User manual

Saivod
Saivod LST1488 User manual

Saivod
Saivod LST 1295 User manual