4-
English
Getting Started
Contents
Getting Started
Getting Started
Safety Instructions 2
Disc Type and Characteristics 3
Overviews 6
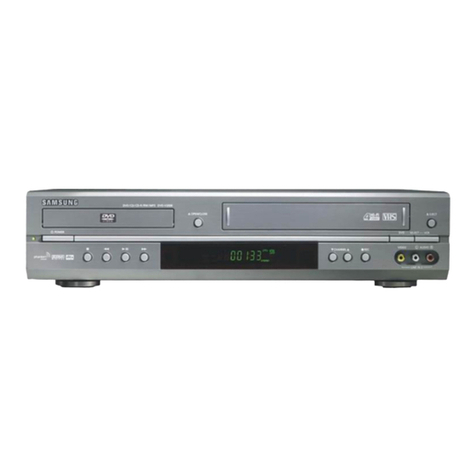
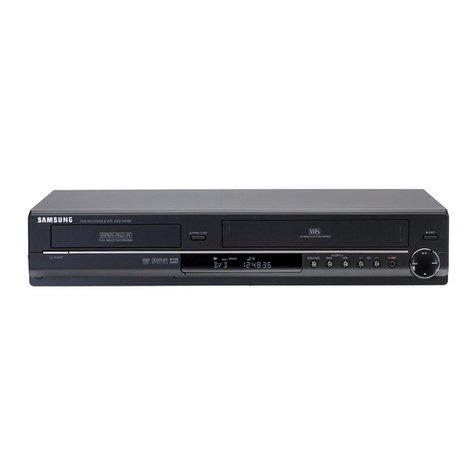
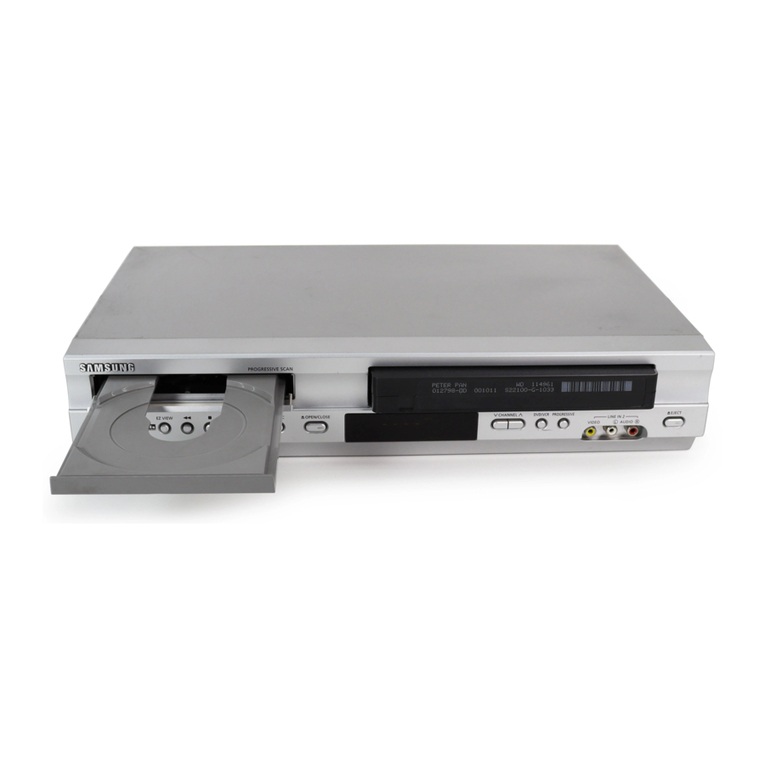
Front View of the DVD-VCR 6
Rear View of the DVD-VCR 7
Display Indicators 7
Accessories 8
Inserting Batteries in the Remote Control 8
Tour of the Remote Control 9
Connections
Connections
Quick Overview 10
Connecting DVD-VCR to the TV using the
RF Cable 11
Connecting DVD-VCR to the TV using the
SCART Cable 11
Connecting DVD-VCR to a Satellite Receiver
or Other Equipment 12
Connecting DVD-VCR to the TV using the
Audio/Video Cable 12
Connecting DVD-VCR to the TV using the
S-Video Cable (DVD Only) 13
Connecting DVD-VCR to the TV using the
Component Video Cable (DVD Only) 13
AV Receiver Connections 14
Connecting an Audio/Video Input Cable
(DVD-V5500/DVD-V6500) 15
Plug & Auto Setup 15
Settings
Settings
Tuning Your Television for the DVD-VCR 17
Setting the Date and Time 18
Setting the Menu Language 19
Presetting the Stations Automatically 19
Presetting the Stations Manually 21
Clearing a Preset Station 22
Changing the Preset Station Table 23
Selecting the RF OUT Sound Mode (B/G-D/K) 24
Setting the VCR Output Channel 24
VCR Functions
VCR Functions
Selecting the Colour Mode 25
NICAM 26
Intelligent Picture Control 26
ShowView Extend (DVD-V6400/DVD-V6500) 27
Auto Power off 27
Screen Messages 28
Selecting the Cassette Type 28
Repeat Play 29
Selecting the Recording Speed 29
Protecting a Recorded Cassette 29
Recording a Programme Immediately 30
Recording a Programme with
Automatic Stop 30
Recording from Another VCR or Camcorder 31
Using the Assemble Edit Function 31
Using the ShowView Feature
(DVD-V6400/DVD-V6500) 32
Modifying ShowView Programming
(DVD-V6400/DVD-V6500) 33
Using the Timer Programming Feature 34
Checking a Preset Recording 36
Cancelling a Preset Recording 37

