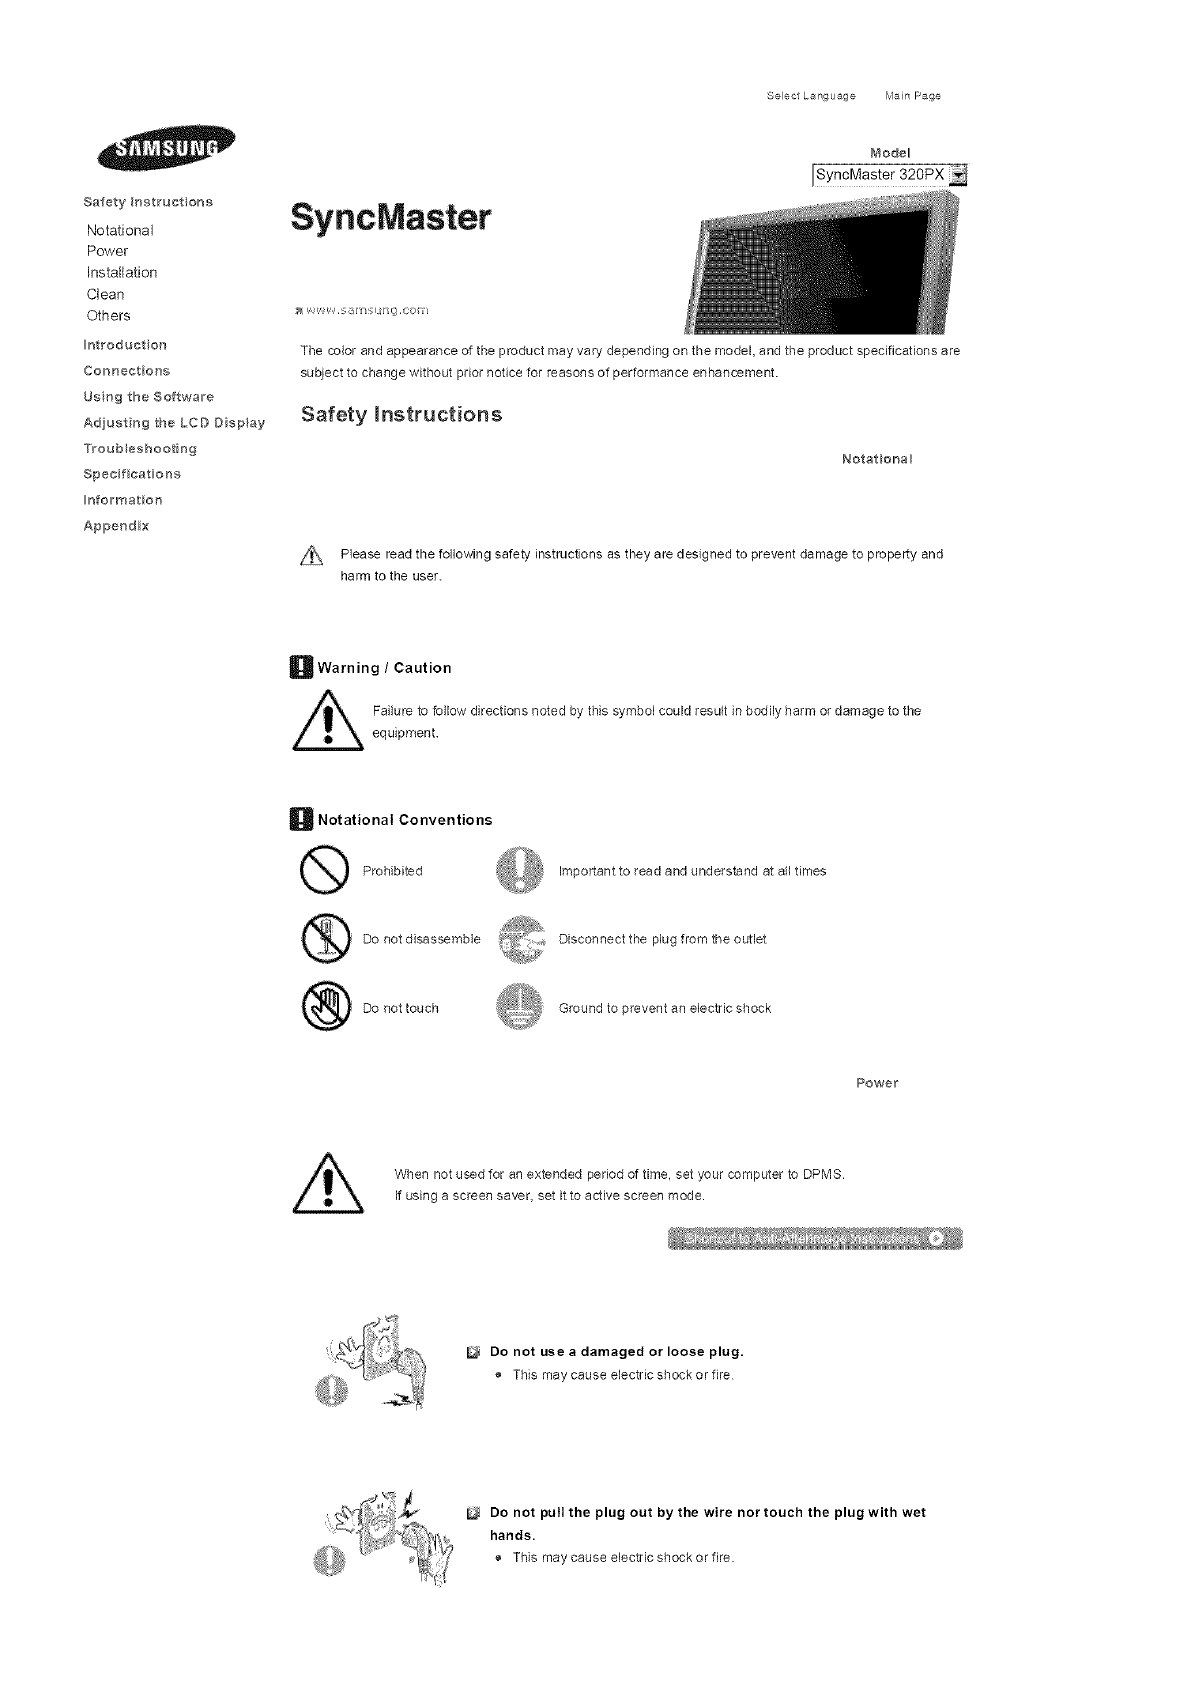
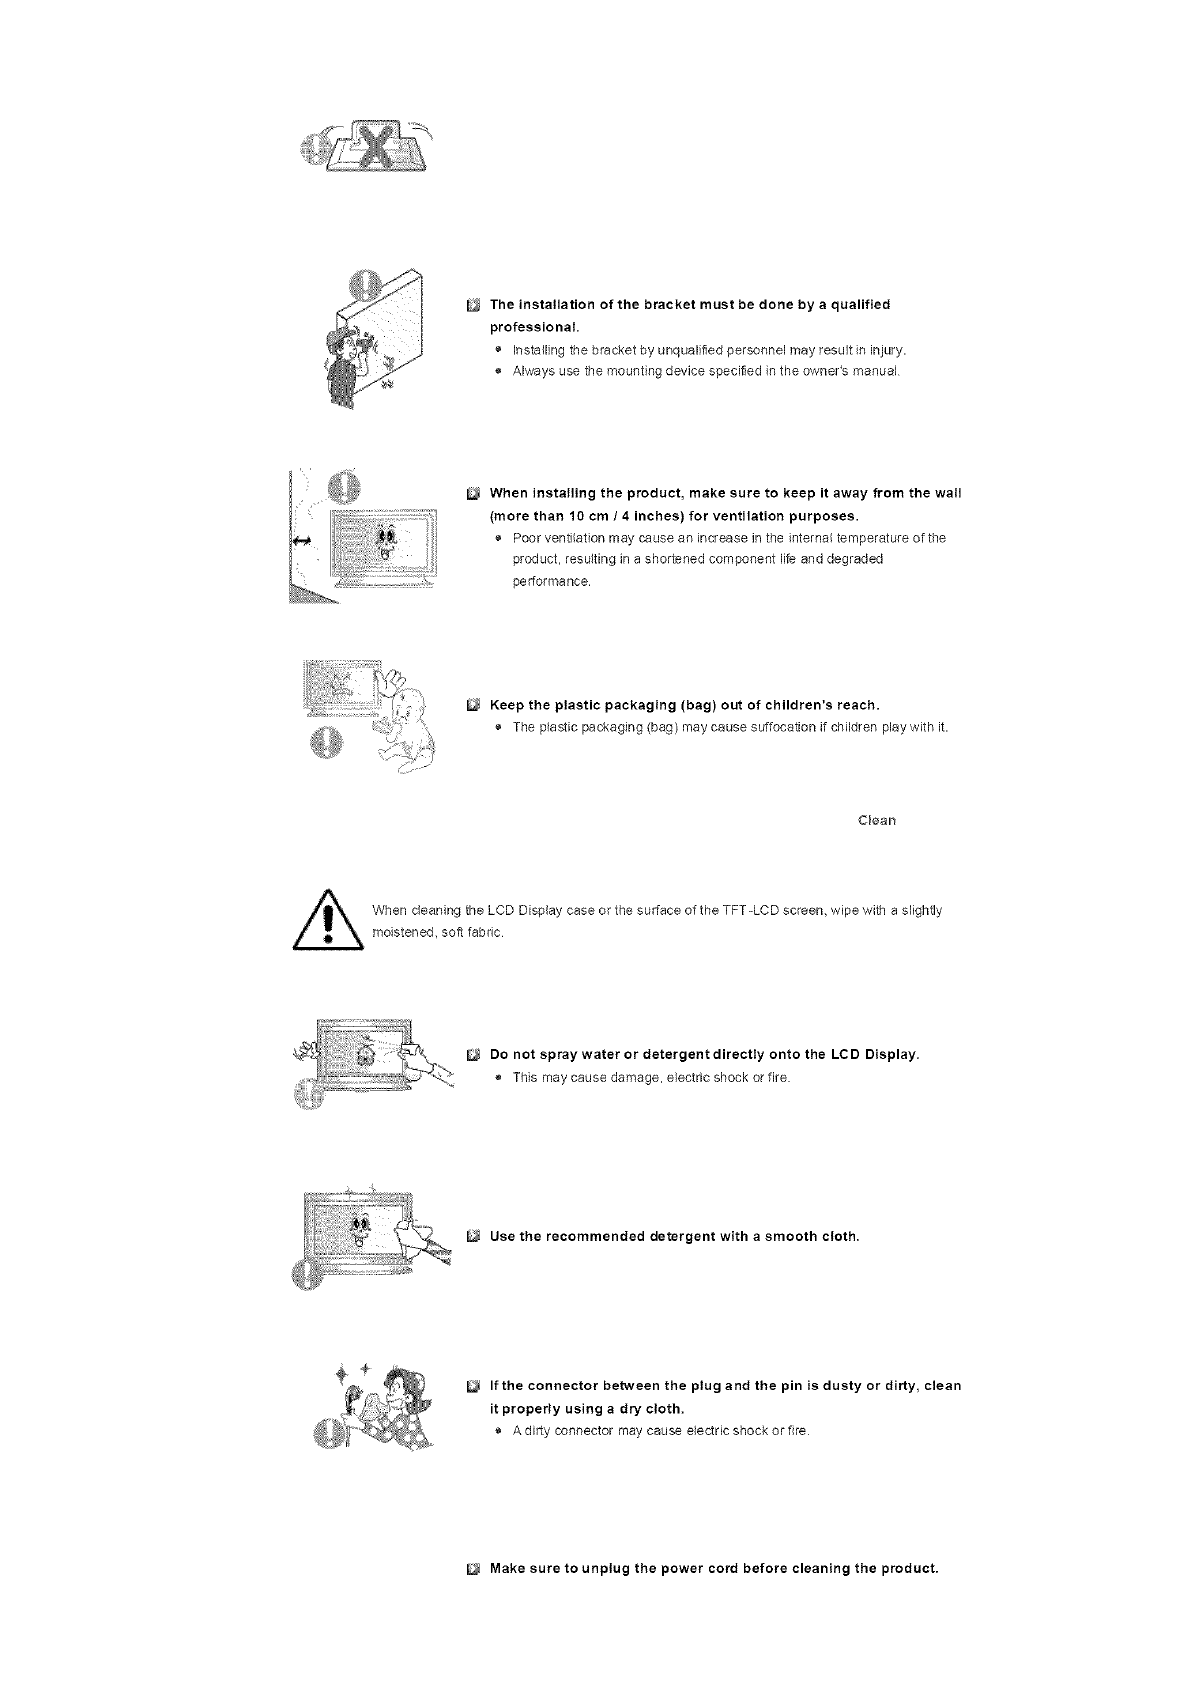
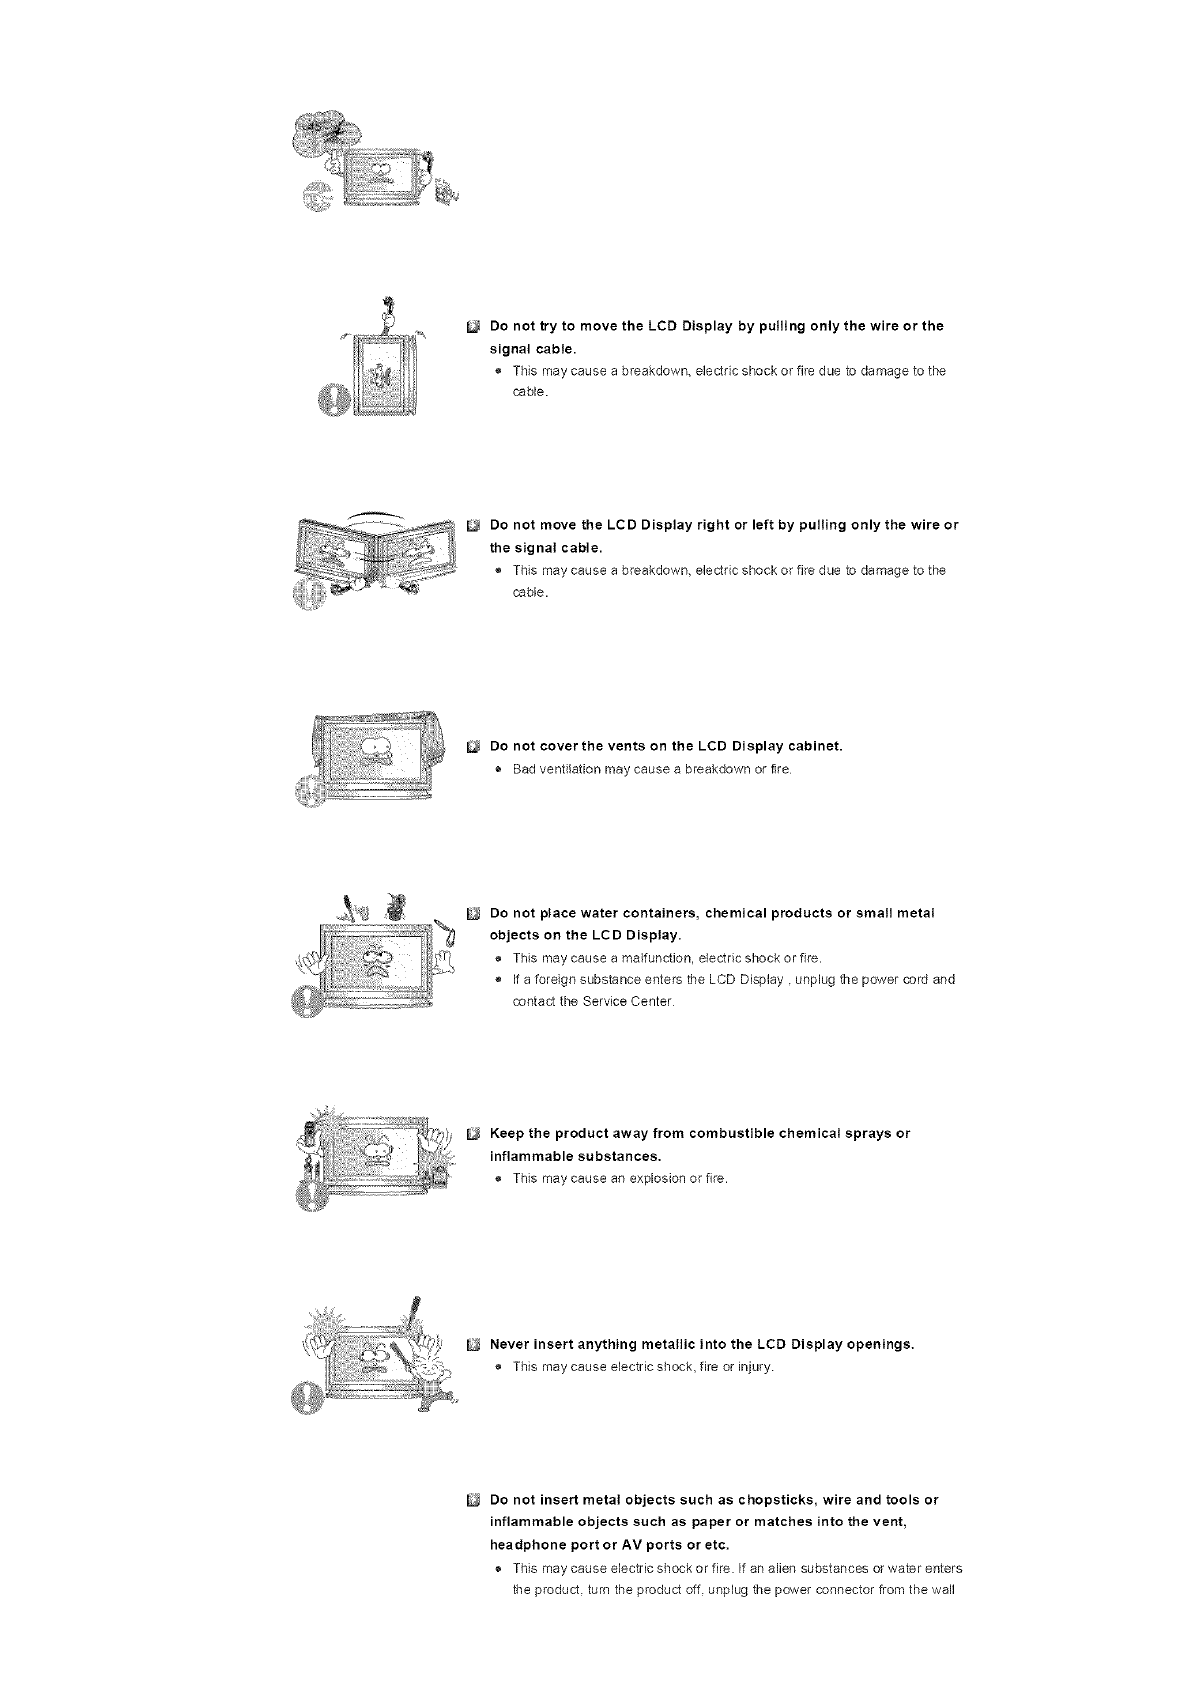
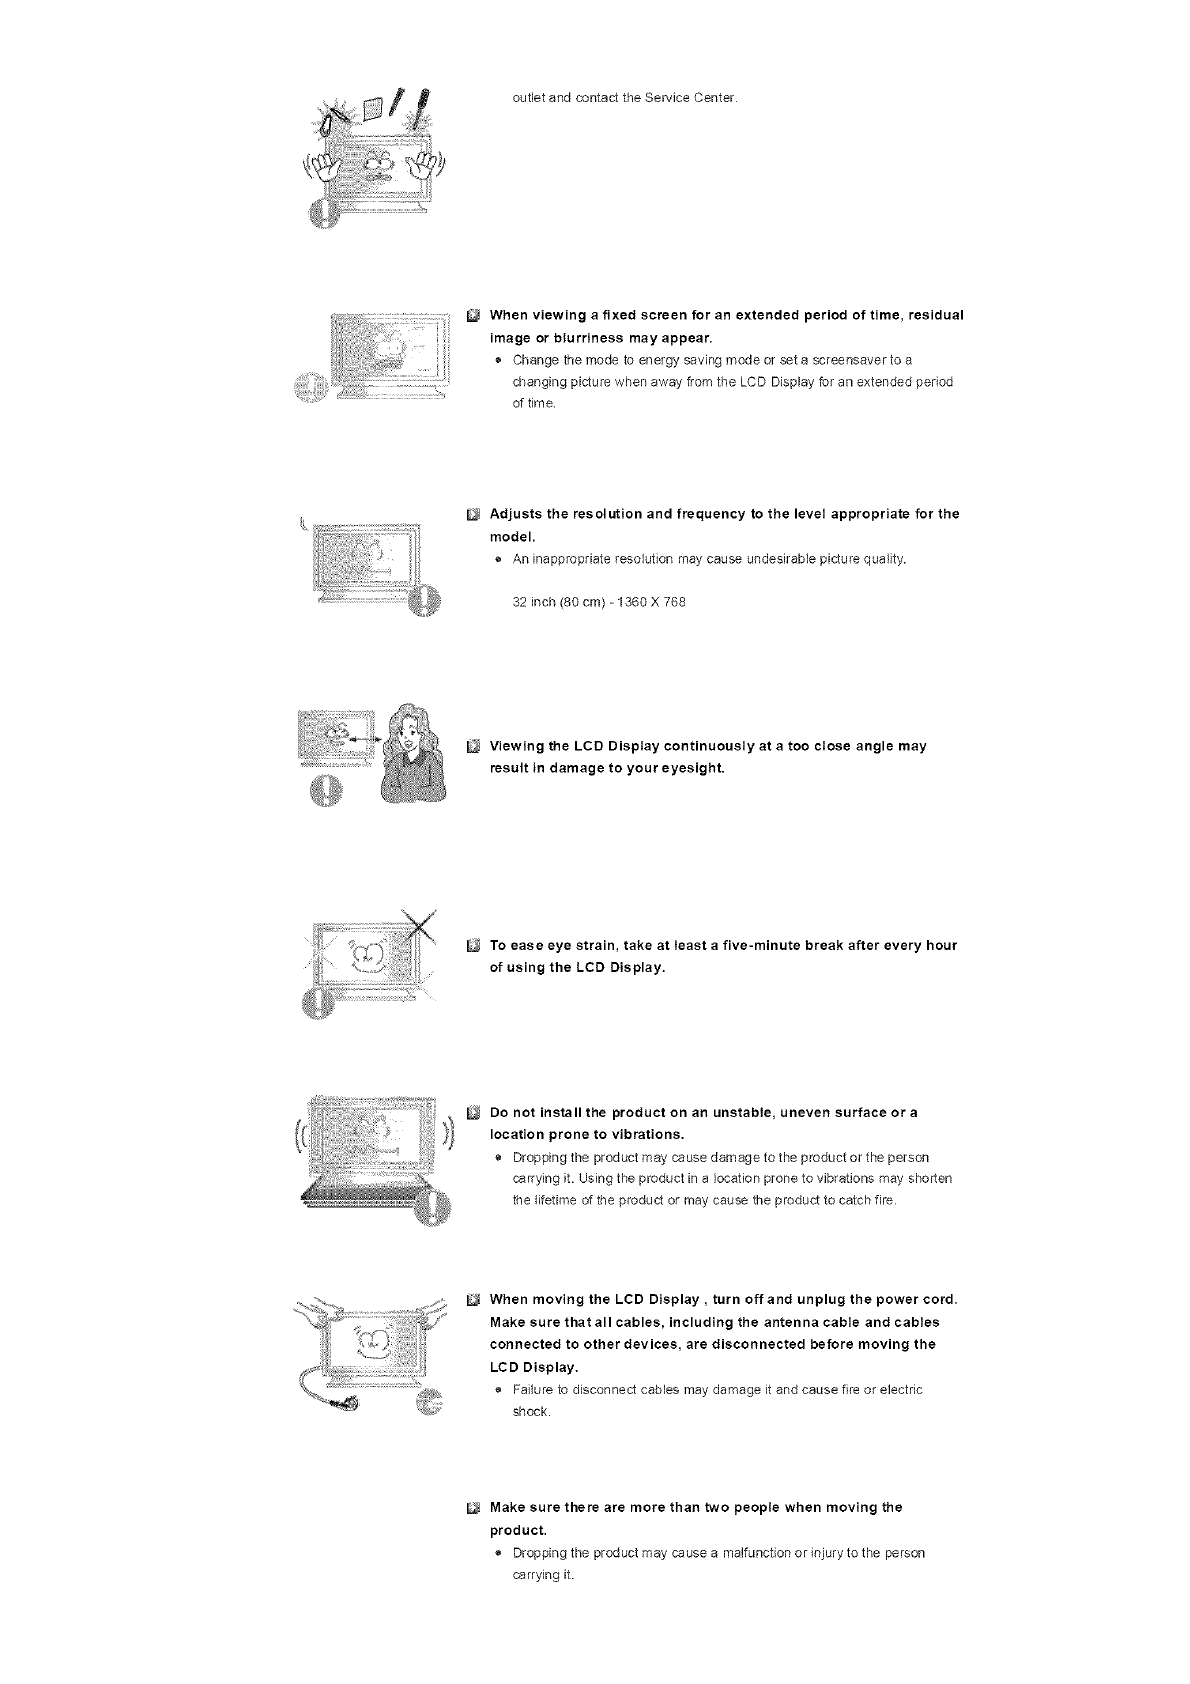
Samsung SyncMaster 320PX User manual
Other Samsung Monitor manuals

Samsung
Samsung DC43H User manual

Samsung
Samsung SYNCMASTER 320MPN-3 User manual

Samsung
Samsung Flip WM55R User manual

Samsung
Samsung 400CX - SyncMaster - 40" LCD TV User manual

Samsung
Samsung SyncMaster BX2235 User manual

Samsung
Samsung S49CG95 Series User manual

Samsung
Samsung SyncMaster TS220C User manual

Samsung
Samsung SyncMaster 510 MP User manual

Samsung
Samsung PPM50M5H User manual

Samsung
Samsung SyncMaster T200M User manual

Samsung
Samsung SyncMaster 570B TFT User manual

Samsung
Samsung SPS4243 User manual

Samsung
Samsung 225UW - SyncMaster - 22" LCD Monitor User manual

Samsung
Samsung SyncMaster 211MP User manual

Samsung
Samsung 320MP-2 - SyncMaster - 32" LCD Flat Panel... User guide

Samsung
Samsung SyncMaster 592V User manual

Samsung
Samsung SyncMaster 400TSn User manual

Samsung
Samsung WM75A User manual

Samsung
Samsung NL22B User manual

Samsung
Samsung SyncMaster 1100p Plus Instruction Manual