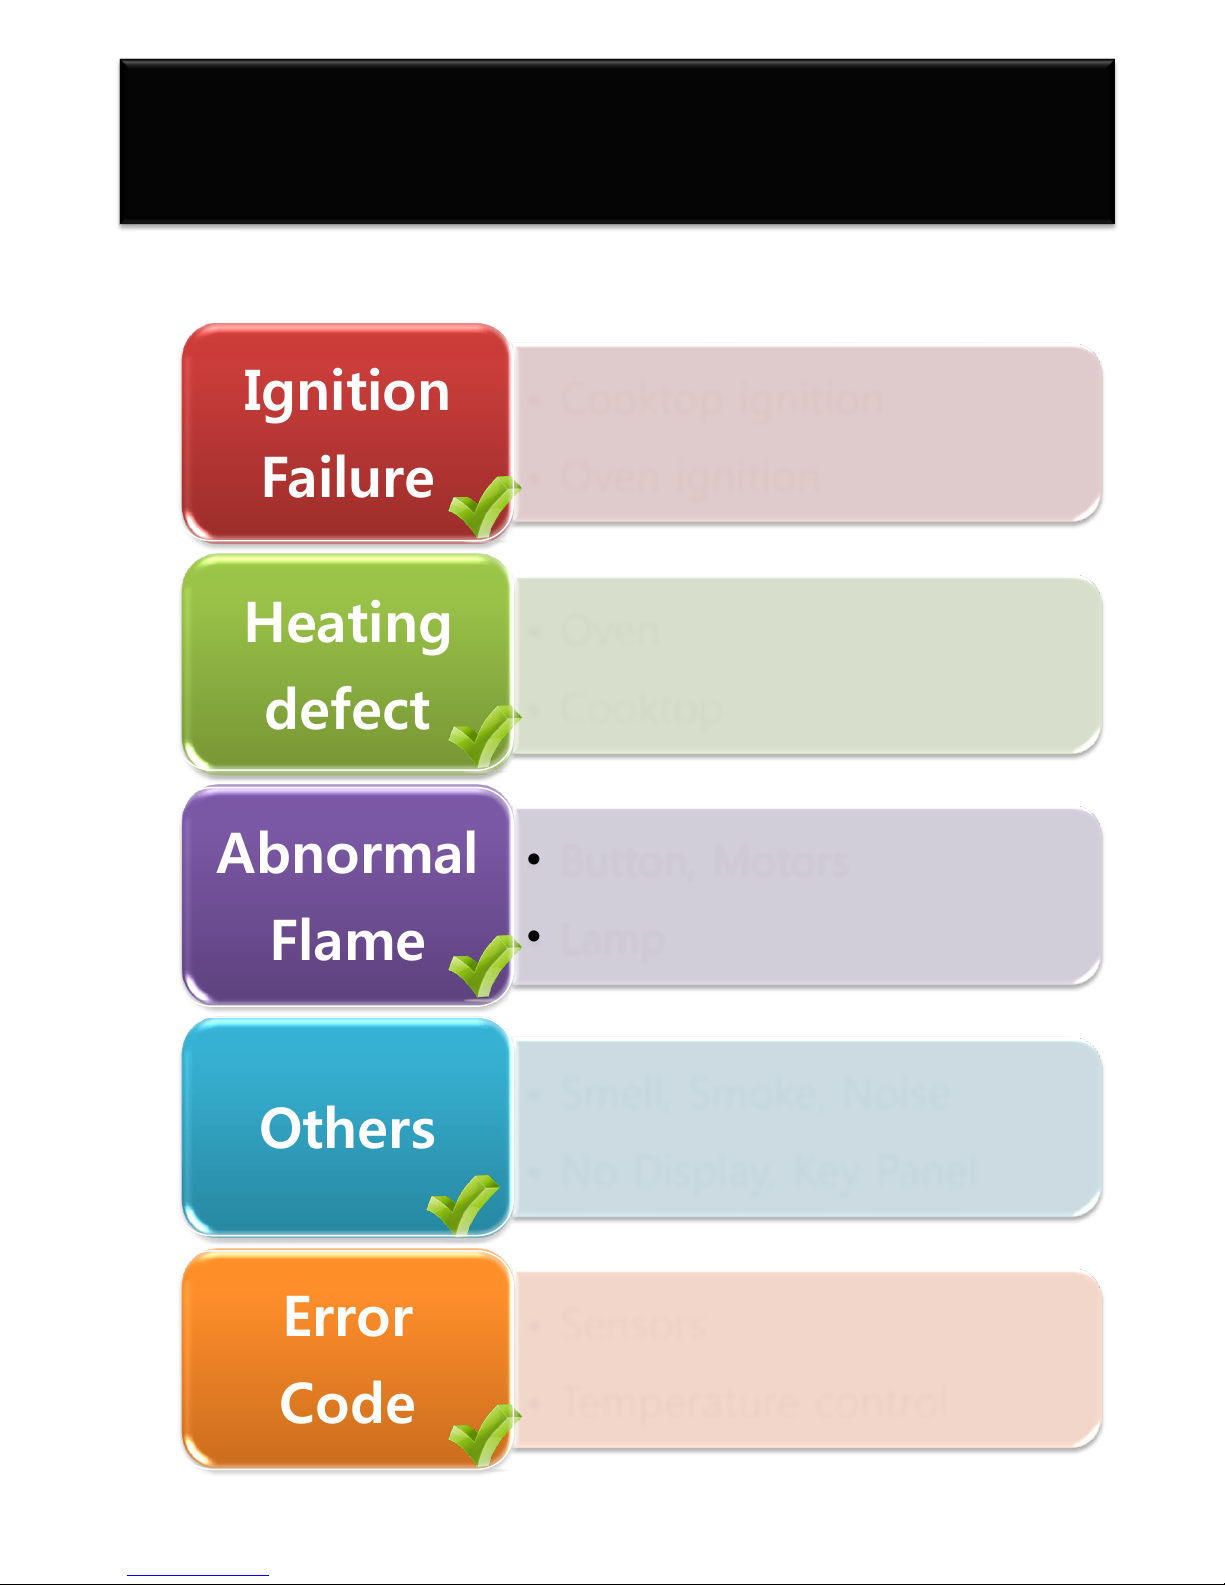
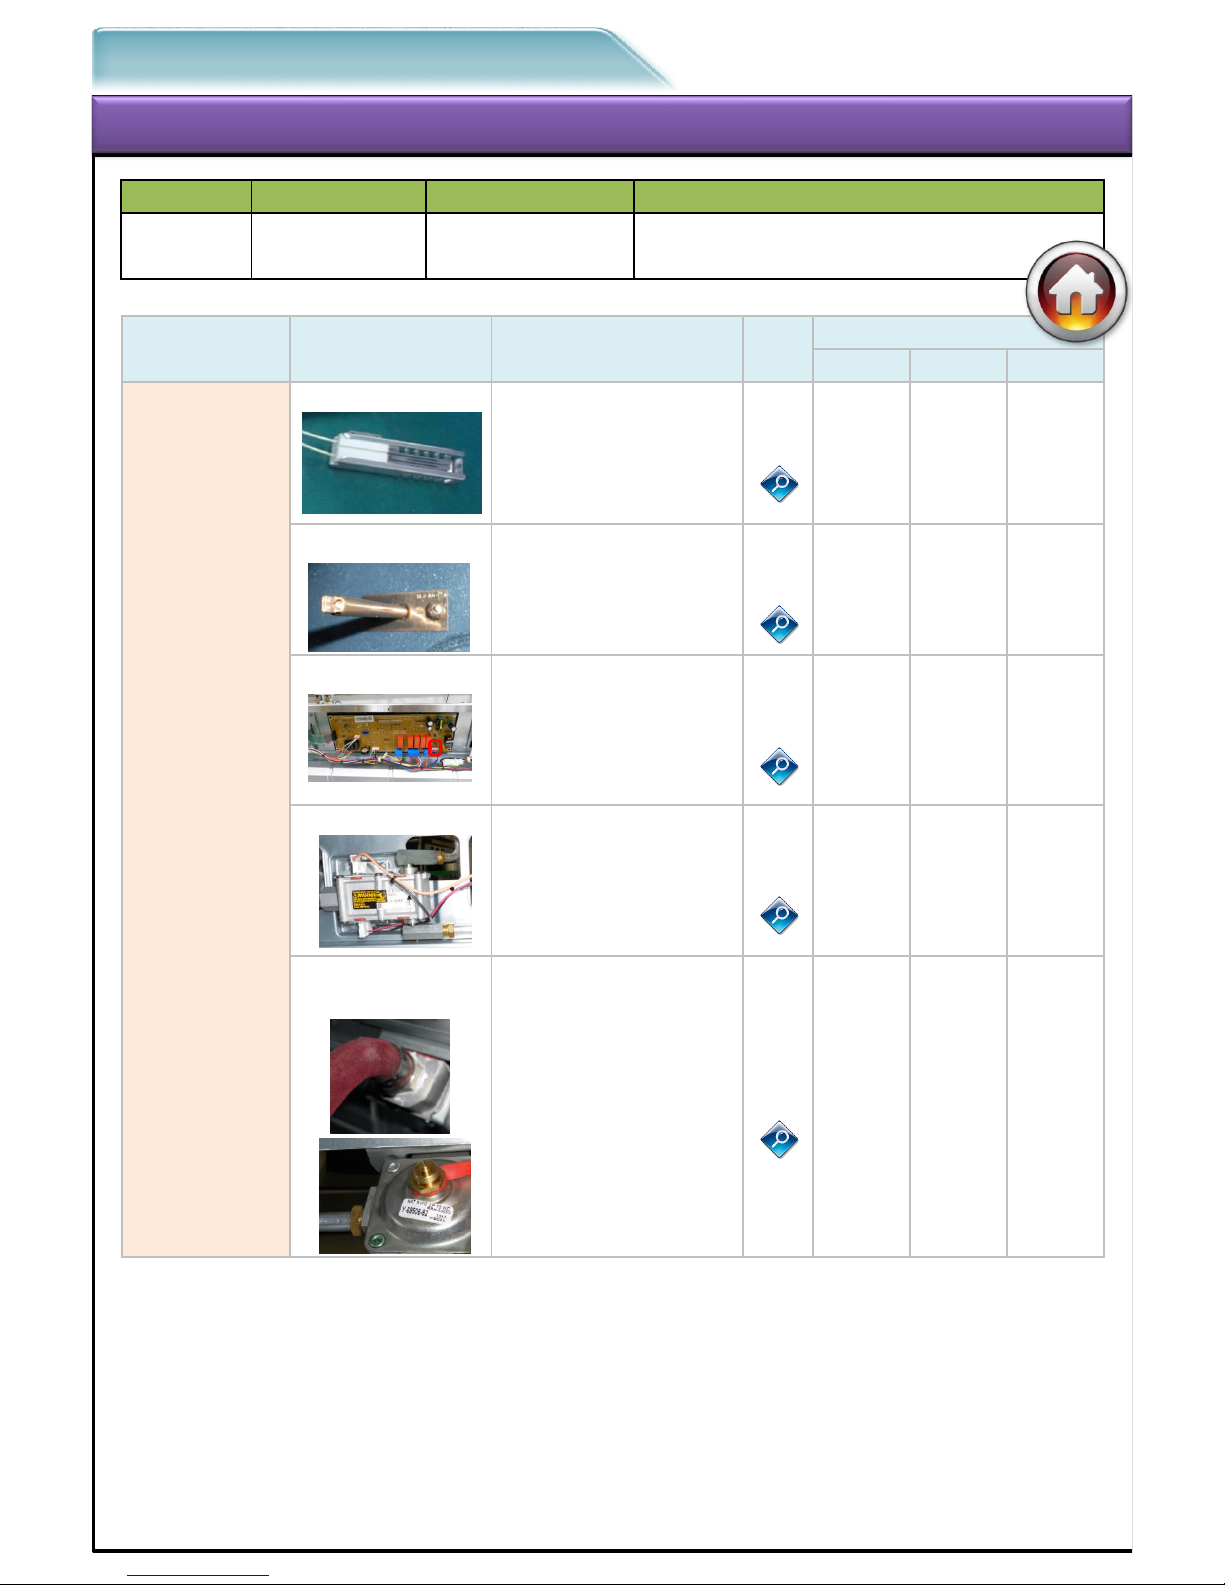
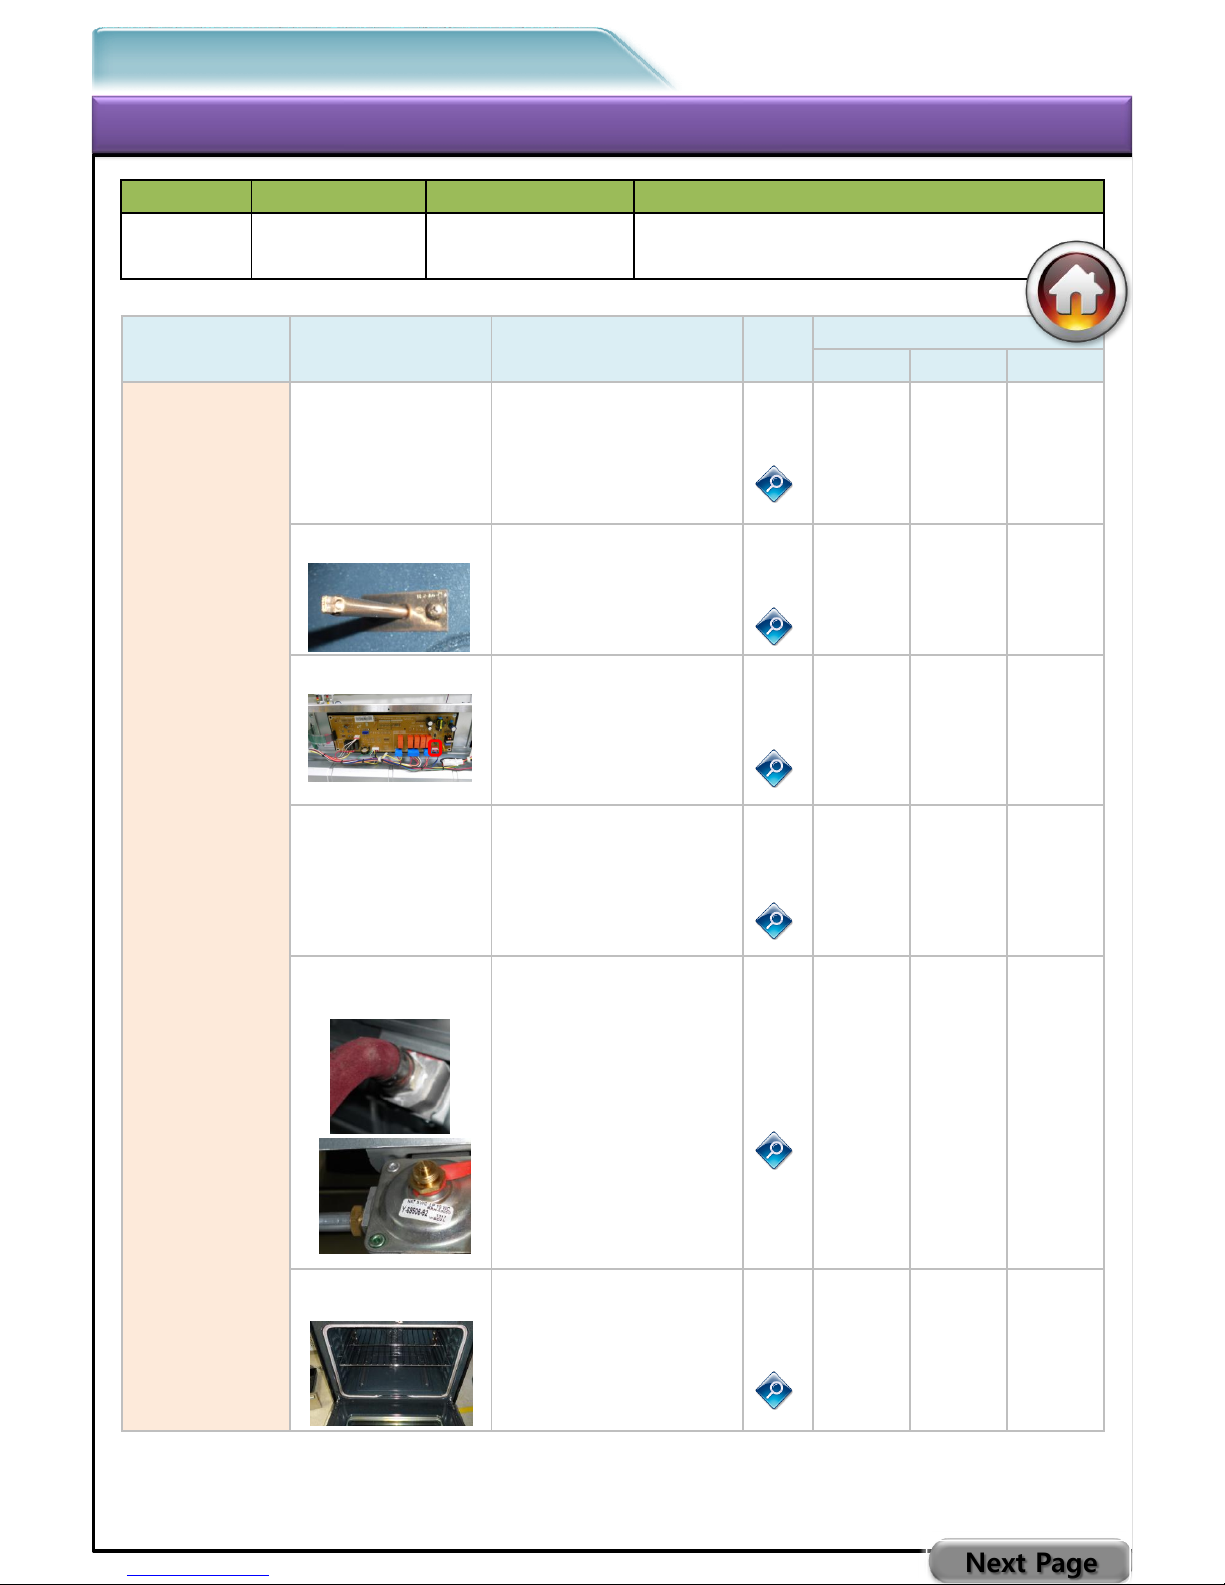
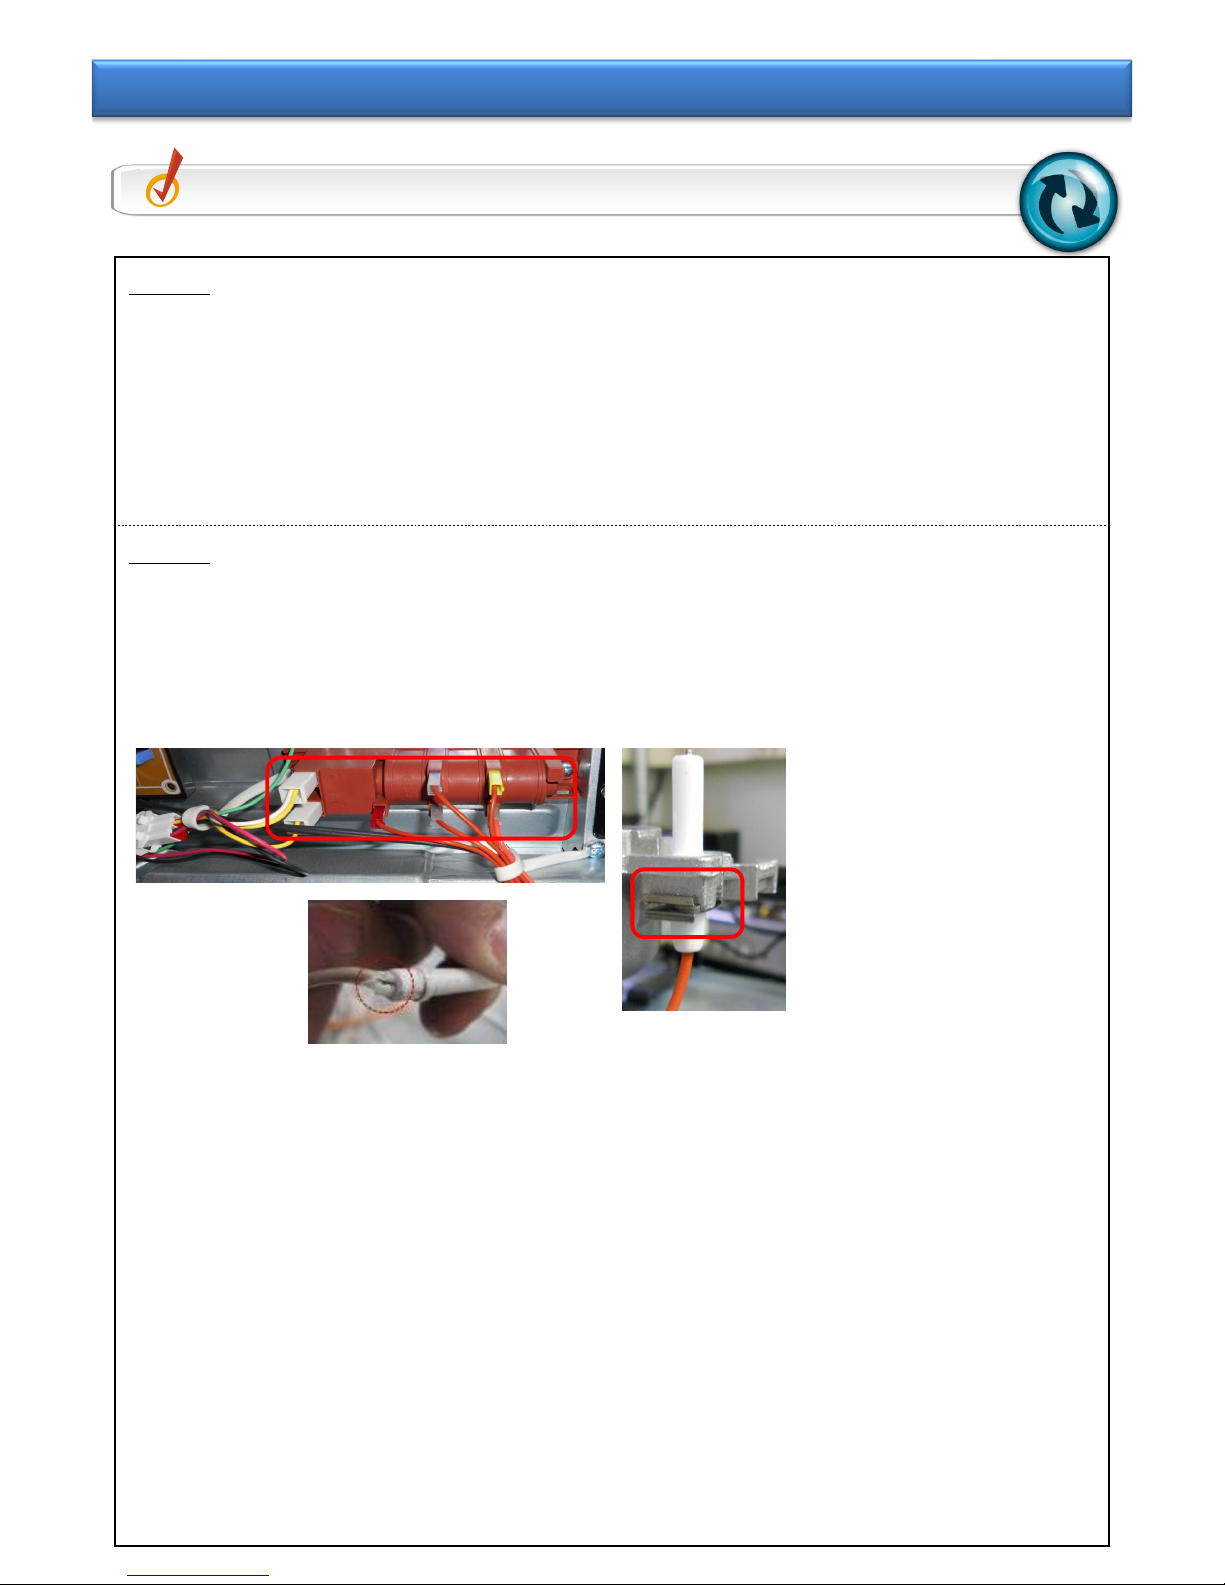
Samsung FX710 Series Assembly instructions
Other Samsung Oven manuals

Samsung
Samsung NV70 35 Series User manual

Samsung
Samsung CQ138SC User manual

Samsung
Samsung CQ138 Use and care manual

Samsung
Samsung NQ50T9939BD User manual

Samsung
Samsung NV73N9770RM Guide

Samsung
Samsung NV70F77 Series User manual

Samsung
Samsung CQ1570U Use and care manual

Samsung
Samsung NV75K5541RS Guide

Samsung
Samsung NQ50H7935ES User manual

Samsung
Samsung NV75N7647 Series Guide

Samsung
Samsung NV31T4551S Series User manual

Samsung
Samsung NQ5B7993A Series User manual

Samsung
Samsung NQ50H7535DS User manual

Samsung
Samsung BT62CDBFST User manual

Samsung
Samsung NV7B411 Series Guide

Samsung
Samsung NV73J9770RS Guide

Samsung
Samsung NV7B666 Series Guide

Samsung
Samsung BT62TDST User manual

Samsung
Samsung NV7B565 Series Guide

Samsung
Samsung NV660 User manual