manuals.online logo
Brands
  1. Home
  2. •
  3. Brands
  4. •
  5. Samsung
  6. •
  7. Refrigerator
  8. •
  9. Samsung RS2577BB User manual

Samsung RS2577BB User manual

SIDEBYSIDE
REFRIGERATOR
GREEN
OWNER'SMANUALANDINSTALLATION
CONTENTS
SAFETY WARNING ..............................................................................2
OPERATING INSTRUCTIONS ........................................................ 4
SETTING UP THE REFRIGERATOR .........................................................4
MAJOR FEATURES .....................................................................................4
CONTROL PANEL........................................................................................5
DIGITAL PANEL...........................................................................................7
TEMPERATURE CONTROL .......................................................................8
ICE AND COLD WATER DISPENSER ........................................................8
SHELVES AND BINS................................................................................... 9
FOOD STORAGE GUIDE .........................................................................10
CoolSeleet ZoneTM Drawer GUIDE ............................................................. 12
REMOVING FREEZER ACCESSORIES .................................................. 14
REMOVING REFRIGERATOR ACCESSORIES ..................................... 14
BEVERAGE STATIONTM (optional)............................................................. 15
CLEANING ACCESSORIES ......................................................................16
CHANGING THE INTERIOR LIGHT .........................................................16
WATER FILTER .......................................................................................... 17
DOORS ....................................................................................................... 17
INSTALLATION INSTRUCTIONS ................................................ 18
INSTALLATION OF THE REFRIGERATOR .............................................18
REMOVING THE REFRIGERATOR DOORS ..........................................19
REATTACHING THE REFRIGERATOR DOORS ....................................22
ADJUSTING THE CLEARANCE BETWEEN THE DOORS ....................25
CHECKING THE WATER DISPENSER LINE...........................................27
INSTALLAING THE WATER DISPENSER LINE.......................................28
TROUBLESHOOTING ...............................................................................33
DA99-OO275B REV(O.5)
/k
WARNING
• Before operating the appliance, please read this manual thoroughly and retain it for your reference.
• Because these following operating instructions cover various models, the characteristics ofyour
refrigerator may differ slightly from those described in this manual
•The appliance is not intended for use by children or infirm persons without adult supervision.
• Children should be supervised to ensure that they do not play with the appliance.
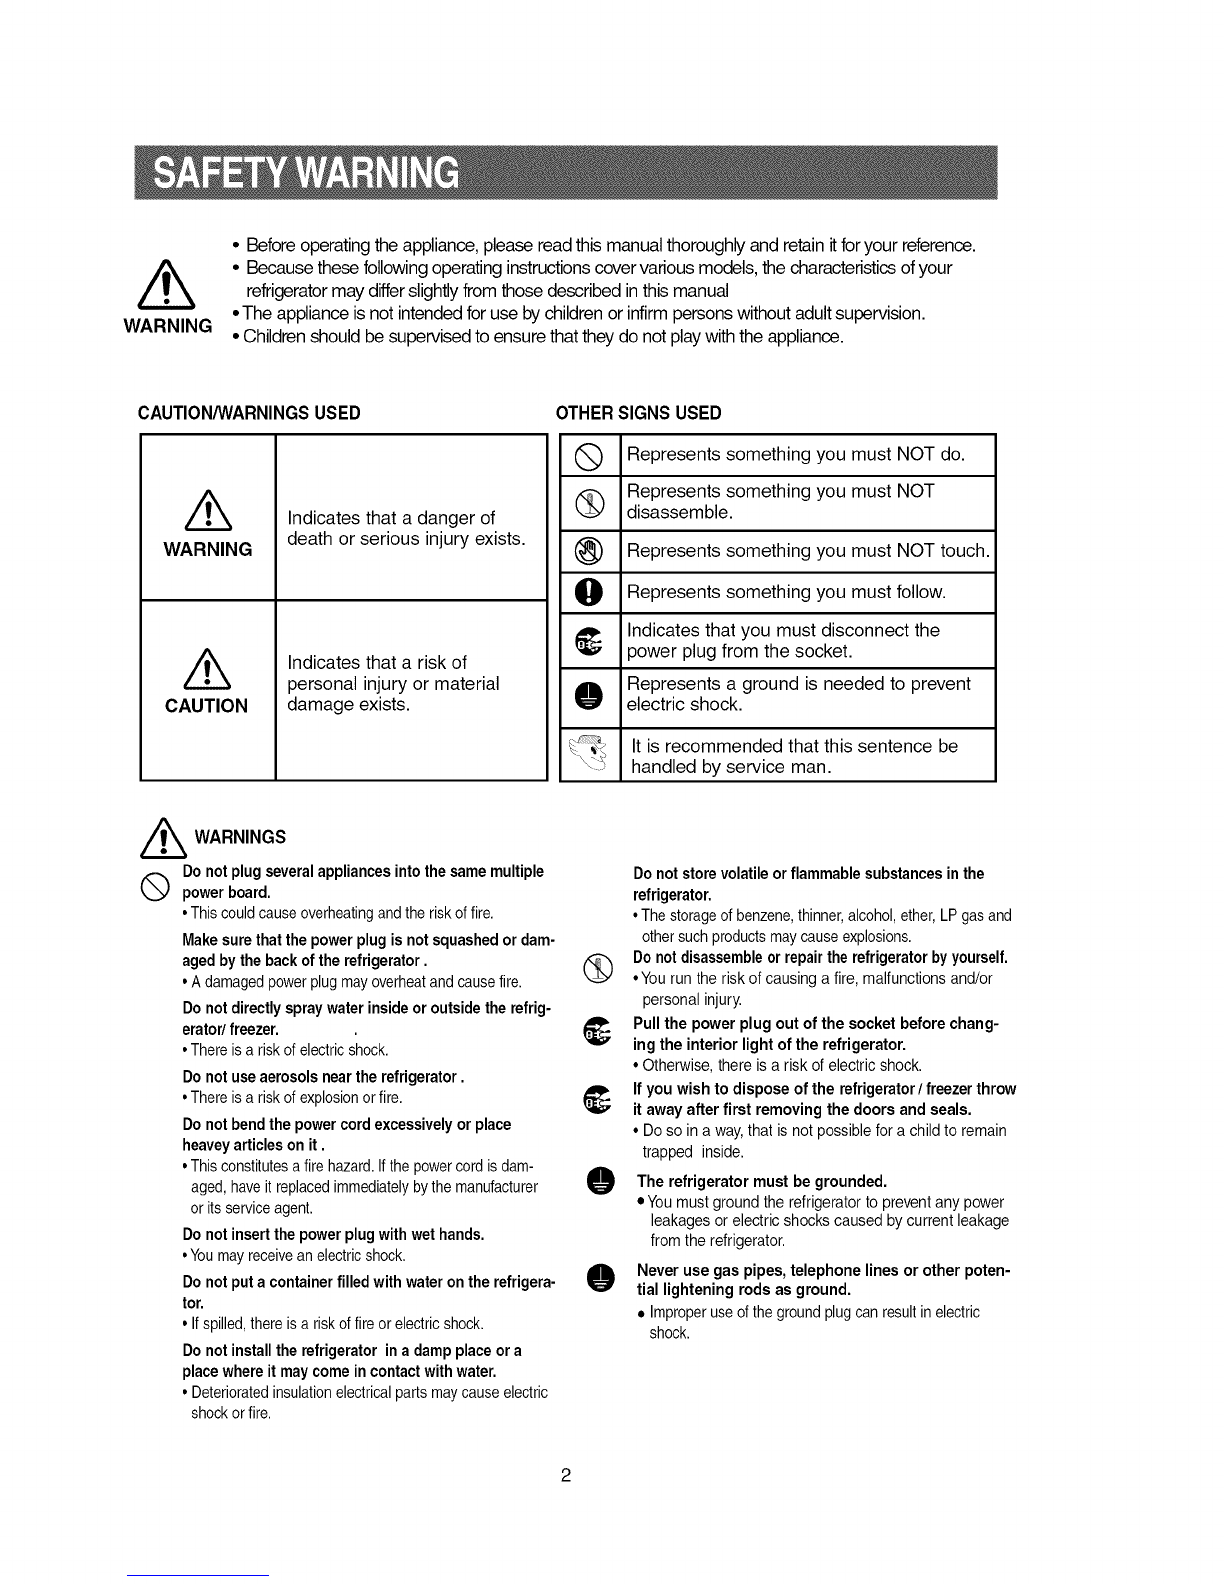
CAUTION/WARNINGSUSED
WARNING
CAUTION
Indicates that a danger of
death or serious injury exists.
Indicates that a risk of
personal injury or material
damage exists.
OTHER SIGNS USED
Q Represents something must NOT do.
you
Represents something you must NOT
_ disassemble.
(_) Represents something you must NOT touch.
O Represents something you must follow.
_, Indicates that you must disconnect the
power plug from the socket.
Represents a ground is needed to prevent
electric shock.
It is recommended that this sentence be
handled by service man.
//_ WARNINGS
Do not plug several appliances into the same multiple
Qpower board.
• This could cause overheatingand the risk of fire.
Make sure that the power plug is not squashed or dam-
aged by the back of the refrigerator.
• A damaged power plug may overheat and cause fire.
Do not directly spray water inside or outside the refrig-
erator/ freezer.
• There is a risk of electric shock.
Do not use aerosols near the refrigerator.
• There is a risk of explosion or fire.
Do not bend the power cord excessively or place
heavey articles on it.
• This constitutes afire hazard. Ifthe power cord is dam-
aged, have it replaced immediately by the manufacturer
or its service agent.
Do not insert the power plug with wet hands.
• Youmay receive an electric shock.
Do not put a container filled with water on the refrigera-
tor.
• Ifspilled, there is a risk of fire or electric shock.
Do not install the refrigerator in a damp place or a
place where it may come in contact with water.
• Deteriorated insulation electrical parts may cause electric
shock or fire.
Do not store volatile or flammable substances in the
refrigerator.
• The storage of benzene, thinner, alcohol, ether,LP gas and
other such products may causeexplosions.
(_ Do not disassemble or repair the refrigerator by yourself.
• You run the risk of causing a fire, malfunctions and/or
personal injury.
_, Pull the power plug out of the socket before chang-
ing the interior light of the refrigerator.
• Otherwise, there is a risk of electric shock.
_; If you wish to dispose of the refrigerator /freezer throw
it away after first removing the doors and seals.
• Do so in a way, that is not possible for a child to remain
trapped inside.
O he refrigerator must be grounded.
• You must ground the refrigerator to prevent any power
leakages or electric shocks caused by current leakage
from the refrigerator.
O Never use gas pipes, telephone lines or other poten-
tial lightening rods as ground.
• Improper use of the ground plug can result in electric
shock.
///_ CAUTIONS
QDonot overfillthe refrigeratorwithfood.
• Whenyouopenthe door,an itemmayfall outand cause
personalinjuryor materialdamage.
Donotput bottlesorglasscontainersinthefreezer.
• Whenthe contentsfreeze,theglassmaybreakand
causepersonalinjury.
Ifthe wallsocketis loose,donot insertthe power
plug.
•Thereis ariskofelectricshockor fire.
®Donotdisconnectthepowercordbypullingonit.
• Damagetothecordmaycauseashort-circuit,fire
and/orelectricshock.
• Ifthe powercordisdamaged,itmustbereplacedby
the manufacturer,a certifiedserviceagentorqualified
servicepersonnel.
Donotstorearticlesonthetopoftheappliance.
•Whenyouopenorclosethedoor,thearticlesmayfall
andcausepersonalinjuryand/ormaterialdamage.
Donotstorepharmaceuticalsproducts,scientific
materialsortemperature-sensitiveproductsinthe
refrigerator.
• Productsthatrequirestricttemperaturecontrolsmust
notbestoredintherefrigerator.
Donotletchildrenhangonthedoor.Ifnot,a seri-
ousinjurymayoccur.
Ifyousmellpharmaceuticalsorsmoke,pulloutthe
powerplugimmediatelyandcontactyourSAM-
SUNGElectronicsservicecenter.
®Donottouchtheinsidewallsof thefreezeror
productsstoredinthefreezerwithwethands.
•Thismaycausefrostbite.
Donotinsertyourhandsintothebottomarea
undertheappliance.
• Anysharpedgesmaycausepersonalinjury.
Neverputfingersorotherobjectsintothe
dispenserholeandicechute.It maycauseper-
sonalinjuryormaterialdamage
O,j
Donotusea wetordampclothwhencleaningthe
plug.Removeanyforeignmatterordustfrom the
powerplugpins.
•Otherwisethereisa riskoffire.
• Iftherefrigeratorisdisconnectedfromthepower
supply,youshouldwaitforatleastfiveminutes
beforepluggingitback.
Iftherefrigeratoris notto be usedfora long
periodof time,pulloutthepowerplug.
• Deteriorationintheinsulationmaycausefire.
3
Onceyouhaveperformedthefollowingsteps,yourrefrigeratorshouldbefullyoperational.If not,check
thepowersupplyand electricitysource.Ifyou haveanyquestions,contactyourSAMSUNG
servicecenter.
Place the refigerator in an appropriate loca-
tion with reasonable clearance between the
wall and the refigerator.
(refer to installation instructions in this man-
nal)
When the refrigerator is plugged in,
the interior light should come on when
you open the doors.
Set the temperature control to the coldest
temperature and wait for an hour.The
freezer should get slightly chilled and the
motor should run smoothly.
Once the refrigerator temperature is suffi-
ciently low, you can store food in the
refrigerator.After starting the refrigerator, it
takes a few hours to reach the appropriate
temperature.
_IIIIIII
_:_!i!_i_i!_4!ili?_f:_i
i <!.............J i
_iill
Twin Cooling System
• The refrigerator and the freezer have two evaporators. Given this
independent system, the freezer and the refrigerator are cooled
individually as required and are, therefore, more efficient. Food odor
from the refrigerator does not affect food in the freezer due to sepa-
rate of air flow circulation.
Multi-Flow System
• Cool air circulates through multiple vents on every shelf level. This
provides even distribution of cooling inside cabinets to keep your
food fresh longer.
Xtra Space TM
• Vertical room next to the ice maker in the freezer provides space
for pizza etc.
Door Alarm
• A beeper reminds you if the door is left open.
Xtra Fresh TM
• Optimized humidity control keeps vegetables & fruits fresh.
Deodorizer (optional)
• Reusable deodorizer keeps the refrigerator air fresh and
odor free.
CoolSelect Zone TM Drawer(optional)
• User can select Quick Cool, Thaw and Select buttons for quickly
chill, thaw and cools items. Select Soft Freeze, Cool or Chill to
control the temperature of drawer.
This operation instruction covers various models,
NOTE The characteristics of your appliance may differ slightly from those described in this manual.
Basic Model
Dispenser Model (Child Lock)
Ice Water
Dispenser Model (Moisture Control)
changetheset temperaturein
sequencebetween
-14°Cand-25°C
POWER FREEZE BUTTON in
Speeds up the freezing process
the freeze.
ICE TYPE BUTTON /
Use this button to choose Cubed
or Crushed Ice or Ice off.
%,..........
FRIDGETEMP.BUTTON
Tosetthe fridgetemperature,
pressthe buttonrepeatedlyto
changethesettemperaturein
sequencebetween7°Cand1°C.
POWER COOL BUTTON
Speeds up the cooling
process in the refrigerator
MOISTURE CONTROL BUTTON
Initially the light of moisture control but-
ton is on. Ifthe moisture in the dis-
penser or Beverage StationTM is found,
press this button. So the light will be on,
and eliminate the moisture.
CHILD LOCK BUTTON
When this button is pressed for
3 sec., the Power Freeze, Power
Cool, Freeze Temp. Fridge
Temp. are locked and can not
be modified. The Water and Ice
dispenser are not locked as to
allow for usage.
Opitonal
Basic IV
Power Freeze Power Cool
Fridge Temp,
Dispenser Model (With CoolSelect ZoneTM)
Freezer Temp. indicates the current freezer temperature.
Fridge Temp. indicates the current refrigerator temperature.
Quick Cool,Thaw, and Select show the status of the CooISelect ZoneTMDrawer
\
Oul • This light is on when you press the Powe! Cool button. "_
f Press the button to quickly return the refrigerator to the set temperature. )
e, Crushed Ice and Ice Off
\/Ice Type • Press the Ice Type button in seqence to choose
Cubed Ice, Crushed Ice or Ice Off to stop making ice.
=_--_ _ _ _ • Bright icon indicates the ice state currently operated.
Crushed Ice Off
% ,
I • When the green light changes to orange, it is time to replace the water filter. _'
Fi icator If indicator is red, quick replacement is strongly recommended.
• When the water filer is replaced, reset the indicator by pressing the Ice Type but-
I:_:_::I ton and the Child Lock buttons simultaneously for 3 seconds.
• To turn this indicator off, press the Ice Type and Child Lock buttons simultane-
ously for 5 seconds. _
7
Freezer
• The freezer temperature can be set between
-14°C and -25°C.
• Press the Freezer Temp. button repeatedly until the
desired set temperature is shown in the temperature
display.
• The temperature display changes in sequence
between -14°C and -25°C. When the display reaches
14°C, it returns to -25°C.
• After five seconds, the display reverts to the actual
freezer temperature. The unit will then work to adjust to
the new desired temperature.
Refrigerator
• The refrigerator temperature can be set between
7°C and 1°C.
• Press the FridgeTemp. button repeatedly until the
desired temperature is shown in the temperature dis-
play.
• The temperature display changes in sequence and
reverts in the same way as the freezer.
/k
WARNING
• When ice cream is stored abOVe.15°c in freezer, itmay melL
• The temperature of the freezer 0r the refrigeraTMrisesfrom frequent openings, when sweeping
and from warm food. This may cause the digital display to blink :The digital display will stop
blinking when the freezer and refrigerator returnto the normal temperature.
Ice Maker (Basic Model)
• Pull out the ice tray.
• Add water until it reaches the water level indicator.
• Put the ice tray back in place.
Ice Dispenser
The ice maker produces 10 cubes at once and about 120
cubes a day automatically.This quantitymay be influenced
byfactorssuch asthe freezer temperature,the Power
Freezefunction and the numberof door openings.When
your refrigerator is pluggedin,the CubedIce mode isauto-
maticallyselected.
Pressthe IceType buttontoselectthetypeofice:
Water Dispenser
The capacity of the water tank is approximately 1.2L
Cold Water
• Push the water dispenser lever with a cup.
• If you have just installed the refrigerator, throw
away the first six glassfuls of water to flush out
impurities in the water supply system.
• Cubedlce j_:,, _ _=_ (_
For Cubed ice
•Crushed Ice \_ j_z _ i,
For Crushed ice
\ '/
• No Ice _,___/_ _ml, No Ice
// \ \
For ice off
(_ If the Ice remains in the Ice bucket, the
NOTE cubed ice is obtained.
Push the ice dispenser lever with a cup.
• Place a cup in line with the dispenser lever the
dispenser to prevent ice from jumping out.
/k
CAUTION
Push
........
If you have a !ong vacation or business trip
and won't use the water or ice dispensers,
close the water valvel Otherwise, water
may occur leakage: .............
//_k Never put fingers or anY other objects in
the dispenser Opening. ............................
WARNING Itmay cause injury,
Freezer
Light
Xtra SpaceTM---
Door Bin ----------------------
Light---.----
Ice Chute ..-------
LightSwitch _-
- .........,..............-IceMaker ------
BasicModel
------ Glass Shelf----
Pockets
Plastic Drawers--------------------
Front Leg Cover --
DispenserModel
Refrigerator
Water Filter (optional) .......................
Light (upper)
Spill-proof glass Shelf --------
Light Switch
Foldable Shelf (optional)__....................
Deodorizer ---------
Egg Container -----
CooiSelect ZoneTM Drawer
or Chilled Bin (optional)
Vegetable & Fruit Drawer _
L__..._.
Lights (lower)
DoorBinTopLips
...---------------Gallon Door Bins
9
BasicModel DispenserModel
FROZEN FOOD STORAGE IN FREEZER
.............
Xtra SpaceTM
• Can be used for frozen foods such as pizza, pasta, burri tos, and fajitas.
• In order to prevent odor penetration to the ice, stored food should be
wrapped securely.
Tempered Glass Shelf
• Can be used to store all types of frozen food.
Door Bin
• Can be used for small packages of frozen food.
.... Plastics Drawer
• Can be used to store meat and dry foods. Stored food should be
wrapped securely using foil or other suitable wrapping materials or con-
tainers.
Icechute
,_ DOnot put your fingers; hands or any other in suitable objects in the chute or ice:maker bUCketl
as this may result in personal injury or material damage.
WARNING
10
CHILLED FOOD STORAGE IN REFRIGERATOR
Tempered Spill Proof Glass Shelf
• Can be used to store all types of chilled food.
• Safe and hard to break resistant.
• Circular marks on the glass surface are a normal phenomenon.
Chilled Bin or CoolSelect Zone TM Drawer (optional)
• Helps to preserve the taste of food and prolongs its freshness. Use to
store cheese, meat, poultry, fish or any other foods used quickly.
Fruit & Vegetable Drawer (Upper and Lower)
• Is used to store fruits and vegetables.
• This drawer is airtight. Optimized humidity control design helps to pre-
serve the freshness of the stored vegetables and fruits.
@ Without drawer& the fruit & Vegetable can be stored.
NOTE
Dairy Compartment
• Canbe usedtostorebutteror margarine.
!0 _2 Gallon Door Bins
• Can be used to store foods in small packages, such as milk and
yogurt.
/k
CAUTION
BeverageStation (optional)
• Can be used to store the frequently used items, such as canned bev-
erages and snacks and allows access to these items without opening
the refrigerator door.
Bottles should be stored tightlytogether so that they do not fall out.
EggContainer
• Puteggsinthecontainerandplacethemon theshelf.
Wine Shelf (optional)
• Placeyourwinebottleontheshelfto maintaintheirtaste.
• If YOUhave a long vacation planned, you must decide to empty the refrigerator and turn it oE Wipe
WARNING excess moisture from the inside and leave the doors open. Otherwise, odor and mold may develop.
11
"Select" button (Optional)
SoftFreeze
• When "Soft Freeze" is chosen, the temperature on the
digtal panel displays -5°C regardless of the set tempera-
ture of the refrigerator.
• "Soft-Freeze" temperature helps keep meats and fishes
fresh longer.
• Can cut meat easily without drips.
Chill
• When "Chill" is chosen, the temperature of the CoolSe-
lect ZoneTM Drawer is kept at -1°C regardless of the set
refrigerator temperature.
• "Chill" temperature helps keep meat or fish fresh longer.
Cool
• When "Cool" is chosen, the temperature will be the same
as the set temperature of the refrigerator. The digital
panel shows the same temperature as that of the display
panel.
• The CoolSelect ZoneTM Drawer allows extra refrigerator
space.
12
"Quick Cool" button
• You can use the Quick Cool feature withthe CoolSelect ZoneTM.
• "Quick Cool" allows 1-3 canned beverages to cool within 60 min.
• To cancel this option, press the "Quick Cool" button again.
CoolSelect ZoneTM returns to the previous temperature.
• When "Quick Cool" ends, it returns to the "Cool" temperature set-
ting.
@ Depending on the beverages;the Cool:down time may vary.
NOTE
• For Qu!ck Coo! Option,food stored in the CoolSelect ZoneTM.....
Drawer should be removed.
WARNING
0 QuickCool
N/
_S S°ft
Freeze
Chill
I
elect
"Thaw" button
• Drips loss and quality deterioration of meats reduces the fresh-
ness of foods.
• After "Thaw" is selected, warm and cold air is alternately sup-
plied into the CoolSelect ZoneTM Drawer.
• Depending on the weight of meat, thawing time can be selected
for 4 hrs, 6 hrs, 10 hrs, and 12 hrs sequentially.
• When "Thaw" ends, CoolSelect ZoneTM display returns to "chill"
condition.
• When "Thaw" ends, there are no juice in the meats and they are
half-freezed condition so it is easy to cut them for cooking.
• To cancel this option, press any button except "Thaw".
• The approximate thawing time of meat and fish are shown
below. (Based on linch thickness)
ckCool
"_'_,w ect
ThawTime 4 hours 6 hours 10hours 12hours
Weight 400g 600g 800g 1000g
NOTE
Depending on the size and thickness of meat and fishl the thawing time mayVary.
The above weight represents the total weight of food in the Coo!Select ZoneTM Drawer,
Ex) The totai thawing time for 400g frozen beef and 6OOgfrozen chicken wiil be t0 hoursl
• With the "Thaw" Option,food stored in the CooISelect zone TM Drawer should be removed.
WARNING
13
Glass shelf
• Pull the shelf out as far as
it goes.Then lift it up and
remove it.
Door bin
• Hold the door bin with both
hands and then lift it up.
Plasticdrawer
• Remove the drawer by
pulling it out and lifting it up
slightly.
Ice maker bucket (optional)
• Remove the bucket by lifting up and pulling out.
Front leg cover
• Open the freezer and refriger-
ator doors, remove three
screws and detach the cover.
• To reassemble the cover leg
front, put it back to original
position and tighten the three screws.
• Do not use excessive force when
NOTE disassembling the cover. It may cause
an injury.
iiii
Spill Proof glass shelf
• Pull the shelf out as far as it will go.Then lift it up and remove it softly.
Fruit & Vegetable Drawer
• Remove the drawer by holding the handle, pulling the drawer out and lifting it up smoothly..
• Remove the optimized humidity control cover by pulling it towards you.
GallonDoorBin
• Hold the bin with both hands and remove it by lifting it up.
Wine Shelf (optional)
• It is attached to the cabinet wall. To remove wine shelf, slide the
wine shelf in the direction of the arrow as shown.
• Simply take the shelf out of the tabs.
,_k • Before removingthe freezer and refrigeratora_essories, please movethe stored foods to other spacel
WARNING
14
ToopentheBeverageStationTM, holdtheBeverageStationTM doorhandleandpullitdownward.
• The BeverageStationTM is convenient
and reducesenergyconsumption,
becauseyou do not need to open
the refrigeratordoor to accessstored
beveragesand snacks.
• It is recommendedthatyou use the
BeverageStationTM for storingmost
frequently neededfoods
WARNING
,,The doorofthe BeveragestationTM Shouldneverbe removed.TheBeveragestationTM CannOtfunctionifits door
is missing.
,,Whenclosingthe BeverageStationZMdoor, becarefu!not to putyourhandsorfingersaroundthedoor#ame
wheretheycan be caughtor !njure&
, Whenyouusetheopendoor asatray,do not placeheavyobjectson iLDonota!!owchi!drento
hang onthedoor becausethere is a riskof persona!injuryor materialdamage.
• Whenyouopenthe beveragestationZMdoor,becarefulnotto hit childrenhead.
Interior
• Clean the accessories with a mild detergent, then wipe out with a dry cloth.
• After washing the accessories, make sure that they are dry before using them again.
Exterior
• Wipe the digital panel and display panel with a clean cloth.
• The doors and handles should be cleaned with a mild detergent and cloth. Dry them with a
clean cloth.
• The exterior part of refrigerator should be polished once or twice a year.
Rear
• Usea vacuumcleanerto removedustonceor twicea year.
Ice and water dispenser (optional)
• Use a damp cloth to clean the ice and water dispenser.Then wipe it out with a dry cloth.
• To keep drainage grid dry, do not touch ice and water dispenser.
TM
BeverageStation (optional)
TM
• Use a damp cloth to clean the BeverageStation .Then wipe it out with a dry cloth.
Rubber door seals
• If the rubber door seals are dirty,the door will not close properly, The refrigerator will not be
able to function efficiently.Clean the doors with a mild detergent and damp cloth. Wipe with
a dry cloth.
//_ • DOnot spraythe refrigerator with water. ItmaYcause a death by an electdc shocL
• Do not clean it with benzenel thinnei or car detergenL it maY Causeafirel
WARNING
15
Deodorizer
• Removethecoverwithaflatbladescrewdriverasshown.
• Takeout the cartridge from the cover and soak it in clean, warm water
at leastthan 4 hrs.Completelydry out the cartridge with sunlightforat least 8 hrs in
an open area.
• Repeatthis processonce or twice a year. _ Cartridge
• If it isdried in a confined area, odor may be spread to that area. ....................................................
NOTE • Keepthe childrenawayfrom ye!!owwater,they may drink water.................
WARNING
INTERIOR LIGHTINTHE REFRIGERATOR
\_"i_
Upper
Pull out the screw cap @ and Push the lamp cover in the
remove the screw, direction of the arrows.
Before changing the interior light, unplug the refrigerator fr0m the power supplyl !fyou
have difficulty in changing the light, contact your service center,
After changing the bulb,
reattach the light cover
and screw it in again.
U,
Lower (optional)
Pull out the screw cap _ and
remove the screw. Take the lamp cover out in the
direction of the arrows. After changing the bulb,
reattach the light cover
and screw it again.
16
_INTERIOR LIGHT INTHE FREEZER(Dispenser Model)
Use a screwdriver to remove
the light cover (1_). _ hange the bulb with a new
one (@) Reattach the light cover
To replace freezer and refrigerator light bulbs (Bulb size Et4), please contact SAMSUNG dealer,
NOTE
\:-_ INTERIORLIGHTINTHEFREEZER(Basic Model)
Pullout the screw cap _ and Push the lamp cover in the
remove the screw. _ direction of the arrows. After changing the bulb,
reattach the light cover
and screw it in again.
The water "Filter Indicator" light
• "Filter Indicator" light lets you know when it is time change your water filter cartridge. The light
will change from green to orange. This tells you that it is almost time to change the current cartridge.
It is recommended that you replace the cartridge when the light changes to red.
(see "Install the water filter" section for more information)
Using the dispenser without the water filter
•You can not use the water and ice dispenser without a water filter cartridge because of the water line
block at the water supply.
Ordering replacement filters
• To order more water filter cartridges, contact your authorized Samsung dealer.
The refrigerator doors have a special door opening and closing feature to make sure that the doors
close all the way and are securely sealed.
When opening the door, it will only open so far. After reaching a certain point, it will remain open.
When the door is partially open, it will close automatically.
17
__ Checking the Dimensions of your Entrance Door
NOTE
• Check the dimensions of your entrance door to determine whether the refrigerator can pass
through it.
•When refrigerator passes in door and depth or width of refrigerator is bigger, removes
refrigerator doors.
_Selectingthe Locationfor the Refrigerator
•Select a location with easy access to the water supply.
• Select a location with enough space for the refrigerator.
• Select a location without direct exposure to sunlight.
/_k • Before disassembling the freezer door the water supply line needs to be disconnected,
/,'k (If not, the water supply line can be damaged.)..........
Caution ' See "Separating the water supply line from the refrigerator" On the next page:
Allowsufficientspaceto installthe refrigerator on a flat surface.
• If yourrefrigeratorisnotlevel,theinternalcoolingsystemmaynotwork correctly.
1 Cm
10 Cm
(_ Allow clearance tothe right, !eft, back and top when installingthe refrigerator, .....................................
NOTE This has theadvantage of reducing power consumption.
18
-\-_ Cover (Optional)
Open the freezer and refrigerator doors, and then take off the front leg cover assembly by turn-
ing the three screws counter-clockwise.
FRONTLEGCOVER
_Separating the water supply line from the refrigerator (Optional)
1) Remove the screw from clamp ((®).
2) Remove the water tube by pressing the coupler (@) and pulling the water tube (d_) away.
WARNING
E
I
DOnotCutthewatertubebutSeparateitfromtheCoupler.
19
@
NOTE
• Lift the door Straight upl
• Be careful not to pinch the water tubing and wire harness On the door.
• Place doors on a protected surface.
Removing the Freezer Door
1) With the door closed, remove the upper hinge cover (®) using a screwdriver, and then discon-
nect the wires (@).
2) Remove hinge screws ((_) and ground screw (®) counter-clockwise, and take off the upper
hinge (®) along the arrow ((-¢).Take care when removing the door to ensure that it does not
fall on you.
3) Remove the door from the lower hinge (®) by
carefully lifting the door ((8_). 4) Remove the lower hinge ((9h)from the bracket
lower hinge (_0_)by lifting the lower hinge ((9h)in
the direction of the arrow.
J
20

This manual suits for next models

5

Other Samsung Refrigerator manuals

Samsung RS58K series User manual

Samsung

Samsung RS58K series User manual

Samsung SRF680CDLS User manual

Samsung

Samsung SRF680CDLS User manual

Samsung RB3 C Series User manual

Samsung

Samsung RB3 C Series User manual

Samsung RF30HBEDBSR User manual

Samsung

Samsung RF30HBEDBSR User manual

Samsung RFG297AABP/XAA User manual

Samsung

Samsung RFG297AABP/XAA User manual

Samsung RR19 series User manual

Samsung

Samsung RR19 series User manual

Samsung RSA1NHMH User manual

Samsung

Samsung RSA1NHMH User manual

Samsung SR-32NMB User manual

Samsung

Samsung SR-32NMB User manual

Samsung RS25H50 SERIES User manual

Samsung

Samsung RS25H50 SERIES User manual

Samsung srt3100b User manual

Samsung

Samsung srt3100b User manual

Samsung F23HTEDBSR User manual

Samsung

Samsung F23HTEDBSR User manual

Samsung SR-608EV User manual

Samsung

Samsung SR-608EV User manual

Samsung RT21M SERIES User manual

Samsung

Samsung RT21M SERIES User manual

Samsung RL40E Series User manual

Samsung

Samsung RL40E Series User manual

Samsung RSJ1Z/K Series User manual

Samsung

Samsung RSJ1Z/K Series User manual

Samsung Refrigerator User manual

Samsung

Samsung Refrigerator User manual

Samsung RFG237AAPN - 23 cu. ft. Refrigerator Instruction Manual

Samsung

Samsung RFG237AAPN - 23 cu. ft. Refrigerator Instruction Manual

Samsung RB2055BB User manual

Samsung

Samsung RB2055BB User manual

Samsung RF4287HA User manual

Samsung

Samsung RF4287HA User manual

Samsung RF23HC series User manual

Samsung

Samsung RF23HC series User manual

Samsung RS554NRUA Series User manual

Samsung

Samsung RS554NRUA Series User manual

Samsung RL32FCSI User manual

Samsung

Samsung RL32FCSI User manual

Samsung RS257BABB User manual

Samsung

Samsung RS257BABB User manual

Samsung RF20HFENB User manual

Samsung

Samsung RF20HFENB User manual

Popular Refrigerator manuals by other brands

LG GN-B392YLC owner's manual

LG

LG GN-B392YLC owner's manual

Blomberg SST455i operating instructions

Blomberg

Blomberg SST455i operating instructions

GE TOP-FREEZER 16 Owner's manual and installation instructions

GE

GE TOP-FREEZER 16 Owner's manual and installation instructions

Frigidaire GLHS39EHPB - 23CF SXS ELEC 2-FILTR 7PAD I&W Service data sheet

Frigidaire

Frigidaire GLHS39EHPB - 23CF SXS ELEC 2-FILTR 7PAD I&W Service data sheet

Frigidaire FPHI2188PF use & care

Frigidaire

Frigidaire FPHI2188PF use & care

LG G 202 Series owner's manual

LG

LG G 202 Series owner's manual

Marvel 3OAR-SS-F datasheet

Marvel

Marvel 3OAR-SS-F datasheet

Morris S7449SDL user manual

Morris

Morris S7449SDL user manual

Sharp SJ-WS363T Operation manual

Sharp

Sharp SJ-WS363T Operation manual

LG GL-B200RPR owner's manual

LG

LG GL-B200RPR owner's manual

Hoshizaki Temp Guard FH1-SSB Service manual

Hoshizaki

Hoshizaki Temp Guard FH1-SSB Service manual

AEG Electrolux S71700TSW0 user manual

AEG Electrolux

AEG Electrolux S71700TSW0 user manual

Maytag Perfoma PTB1954GRQ user guide

Maytag

Maytag Perfoma PTB1954GRQ user guide

Grundig GKPN66830LXP user manual

Grundig

Grundig GKPN66830LXP user manual

Kuppersbusch IKE2590-2-2T user manual

Kuppersbusch

Kuppersbusch IKE2590-2-2T user manual

Guzzanti GZ-340 instruction manual

Guzzanti

Guzzanti GZ-340 instruction manual

GE BIS42CK Technician guide

GE

GE BIS42CK Technician guide

Frigidaire GLRT188WDZ0 Service data sheet

Frigidaire

Frigidaire GLRT188WDZ0 Service data sheet

manuals.online logo
manuals.online logoBrands
  • About & Mission
  • Contact us
  • Privacy Policy
  • Terms and Conditions

Copyright 2025 Manuals.Online. All Rights Reserved.