manuals.online logo
Brands
  1. Home
  2. •
  3. Brands
  4. •
  5. Sanyo
  6. •
  7. Microwave Oven
  8. •
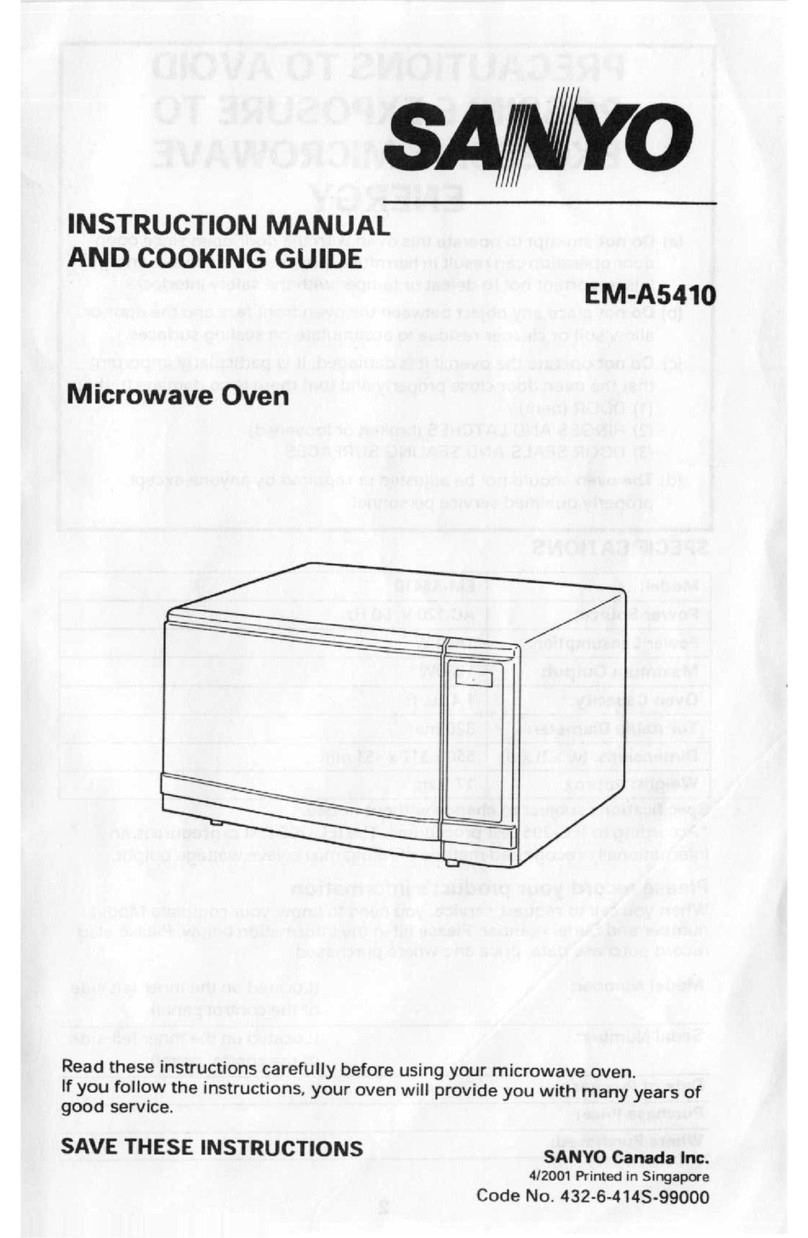
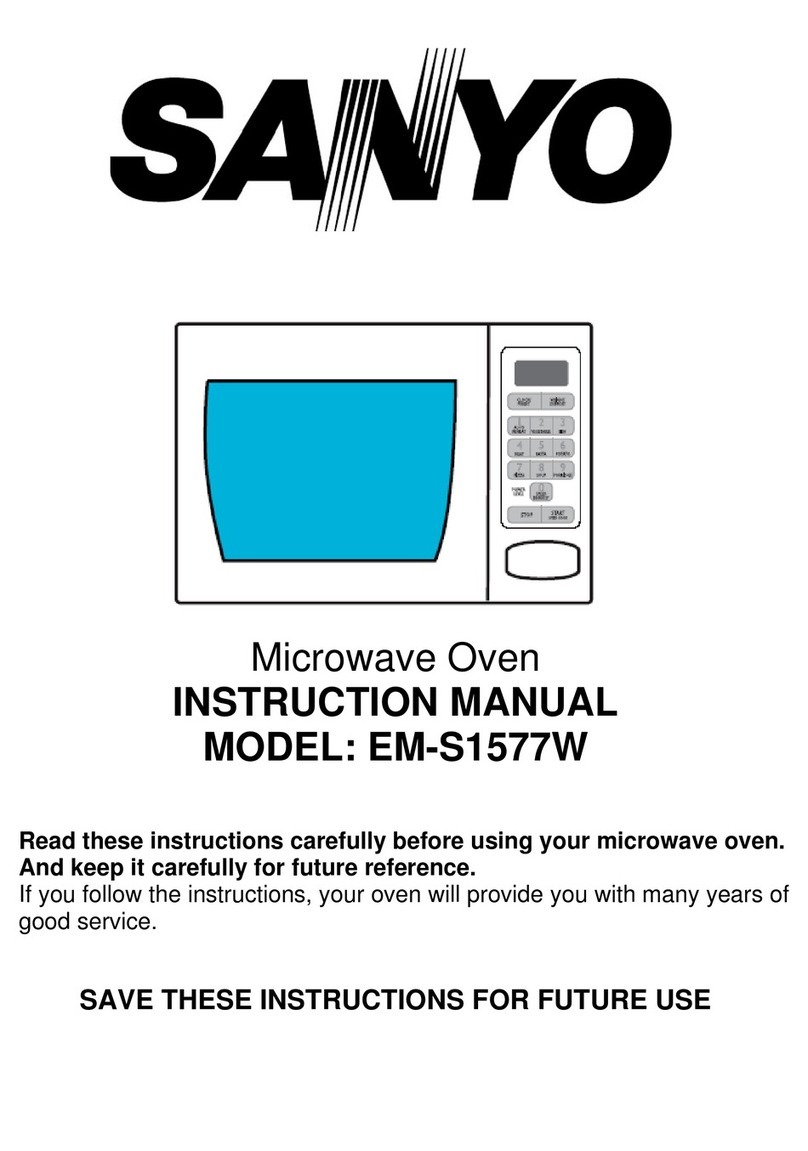
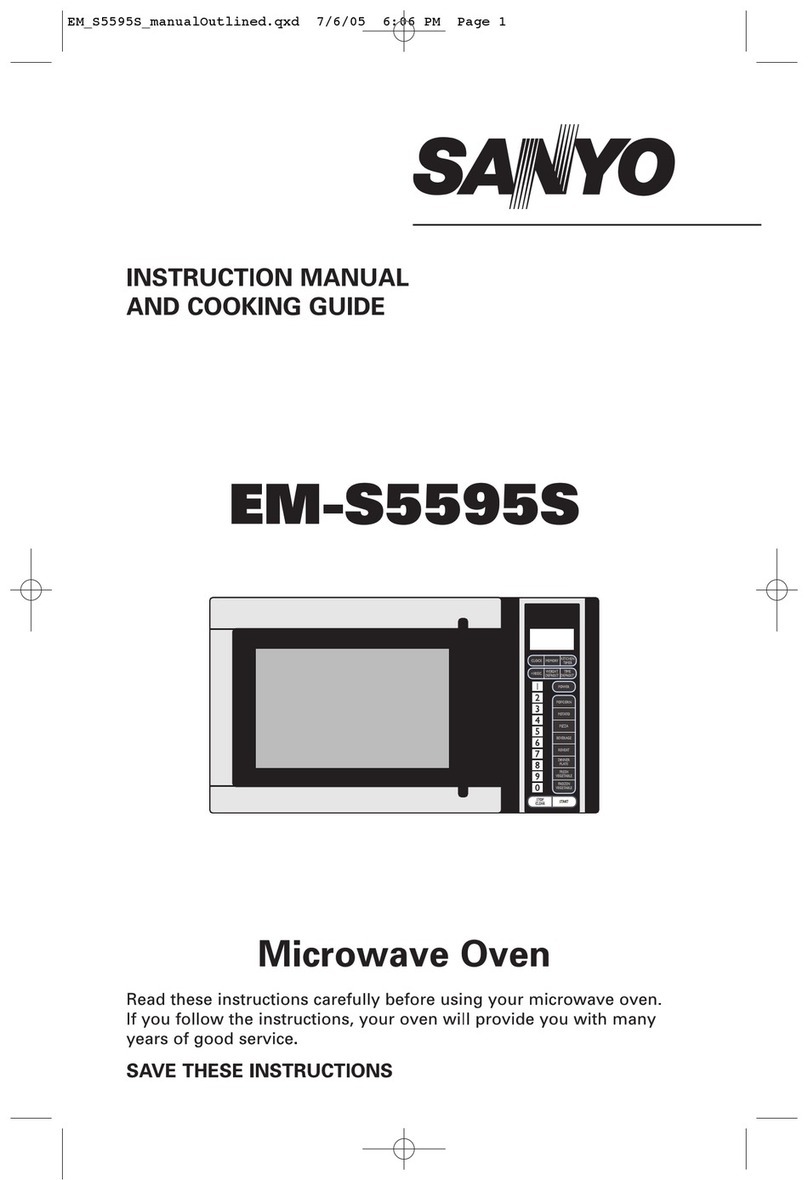
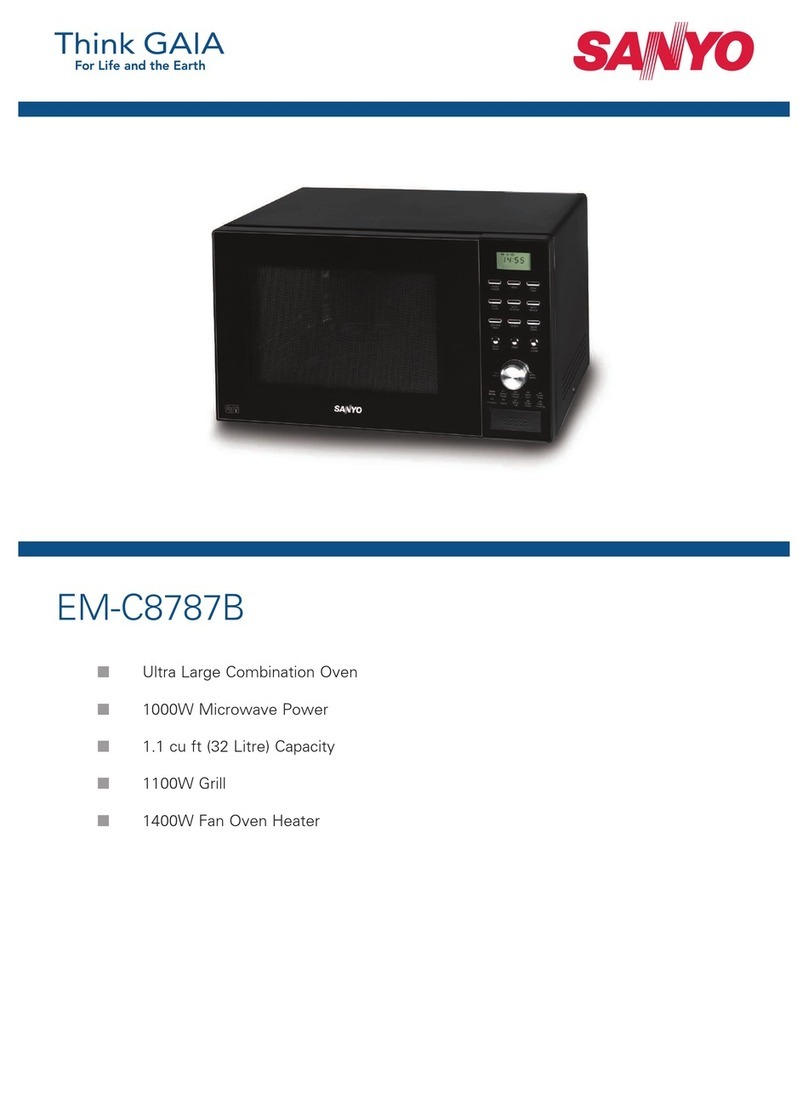
  9. Sanyo EM-F301WS User manual

Sanyo EM-F301WS User manual

SUPPLEMENTOF
SERVICE MANUAL Microwave Oven
FILE NO.
EM-F301 WS (New Zealand)
c/’”
/
Product Code No. 43737615
See the service manual of EM-S829(SM-860043) except
the items described in this service manual.
Foreword
Read this manual carefully, especially precaution on microwave energy, and follow the procedure strictly.
Careless servicing and testing may expose yourself to the microwave energy leakage.
IPRECAUTIONS I
PRECAUTIONS TO BE OBSERVED BEFORE AND DURING SERVICING TO AVOID POSSIBLE EXPOSURE TO
EXCESSIVE MICROWAVE ENERGY
I(a) Do not operate or allow the oven to be operated with the door open. I
(b) Make the following safety checks on all ovens to be serviced before activating the magnetron or other microwave
source, and make repairs as necessary:
(1) Interlock operation, (2) proper door closing, (3) seal and sealing surfaces (arcing, wear, and other damage),
(4) damage to or loosening of hinges and latches, (5) evidence of dropping or abuse.
(c) Before turning on microwave power for any service test or inspection within the microwave generating compartments,
check the magnetron, wave guide or transmission line, and cavity for proper alignment, integrity, and connections.
(d) Any defective or misadjusted components in the interlock, monitor, door seal, and microwave generation and transmis-
sion systems shall be repaired, replaced. or adjusted by procedures described in this manual before the oven is
released to the owner.
1I
REFERENCE NO. SS-860090
-+ m—TABLE OF CONTENTS —
Specifications .....................................1 Test Procedures ..................................... 3
PowerOutput Measurement . . . . . . . . . . . . . . . . . . . . . . . . . . 1Disassembly Instructions . . . . . . . . . . . . . . . . . . . . . . . . . . . . . . .4
Circuit Diagram . . . . . . . . . . . . . . . . . . . . . . . . . . . . . . . . . ...2 Exploded Vlewand Parts List . . . . . . . . . . . . . . . . . . . . ...5- 9
Overall Circuit Diagram ..............................10
1.SPECIFICATIONS
Rated Power Consumption .... 1260W.
Microwave Output .... ........... 850W.
Frequency ...................... . .. 2,450 MHz*50MHz.
Power Supply ...................... 230V-240V.50HZ.
Rated Current ...................... 5.5Amp.
Safety Devices .................... Thermal Protector, Open at 122°C
for Cavity.
Thermal Protector, Open at 122-C
for Magnetron.
Fuse (Cartridge Type 8A).
Primary Interlock Switch.
Door Sensing Switch and Relay2.
Interlock Monitor Switch.
Timer ........... Electronic Digital, up to
99 min. 99 sec.
Overall Dimensions ...... ...... 525(W) x418( D)x283(H) mm.
Oven Cavity Size .................. 350(W) x371(D) x208(H) mm.
Turntable Diameter .............. 340mm.
Effective Capacity of
Oven Cavity ..... ............. 261iters.
Net Weight ............................ Approx.18 Kg.
2. POWER OUTPUT
NOTE
MEASUREMENT
The power output specification, 850W on this model is measured
with IEC measurement. The power output is measured with two (2)
liters water is equivalentto850W in measurement with lEC, when
measured with the following power output.
(A) 1. Fill twotest bowls with eachl Iiter water respectively.
2. Use accurate thermometer and measure each water
temperature respectively.
(B) Place thetwobowls on glass turntable.
(c)
(D)
(E)
(F)
(G)
1.
2.
1.
2.
1.
2.
3.
Set cooking time to two (2) minutes. (“2 OO-appears in
display)
Touch START key and operate oven for exactly two (2)
minutes.
Take out the two bowls atonce.
Stir both water with thermometer and measure the water
temperature rise respectively.
Get temperature rise by calculating the difference (water
temperature after cooking minus initial temperature) in
each bowl.
Then calculate average value(t)of both temperature rises
in degrees centigrade.
Then workout;
Power Output (watt) =70xAt
Power output shall be in the following range:
Average Microwave
temperature rise Power output
RE-i-=i
II1
Power Output will be influenced by line voltage of power
supply. Consequently, correct power output must be
measured within 240V AC t2volts while unit is operating.
—
–l–
3. CIRCUIT DIAGRAM
N@L
1-1
POWER CORD tPOWERCORD
GR%ND
,—— ———— .I
CAVITY
‘- PROTECTOR
r122w5°C
-1
----- -.
ITHERMAL
d“’”
‘C2
WI C3 ~OPENS AT
BL n
MAGNETRON IN LBL
THERMAL PROTECTOR —————. CAVITY
OPENS AT 122f5°C wLIGHT />
wBK
INTERLOCK MONITOR
wSWITCH @lNTE~%!!&TCH
tNC COM Y
L
w
Y
IBLOWER MOTORly
WY
wGEAR MOTOR
w
1.
———.
-N
I
[w
–1 HIGH VOLTAGE TRANSFORMER
—— —— —— —— — —— — 1—-l
I
P1
11 kid
1
STEP DOWN
TRANSF~RMER
——— 3
BL I———————
I_
—— —
*FUSE DIODE
4KVDC
F
H
@
~{11!42 I
CIRCUIT I
BOARD mIr
TOUCH
KEY
BOARD
L————_———_—_ _ul (J
BK
WIRINGCOLOUR
BK :BLACK
o:OFwiGE
BL :BLUE
W:WHITE
Y:YELLOW
R:RED
Pane markadwith this sign areauppfiedwith
highvoltage exceeding250V.
Partsmarkadwith this sign havespatial
characteristicsimpatant for microwaveleakage.
When replacingany of these parts use only
manufacturersspacifiadparts
Figure 1ISECONDARYINTERLC)CK ]
IPRIMARY INTERLOCK DOOR
SWITCHMADE.INTERLOCK MONITOR SENSING
SWITCH IRELAY2
SWITCH SWITCH I
CONDITION COM COM COM COM
NO NC NO NO
IDOOROPEN I1“1 I I
DOORCLOSE . . .
–2–
—
–3–
5. DISASSEMBLY INSTRUCTIONS
L
L
A. REMOVING BLOWER MOTOR
(Figures 3(Top View) and 4)
(1) Remove screw securing the stay.
(2) Disconnect all lead wires from the blower motor
and H.V. capacitor.
(3) Remove 2screws securing the blower base and
disengage 3hooks from the rear plate of cavity
(Figure 4)
(4) Remove 1screw securing the blower motor with
the blower base.
B. REMOVING MAGNETRON
(Figure 3(Top View))
After removing the blower motoc
(1) Remove duct (msg. intake) and duct (msg.
exhaust).
(2) Remove 1screw securing the thermal protector.
(3) Disconnect 2lead wires from the magnetron.
(4) Remove 4screws securing the magnetron to the
waveguide.
(5) Take out magnetron VERY CAREFULLY.
NOTES
1. When removing the magnetron from the cavity or
wave guide, use aproper care so that the dome of
the magnetron does not hit any adjacent parts of
microwave oven.
2. Make sure that the contact face of the magnetron
gasket is free from any damage or deformation.
3. Adjust the position of the magnetron properly, so
that it correctly sits in place and the magnetron
gasket is in contact with the mounting rim evenly.
4. While holding the magnetron under this condition,
tighten mounting screws or nuts with your fingers
temporarily.
5. Further tighten the screws or nuts with abox
wrench, giving one or two turns to each of the
screws (or nuts) alternatively so that the magnetron
is mounted on to the bracket uniformly.
6. After replacing the magnetron, be sure to check the
microwave energy leakage with aleakage detector
and confirm the leakage is below 5mW/cmz.
NOTES
When inserting duct (msg. exhaust), overlap the lower
tab of the duct onto the magnetron, at the same time
ensure the hook on the duct is properly engage to the
magnetron (See figure 5),
Blower base
Duct (msg. exhaust) I
slay Duct (msg. intake)
Figure 3(Top View)
Screw
\–
—. ~
.~
)2
:::::;...........
.................
..............- 3Hooks
................-
..........-
Sciews
Figure 4
Screws Upper Hook
,A, ~~:~$~
IMagnetron
oust
(mag, exhaust)
‘1
Lower Tab
Overlep onto
magnetron
Figure 5
–4–
6. EXPLODED VIEW AND PART LIST
CAVITY PARTS
‘\
1/24 4
—
&-24 “$
*** ALL SERVICE ON MICROWAVE OVENS SHOULD BE PERFORMED BY AQUALIFIED TECHNICIAN USING
APPROVED TESTING EQUIPMENT. CUSTOMERS SHOULD NOT ATTEMPT TO REPLACE PARTS _
IDENTIFIED BY ATRIPLE ASTERISK (’**)
[ey Parl No. Description Q’ty
do.
16171862072 Cabinet (AleQorder circuit diagram 1
when replacing Cabinat)
24110625201 SCR TPG TRS 4X1O21 8
3411 1606007 SCR TPG TRS +SRT 4X10mm 4
46171365113 Power Cord 1
5
6 6171814217 Oven Cavity ‘“ (Not Service Parts) 1
7 6171512458 Gear Motor 1
64110105808 SCR EVR PAN4XI021 2
9 6171365601 Bottom Plate ‘“ (Not Service Parts) 1
10 6171445435 Plaatic Foot with Canoe Clip 4
11 4110110602 Bolt Hex +SW +W5X14mm 21 ●“’ 2
—
:ey
40.
12
13
14
15
16
17
18
19
20
21
22
23
24
—
Part No.
6171606137
4110892500
6171208481
6171444476
6171812657
6171242393
6171814246
6171621938
4110691707
4110076900
6171241235
6170805315
411 1606106
Description
Hinge, Lower “+’
Washer F5x1OXO.8
Insulation Sheet
Turn Table Shatt
Roller
Rotating Tray
Antenna
Cavity Cover
SCR TPG TRS 4X6 DA
SCR TPG PAN 3X621
Thermostat, Cavity 122°C
Special Washer
SCR S-T PAN 4XI021
Q’ty
1
1
1
1
1
1
1
1
1
1
1
1
2
–5–
SWITCHES AND MICROWAVE PARTS 4
L
•1Patis marked with this sign are supplied with
high voltage exceeding 250V.
o~Parts marked with this sign have special
characteristics important for microwave
leakage. When replacing any of these parts use
only manufacturers specified parts.
*** ALL SERVICE ON MICROWAVE OVENS SHOULD BE PERFORMED BY AQUALIFIED TECHNICIAN USING
APPROVED TESTING EQUIPMENT. CUSTOMERS SHOULD NOT ATTEMPT TO REPLACE PARTS
IDENTIFIED BY ATRIPLE ASTERISK (***)
{ey Part No. Description Q’ty
No.
1 4110825201 SCR TPG TRS 4XI0 ZI 8
2 6171742084 H,V,Transformer, N5T-S728SAP 1
3 6171718708 Stay, Csvity &Msgnetron 1
4 4110076900 SCR TPG PAN 3X6 Z1 1
56171241235 Thermostat, Magnetron, 122°C 1
64150026002 Magnetron, 2M218H(N) A‘“ 1
7 4230227503 Fuse, 250V 8A 1
8 6171850024 PCB Complete 1
98171805741 Lead Wire Ass’y (including Diode) 1
10 6171621990 Space Partition (Blower) 1
11 6171857139 High Voltage Capacitor including 1
Reaiator, 0.97pf 2,4 KV
12 6171822373 Capacitor Band 1
13 4110115609 Bolt Hex 4x1 OZ1 4
14 6171812534 Duct, Msg. Exhaust 1
15 8171103618 Lamp, 240V 25W 1
16 6171241280 Lamp Socket 1
17 6171670592 Blower Motor 1
[ey Part No. Description Q’ty
~o.
18 4110825201 SCR TPG TRS 4XI0 ZI 2
19 6171121025 Blower Fan 1
20 6171241181 Latch Lever’” 1
21 6171670523 Micro Switch, Primary Intsrlock 1
V-5P030FBX129””’
22 6170045575 Micro Switch, Intsrlock Monitor 1
V-5220DZ””
23 6171670523 Micro Switch, Door Sensing 1
V-5P030FBX1 29’”
24
25 6171241174 Lever Stopper””’ 1
26 411 1025907 SCR ETG TRS 4X1 ON2 2
27
28 6171173505 Harness, Door Sensing 1
29 6171243796 Lead Wire Ass’y 1
30 6171325713 Insulation Sheet 1
31 4110014704 SCR S-T PAN 4XI0 ZI 1
32
33 411 1606106 SCR S-T PAN 4X1O Z1 1
-6-
DOOR PARTS
1***
\
/
\
*** ALL SERVICE ON MICROWAVE OVENS SHOULD BE PERFORMED BY A QUALIFIED TECHNICIAN USING
APPROVED TESTING EQUIPMENT. CUSTOMERS SHOULD NOT ATTEMPT TO REPLACE PARTS
IDENTIFIED BY ATRIPLE ASTERISK (***)
Key
No.
1
2
3
4
5
6
Part No.
6171793079
6171614170
6171814156
6171240948
6171240931
4110541903
Description
Door Cover ““
Door PaneI “’”
Door Main Frame ‘** (Also order Door
Sheet when replacing Door Main Frame)
Choke Dielectric ‘“
Door Sheet
Nut Hex +Flg W/SRT 5‘“’ 1
Q’ty
1
1
1
1
1
2
Key
No.
7
8
9
10
Part No.
6171806151
4110110802
6171011494
6171792478
Description
Hinge, Upper “’”
Bolt Hex +SW +W5X14 ‘“
Spring ‘“
Door Latch ‘*’
1
Q’ty
1
2
1
1
–7–
CONTROL PANEL PARTS
6**,
L
\
3***
“1
2***
\
b
5
4*** !
\P
9***
PERFORMED BY AQUALIFIED TECHNICIAN USING
*** ALL SERVICE ON MICROWAVE OVENS SHOULD BE
APPROVED TESTING EQUIPMENT. CUSTOMERS SHOULD NOT ATTEMPT TO REPLACE PARTS
IDENTIFIED BY ATRIPLE ASTERISK (***)
—
(ey Part No. Description Q’ty
flo.
16171659346 Control Sheet”” (Also order Touch Key 1
Board when replacing Control Sheet)
2 6171859355 Touch Key Board “’” (Also order Control 1
Sheet when replacing Touch Key Board)
3 6171795981 Control Frame ‘“’ 1
4 6171514377 Control Base ‘“” 1
PRINTED MATTER (Items Not Illustrated)
Key
No. Part No.
6171461077
6171857184
6171859379
6171891843
6171891850
Daacription Q’ty
Cook Book 1
Operating Inatructiona 1
Carton Box Complete 1
Name Plate 1
Circuit Diagram 1
(ey Part No. Description Q’ty
No.
54111606205 SCR TPG TRS +SRT 4x1O21 1
6 6171837687 Power &Control Circuit Board”’* 1
74111295605 SCR TPG BIN 3x1O 21 2
8 6170809559 Spring, Door Release Lever ●“* 1
9 6171795929 Door Release Lever *“ 1
–8–
EM-F301WSSAP
CONTROLCIRCUITBOARD
.(Part No.617 183 7667)
Key No. Order parts No. Description Q’ty
INTERGRATEDCIRCUIT
L
lTRANSErroris
Q104
Q102, Q103
409378 7404 IC LM8749B- 1
453SP
405 082 4619
405 035 4819
405 000 1812 T
DTA123YS. YL 2
2SA1503-AC
2SC1685-Q, R1
DTA143XS-TP 2
1=
DIODES
D11
D101 -D 106
ZD 101
ZD 11
CAPACITORS
407 012 0220
4070124317
407 055 9010
407 0568517
1N4002 1
1SS132 6
RD3. 9ES62 1
RD5. 1ES82 1
,
Ic 11 I4030453310 I1000UM 25V 11
u
IRESISTORS
R“ll -14
R56
R52, 105, 107
R101
R102
R106,113,117-121
R103,110
R104,109,114
R122- 126
R108,130
R127 -129
R111
R112
R115,116
401 0134156
401 013 6338
401 020 2835
401 023 1637
401 012 4434
401 020 1957
401 0125639
401 012 6953
401 012 6953
401 016 4757
401 012 8056
401 0183738
401 018 2751
401 016 9653
47UM 10V 1
lUM 50V 1
.,O.lUM 25V 1
O. OIUM 50V 6
I
120 l/4w
12K l/4W
47K l/4W
820 l/4W
100 l/4w
4.7K l/4W
lK l/4W
10K l/4W
10K l/4W
22K l/4W
lOOK l/4W
3.3K l/4W
330 l/4w
27 l/4W [
4
1
3
1
1
7
2
3
5
2
3
1
1
1
IKey No.
F---
I
r
BZ1
LCD1
RL 1
RL 2
RS 1
Slol
S102
S1
FS1
VST1
PT1
Order parts No. Description Q’ty
617 010 3541 lOOKOHM*102 1
1/8W
420 000 6800
617 178 6477
617 137 9358
617 141 0549
617 128 3372
6170022330
617 111 1392
617 169 4109
423 018 2901
407 1185505
617 171 2155
Buzzer
PKM22EPT-2001
Display tube
RCO1371R
Relay
OJE-SR-1 12LM
DEC DU12D1-lPI
CERAMIC RES.
CST4. OOMGW-TF
Socket
PLUG 2/3P
PLUG
FUSE 125V 0.41
Varistor
ENC471D-1 OA
Transformer
PD5TK-S150
1
1
1
1
1
1
1
1
1
1
I
See the next page.
CONTROL CIRCUIT BOARD
(Part No. 617183 7667)
() ye’:-----:’!+ q0’
R127
Icll I9109 IT
II
IIo
l121u
1120- e
{119= II
3118= ‘———————————— —————’ ~z
I- ----
+1+ c102 Rsl~ —1
C/3
o
TP-1
TP-2
GROUND
–9–
(
7. OVERALL CIRCUIT DIAGRAM
——— ——— .—— — —— —— ——
I11
e~w I.—— — ———— ———— ———— ———— ———.
,,,f Ac2w;240v
ill -.
FUSE-=, III
i
——
Ssia ::: SE(!3
SEG,4 ““SEG7
DISP!AY
SQ2, ~5SE(I2 ITUBE
SE= ~4SEG ,CIRCUIT
Smml” ‘1SEG,
,
~14——————— ——————— ——————— __
n, ‘5
.‘8 1I
I
o
Il___––
I
I
IIwl$l;lm
lo—— ________ _________ _____,
“+-T+ +
E
NW mw*X
F62 vu
AJNI s
?8
NW
JT E534~cm
I
F––––––5+:--–’ f% I
J,ss132 T22 ~
-—— —— __ __ __ _ f,,
fITIMER BASE C,,O R,rJ7
Clm
--------- O,olv ~~
1P
1-‘T=’ ““-’ “‘;
s, 1MN .,,vb “nvp!!iq
[_CIRCUIT
1“ “1
cl., m,,
00,, CIC5 RMIES= c,,
I* cl, 0,01,
;C$!J %,
s> 4V
R,4 R13 R,, R,,
,Ku.4
-1 5V
I
.——
bI
POWER
SUPPLY
CIIICUIT
PTl PD5TK4, 54
— — ——— ——— ——— ——— ——— ——— —
—
November ‘96/1 00 LT Printed in Singapore
SANYO Electric Co., Ltd.
Osaka, Japan

Other Sanyo Microwave Oven manuals

Sanyo EMS9515W User manual

Sanyo

Sanyo EMS9515W User manual

Sanyo EM-F3400SW User manual

Sanyo

Sanyo EM-F3400SW User manual

Sanyo EM-X491S User manual

Sanyo

Sanyo EM-X491S User manual

Sanyo EM-S9000 Use and care manual

Sanyo

Sanyo EM-S9000 Use and care manual

Sanyo EM-S5120WB Use and care manual

Sanyo

Sanyo EM-S5120WB Use and care manual

Sanyo EM-C1900 User manual

Sanyo

Sanyo EM-C1900 User manual

Sanyo EM-C1800K User manual

Sanyo

Sanyo EM-C1800K User manual

Sanyo EM-D7750ECO User manual

Sanyo

Sanyo EM-D7750ECO User manual

Sanyo EM-M470WS User manual

Sanyo

Sanyo EM-M470WS User manual

Sanyo EM-U1000W Use and care manual

Sanyo

Sanyo EM-U1000W Use and care manual

Sanyo EMS5595S - Microwave 0.9 Cubic Feet Use and care manual

Sanyo

Sanyo EMS5595S - Microwave 0.9 Cubic Feet Use and care manual

Sanyo EM-S8597W User manual

Sanyo

Sanyo EM-S8597W User manual

Sanyo EM-G454EUK User manual

Sanyo

Sanyo EM-G454EUK User manual

Sanyo EMS6588S - USA Countertop Microwave Oven 1.0 cu.ft. Capacity... Use and care manual

Sanyo

Sanyo EMS6588S - USA Countertop Microwave Oven 1.0 cu.ft. Capacity... Use and care manual

Sanyo EM-SL20NECO User manual

Sanyo

Sanyo EM-SL20NECO User manual

Sanyo EM-S1553 User manual

Sanyo

Sanyo EM-S1553 User manual

Sanyo EM-S8597V User manual

Sanyo

Sanyo EM-S8597V User manual

Sanyo EMX-412 User manual

Sanyo

Sanyo EMX-412 User manual

Sanyo EM-Z2001S User manual

Sanyo

Sanyo EM-Z2001S User manual

Sanyo EM-P672WS User manual

Sanyo

Sanyo EM-P672WS User manual

Sanyo EM-D9750 User manual

Sanyo

Sanyo EM-D9750 User manual

Sanyo EM-S1567B User manual

Sanyo

Sanyo EM-S1567B User manual

Sanyo EM-C1800 User manual

Sanyo

Sanyo EM-C1800 User manual

Sanyo EM?S667S User manual

Sanyo

Sanyo EM?S667S User manual

Popular Microwave Oven manuals by other brands

Sunbeam SGDJ901 user manual

Sunbeam

Sunbeam SGDJ901 user manual

Whirlpool AMW 831 Instructions for use

Whirlpool

Whirlpool AMW 831 Instructions for use

KRAFT TCH-205W7101MW user guide

KRAFT

KRAFT TCH-205W7101MW user guide

Galanz ExpressWave GSWWD14S2S11 manual

Galanz

Galanz ExpressWave GSWWD14S2S11 manual

Daewoo KOR-636T instruction manual

Daewoo

Daewoo KOR-636T instruction manual

Samsung MD1200 owner's manual

Samsung

Samsung MD1200 owner's manual

iCES IMO-25L63R owner's manual

iCES

iCES IMO-25L63R owner's manual

Panasonic NN-S454 Operation guide

Panasonic

Panasonic NN-S454 Operation guide

Panasonic INVERTER NN-S760 operating instructions

Panasonic

Panasonic INVERTER NN-S760 operating instructions

KitchenAid KMBD104GSS Use and care guide

KitchenAid

KitchenAid KMBD104GSS Use and care guide

LG MS4082XRS owner's manual

LG

LG MS4082XRS owner's manual

GE CVM1750 owner's manual

GE

GE CVM1750 owner's manual

Electrolux EW27SO60LS Wiring diagram

Electrolux

Electrolux EW27SO60LS Wiring diagram

Maytag UMC1071AAB/W owner's manual

Maytag

Maytag UMC1071AAB/W owner's manual

Sharp R-898M Service manual

Sharp

Sharp R-898M Service manual

LG MS2043DB owner's manual

LG

LG MS2043DB owner's manual

Whirlpool MW B00 Instructions for use

Whirlpool

Whirlpool MW B00 Instructions for use

IKEA NUTID MWC 6 manual

IKEA

IKEA NUTID MWC 6 manual

manuals.online logo
manuals.online logoBrands
  • About & Mission
  • Contact us
  • Privacy Policy
  • Terms and Conditions

Copyright 2025 Manuals.Online. All Rights Reserved.