manuals.online logo
Brands
  1. Home
  2. •
  3. Brands
  4. •
  5. Saxby
  6. •
  7. Outdoor Light
  8. •
  9. Saxby Evesham Wall Manual

Saxby Evesham Wall Manual

• TheLEDbulbsinthisproductarenonreplaceable
Fitting/replacing bulbs
Instructionleaflet
Evesham Wall
54555,54556
www.saxbylighting.com
Live Voltages may be present in this unit even when turned off or when completely disconnected.Foryoursafety,
alwaysswitchoffthesupplybeforechanginglightbulbs,orcleaning.
Wasteelectricalproductsshouldnotbedisposedofwithhouseholdwaste.Pleaserecyclewherefacilities
exist.CheckwithyourLocalAuthorityorretailerforrecyclingadvice.
Recycling advice
Safety information
SaxbyLightingLtd.BH233PE
Werecommendcleaningwithasoftdrycloth.
Donotusesolventsorabrasivecleanersasthesecould
damagethefinish.
Iss.422012016
• Placethelightfittingoverthethreadsofthesecuring
screws and refit the rubber washers and finials to
secure.Makesurethefittingiscorrectlyorientedina
verticaldirection(SeeFig.2overleaf).
• Replacefuseor circuit breakerand switch on.Your
lightisnowreadyforuse.
Commissioning
Either side of product
Left
Side
Right
Side
PIR Adjustment
1.Theunitmustbeinstalledinaverticalposition,and
fitted1.8m-2.5mabovetheground.
2.The detection angle is set at 130 degrees and the
detectiondistanceis8m.ThePIRwillstartactivating
whenthelightleveldropsto20LUXandwillcontinue
to activate until the light level rises to 2000 LUX.
When adjusting the sensitivity (detection distance)
in daylight it will be necessary to cover the sensor
tosimulatenighttime.WhenthePIRisactivatedthe
lightwillremainlitforamaximumof5minutes.The
minimumis5seconds.
Thankyouforpurchasingthislightfitting.Pleasereadtheinstructionscarefullybeforeusetoensuresafeand
satisfactoryoperationofthisproduct.Pleaseretaintheseinstructionsforfuturereference.
Warning
This product is Class 2 (Double insulated)
and must not be earthed.
Pleasereadtheseinstructionscarefullybefore
commencinganywork.
Thisunitmustbefittedbyacompetentandqualified
electrician.
InstallinaccordancewithIEEWiringregulationsand
currentBuildingRegulations.
Topreventelectrocutionswitchoffatmainssupply
beforeinstallingormaintainingthisfitting.Ensure
otherpersonscannotrestoretheelectricalsupply
withoutyourknowledge.Ifyouareinanydoubt,
pleaseconsultaqualifiedelectrician.
Thislightfittingshouldbeconnectedtoacircuitwitha
30mARCDfitted.
Ifreplacinganexistingfitting,makeacarefulnoteof
theconnections.
Thisproductcontainsnon-replaceablepartsand
cannotbeserviced.Ifdamageoccursthepartshould
bescrapped.
Wasteelectricalproductsshouldnotbedisposedof
withhouseholdwaste.Pleaserecyclewherefacilities
exist.Checkwithyourlocalauthorityorretailerfor
recyclingadvice.
ThisproductisratedatIP44.
Theentireunitgetshotwhilstonforaperiodoftime.
Specification
Voltage: 240V50Hza.c.
Lamp: 7WLEDmodule(SMD5630)NaturalWhite
IPrating: 44
Layout
• Planthedesiredlayoutofthisfittingcarefully,
ensuringthecableswillreachthedistancebetween
thejunctionboxandthelightfitting.
• Avoidlocatinganycablesinpositionsthatwould
causeahazard.Positioncablesandoutdoorrated
junctionboxes(notsupplied)awayfromareas
wheretheymaybeatriskfrombeingcut,trappedor
damaged.
• WerecommendthatyouuseH05RN-Fspecification
cable(notsupplied)whichisanoutdoorgrade,
rubbersheathedcable.Themainssupplycablemust
haveaminimumcrosssectionalareaof1.0mm²
• Cablesmustbeprotectedusingsuitableconduitor
plastictrunking.
Existingfittingsmustbecompletelyremovedbefore
installationofanewproduct.Before removing the
existing fitting, carefully note the position of each set
of wires.
• Thehelpofanassistantisrecommendedwhen
installingthisfitting.
• Removethefinialsfromthefrontoftheproductand
liftthelightfittingbodyawayfromthewallback.
Keepthefinialsinasafeplaceforrefittinglater.
• Usingthewallbackasatemplate,marktheposition
ofthemountingholes.Drillholesandfitsupplied
wallplugs(suitableformasonryonly-forother
surfacesuseappropriatefixings).Feedtheincoming
mainssupplycablethroughthegrommetentry
hole.Fixthewallbacktothewallusingthesupplied
screws(SeeFig.1).
• Wireasdetailedbelow.
Installation
Fig. 2
Fig. 1
Securing
Screws
Wiring
Thisproductisdoubleinsulatedandmustnotbe
earthed.Ifthereareanyincomingearthcables,they
mustbejoinedtogetherandwellinsulatedwithgood
qualityinsulationtape.Thisistoensureearthcontinuity
throughoutyourproperty.
Removethecoverfromthemainsterminalsandhaving
correctlyidentifiedthewiringfromyourexistinglight
fitting,connecttothequickfitconnectionblockinthe
followingway:
ive
eutral

Other Saxby Outdoor Light manuals

Saxby SH005 User manual

Saxby

Saxby SH005 User manual

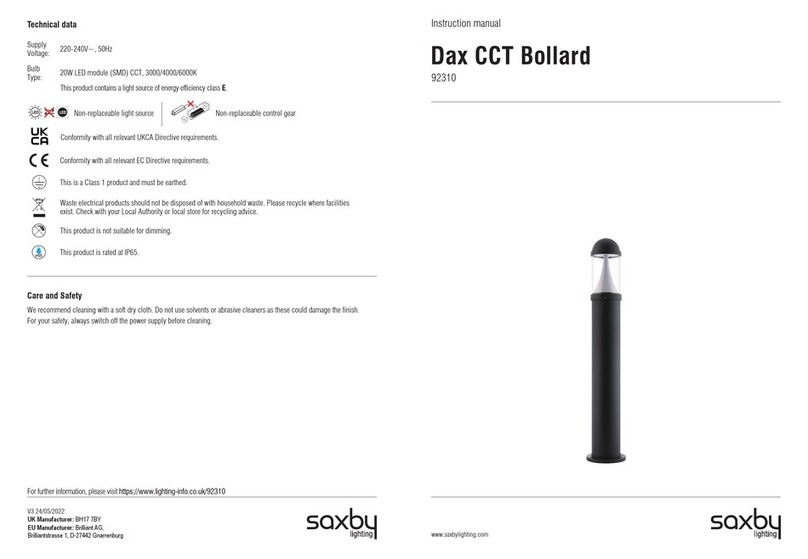
Saxby 92310 User manual

Saxby

Saxby 92310 User manual

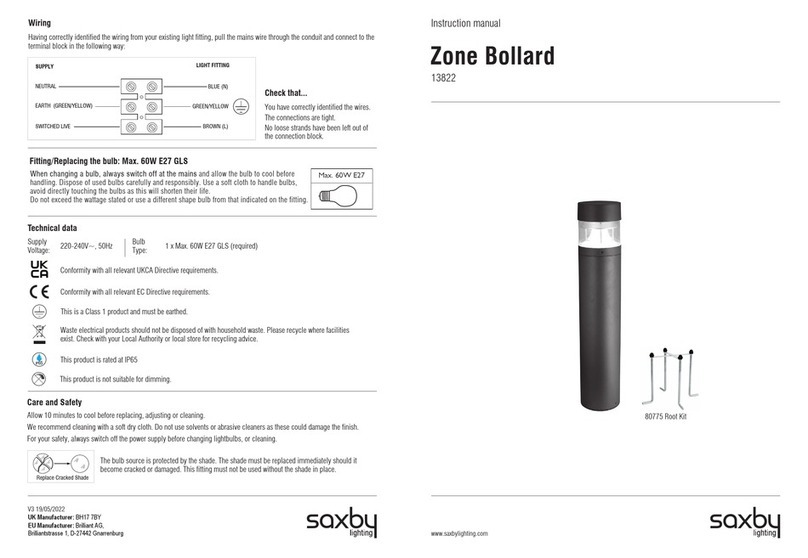
Saxby 13822 User manual

Saxby

Saxby 13822 User manual

Saxby EL- 40075 Manual

Saxby

Saxby EL- 40075 Manual

Saxby Luminatra Spike Manual

Saxby

Saxby Luminatra Spike Manual

Popular Outdoor Light manuals by other brands

Kichler Lighting HELEN 37536 instructions

Kichler Lighting

Kichler Lighting HELEN 37536 instructions

Thorn OXANE L installation instructions

Thorn

Thorn OXANE L installation instructions

esotec Solar Globe Light multicolor 20 operating instructions

esotec

esotec Solar Globe Light multicolor 20 operating instructions

mitzi HL200201 ELLIS Assembly and mounting instructions

mitzi

mitzi HL200201 ELLIS Assembly and mounting instructions

HEPER TILA S AFX 3 Module Installation & maintenance instructions

HEPER

HEPER TILA S AFX 3 Module Installation & maintenance instructions

Designplan TRON 180 installation instructions

Designplan

Designplan TRON 180 installation instructions

Sealey LED37 instructions

Sealey

Sealey LED37 instructions

nordlux VEJERS Mounting instruction

nordlux

nordlux VEJERS Mounting instruction

SImx ELITE LED LHTC637 installation instructions

SImx

SImx ELITE LED LHTC637 installation instructions

GEV CAROLINE 10833 manual

GEV

GEV CAROLINE 10833 manual

WE-EF PFL540 LED Installation and maintenance instructions

WE-EF

WE-EF PFL540 LED Installation and maintenance instructions

HEPER DOGO Side LW6048.585-US Installation & maintenance instructions

HEPER

HEPER DOGO Side LW6048.585-US Installation & maintenance instructions

BEGA 84 253 Installation and technical information

BEGA

BEGA 84 253 Installation and technical information

HEPER LW8034.003-US Installation & maintenance instructions

HEPER

HEPER LW8034.003-US Installation & maintenance instructions

HEPER MINIMO Installation & maintenance instructions

HEPER

HEPER MINIMO Installation & maintenance instructions

LIGMAN BAMBOO 3 installation manual

LIGMAN

LIGMAN BAMBOO 3 installation manual

Maretti TUBE CUBE WALL 14.4998.04 quick start guide

Maretti

Maretti TUBE CUBE WALL 14.4998.04 quick start guide

Maxim Lighting Carriage House VX 40428WGOB installation instructions

Maxim Lighting

Maxim Lighting Carriage House VX 40428WGOB installation instructions

manuals.online logo
manuals.online logoBrands
  • About & Mission
  • Contact us
  • Privacy Policy
  • Terms and Conditions

Copyright 2025 Manuals.Online. All Rights Reserved.