manuals.online logo
Brands
  1. Home
  2. •
  3. Brands
  4. •
  5. Saxby
  6. •
  7. Outdoor Light
  8. •
  9. Saxby Luminatra Spike Manual

Saxby Luminatra Spike Manual

Instruction leaflet
Luminatra Spike
54316, 54317, 70057, 70058
www.saxbylighting.com
For your safety, always switch off the supply before changing lightbulbs, or cleaning.
Waste electrical products should not be disposed of with household waste. Please recycle where facilities
exist. Check with your Local Authority or retailer for recycling advice.
Recycling advice
Safety information
Saxby Lighting Ltd. BH23 3PE
Finish - We recommend cleaning with a soft dry cloth.
Do not use abrasive materials as these will damage the
finish.
This system contains non-replaceable parts and cannot
be serviced. If damage occurs the part should be
scrapped.
This LED's are protected by a plastic lens. The lens part must be replaced immediately should it
become cracked or damaged. This fitting must not be used without the plastic lens in place.
Iss.3 06062016
Check that...
• You have correctly identified the wires.
• The connections are tight.
• No loose strands have been left out of the connection
block.
• Ensure that all cord grips are tightly secured.
• Ensure that all seals are re-fitted correctly.
Commissioning
• Replace fuse or circuit breaker and switch on. Your
light is now ready for use.
Thank you for purchasing this light fitting. Please read the instructions carefully before use to ensure safe and
satisfactory operation of this product. Please retain these instructions for future reference.
Warning
This is a Class 2 (Double Insulated) product
and must not be earthed.
Please read these instructions carefully before
commencing any work.
This unit must be fitted by a competent and qualified
electrician.
Install in accordance with IEE Wiring regulations and
current Building Regulations.
To prevent electrocution switch off at mains supply
before installing or maintaining this fitting. Ensure
other persons cannot restore the electrical supply
without your knowledge. If you are in any doubt,
please consult a qualified electrician.
This light fitting should be connected to a fused circuit.
If replacing an existing fitting, make a careful note of
the connections.
This system contains non-replaceable parts and
cannot be serviced. If damage occurs the part should
be scrapped.
Waste electrical products should not be disposed of
with household waste. Please recycle where facilities
exist. Check with your local authority or retailer for
recycling advice.
This product is rated at IP65.
This product is not suitable for location in or near a
marine environment.
This unit is not suitable for dimming.
Specification
Voltage: 240V 50Hz a.c.
Lamp: 5W LED Module
IP rating: 65
Layout
Installation
Having correctly identified the wiring from your existing light fitting, connect to the approved outdoor rated or
approved double insulated terminal block in the following way:
Wiring
• Planthedesiredlayoutofthisfittingcarefully,
ensuring the cables will reach the distance between
the junction box and the light fitting.
• Avoidlocatinganycablesinpositionsthatwould
cause a hazard. Position cables and outdoor rated
junction boxes (not supplied) away from areas
where they may be at risk from being cut, trapped or
damaged.
• Decideonthepositionoftheluminaire.Depending
on the location, an approved outdoor rated plug and
socket may be required. Alternatively an approved
outdoor rated external terminal block may be used.
• Avoidlocatinganycablesinpositionsthatwould
cause a hazard. Position cables and connector block
away from areas where they may be at risk from
being cut, trapped or damaged.
• Cablesthataretobeinwallsandconcealed
underground must be protected using suitable
conduit or plastic trunking.
• Ensurethatthegroundissuitableforpushingthe
spike into, and can support the luminaire. Do not
install in very wet or boggy areas.
Plug Fitting
Alternatively, the product can be connected to a 3 pin
plug.
1. The appliance must be connected to a 240 volts AC
supply.
2. The appliance can be fitted to a rewireable 3 pin plug
fitted with a 3 amp fuse. Should the fuse require
replacement, it must be replaced with a fuse rated at
3 amp and approved to BS1362.
3. If the mains plug is unsuitable for the socket outlet
or is removed for any other reason, then the cut off
plug should be disposed of safely to prevent the
hazard of electric shock.
4. There is a danger of electric shock if the cut off plug
is inserted into any 13 amp socket outlet.

Other Saxby Outdoor Light manuals

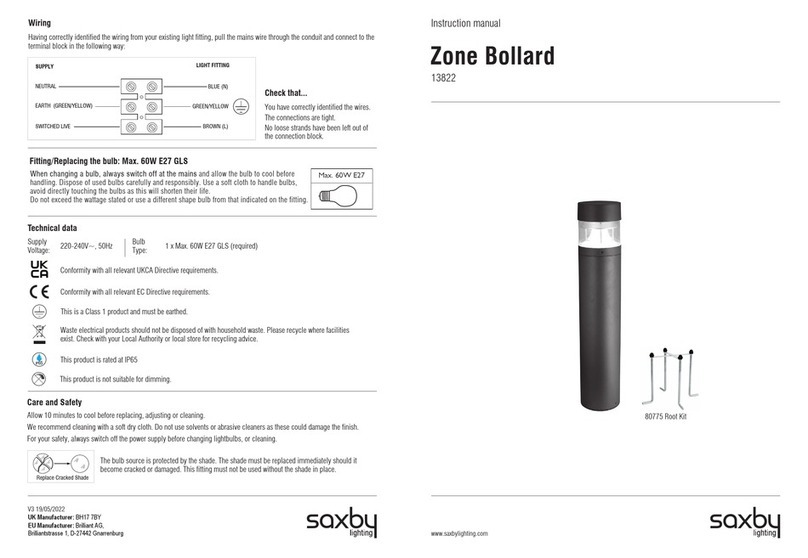
Saxby 13822 User manual

Saxby

Saxby 13822 User manual

Saxby Evesham Wall Manual

Saxby

Saxby Evesham Wall Manual

Saxby EL- 40075 Manual

Saxby

Saxby EL- 40075 Manual

Saxby SH005 User manual

Saxby

Saxby SH005 User manual

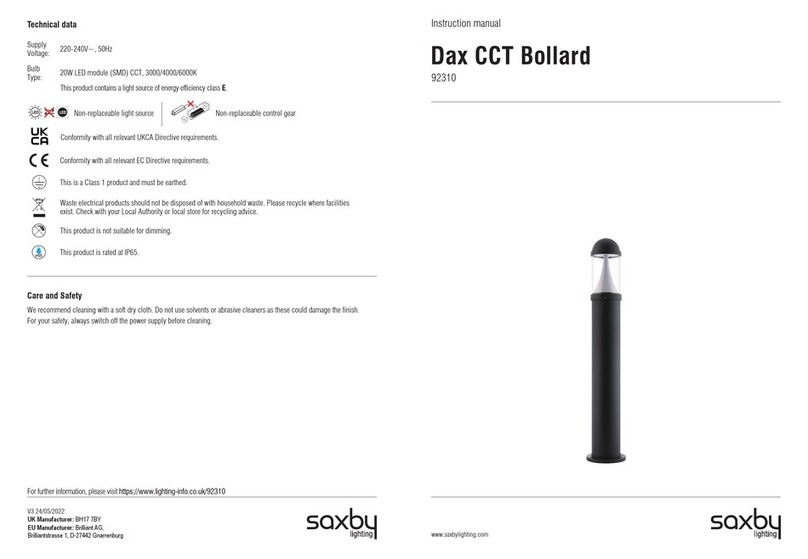
Saxby 92310 User manual

Saxby

Saxby 92310 User manual

Popular Outdoor Light manuals by other brands

HAMPTON BAY 18165-000 Use and care guide

HAMPTON BAY

HAMPTON BAY 18165-000 Use and care guide

Maxim Lighting Camden VX manual

Maxim Lighting

Maxim Lighting Camden VX manual

LIGMAN DUOMO 12 installation manual

LIGMAN

LIGMAN DUOMO 12 installation manual

LIGMAN LBX 1 installation manual

LIGMAN

LIGMAN LBX 1 installation manual

LIGMAN AR-20992-LC installation manual

LIGMAN

LIGMAN AR-20992-LC installation manual

LIGMAN AA-10086-2 installation manual

LIGMAN

LIGMAN AA-10086-2 installation manual

Eglo ROMAO 2 instructions

Eglo

Eglo ROMAO 2 instructions

edishine HDLC10A instruction manual

edishine

edishine HDLC10A instruction manual

Kowa SL-19 instruction manual

Kowa

Kowa SL-19 instruction manual

HUDSON VALLEY LIGHTING TROY LIGHTING SANDERS P2745 manual

HUDSON VALLEY LIGHTING

HUDSON VALLEY LIGHTING TROY LIGHTING SANDERS P2745 manual

urban ambiance UQL1263 Assembly instruction sheet

urban ambiance

urban ambiance UQL1263 Assembly instruction sheet

GE 19200LO manual

GE

GE 19200LO manual

Briloner MAL 2763 Mounting instructions

Briloner

Briloner MAL 2763 Mounting instructions

Moooi Horse Lamp Cleaning instructions

Moooi

Moooi Horse Lamp Cleaning instructions

Halco 10139 installation instructions

Halco

Halco 10139 installation instructions

JONATHAN Y JYL3048 quick start guide

JONATHAN Y

JONATHAN Y JYL3048 quick start guide

Maxim Lighting 30081CDCF manual

Maxim Lighting

Maxim Lighting 30081CDCF manual

LIGMAN OD-50011 installation manual

LIGMAN

LIGMAN OD-50011 installation manual

manuals.online logo
manuals.online logoBrands
  • About & Mission
  • Contact us
  • Privacy Policy
  • Terms and Conditions

Copyright 2025 Manuals.Online. All Rights Reserved.