5
SA-30 SAFETY
INTERRUPTING OPERATION
– Before leaving the operator's position:
- Park on level ground;
- Set the parking brake;
- Shut off the engine and remove the key.
– Stop the engine:
- before refueling;
- before making adjustment unless the
adjustment can be made from the operator's
position.
– Stop the engine and disconnect the spark plug
wire(s) or remove the key:
- before clearing blockages;
- before checking, cleaning or working on the
machine;
- after striking a foreign object. Inspect the
machine for damage and make repairs before
restarting.
- if the machine begins to vibrate abnormally:
Inspect and make repairs as needed before
restarting;
- except for repairs or adjustments as
specically noted, such as for carburetor
adjustment, where the engine must be running.
Keep hands and feet clear of moving parts in
these circumstances.
– Reduce the throttle setting during engine shut-
down and, if the engine is provided with a shut-
off valve, turn the fuel off at the conclusion of
aeration.
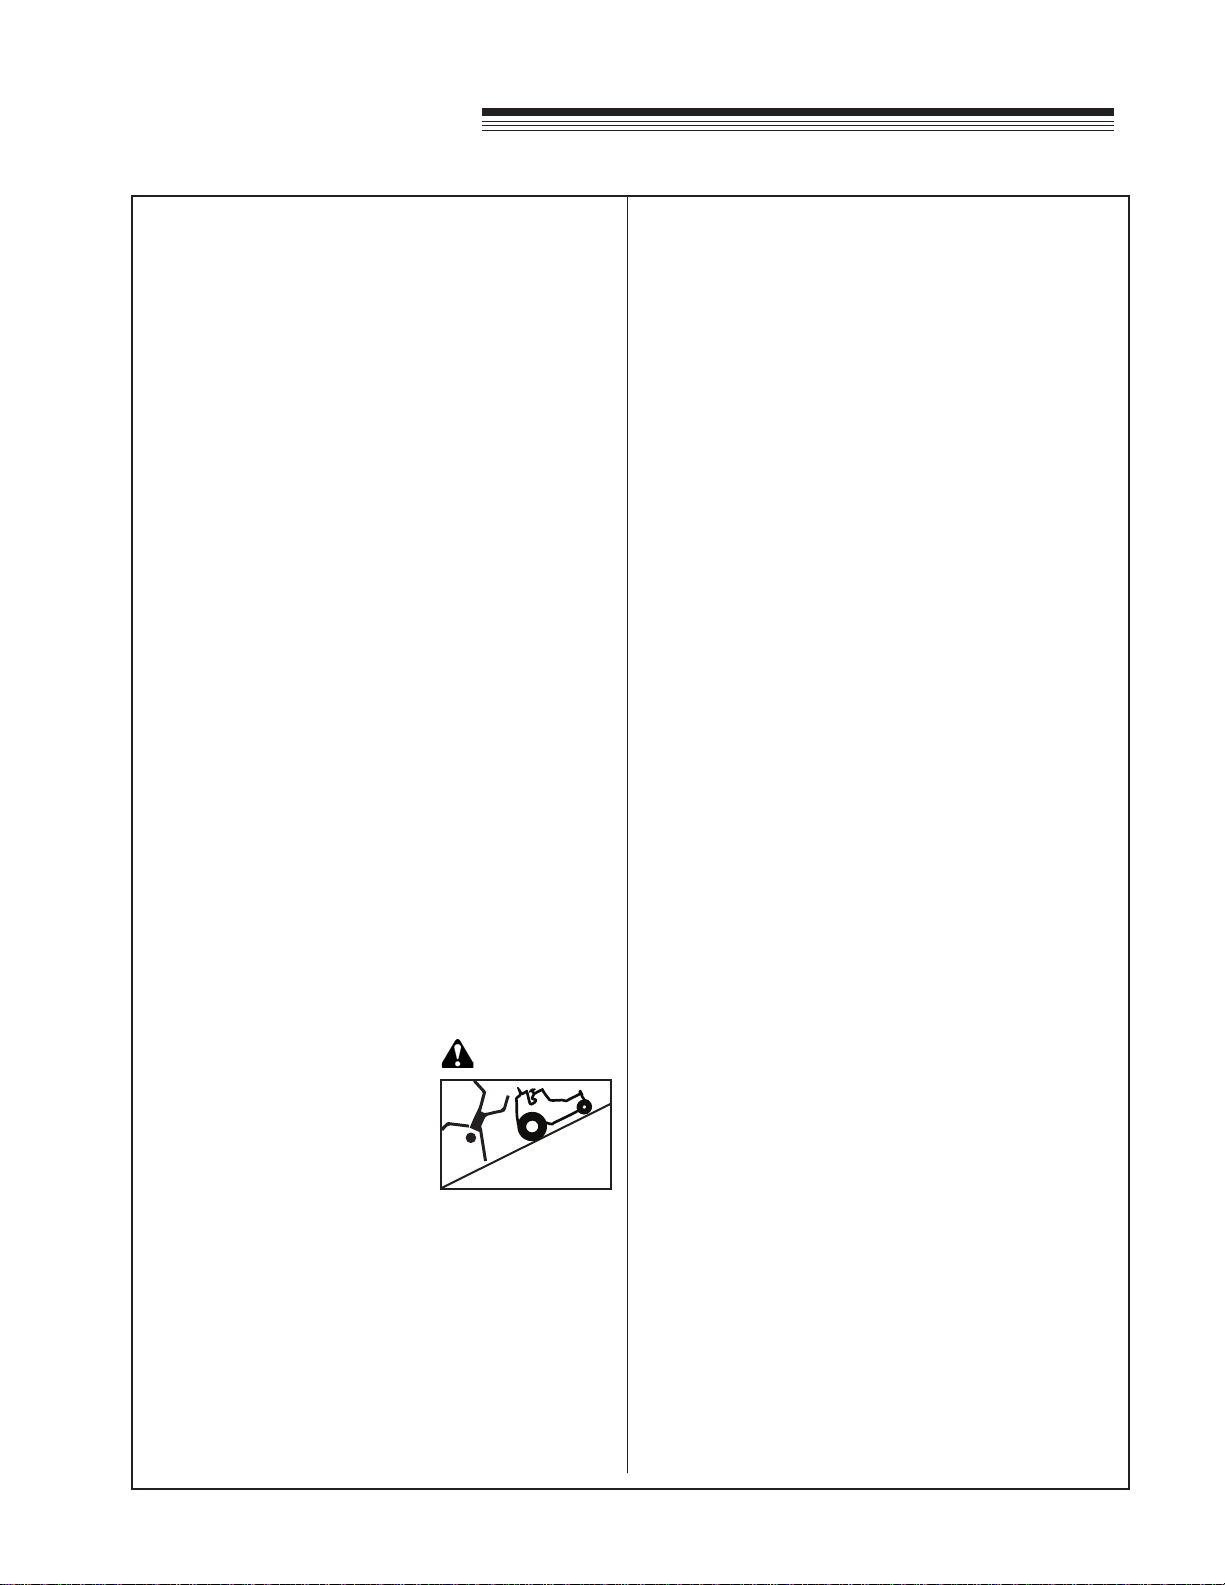
AERATING SLOPES
Slopes are a major factor in loss-
of-control and tip over accidents
that sometimes lead to severe
injury or death. All slopes require
extra caution.
– Before operating on slopes evaluate the risks
involved.
– Do not operate on slopes if uneasy or uncertain.
Ultimate responsibility for safe operation on
slopes rests with the operator.
– Do not aerate steep slopes:
Slope is too steep if:
- the machine must be crabbed (turned partially
sideways uphill) to drive across the slope.
- The machine turns downhill going across the
slope.
-You are uneasy about being on the slop.
– With ride-on machines, including articulated
steering machines, operate up and down slopes,
not across, except for zero turn machines. Zero
turn machines should operate across slopes.
– With walk-behind machines, always operate
across slopes, not up and down.
– Avoid starting or stopping on a slope. If tires lose
traction, disengage the tines and proceed slowly
straight down the slope.
– With a zero turn machine, if tires lose traction
going down a slope, steering control may be
regained by speeding up.
– Zero turn machines have much greater traction
pointed up slope than down slope. Be aware that
traction may be lost going down a slope. Do not
operate a zero turn machine on slopes it cannot
back up.
– Keep all movement on the slopes slow and
gradual. Do not make sudden changes in speed
or direction.
– Do not turn on slopes unless necessary, and then
turn slowly and downhill when possible.
– Stay away from slopes if the ground is loose or if
caught in the rain during aeration.
– Use lower speeds on a slope to avoid stopping or
shifting.
– Use extra care with attachments. These can
change the stability of the machine.
– Avoid driving over ruts, holes, rocks and roots
whenever possible. Be alert to dips and rises.
Uneven terrain can overturn a machine or cause it
to slide.
– Do not aerate dropoffs, ditches or embankments.
The machine could suddenly turn over if a wheel
runs over the edge or an edge caves in.
– Follow the manufacturer's recommendations
for wheel weights or counterweights to improve
stability.
WARNING