INSTRUCTIONS FOR:
INFRA-RED GAS HEATER
Model No.: LP13
Thank you for purchasing a Sealey product. Manufactured to a high standard this product will, if used according to these instructions
and properly maintained, give you years of trouble free performance.
LP13 - 0065 - (2) - 190503
1. SAFETY INSTRUCTIONS
IMPORTANT: PLEASE READ THESE INSTRUCTIONS CAREFULLY. NOTE THE SAFE OPERATIONAL REQUIREMENTS, WARNINGS & CAUTIONS.
USE THE PRODUCT CORRECTLY AND WITH CARE FOR THE PURPOSE FOR WHICH IT IS INTENDED. FAILURE TO DO SO MAY CAUSE
DAMAGE AND/OR PERSONAL INJURY AND WILL INVALIDATE THE WARRANTY. PLEASE KEEP INSTRUCTIONS SAFE FOR FUTURE USE.
3. CONTENT & ASSEMBLY
1.1. GENERAL SAFETY
s
s
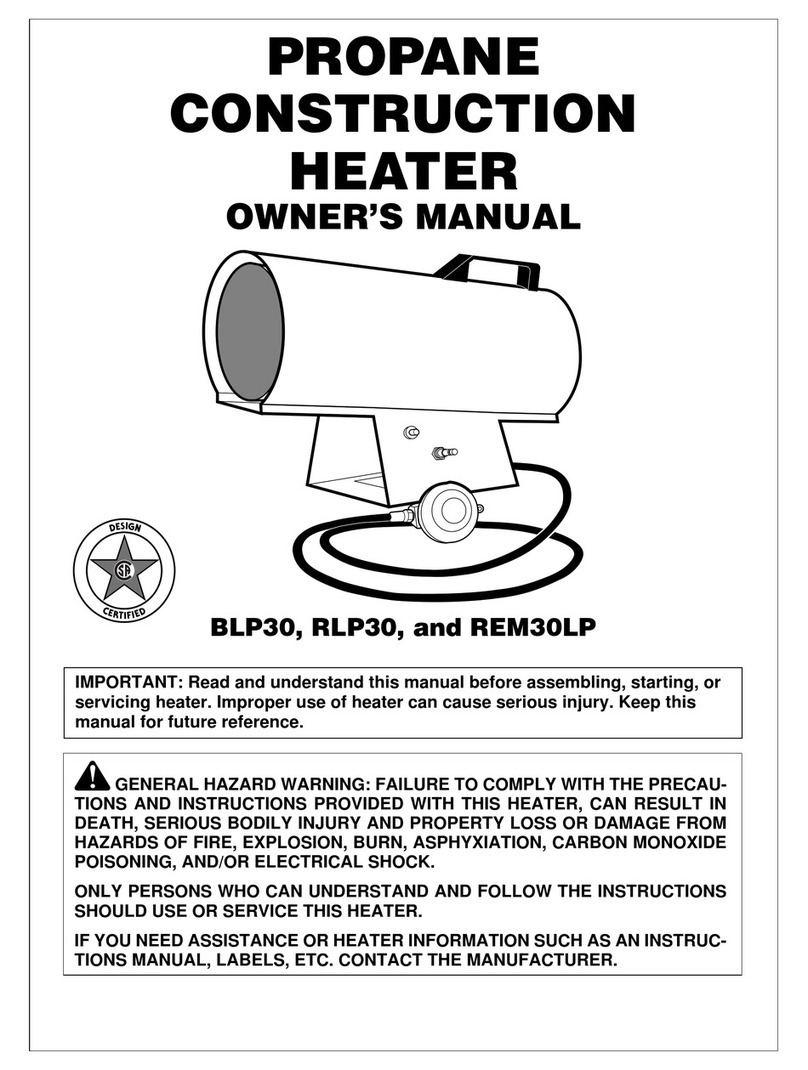
IMPORTANT: The LP13 is a mobile, propane-fired, unvented, infra-red space heater for commercial applications only. DO NOT use domestically.
pWARNING! Use only in well ventilated spaces of more than 15m3to prevent an accumulation of dangerous combustion gases.
7DO NOT operate heater in basements or otherwise below ground level.
pWARNING! Heater will become very hot during use.
pWARNING! Ensure Health & Safety, local authority, and general workshop practice regulations are adhered to when using this equipment.
3Familiarise yourself with the application and limitations of the heater, as well as the potential hazards.
pWARNING! Disconnect the heater from the gas supply before performing any maintenance.
3Maintain the heater in good condition (use an authorised service agent).
3Replace or repair damaged parts. Use genuine parts only. Non-authorised parts may be dangerous and will invalidate the warranty.
pWARNING! Keep all guards and holding screws in place, tight and in good working order. Check regularly for damaged parts. A guard or
any other part that is damaged must be repaired or replaced before the heater is next used.
3Keep the heater clean for best and safest performance.
3Ensure the propane bottle is in a stable upright position before igniting the heater. DO NOT use with the bottle in any position other than upright.
7DO NOT use any fuel other than propane.
3Ensure there are no flammable or combustible materials within 2 metres of the heater and that nothing, including walls, is less than 500mm
from any surface of the heater.
7DO NOT use the heater where there are flammable liquids, solids or gases such as paint solvents, etc.
3Keep gas hose away from heat, oil and sharp edges. Regularly check hose for wear and ensure that all connections are secure.
7DO NOT move the heater when it is operating.
7DO NOT use the heater for any purpose other than that for which it is designed.
7DO NOT operate the heater if any parts are damaged or missing as this may cause failure and/or personal injury.
7DO NOT adjust, or tamper with, the regulator.
7DO NOT allow untrained persons to operate the heater.
7DO NOT operate the heater when you are tired, under the influence of alcohol, drugs or intoxicating medication.
3When not in use disconnect from the gas supply and store in a safe, dry, childproof area.
3If the propane bottle is kept in a cabinet ensure that the shroud cut-out faces the door.
3In the event of a gas leak immediately close the bottle valve, extinguish any flame and then place equipment in a well ventilated area,
preferably outdoors, and away from any heat sources (including strong sunlight). Rectify cause of leakage.
3If a persistent leakage occurs notify a qualified service engineer.
s
s
DANGER! If the burner remains alight after the bottle valve has been closed DO NOT attempt to remove burner and/or regulator from the
bottle. Contact your gas supplier immediately.
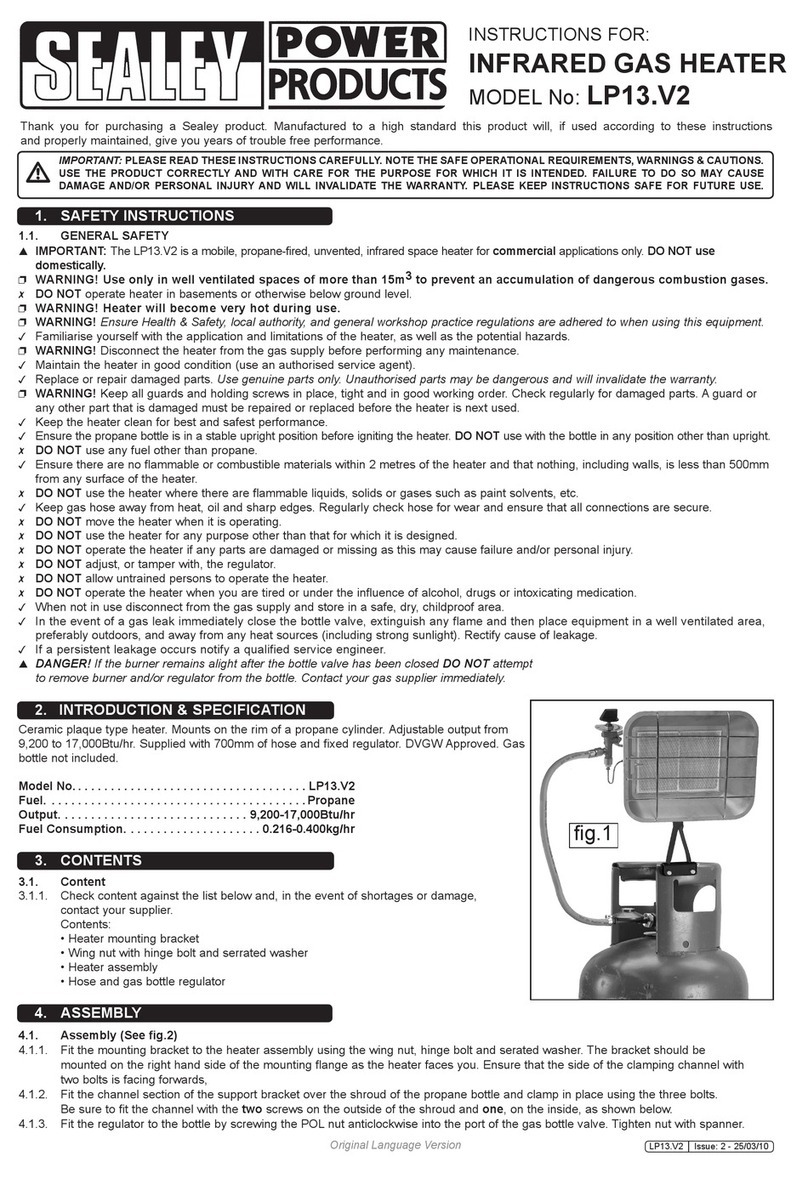
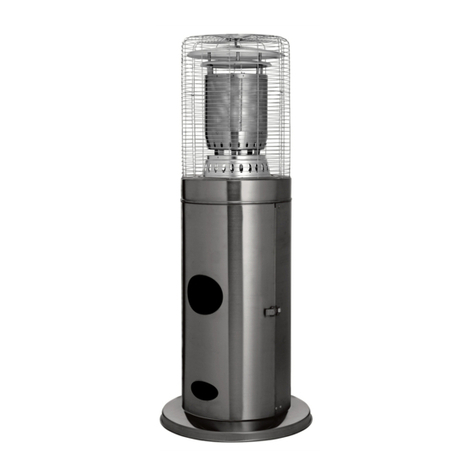
The LP13 Infra-red Heater is designed to mount directly onto a propane bottle and provide adjustable levels of heating for commercial
premises. Due to its low pressure requirement it can burn the gas remaining in bottles which are, for other heaters, empty.
Specification:
Heat output . . .2.4kW min./4.0kW max. Injector size . .0.96
(8400/13700Btu/h) Consumption . .0.18kg/h min./0.29kg/h max.
Gas/Pressure . .Propane/37mbar
3.1. Content
3.1.1. Check content against the list below and, in the event of shortages or damage, contact your supplier.
Contents:
Heater Assembly Hose Clip x 2
Regulator Wing Nut and Serrated Washer
Bracket, Heater Support Wing Screw x 3
Hose
3.2. Assembly
Note: Numbers in brackets refer to the items as shown in the parts diagram, Section 5.
3.2.1. Fit the support bracket (1) to the studded lug on the heater assembly using the wing nut (4) and serrated washer (3). In order that
the heater angle can be adjusted, install bracket so that the channel side with the single threaded hole faces forward.
3.2.2. Fit the channel section of the support bracket over the shroud of the propane bottle and clamp in place using the three wing screws (6).
Be sure to fit the channel with the two screws on the outside of the shroud and one, on the inside, as shown.
3.2.3. Fit regulator to bottle by screwing POL nut (7) anticlockwise into port (9) of bottle gas valve (12). Tighten nut with spanner.
3.2.4. Join heater valve inlet (A) to regulator outlet (B) with the hose (10) and hose clamps (11). Ensure hose is routed so that it does not touch
any part of the heater, which will become hot during operation.
3.2.5. Open the bottle valve (12) and, using soapy water, check all joints for leaks.
2. INTRODUCTION & SPECIFICATION
