Secomea SiteManager 29 Series User manual

Guide for Resetting a TrustGate or
SiteManager Appliance
This guide will show you how to reset a Secomea Appliance to factory de-
fault.
Please visit our support website for mode information.
Version 4, January 2015

Reset to Factory Default , Page 2 of 10
2015
Table of Contents
1. Introduction 3
2. Cable and Application 3
2.1. TrustGate 164, 264 and 560R 3
3. Reset Procedure 4
3.1. All TrustGates 4
3.2. SiteManager 3129 5
3.3. All other SiteManagers 6
4. Serial parameters 7
4.1. 19200, 8 bits, 1 Stop bit, no parity: 7
4.2. 38400, 8 bits, 1 Stop bit, no parity 8
4.3. 115200, 8 bits, 1 Stop bit, no parity 8
4.4. 115200, 8 bits, 1 Stop bit, no parity 9
5. Notices 10
Reset to Factory Default , Page 3 of 10
2015
1. Introduction
To reset a Secomea appliance like a TrustGate or a SiteManager you will
need to connect a computer to the appliance using the serial interface. If you
have the password to the appliance you can reset the appliance from the
WEB GUI Maintenance menu and don't need to follow these instructions.
Resetting an appliance will clear all configurations and you will need to re-
configure the unit from scratch.
The default user name is admin and default password is admin.
Hint! If in case you have use the Appliance Launcher for configuring the Ap-
pliance the password might have been set to MAC address like:
00:00:24:CA:CB:D1 ( all capital letters and separated by colon “:”)
2. Cable and Application
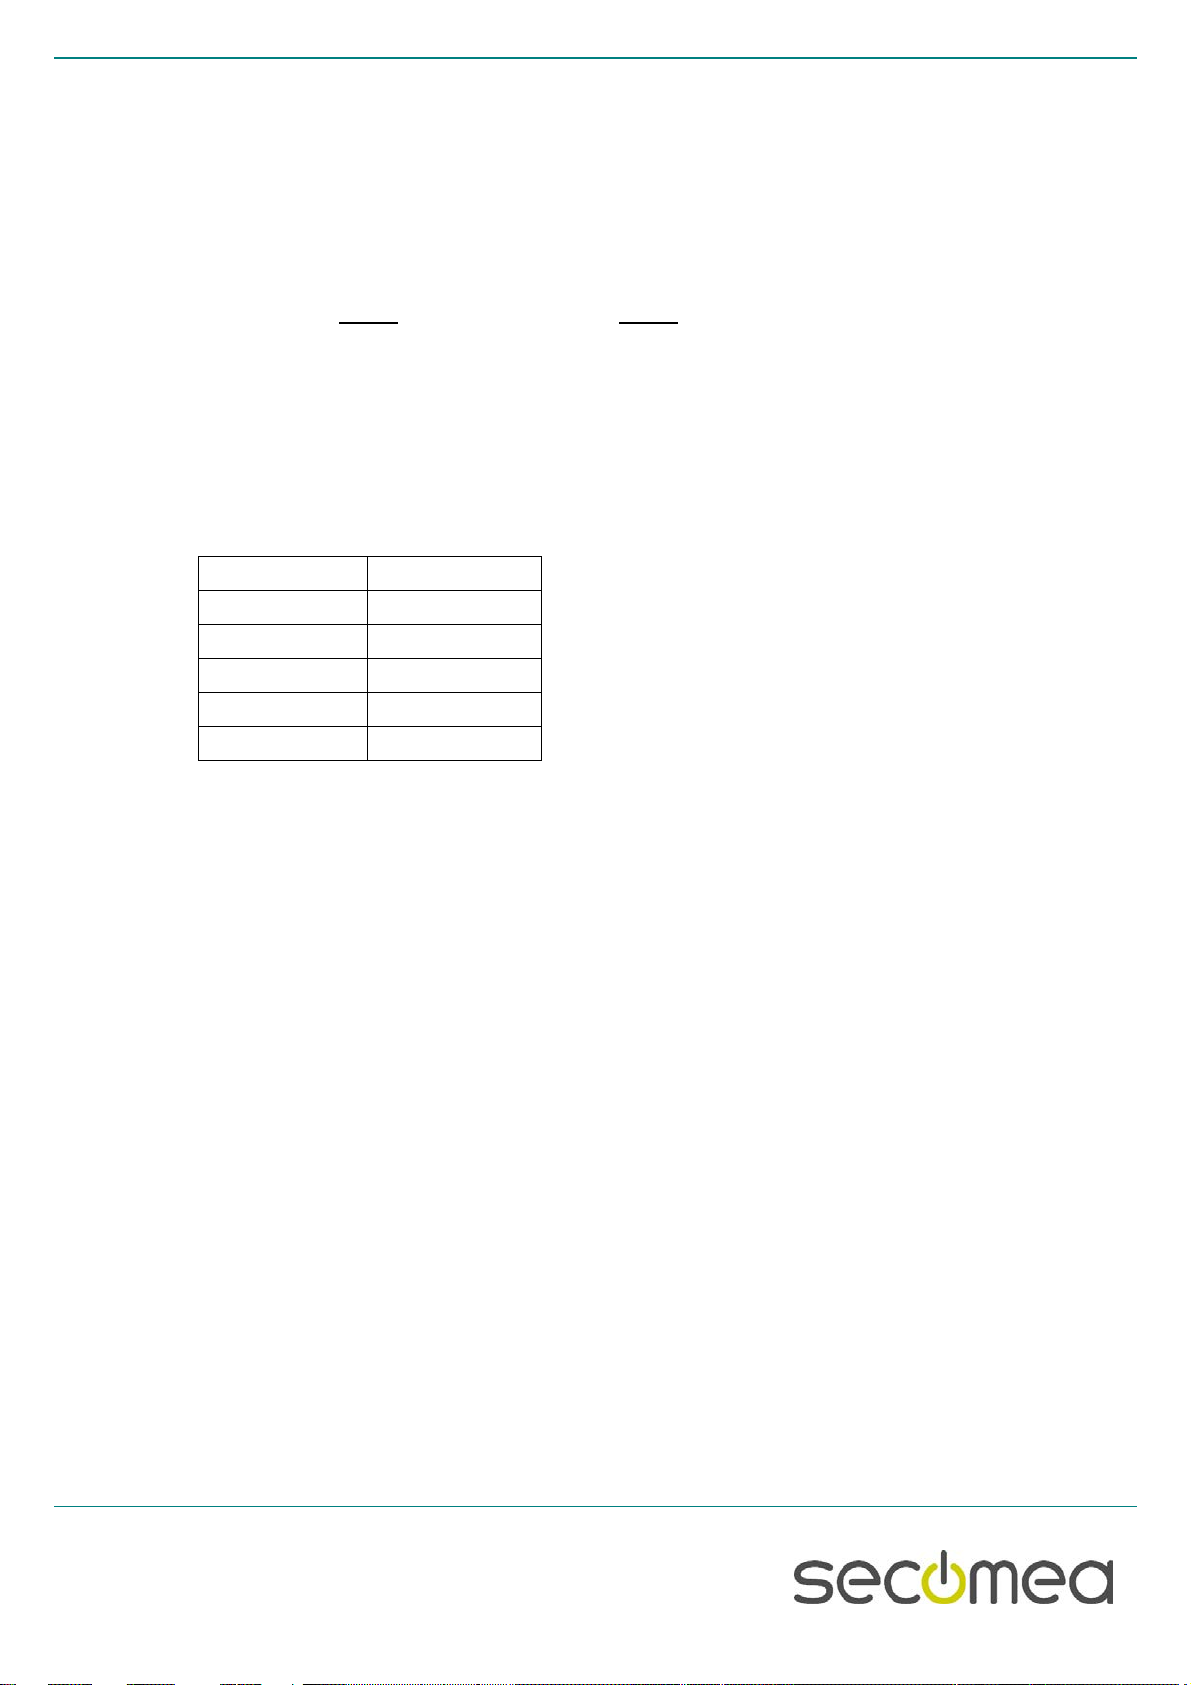
You will need a standard null-modem cable (DB9 Female to Female) cable,
pin layout is a shown:
DB9-Female
DB9-Female
Pin 2
Pin 3
Pin 3
Pin 2
Pin 4
Pin 6
Pin 5
Pin 5
Pin 6
Pin 4
If you are using a Windows computer you can with advantage use the Hy-
perTerminal application or a similar telnet application.
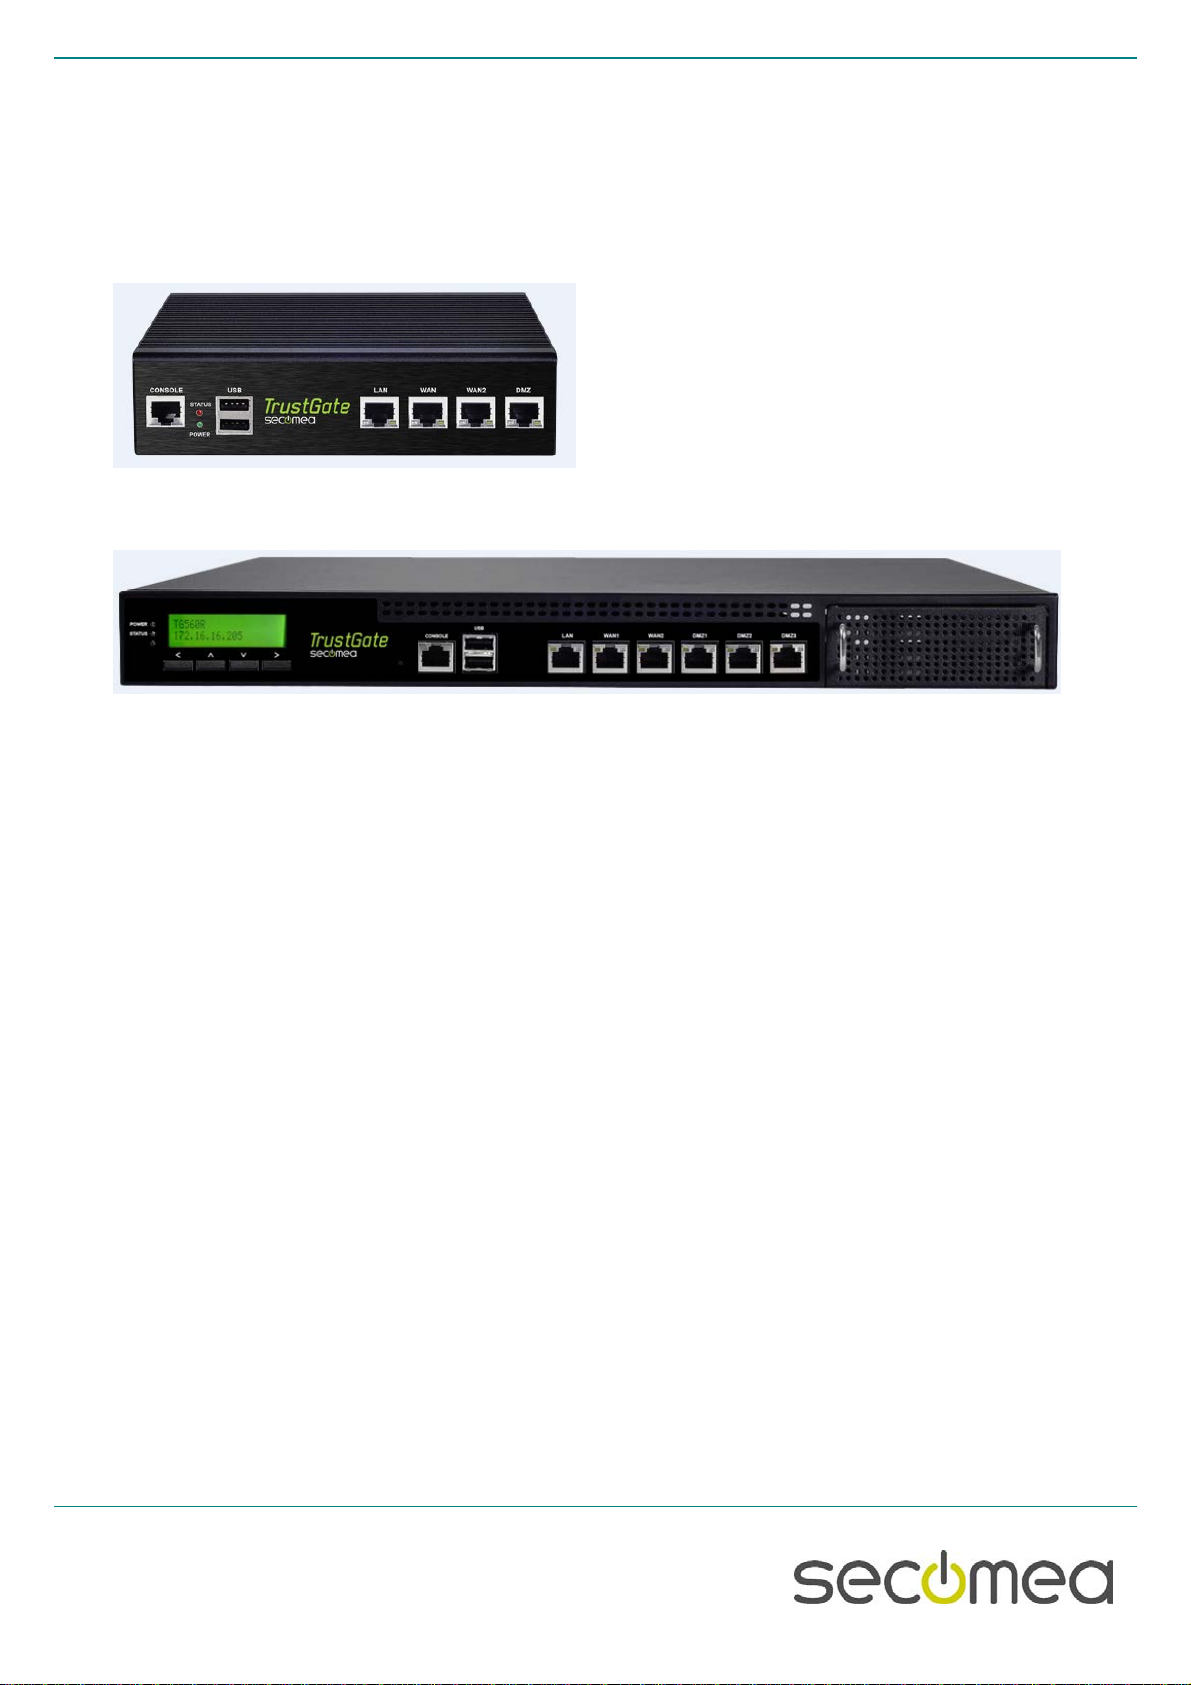
2.1. TrustGate 164, 264 and 560R
Included in the package you will find a console cable (DB9-RJ45).
Reset to Factory Default , Page 4 of 10
2015
3. Reset Procedure
3.1. All TrustGates
1. Power your PC and the appliance off.
2. Connect the PC and the appliance’s DB-9 interface with the null-modem cable.
3. Power your PC and the appliance on.
4. Start HyperTerminal or similar program.
5. Set the communication parameters: See figures below
6. If a prompt (>) does not appear on the screen, press Enter
7. Type reset , followed by Enter
8. Type Yes( to confirm), followed by Enter
9. Type reboot , followed by Enter
10. Close the session
11. Power off and disconnect the cable.

Reset to Factory Default , Page 5 of 10
2015
3.2. SiteManager 3129
1. Power your PC and the appliance off.
2. Connect the black RJ45 to DB9 that was included with the SiteManager, to the SERIAL2 port of the
SiteManager.
3. Connect the PC and the DN9 end of the black cable with the null-modem cable.
4. Power your PC and the appliance on.
5. Start HyperTerminal or similar program.
6. Set the communication parameters: See figures below
7. If a prompt (>) does not appear on the screen, press Enter
8. Type reset , followed by Enter
9. Type Yes ( to confirm), followed by Enter
10. Type reboot , followed by Enter
11. Close the session
12. Power off and disconnect the cable.

Reset to Factory Default , Page 6 of 10
2015
3.3. All other SiteManagers
1. Power your PC and the appliance off.
2. Connect the PC and the appliance’s DB-9 interface with the null-modem cable.
3. Power your PC and the appliance on.
4. Start HyperTerminal or similar program.
5. Set the communication parameters: See figures below
6. If a prompt (>) does not appear on the screen, press Enter
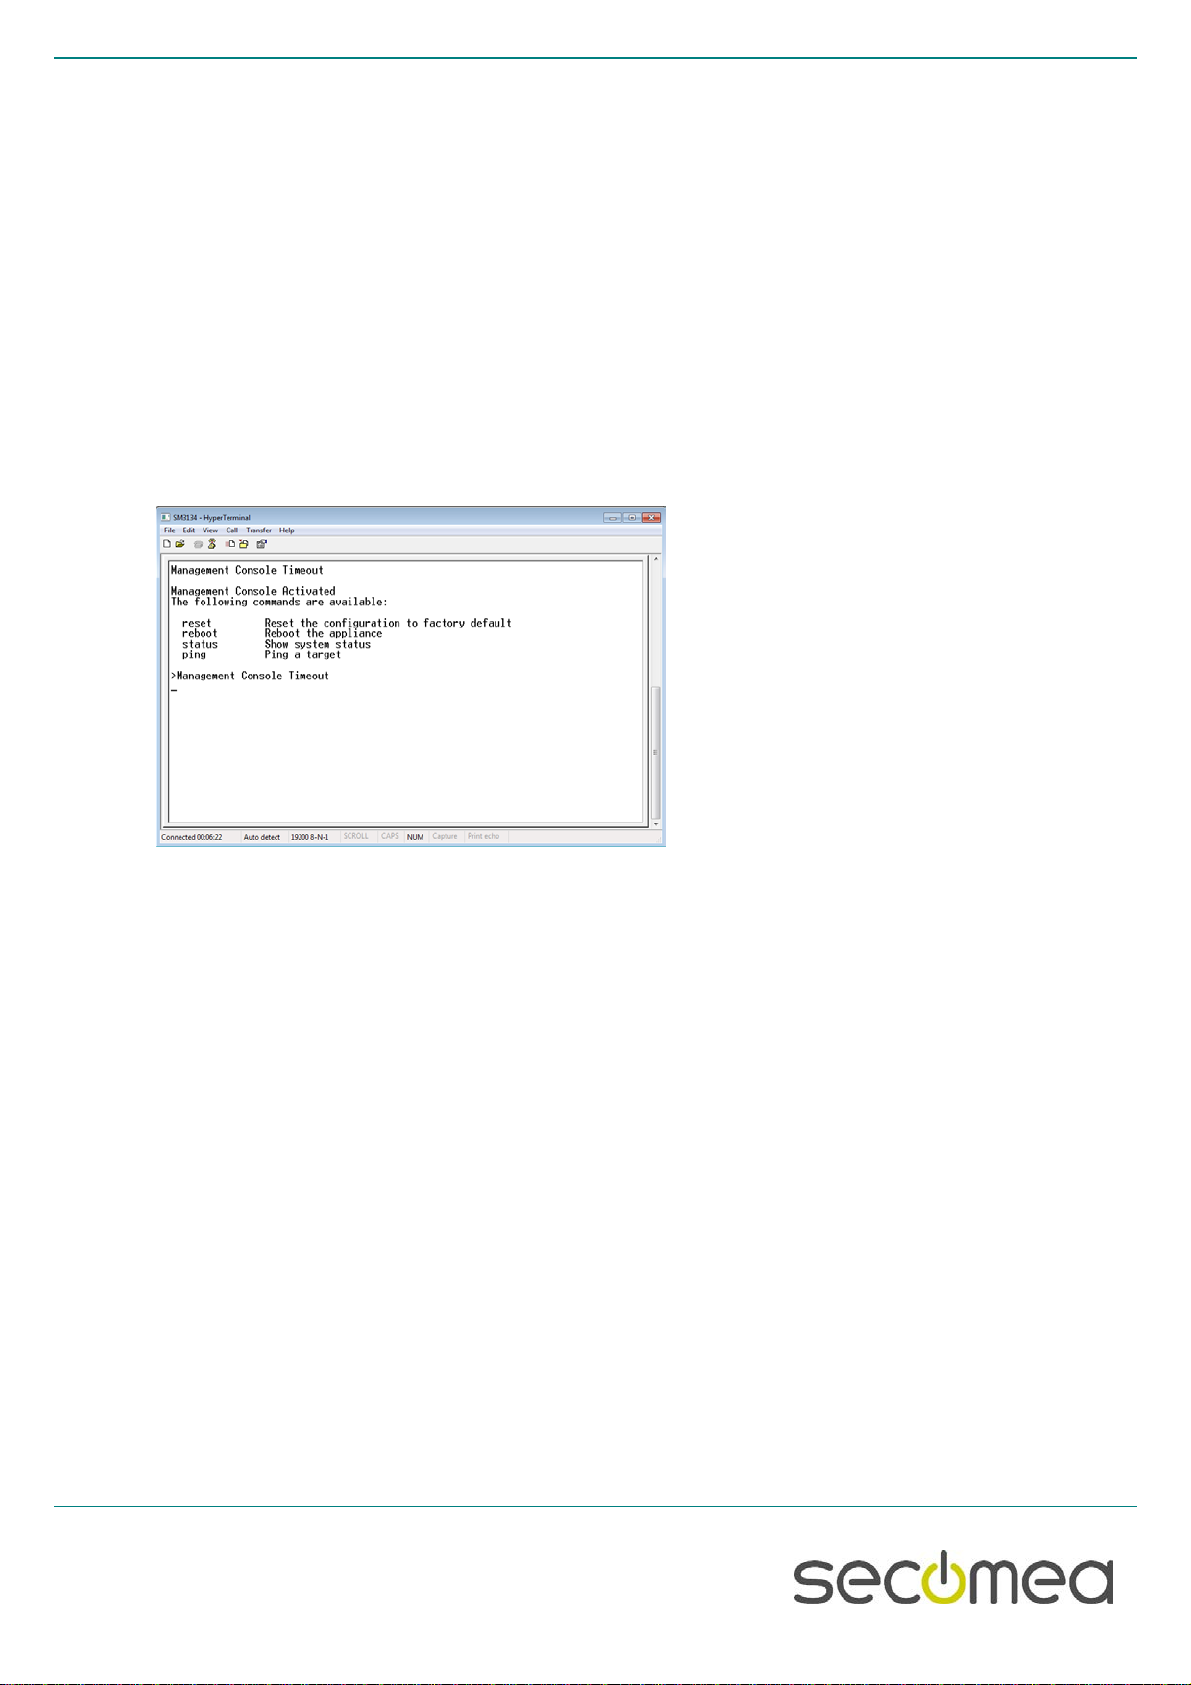
a. NOTE: If a serial agent is configured on the SiteManager, the console messages on the COM port are
“muted” (aka “ConMute”). To activate the console menu in the terminal, press the Ctrl key, while you type
kkk . The three k’s have to be typed fast after each other (within one second). Try a couple of times if you
do not succeed immediately. You should then get this screen
7. Type reset , followed by Enter
8. Type Yes ( to confirm), followed by Enter
9. Type reboot , followed by Enter
10. Close the session
11. Power off and disconnect the cable.
Reset to Factory Default , Page 7 of 10
2015
4. Serial parameters
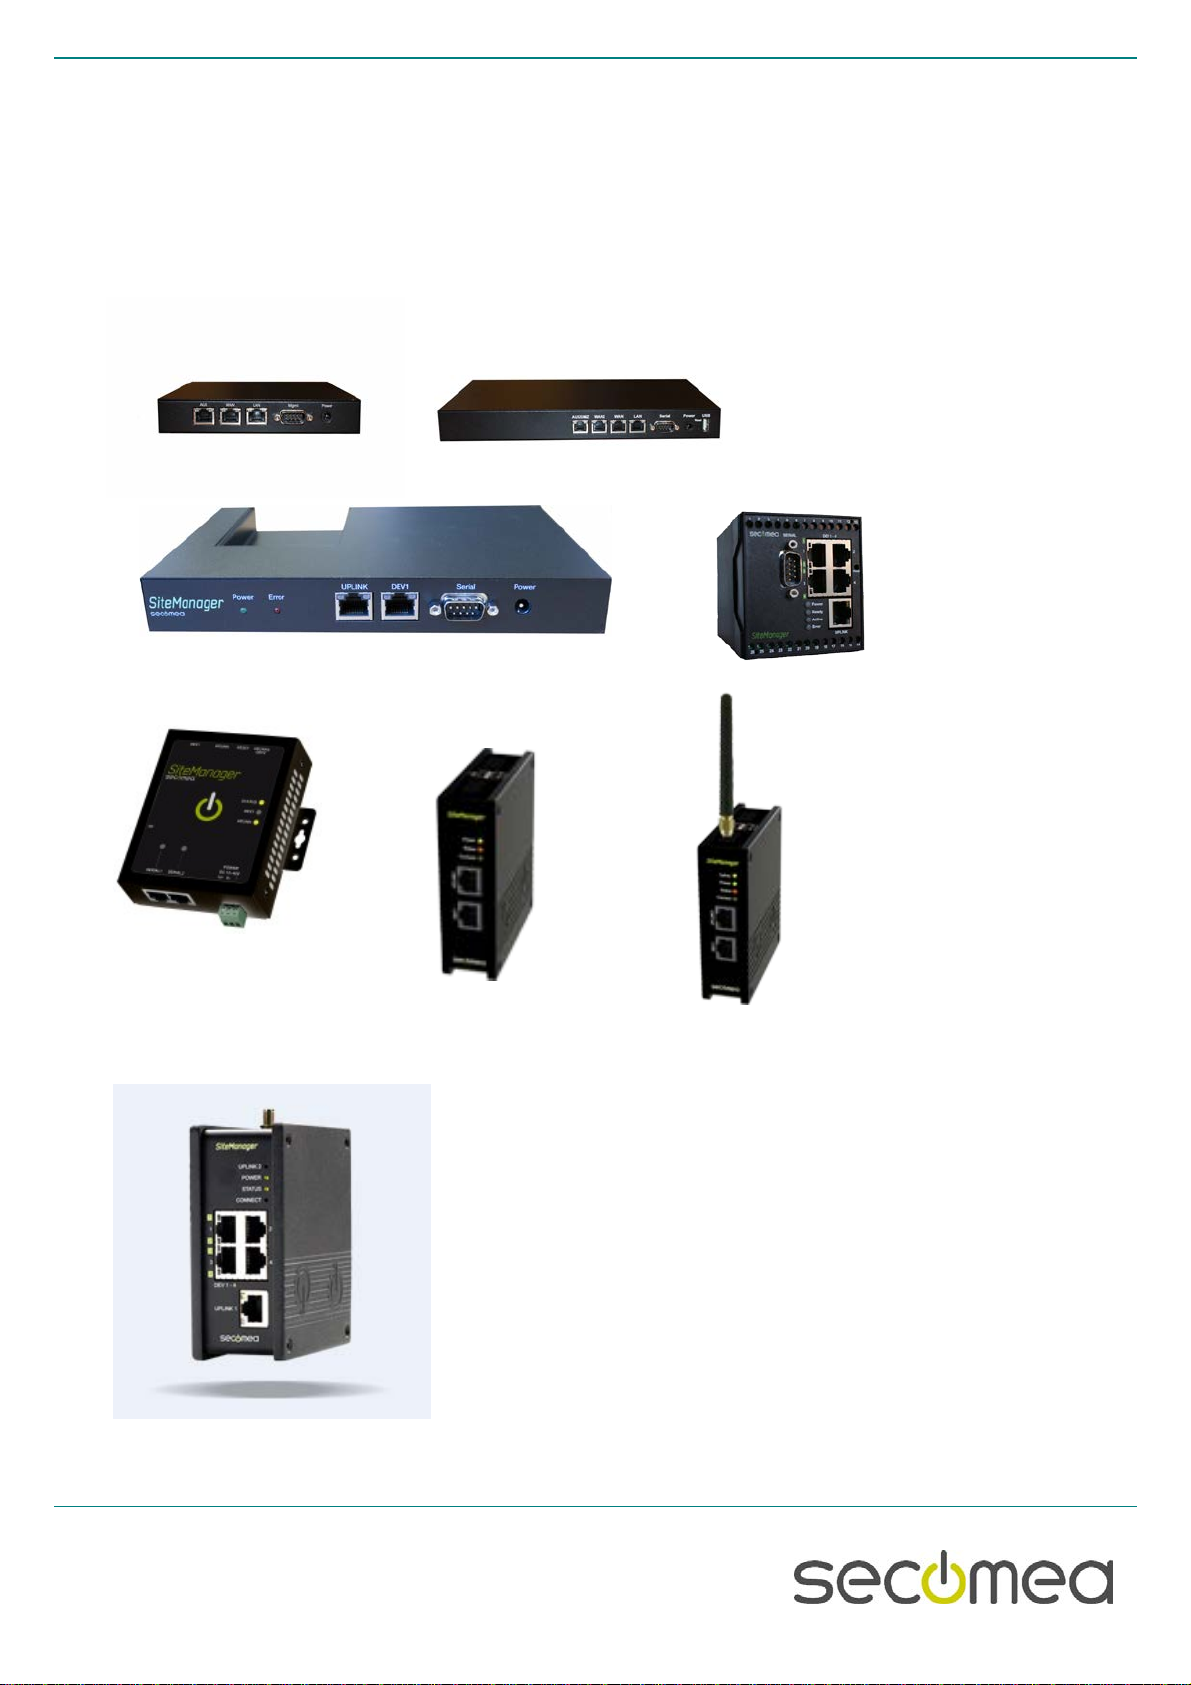
4.1. 19200, 8 bits, 1 Stop bit, no parity:
SIG5, SIG5e,
TrustGate 5/160/260,
SiteManager xx29/xx39/xx49/2029/2129/3034/3129/3134/3229/3239/
Reset to Factory Default , Page 8 of 10
2015
4.2. 38400, 8 bits, 1 Stop bit, no parity
TrustGate60/61
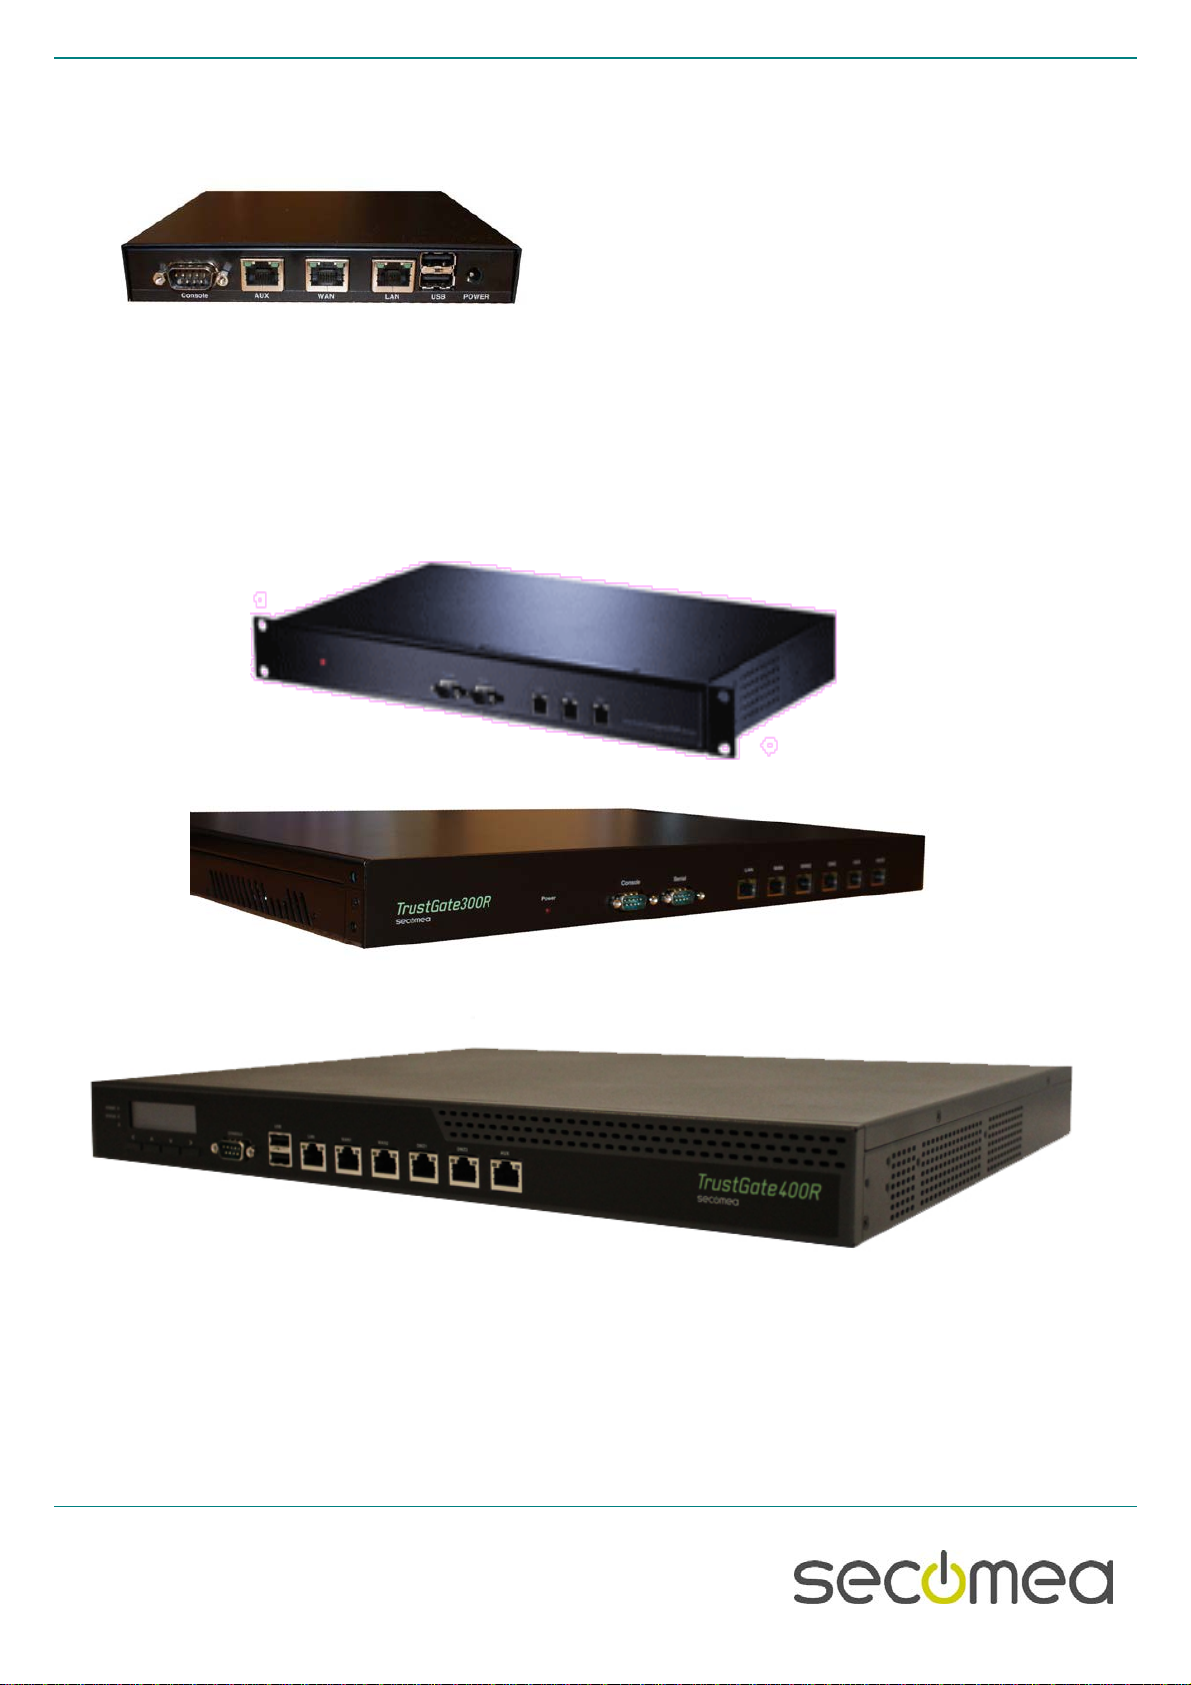
4.3. 115200, 8 bits, 1 Stop bit, no parity
TrustGate232R/363R/460R
On the 300 series use the Serial port, on the 400 series use the
Console port
Reset to Factory Default , Page 9 of 10
2015
4.4. 115200, 8 bits, 1 Stop bit, no parity
TrustGate 164, 264 and 560R use the DB9-RJ45 console cable included in
the package.

Secomea A/S
Denmark
CVR No.
DK 31 36 60 38
E-mail
:
www.secomea.com
Page 10 of 10
5. Notices
Publication and copyright
© Copyright Secomea A/S 2008-2015. All rights reserved. You may
download and print a copy for your own use. As a high-level administrator,
you may use whatever you like from contents of this document to create
your own instructions for deploying our products. Otherwise, no part of this
document may be copied or reproduced in any way, without the written con-
sent of Secomea A/S. We would appreciate getting a copy of the material
you produce in order to make our own material better and – if you give us
permission – to inspire other users.
Trademarks
GateManager™, SiteManager™ and TrustGate™ are trademarks of
Secomea A/S. Other trademarks are the property of their respective owners.
Disclaimer
Secomea A/S reserves the right to make changes to this publication and to
the products described herein without notice. The publication of this docu-
ment does not represent a commitment on the part of Secomea A/S. Con-
siderable effort has been made to ensure that this publication is free of inac-
curacies and omissions but we can not guarantee that there are none.
The following paragraph does not apply to any country or state where such
provisions are inconsistent with local law:
SECOMEA A/S PROVIDES THIS PUBLICATION "AS IS" WITHOUT WAR-
RANTY OF ANY KIND, EITHER EXPRESS OR IMPLIED, INCLUDING, BUT
NOT LIMITED TO, THE IMPLIED WARRANTIES OF MERCHANTABILITY
OR FITNESS FOR A PARTICULAR PURPOSE
SECOMEA A/S SHALL NOT BE LIABLE FOR ANY DIRECT, INDIRECT,
INCIDENTAL, CONSEQUENTIAL, OR OTHER DAMAGE ALLEGED IN
CONNECTION WITH THE FURNISHING OR USE OF THIS INFORMA-
TION.
This manual suits for next models
22
Table of contents


